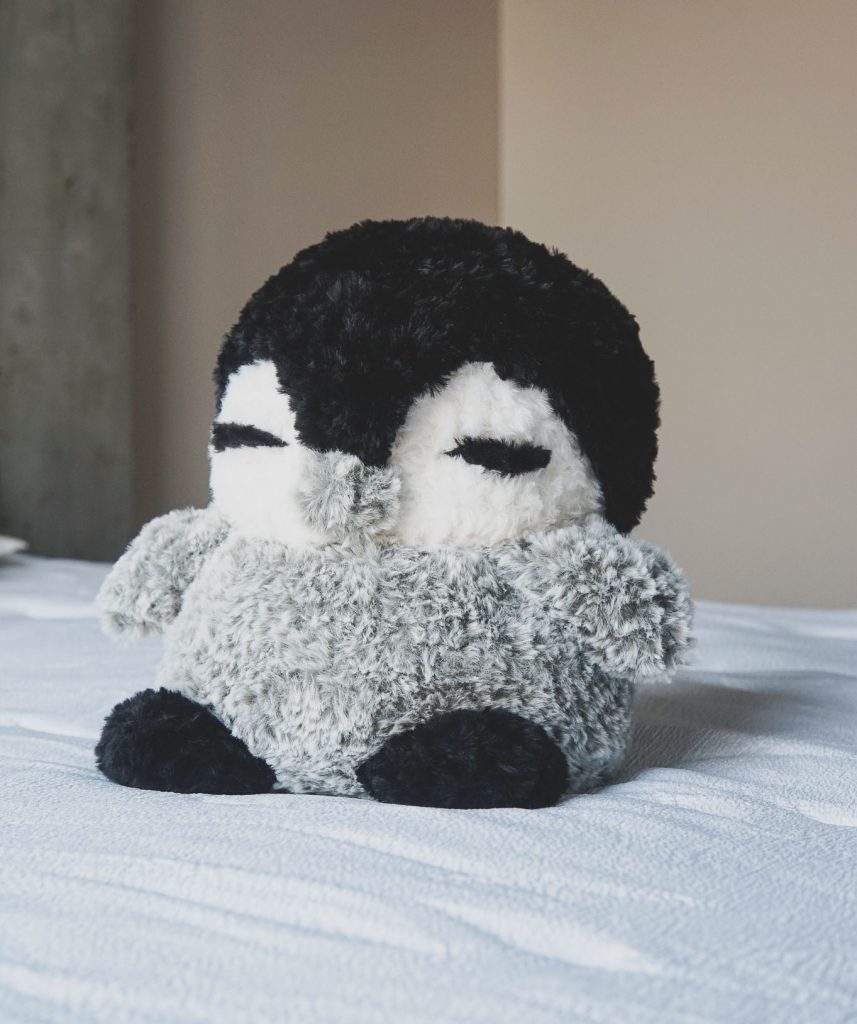
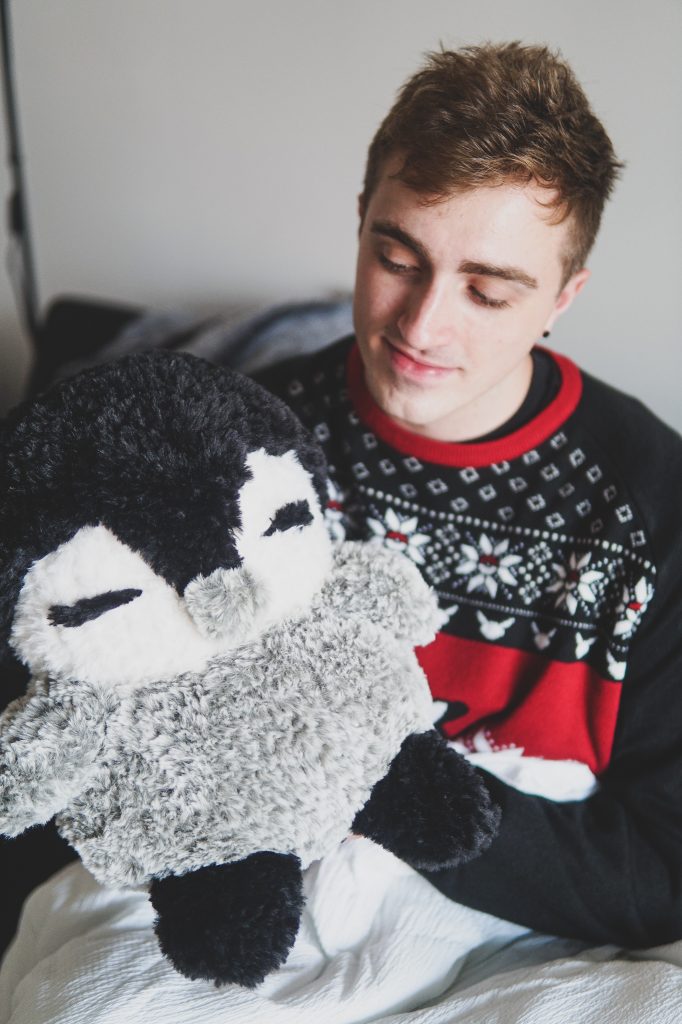
Polar Penguin Free Crochet Pattern

This pattern has been one of my paid patterns for the past few years but I have come to the conclusion that I would like to offer it for free for everyone for the year 2025! I hope you enjoy this penguin pattern and using this type of yarn – its much easier than it looks to use! You can however, try making it with any other kind of yarn with the free pattern tutorial below.
You can still find this pattern as a premium interactive pattern through my Ribblr Shop! Find the pattern to add to your library for a small price (full interactive): FIND THE PATTERN HERE!
Disclaimer
All editorial content and https://www.joann.com/projects are intellectual property of Vincent Green-Hite, designer of Knot Bad.
This post was sponsored by JOANN Stores but all ideas and opinions are my own. Please do not claim this pattern as your own. If you wish to share this pattern, you may link to this pattern but please do not reprint it on your site. You may keep a copy for your own personal use but please DO NOT sell the pattern or distribute it.
You may sell products made from this pattern but please clearly credit the design to Knot Bad and link it my website knotbadami.com Make sure to post it! Use the hashtag #yarnpunk and #handmadewithjoann when posting it and please feel free to tag me and show me how yours turned out! You can also find the Facebook group and subreddit r/yarnpunk to post to as well!

Notes:
⦁ This pattern is written in US terms
⦁ You will learn how to create all the pieces and find the assembly in a separate section.
⦁ The photo tutorial for each step will be UNDER the written step.
⦁ To find the specific round that is being mentioned, start from the Magic Ring and count outward.
⦁ Worked in continuous rounds.
⦁ The beginning section will be making the pieces and following will be the assembly stage!
** It can be difficult to work into these stitches at first so it will be helpful to be feeling for your stitches!
Gauge:
Gauge is not necessary but if your tension is too loose, try yarning over UNDER the yarn!
So here’s what you’ll need:
- Any worsted weight yarn (Size 6) will work for all these colors!
- Scissor
- 2 Skeins of Lion Brand Yarn’s Go For Faux (In Black Panther)
- 2 Skeins of Lion Brand Yarn’s Go For Faux (In Husky)
- 2 Skeins of Lion Brand Yarn’s Go For Faux (In Baked Alaska)
- Darning Needle
- 12 oz of Polyfill
- Measuring tape
- 10mm Hook (N/P)

Dimensions
Height: 12.5″ inches roughly
Width: 13.5″ inches roughly
Abbreviations:
Ch – chain
Sl st – Slip Stitch
Sc – Single Crochet
Dec – Decrease
Inc – Increase (2 single crochets in the same stitch)
( ) – The number inside is the amount of stitches at the end of the round/row!
* *- Repeat
FO – Finish Off
Skill Level:
Intermediate (The difficulty to this pattern is seeing the stitches with this kind of yarn!)
Let’s Get Started!
Main Body
Begin in White
Rnd 1: 6 Single crochet into Magic Ring (6)
Rnd 2: *Inc* around (12)
Rnd 3: *Sc, Inc* around (18)
Rnd 4: *Sc 2, Inc* around (24)
Rnd 5: *Sc 3, Inc* around (30)
Rnd 6: *Sc 4, Inc* around (36)
Rnd 7: *Sc 5, Inc* around (42)
Rnd 8 – 15: Sc around (42)
Rnd 16: *Sc 5, Dec* around (36)
Rnd 17: *Sc 4, dec* around (30)
Rnd 18: *Sc 3, dec* around (24)

Switch to the Grey yarn
Rnd 19: *Inc* around (48)
Rnd 20 – 28: Sc around (48)
Start stuffing firmly
Rnd 29: *Sc 6, Dec* around (42)
Rnd 30: *Sc 5, Dec* around (36)
Be sure at this point, you’re stuffing you’re your project!
Rnd 31: *Sc 4, Dec* around (30)
Rnd 32: *Sc 3, Dec* around (24)
From here, begin stuffing firmly
Rnd 33: *Sc 2, Dec* around (18)
Rnd 34: *Sc, Dec* around (12)
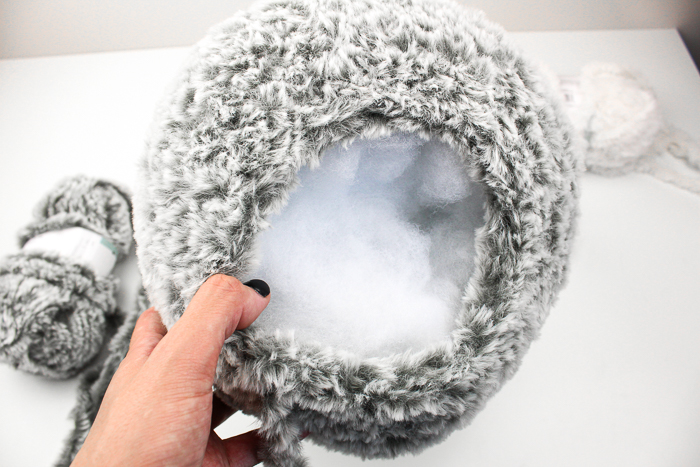
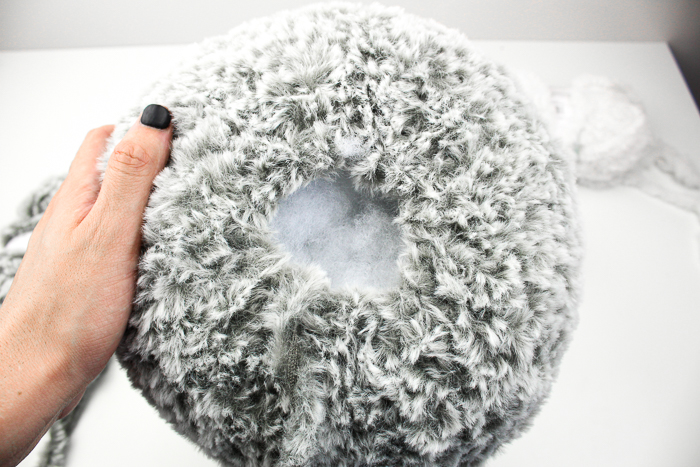
Closing off:
The hole isn’t completely closed by this stage yet – to get it to close and make it a little flatter, you will take your tail end and insert through your darning needle. Photo tutorial below:

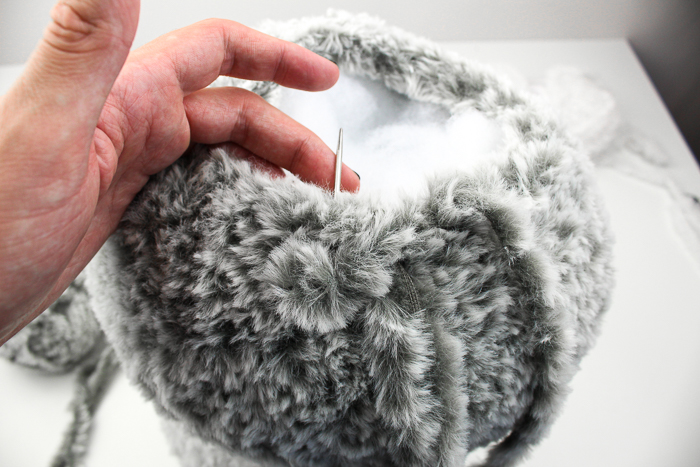
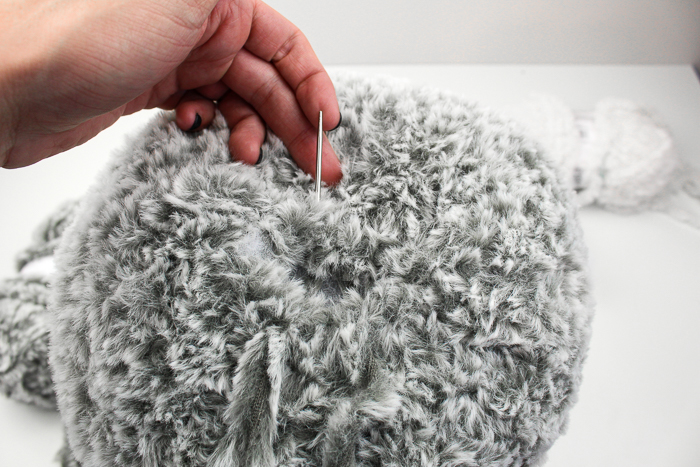
Before pulling, insert into the next stitch as well. You will insert into two stitches total before pulling – pull both!
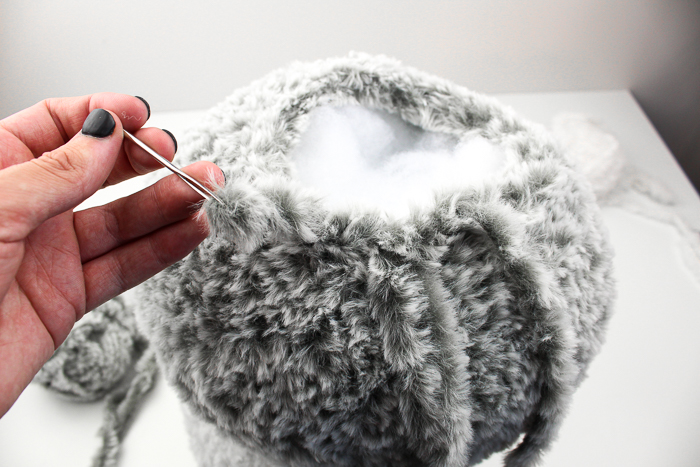
Do this again all the way around, pulling every two stitches.

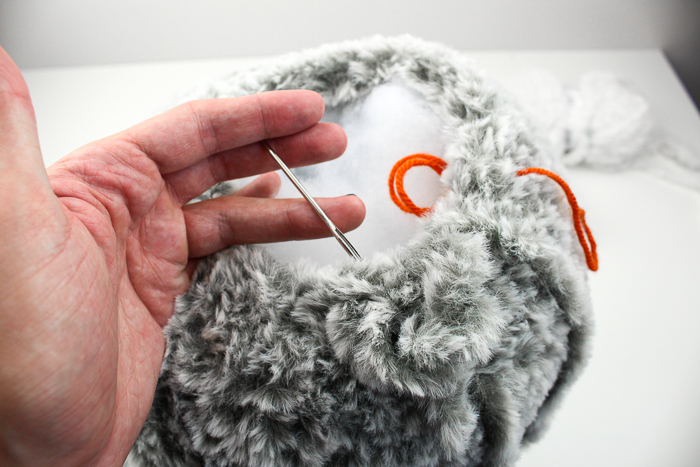

Stuff as much as you need and then sew the remaining of the hole shut!
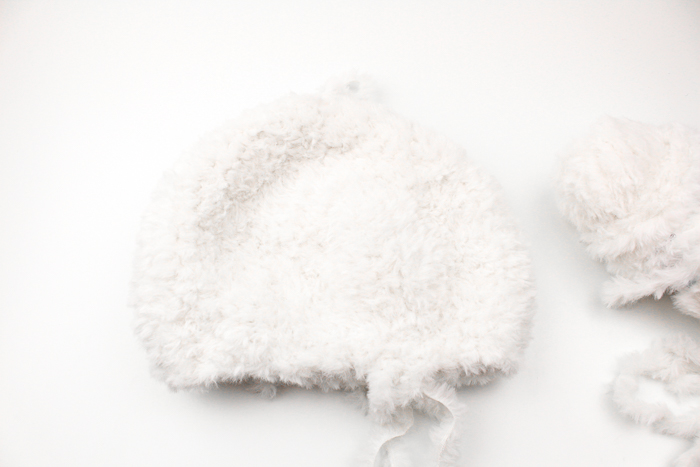
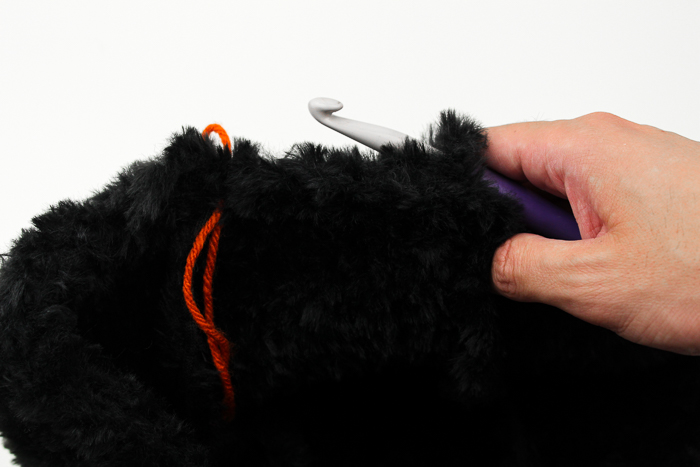
Top of the Head (Helmet)
Begin in Black
Rnd 1: 6 Single crochet into Magic Ring (6)
Rnd 2: *Inc* around (12)
Rnd 3: *Sc, Inc* around (18)
Rnd 4: *Sc 2, Inc* around (24)
Rnd 5: *Sc 3, Inc* around (30)
Rnd 6: *Sc 4, Inc* around (36)
Rnd 7: *Sc 5, Inc* around (42)
Rnd 8 – 19: Sc around (42)
Don’t finish off quite yet! On the next few pages, we will be working on the “widows peak” of the penguin.
Now beginning the widows peak
Rnd 20: Sc into the next 5 stitches (beginning stitch with stitch marker counts as one) (6)

Rnd 21: Ch 1, turn. Sc across into the following 6 stitches. (6)
Rnd 22: Dec in first 2 stitches, Sc in next 2, Dec in last 2 stitches (4)

Rnd 23: Ch 1, turn. Sc across (4)
Rnd 24: Dec in first 2 stitches, Dec in last 2 stitches (2)
Rnd 25: Ch 1, turn. Sc across (2)
Rnd 26: Dec in both stitches (1)
Finish off

Feet (Make 2)
Begin in Black
Rnd 1: 6 Single crochet into Magic Ring (6)
Rnd 2: *Inc* around (12)
Rnd 3 – 7: Sc around (12)
Finish off and leave tail for sewing
Wings / Arms (Make 2)
Begin in Grey
Rnd 1: 6 Single crochet into Magic Ring (6)
Rnd 2: Sc around (6)
Rnd 3: *Inc* around (12)
Rnd 4: Sc around (12)
Rnd 5: *Sc, Inc* around (18)
Rnd 6 – 8: Sc around (18)
Finish off and leave tail for sewing
Nose
Begin in Grey
Rnd 1: 6 Single crochet into Magic Ring (6)
Rnd 2: *Inc* around (12)
Finish off and leave tail for sewing
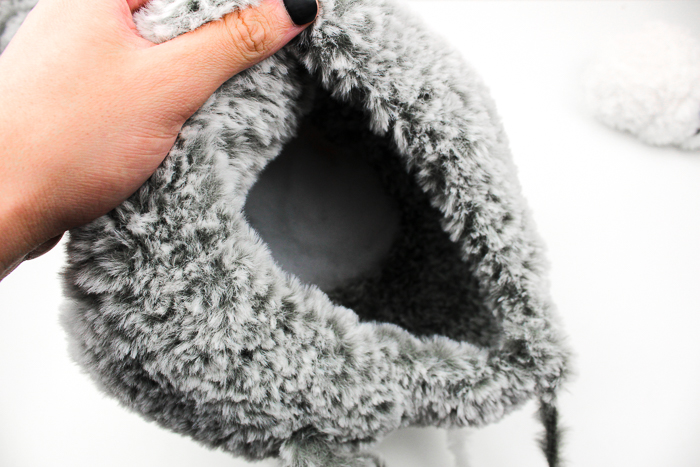
Assembling Our Penguin!
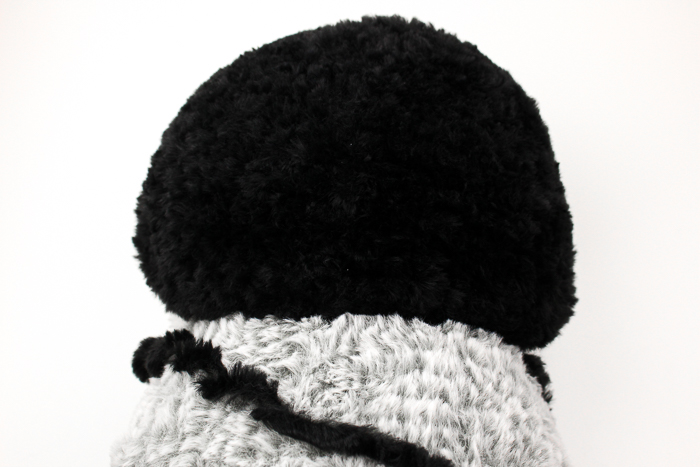
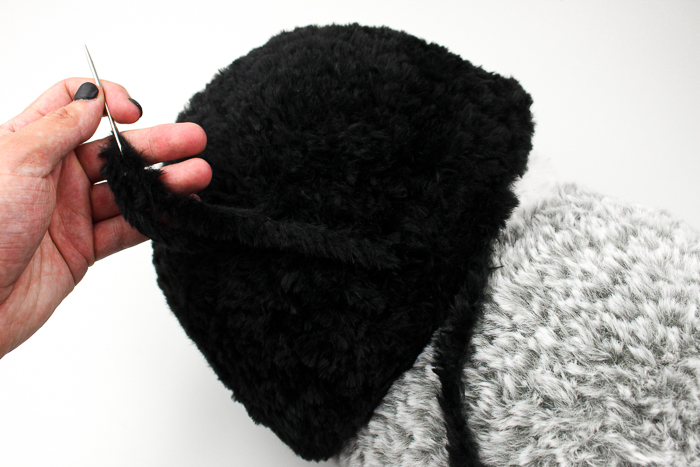
Let’s begin by getting our penguins “helmet” onto the main head! With the black part, pull onto the head until it’s snug:
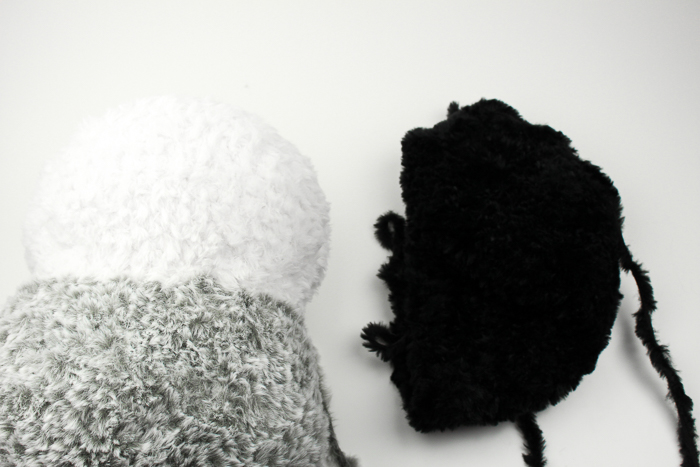

Be sure the head is at a slight angle as you can see below – this gives us room to create the face in the front!
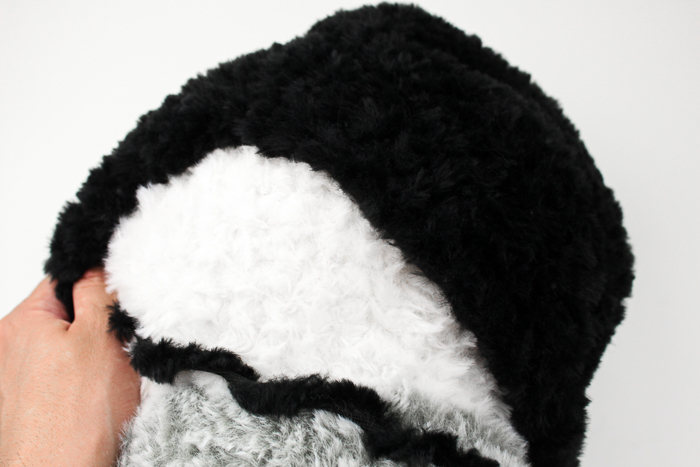
And the back of the head should be fully covered!
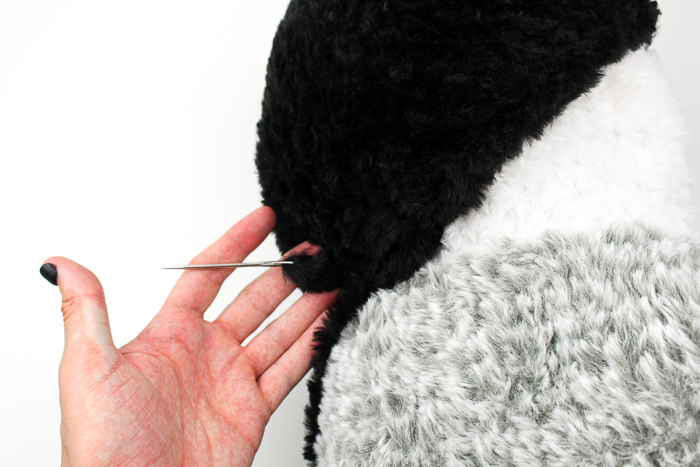
Once we have the helmet on, it’s time to sew on the front to keep it in place and create a face! At the tip of the widow’s peak, you will be sewing on the tip (leaving a little room between the tip and body, white space should still be visible)


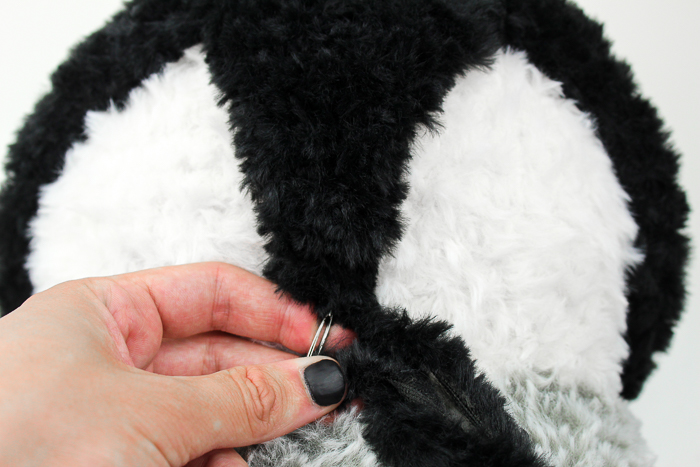
This will keep it in place but to keep the rest of the helmet secure, will you knot it in the back! (If you would like, you also have the option to sew around the entire helmet but I don’t think it’s necessary)
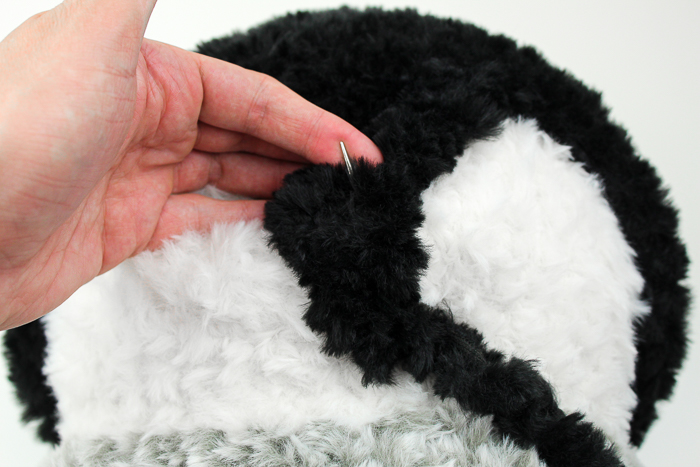
Pushing through the tip, pull your darning needle all the way through to the back of the head:

Now, you can knot it in the back! This should secure it but please feel free to do this as much as you need all the way around.


We can now add on our little beak / nose! Sew on.

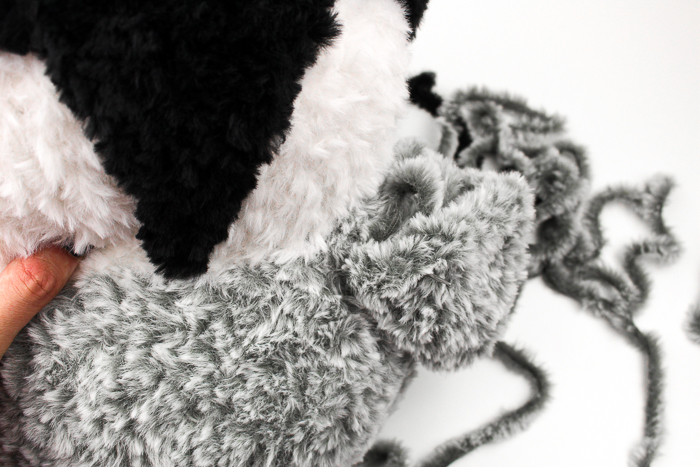
Attaching the Wings and Feet
With your wings, lay them flat against the side of your penguin (these will not be stuffed).
With your darning needle, sew along the first row of where your grey yarn begins from the white! Pull through both loops when sewing so the wing can “flop”


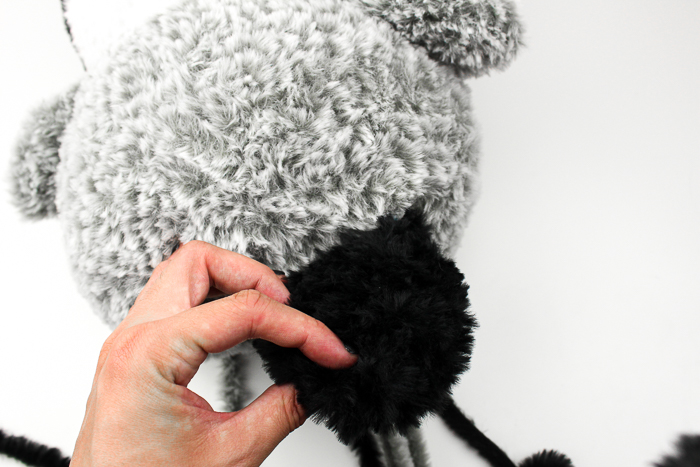
We will be doing the same thing with the feet! Sewing onto the bottom of our doll (but not stuffing.) Weaving in through BOTH loops so it can flop!


For our very last steps, it’s time to weave in our ends and add our eyes! With our black yarn, embroider the eyes with 4 stitches apart (I wrapped it around 3 times for some thickness!)
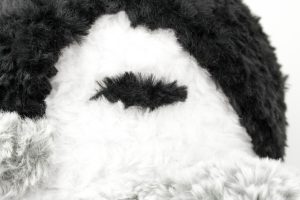
Do this again on the other side and then you’re done!
Thank you so much for your support and I hope you enjoyed this project! You can find the interactive version of this pattern through my Ribblr shop here.