The eyes.
They say the eyes are the window into the soul, and I think there’s a lot of truth to that saying! Choosing what kind of eyes you want to add to your doll can sometimes to be the most difficult part, there’s so many ways to do it! I don’t think I necessarily have a go to myself.. I play around with a lot of different options, I mean, who do you want to be smiling at?

Choosing the right eyes for your creation is a big decision in the creative process. Down below, I will be showing you some options available and a few ways to do it!
1. Safety Eyes
This is my most used option when it comes to eyes! It’s easy, less work, and It will look great on most dolls, especially for a chibi look. They’re not necessarily the most expressive option, but with some other details around the face of doll, the expression can still shine through!
My go-to size for safety eyes are the 12mm; however, there really is no correct size. I think bigger eyes give it a more “cutesy” look, but if you are making something realistic, smaller eyes will be the way to go! I used to buy all my safety eyes at Joann Stores, but sometimes the one size you want is out of stock, so I always order mine from amazon now! (and 2-day shipping is a blessing) Here are the exact 12mm eyes that I use if you would like to order some yourself. They have a washer on the back so you know it will stay in place; its hard to take out though, so be careful where you place them!
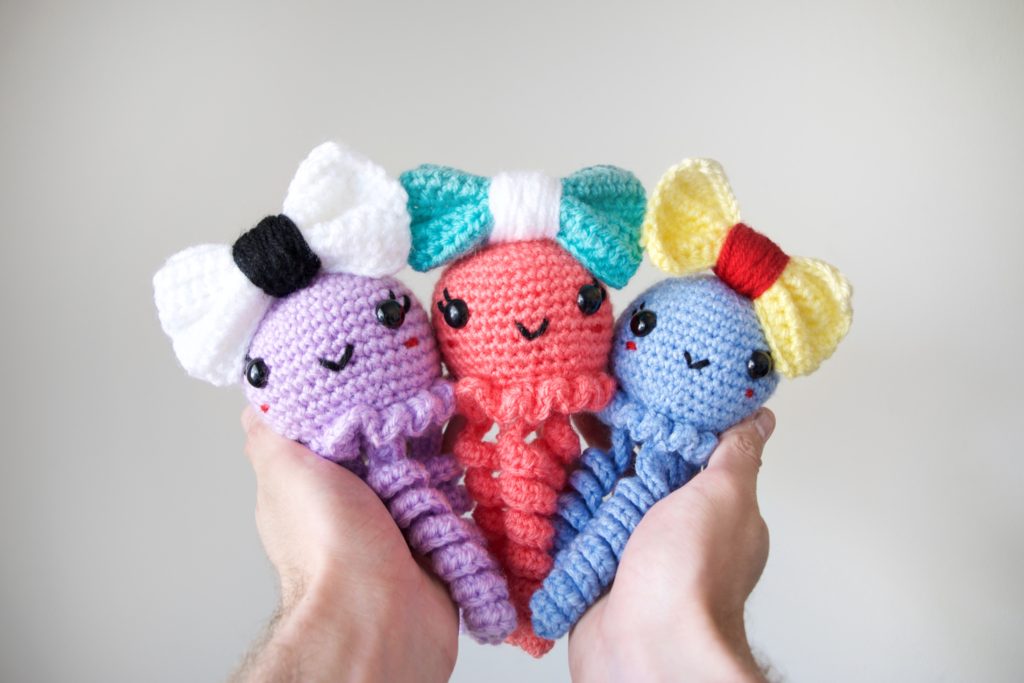
Here are some example of what my pieces look like with their safety eyes in place:
Eye spacing
This also will come down to personal preference on how far you space your eyes out. A lot of it comes down to your smile too; I generally do a spacing of 9 stitches, allowing for 3 stitches for the smile. If closer looks best to you, follow your gut! It’s YOUR art.
Creating Expression
As I said above, these are not automatically expressive eyes, so that’s where embroidery come sin handy! A few suggestions you can add to give your piece some more character: Blushing cheeks, eyebrows, a smile, and even eyelashes! Down below, you can see the difference between the before and after:


2. Embroidered Eyes
This is a great option if you want to save money and have the most options with it! Creating your own eyes like this is a great way to give the exact emotion you’re looking for.
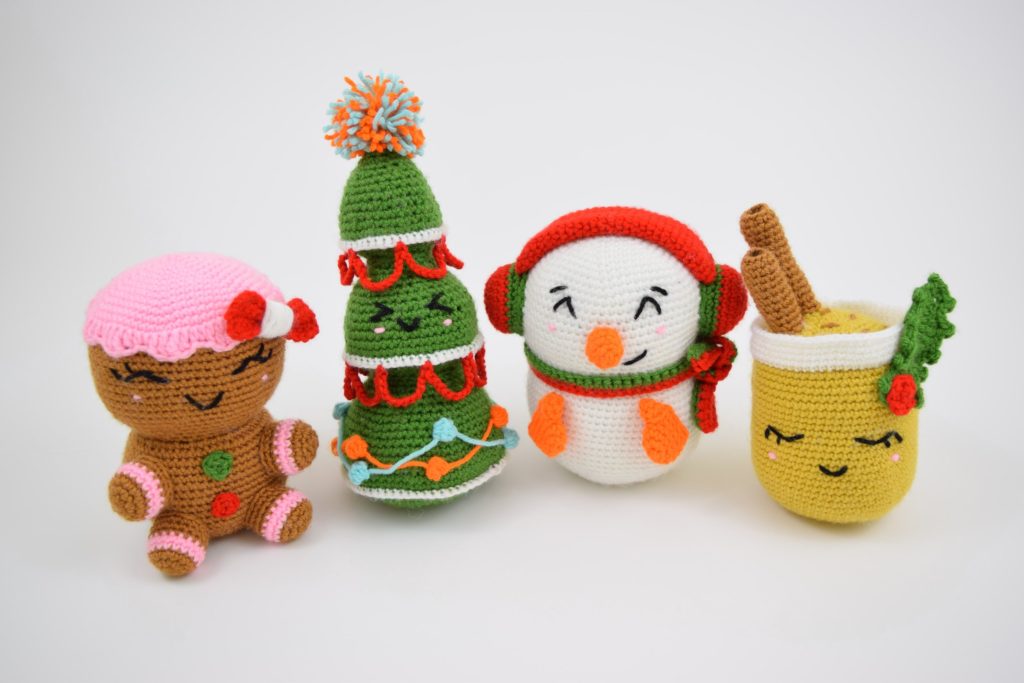
Here is an example of a collection I did with Lion Brand to show you how different these eyes can look!

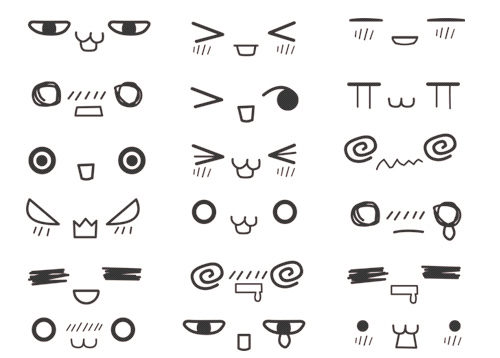
See how much character that adds? You can really tell each doll has their own personality! There is no “correct” way to do this, just take whatever color yarn you desire and thread it through with your darning needle (I use THESE ones!) There’s A LOT of trial and error with this option, but can really be worth it when you figure out what you want to do! Here is some inspiration for such kawaii eyes from Garota Fashionista.

3. Anime Eyes
Finally, a third option for eyes: Anime Eyes! These add a kawaii/ chibi look to the dolls to make them stand out. It takes just a little more work to obtain these, but always worth it in my opinion if you want to put in the time.
If this option seems like something you want to try, you can find the FREE tutorial/pattern HERE on my blog with step by step photos!
I hope this list was helpful to you to give you some ideas when it comes to adding your own eyes onto your amigurumi.
If you do decide to share on your social’s, be sure to tag @knot.bad and @yarnpunk; Don’t forget to also use the hashtag #yarnpunk!
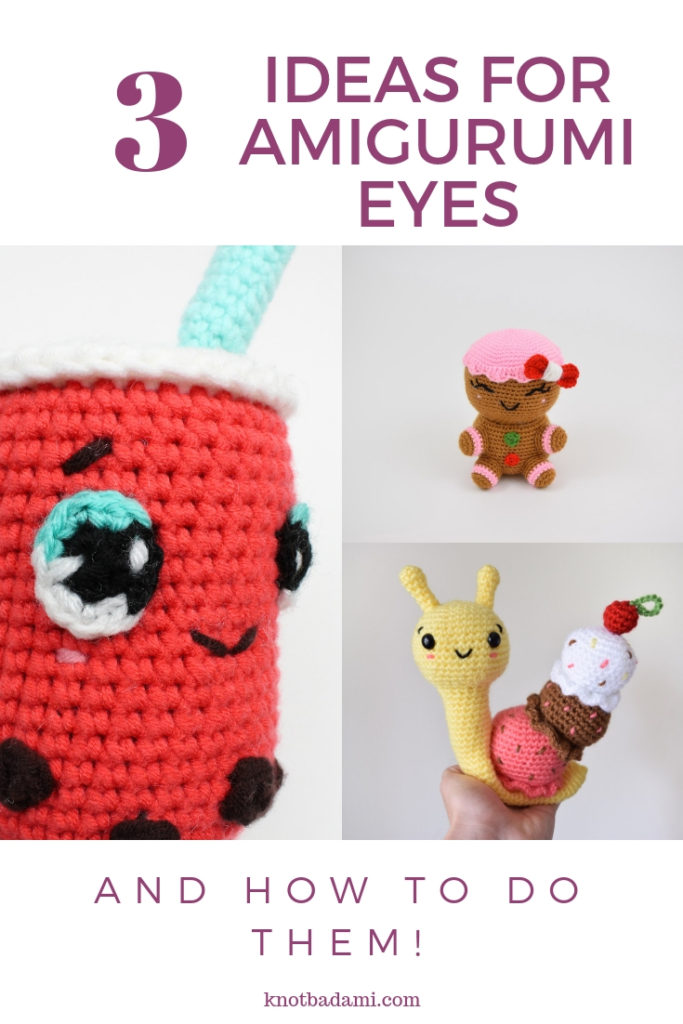
Be sure to pin this for later so you can come back and look at some options!


