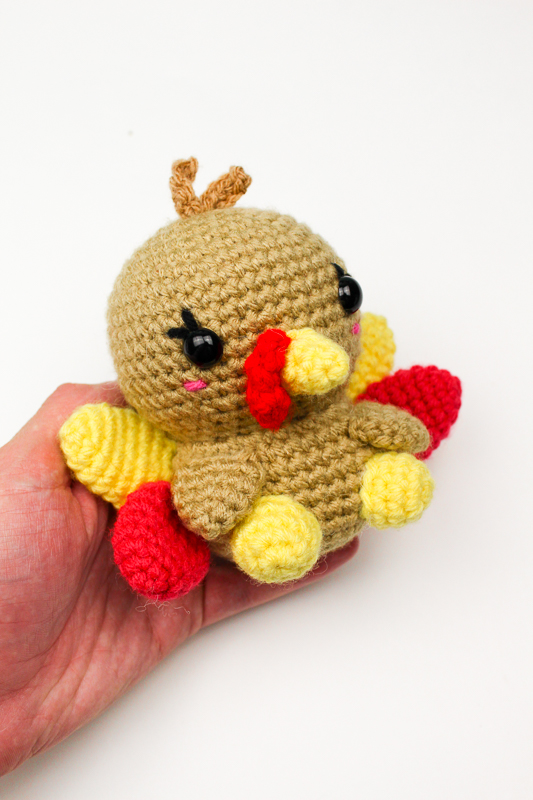
Getty the Turkey
I have had this pattern for a very long time but I decided to give it a little update just in time for the Fall! Turkeys seem almost like a mascot for November and you could say they’re cute enough to… eat. Which sounds sort of brutal but we are just going to stick to the crochet version instead!
I personally think this project is a great center piece for the holidays and I hope everyone enjoys him/her/them too! Are you going to be changing the colors of the tail feathers? I would love to see all the variations made form my free pattern below!
Please do not claim this pattern as your own. If you wish to share this pattern, you may link to this pattern but please do not reprint it on your site. You may keep a copy for your own personal use but please DO NOT sell the pattern or distribute it.
You may sell products made from this pattern but please clearly credit the design to Knot Bad and link it my website knotbadami.com
Make sure to post it! Use the hashtag #yarnpunk when posting it and please feel free to tag me and show me how yours turned out! You can also find the Facebook group and subreddit r/yarnpunk to post to as well!
So here’s what you’ll need:
All the yarns can be substituted with any worsted weight yarn*
1 Skein in Lion Brand’s Basic Stitch Premium (In Black)
1 Skein in Lion Brand’s Basic Stitch Premium (In Garnet)
1 Skein in Lion Brand’s Basic Stitch Premium (In Goldmine)
1 Skein in Lion Brand’s Basic Stitch Premium (In Raspberry)
1 Skein in Lion Brand’s Basic Stitch Anti-Pilling (In Saffron)

Dimensions
Height: 5″ inches roughly
Width: 6.5″ inches roughly
Skill Level:
Easy+ (If you know how to make amigurumi [sewing and single crochet] you can make this with ease!)
Abbreviations:
Ch – chain
Sl st – Slip Stitch
Sc – Single Crochet
Dec – Decrease
BLO – Back loop only
* *- Repeat
FO – Finish Off
Notes:
- This pattern is worked in the round and not joined.
- You can find helpful tutorials throughout, but if you would like to find some of my tips and tricks you can head HERE!

Let’s get started!
Head/Body:
(Begin in beige)
Rnd 1: 6 Single crochet into Magic Ring (6)
Rnd 2: *Inc* around (12)
Rnd 3: *Sc, Inc* around (18)
Rnd 4: *Sc 2, Inc* around (24)
Rnd 5: *Sc 3, Inc* around (30)
Rnd 6: *Sc 4, Inc* around (36)
Rnd 7: *Sc 5, Inc* around (42)
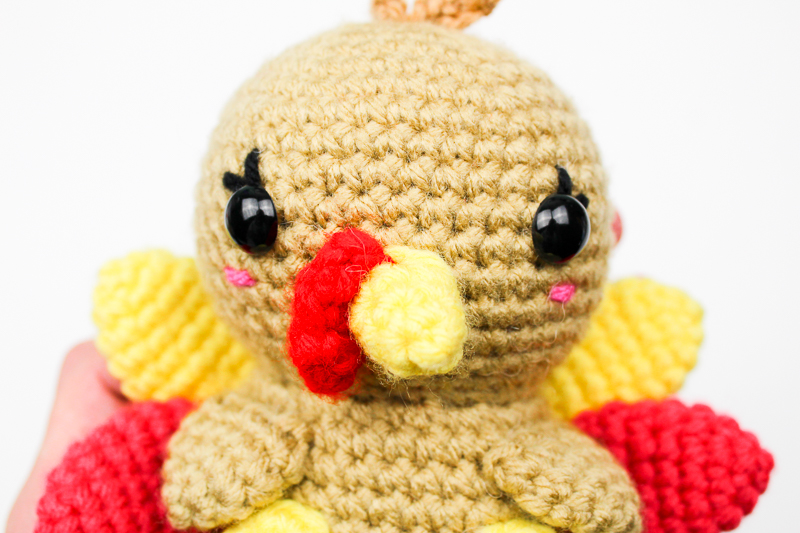
Rnd 8-14: Sc around (42) *Place eyes in row 14, 8 stitches apart*
(This is where the eyes are in the picture above; They can always be placed where you feel they will look best!)
Rnd 15: *Sc 5, Dec* around (36)
Rnd 16: *Sc 4, Dec* around (30)
Rnd 17: *Sc 3, Dec* around (24)
Rnd 18: *Sc 2, Dec* around (18)
Rnd 19: *Inc* around in Front Loop Only (36) Begin stuffing head firmly
Rnd 20-24: Sc around (36)
Rnd 25: *Sc 4, Dec* around (30)
Rnd 26: *Sc 3, Dec* around (24)
Rnd 27: *Sc 2, Dec* around (18)
*You can stuff the body now or wait till the end. Don’t stuff the body as firmly as the head. Let the body be a little squishy so it can sit!**
Rnd 24: *Sc, Dec* around (12)
Finish off and leave tail to close hole
Wings (Make 2)
(Begin in Beige)
Rnd 1: 4 Single crochet into Magic Ring (5)
Rnd 2: *Inc* around (10)
Rnd 3-4: Sc around (10)
Finish off and leave long enough tail to attach
Legs (Make 2)
(Begin in yellow)
Rnd 1: 6 Single crochet into Magic Ring (6)
Rnd 2: *Inc* around (12)
Rnd 3-5: Sc around (12)
Finish off and leave long enough tail to attach
Beak
(Begin in Yellow)
Rnd 1: 3 Single crochet into Magic Ring (3)
Rnd 2: *Inc* around (6)
Rnd 3: Sc around (6)
Rnd 4: *Sc, Inc* around (9)
Finish off and leave long enough tail to attach
Feathers (Make 4)
(2 yellow and 2 red)
Rnd 1: 4 Single crochet into Magic Ring (4)
Rnd 2: *Inc* around (8)
Rnd 3: *Sc 1, Inc* around (12)
Rnd 4-5: Sc around (12)
Rnd 6: *Sc 2, Inc* around (16)
Rnd 7: Sc around (16)
Rnd 8: *Sc 2, Dec* around (12)
Rnd 9: *Sc, dec* around (8)
Finish off and leave long enough tail to attach
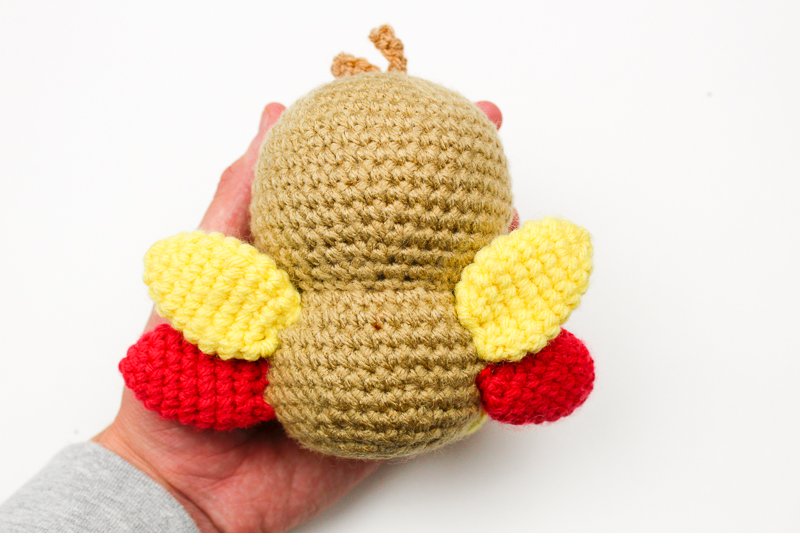
Attach to the back!

Gobble
Rnd 1: 4 Single crochet into Magic Ring (4)
Rnd 2 – 3: Sc around (4)
Rnd 3: Dec, sc, sc (3)
Rnd 4: Sc around (3)
Finish off and leave tail for sewing.
Pull through your next 3 stitches with your yarn to pull the hole even closer (how to found HERE)

Sew onto the beak when sewn on:


Adding on little hair
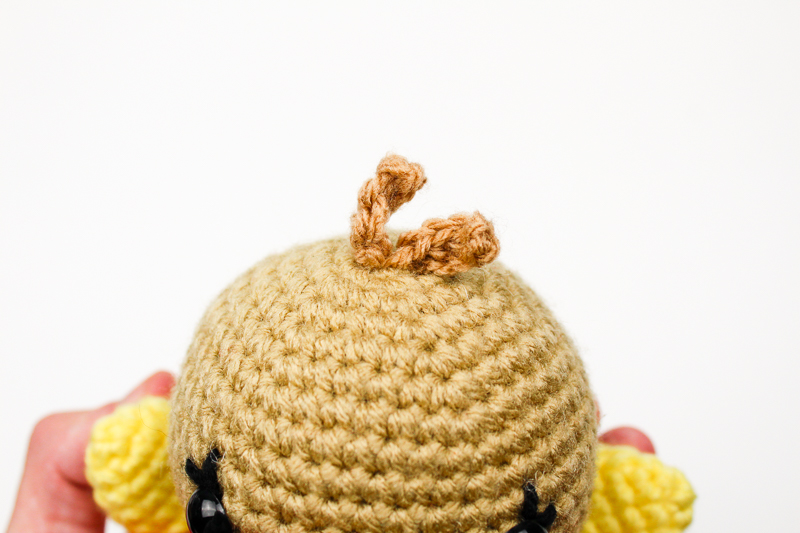
Pull your yarn through to attach your beige (Goldmine yarn) through the center and top of the head like so:


Ch 5. In first chain from hook, sc. Sc all the way down to the chain and then sl st back in to the stitch you pulled through. In stitch next to this one, sl st again. Ch 5. Sc all the way down to the chain and then sl st back in to the stitch you pulled through.


You may not sell my patterns or claim them as your own. You may make items to sell (i.e. on Etsy, at craft fairs) from my patterns but I ask that you link back to my blog and provide credit for the pattern. You are welcome to share my patterns on social media so long as you link back directly to my blog post (providing the link). No copy & paste of my patterns will be allowed under any circumstances.
Be sure to tag @knot.bad and @yarnpunk on your socials and use the #yarnpunk!


Oh my! I missed this guy for turkey day, but he’ll be on the list to make for next year:)