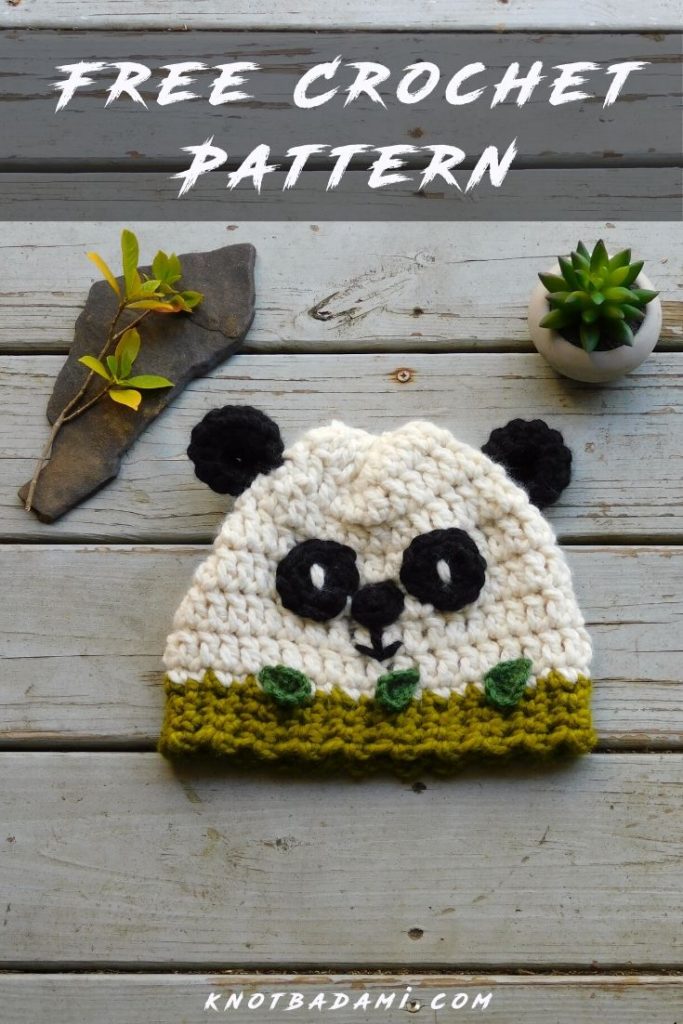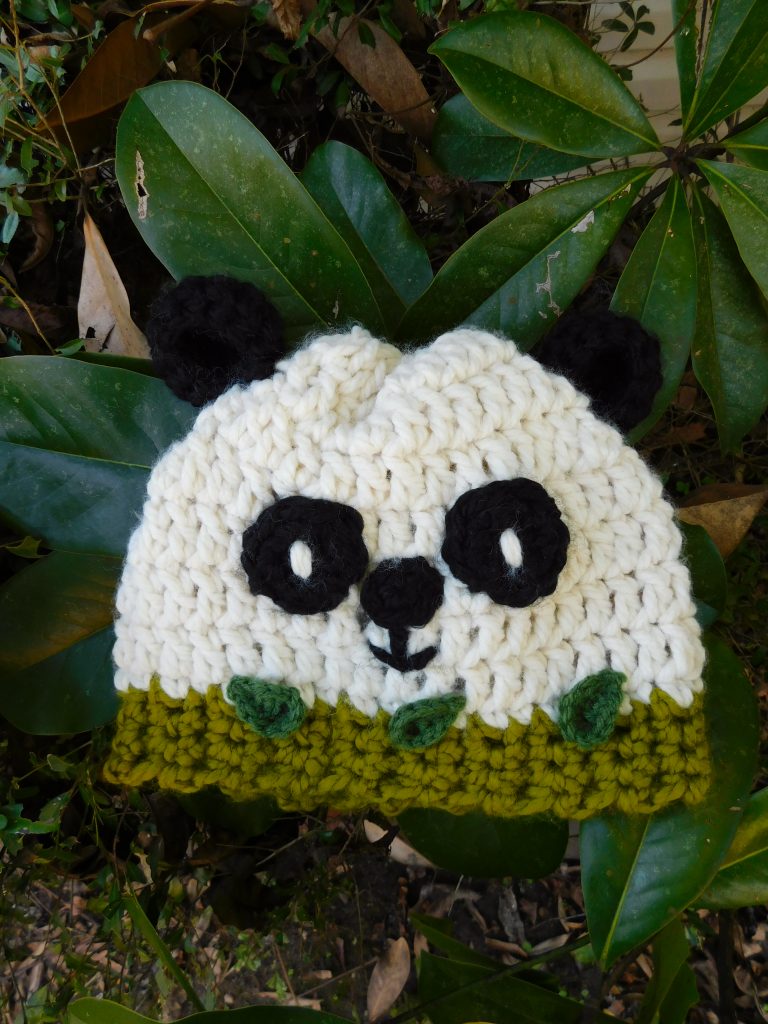
One of the most loved animals on the internet – Pandas! Although they can be dangerous in person, they really do have the cutest videos and memes floating around on the internet. Whenever they are being shot in film, it seems like they are always in such chaos, I love it. Be sure to link me your favorite panda videos in the comment section below!
So why not show your love for these adorable beasts by creating a little hat of them! Perfect for anyone and my tester even got plenty of compliments on it when she wore it out. I mean, how could you not?
Down below, you can find the free pattern for this beanie! And a HUGE thank you to @yikes_yarn for helping me test it and get some of these lovely photos for all of you!
So Here’s What You’ll Need:
Lion Brand Yarn Thick and Quick (In Green, White, and Black) (Any bulky size 6 yarn will do!)
Lion Brand Basic Stitch in Green (Any worsted weight size 4 will do!)
Skill Level:
Easy

Abbreviations:
Ch – chain
Sc – Single Crochet
Hdc – Half Double Crochet
Dc – Double Crochet
Inc – Increase
Dec – Decrease
Sl st – Slip stitch
FO -Finish Off
Sizing:
This hat is intended for Toddlers from ages 3-10 and Adults. When working the pattern, you will be doing each section until you reach your desired length (Will be stated below!) The add ons will still be the same such as the eyes and ears, but may be placed closer or farther away depending on size. (since everyones tension is a bit different, you can always go down a hook size!) Here are some sizing to go by: (My source is KnitPicks!)


Let’s Begin!
(Begin in Green, this will be the band and using the 10mm)
Row 1: Simply chain 4
Row 2: Sc in second chain from and Sc to end. Ch 1, turn. (3)
Row 3: Repeat Row 2 until desired length. (3) Check the chart above for the length!
Rnd 4: Sl st ends together, and sl st next stitches together to attach both ends
Rnd 5: Switch to white, Ch 1. Sc in each stitch all the way around. Sl st back into first ch to join.
Rnd 6: Ch 2, Dc into the same stitch. Dc all the way around into each stitch. Sl st into first ch to join.
***Do this for 6 more rounds, or until it reaches desired length.
Rnd 7: Tie the ends together on top of the beanie!
Eyes (Make 2)
Rnd 1: 6 Sc into Magic Ring (6)
Rnd 2: *Inc* around (12)
Finish off
With your white yarn, pull through the eyes and wrap around twice!
Ears (Make 2) in Black (using the 10mm)
Rnd 1: 6 Sc into Magic Ring (6)
Rnd 2: *Inc* around (12)
Rnd 3 – 4: Sc around (12)
Nose (using the 10mm)
6 Sc into Magic Ring
Finish off
Leaves (In worsted Weight Yarn, Green) (using the 4mm)
Make 3 to 6
Begin by chaining 6
In first stitch, slip stitch. In next, sc. Hdc into next. Dc into the following. Into the last stitch, Dc x4 (your work will begin to turn) then work the same way on the bottom side by doing dc, hdc, sc, and sl st.
Assembly:
Now that you’ve tied up the top of the beanie, it’s time to add all the other features to it! Start by adding the eyes how you think looks best, depending on the size. Sew on the ears on top and for the last portion, sew on the leaves!
Please do not claim this pattern as your own. If you wish to share this pattern, you may link to this pattern but please do not reprint it on your site. You may keep a copy for your own personal use but please DO NOT sell the pattern or distribute it.
You may sell products made from this pattern but please clearly credit the design to Knot Bad and link it my website knotbadami.com
Make sure to post it! Please feel free to tag me and show me how yours turned out!


