Create your own Chocolate Bunny with this free pattern!
******You can purchase the Ad-Free, Printer Friendly Version from Etsy HERE and from Ravelry Here! This includes the step by step process on how to create this Jumbo Chocolate Bunny! You can order the yarn used to create this project through Lion Brand Yarn HERE! Don’t forget those gorgeous Furls hooks here! You will see the one I use in the pictures below.
I love Winter. I do. Not so much the gloomy clouds or the rain we get over here in Portland, but I do enjoy the cold (how could you not if you crochet!) and the holidays that are associated with the Winter. With that said though, I am very excited for the sun to start making more of an appearance, days with more light, and the animals and plants coming back out!
As someone who grew up in a Catholic Household and went to Catholic School for 18 years, Easter always accompanies Spring, and what animal is associated with Easter? Bunny Rabbits of course! I remember always getting the big chocolate bunnies form my parents growing up (can’t eat them anymore due to being allergic to chocolate, *sigh*) but I did enjoy them quite a bit! Today I present to you Lee the Chocolate Bunny, in jumbo size! Just look at those floppy ears!
This piece is a tad bit on the larger side, as the length of her is 7 ½ inches and 4 ½ inches tall. This project is made entirely with Lion Brand Yarn, I used Vanna’s Choice for the entirety of this project. (If you don’t live near a craft store, you can purchase their yarn here!, and if you want to Vanna’s Choice that I used, head here!)
I could sit here and talk about how I do think it’s odd that we do pretend to eat Rabbit’s in a chocolate form, but instead, lets hop (pun intended) right into the *free* pattern down below!
Lee the Chocolate Bunny

Skill Level: Easy+
Materials: List all materials needed using the following example as a guideline:
4 skeins
- 2 chocolate in Vannas Choice
- 1 in pink from Vannas Choice
- 1 in Black from Vannas Choice
- 1 inWhite from Vannas Choice
4mm and 5mm (My furls hook was used, head here to get your own!)
Darning Needle
Polyfill
Scissors
Stitch Marker
Dimensions:
Length- 7 ½ inches
Width- 4 ½ inches
Abbreviations:
Ch – Chain
Sc – Single Crochet
Hdc – Half Double Crochet
Inc – Increase
Dec – Decrease
FLO – Front Loop Only
*- Repeat
( ) – number of stitches at the end of the round
 ****Notes: This pattern is worked in continuous rounds. You will need to know how to make a small pompom for the tail!
Lets get started!
Body (in 4mm)
Rnd 1: Sc 6 into Magic Ring (6)
Rnd 2: *Inc* around (12)
Rnd 3: *Sc, Inc* around (18)
Rnd 4: *Sc 2, Inc* around (24)
Rnd 5: *Sc 3, Inc* around (30)
Rnd 6: *Sc 4, Inc* around (36)
Rnd 7: *Sc 5, Inc* around (42)
Rnd 8: *Sc 6, Inc* around (48)
Rnd 9: *Sc 7, Inc* around (54)
Rnd 10: *Sc 8, Inc* around (60)
Rnd 11: *Sc 9, Inc* around (66)
Rnd 12-23: Sc around (66)
Rnd 24: *Sc 9, Dec* around (60)
Rnd 25: *Sc 8, Dec* around (54)
Rnd 26: *Sc 7, Dec* around (48)
Rnd 27: *Sc 6, Dec* around (42)
Rnd 28: *Sc 5, Dec* around (36)
Rnd 29: *Sc 4, Dec* around (30)
Rnd 30: Inc into FLO around (60)
 (Pictured above – You will be working in the FLO [Front Loops Only] to make it expand and doubling it to create the body!)
Rnd 31 – 42: Sc around (60)
Rnd 43: *Sc 8, Dec* around (54)
Rnd 44: *Sc 7, Dec* around (48)
Rnd 45: *Sc 6, Dec* around (42)
Rnd 46: *Sc 5, Dec* around (36)
Rnd 47: *Sc 4, Dec* around (30)
Rnd 48: *Sc 3, Dec* around (24)
Rnd 49: *Sc 2, Dec* around (18)
Rnd 50: *Sc, Dec* around (12)
Finish off and leave tail to sew hole shut!
Inner Ears (In Pink with 5mm)
Ch 6
Row 1: In second chain from hook, Sc across (5)
Row 2-26: Ch 1, turn. Sc across (5)
Row 27: Ch 2, sk 2 stitches, Dc into 3rd stitch, Dc 5 into center stitch, ch 2, sk a stitch, hdc in last. Sc along the entire piece (Follow pictures below)
 (Pictured above – To do the curve at the top, ch 2.)
 (Pictured above – Sk 2, Dc into 3rd chain from hook.)
 Pictured above – Dc 5 total into the same stitch. Ch 2, skip a stitch, and then hdc into last stitch.
 In the next stitch, sc. Sc around the entire piece up until the curve on the opposite side!
Ears (Make 2) With a 5mm
Rnd 1: Sc 6 into Magic Ring (6)
Rnd 2: *Inc* around (12)
Rnd 3: *Sc, Inc* around (18)
Rnd 4: *Sc 2, Inc* around (24)
Rnd 5-40: Sc around (24)
Finish off and leave tail for sewing
Assembly of ears:
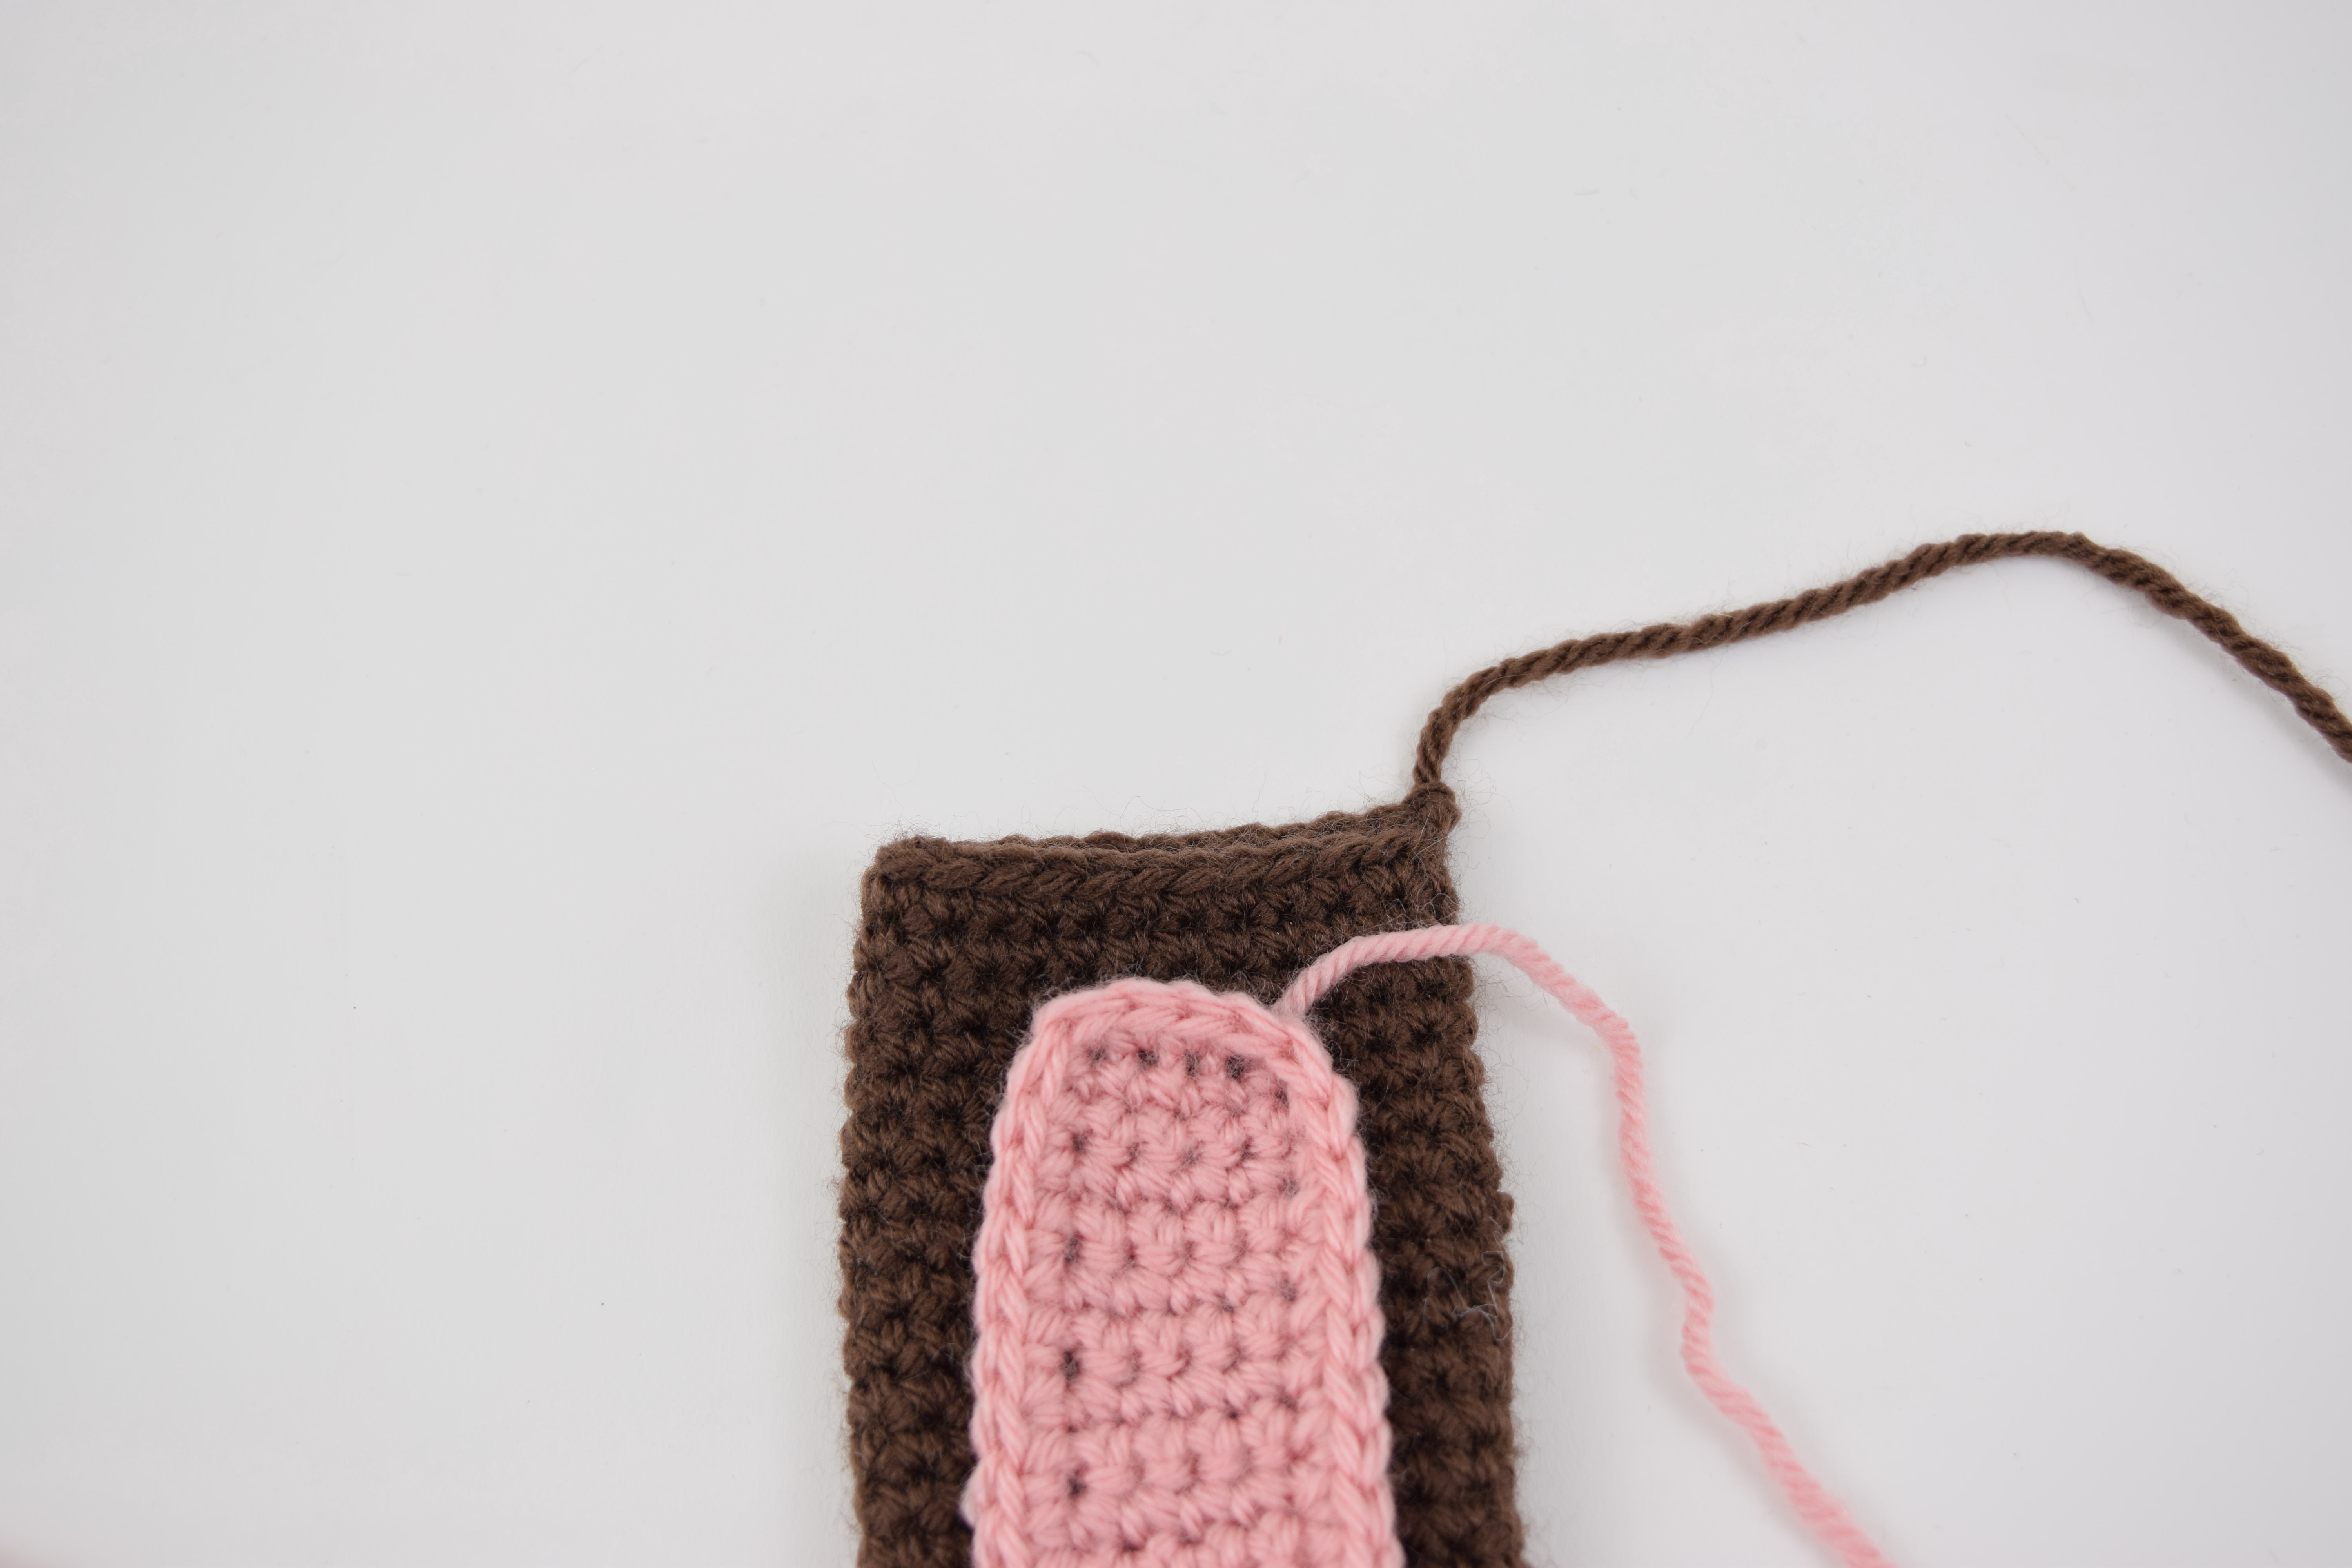 Pictured above – Be sure to leave a little room between the bottom pink and the bottom of the brown to give enough space to sew onto the body!
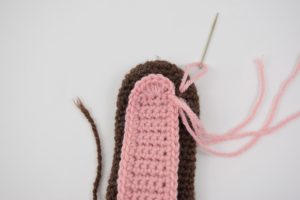
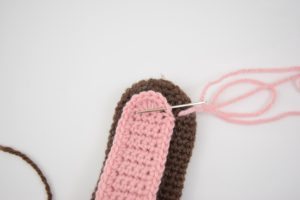
Line the Inner ear with main ear, and sew on!

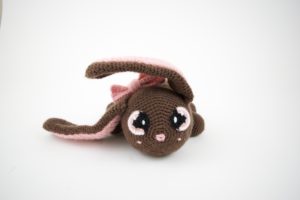
To Attach the actual ear to the body, sew on the ears by pulling through BOTH sides

Arms (Make 2)
Rnd 1: Sc 6 into Magic Ring (6)
Rnd 2: *Inc* around (12)
Rnd 3: *Sc, Inc* around (18)
Rnd 4: *Sc 2, Inc* around (24)
Rnd 5-14: Sc around
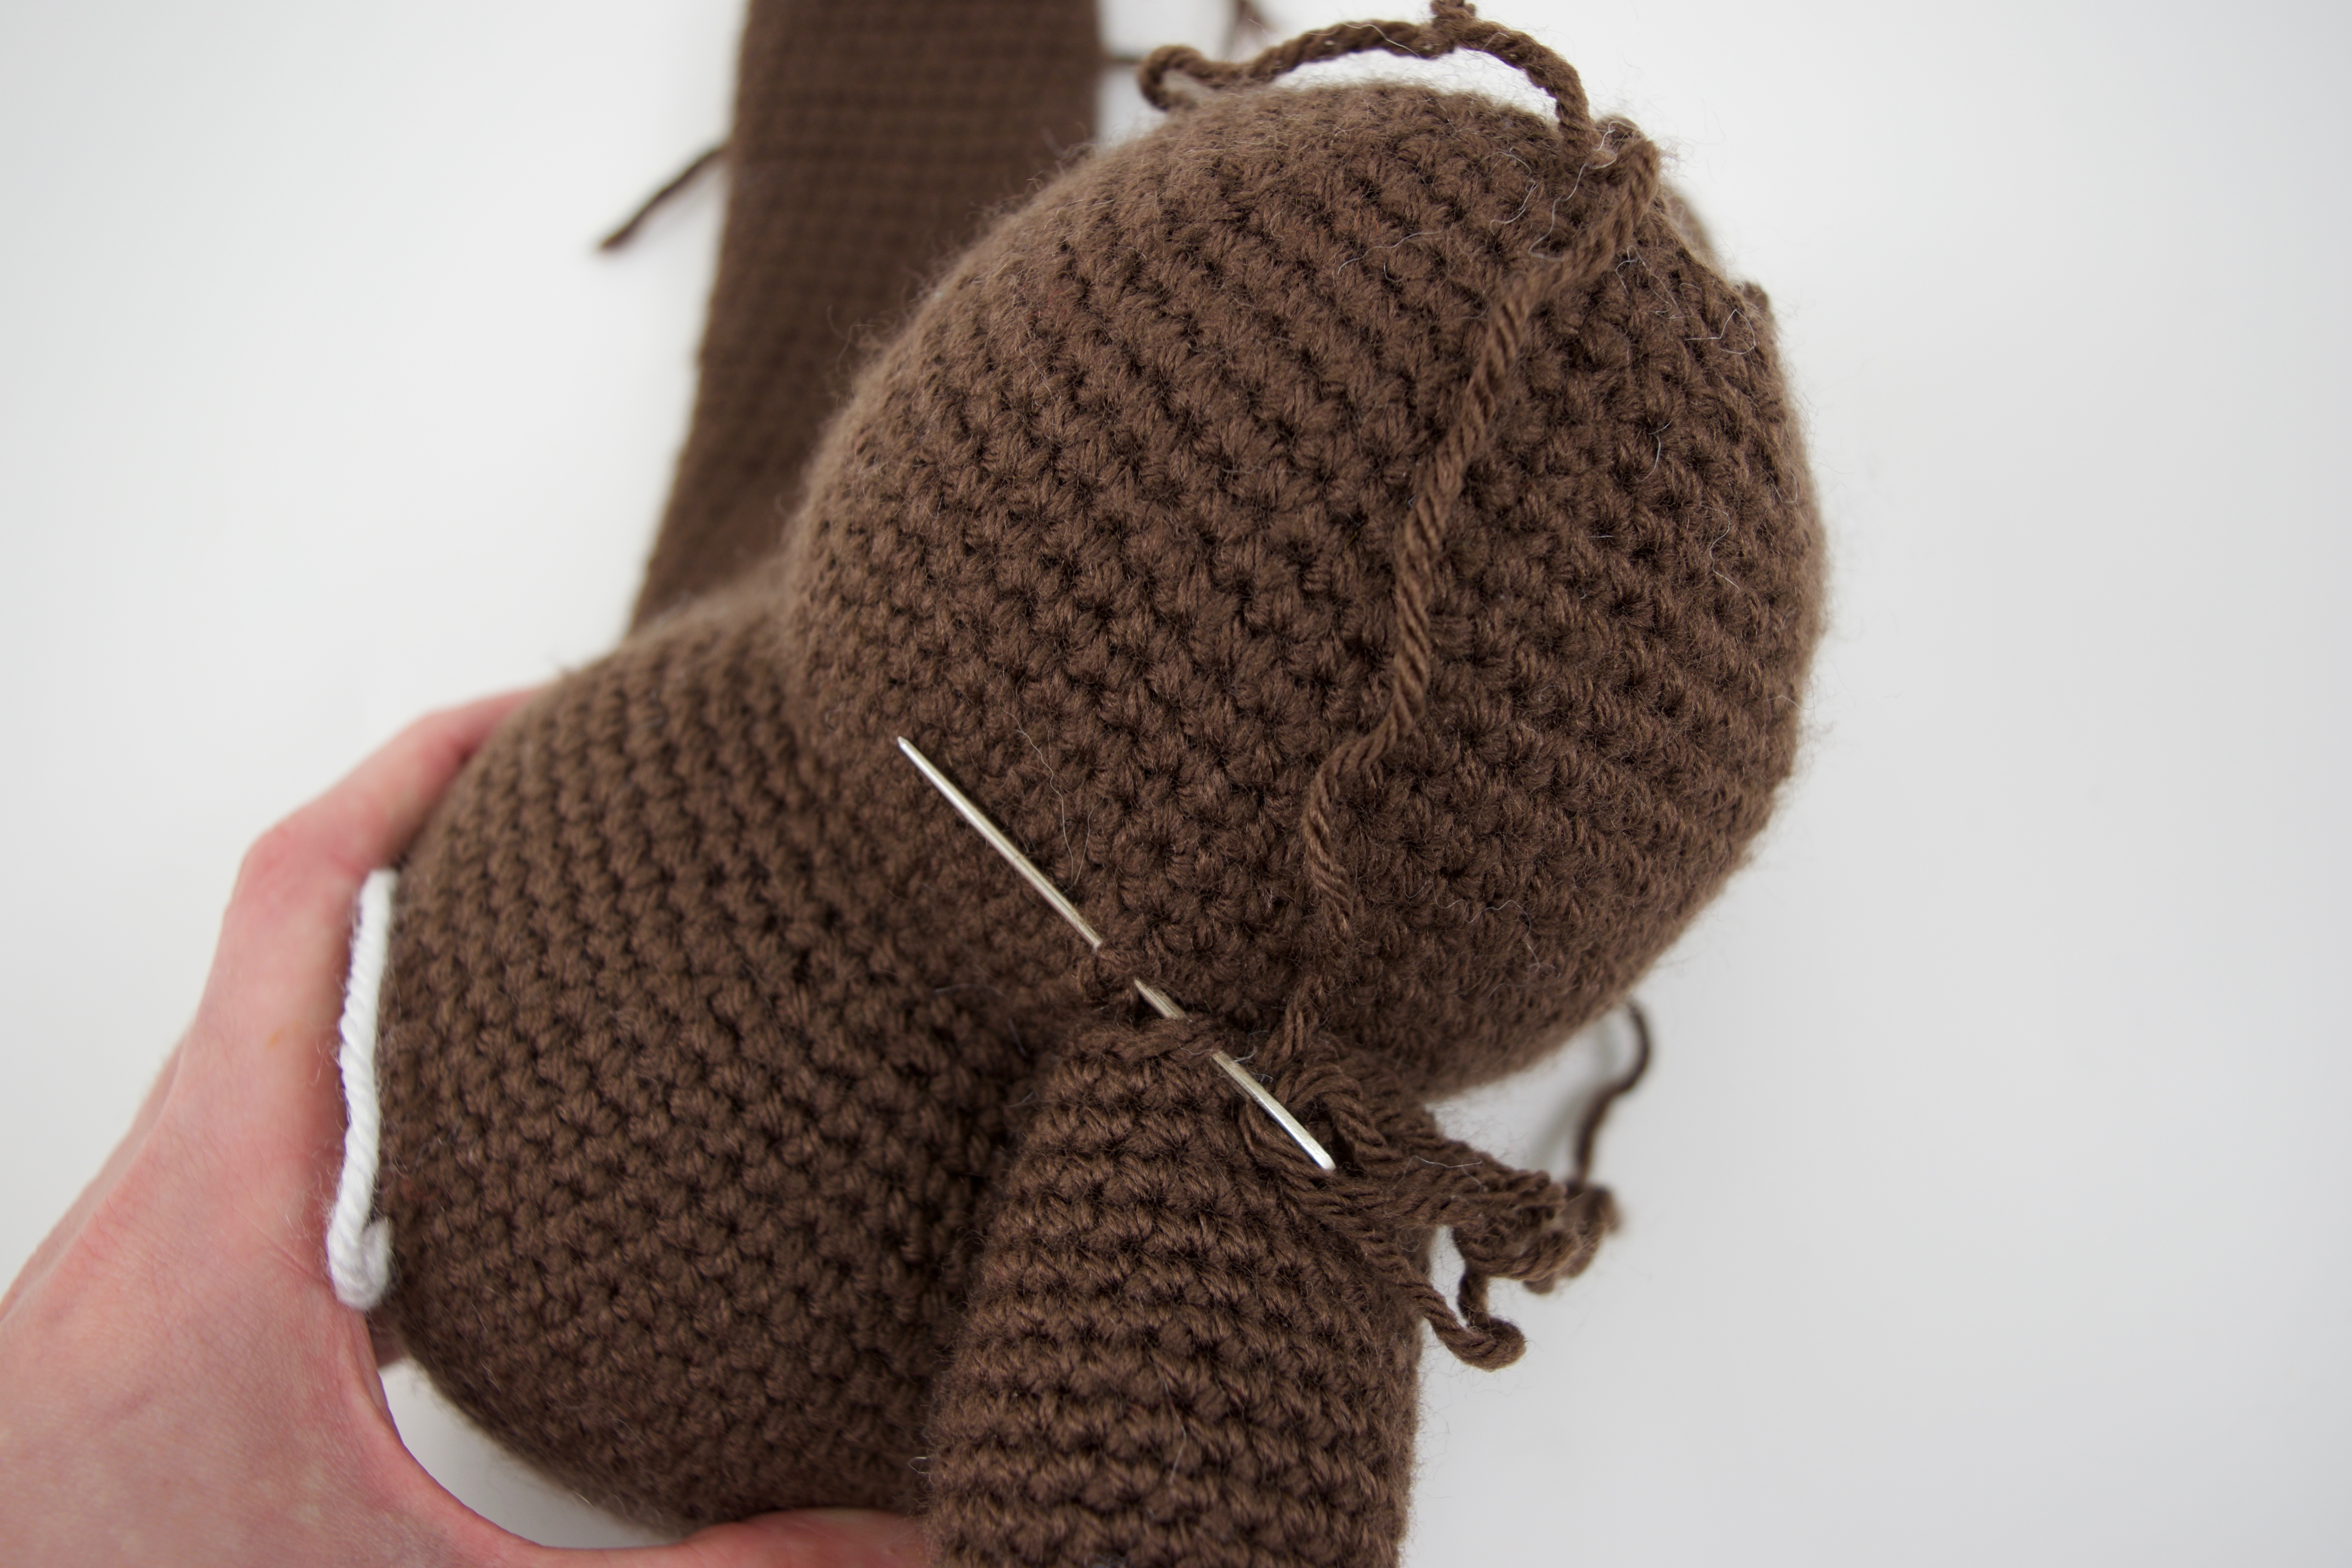 Pictured above – To attach the arms, use the whip stitch to sew on
Legs: Make 2
Rnd 1: Sc 6 into Magic Ring (6)
Rnd 2: *Inc* around (12)
Rnd 3: *Sc, Inc* around (18)
Rnd 4: *Sc 2, Inc* around (24)
Rnd 5-14: Sc around
Tail
You will create a pom-pom for the tail!
Eyes
Beginning in black (Stitch markers will be helpful!):
Rnd 1: 6 sc into Magic Ring
Rnd 2: Inc into first 2 stitches (4) switch to pink, inc in remaining (12)
Switching colors; make sure to switch at the last pull through of the previous color


Pictured Above- In the last of the 4 stitches made in black, add pink to the last of black!
Rnd 3: Switch back to black, Sc, Inc, Sc, Inc in the next 4, switch to pink, and continue the *Sc, Inc* into every stitch around. (18)
Rnd 4: Switch back to black, sl st into the next into the next 6, switch to white, sl st into next 12 (18)
Finish off and leave tail black and white for sewing
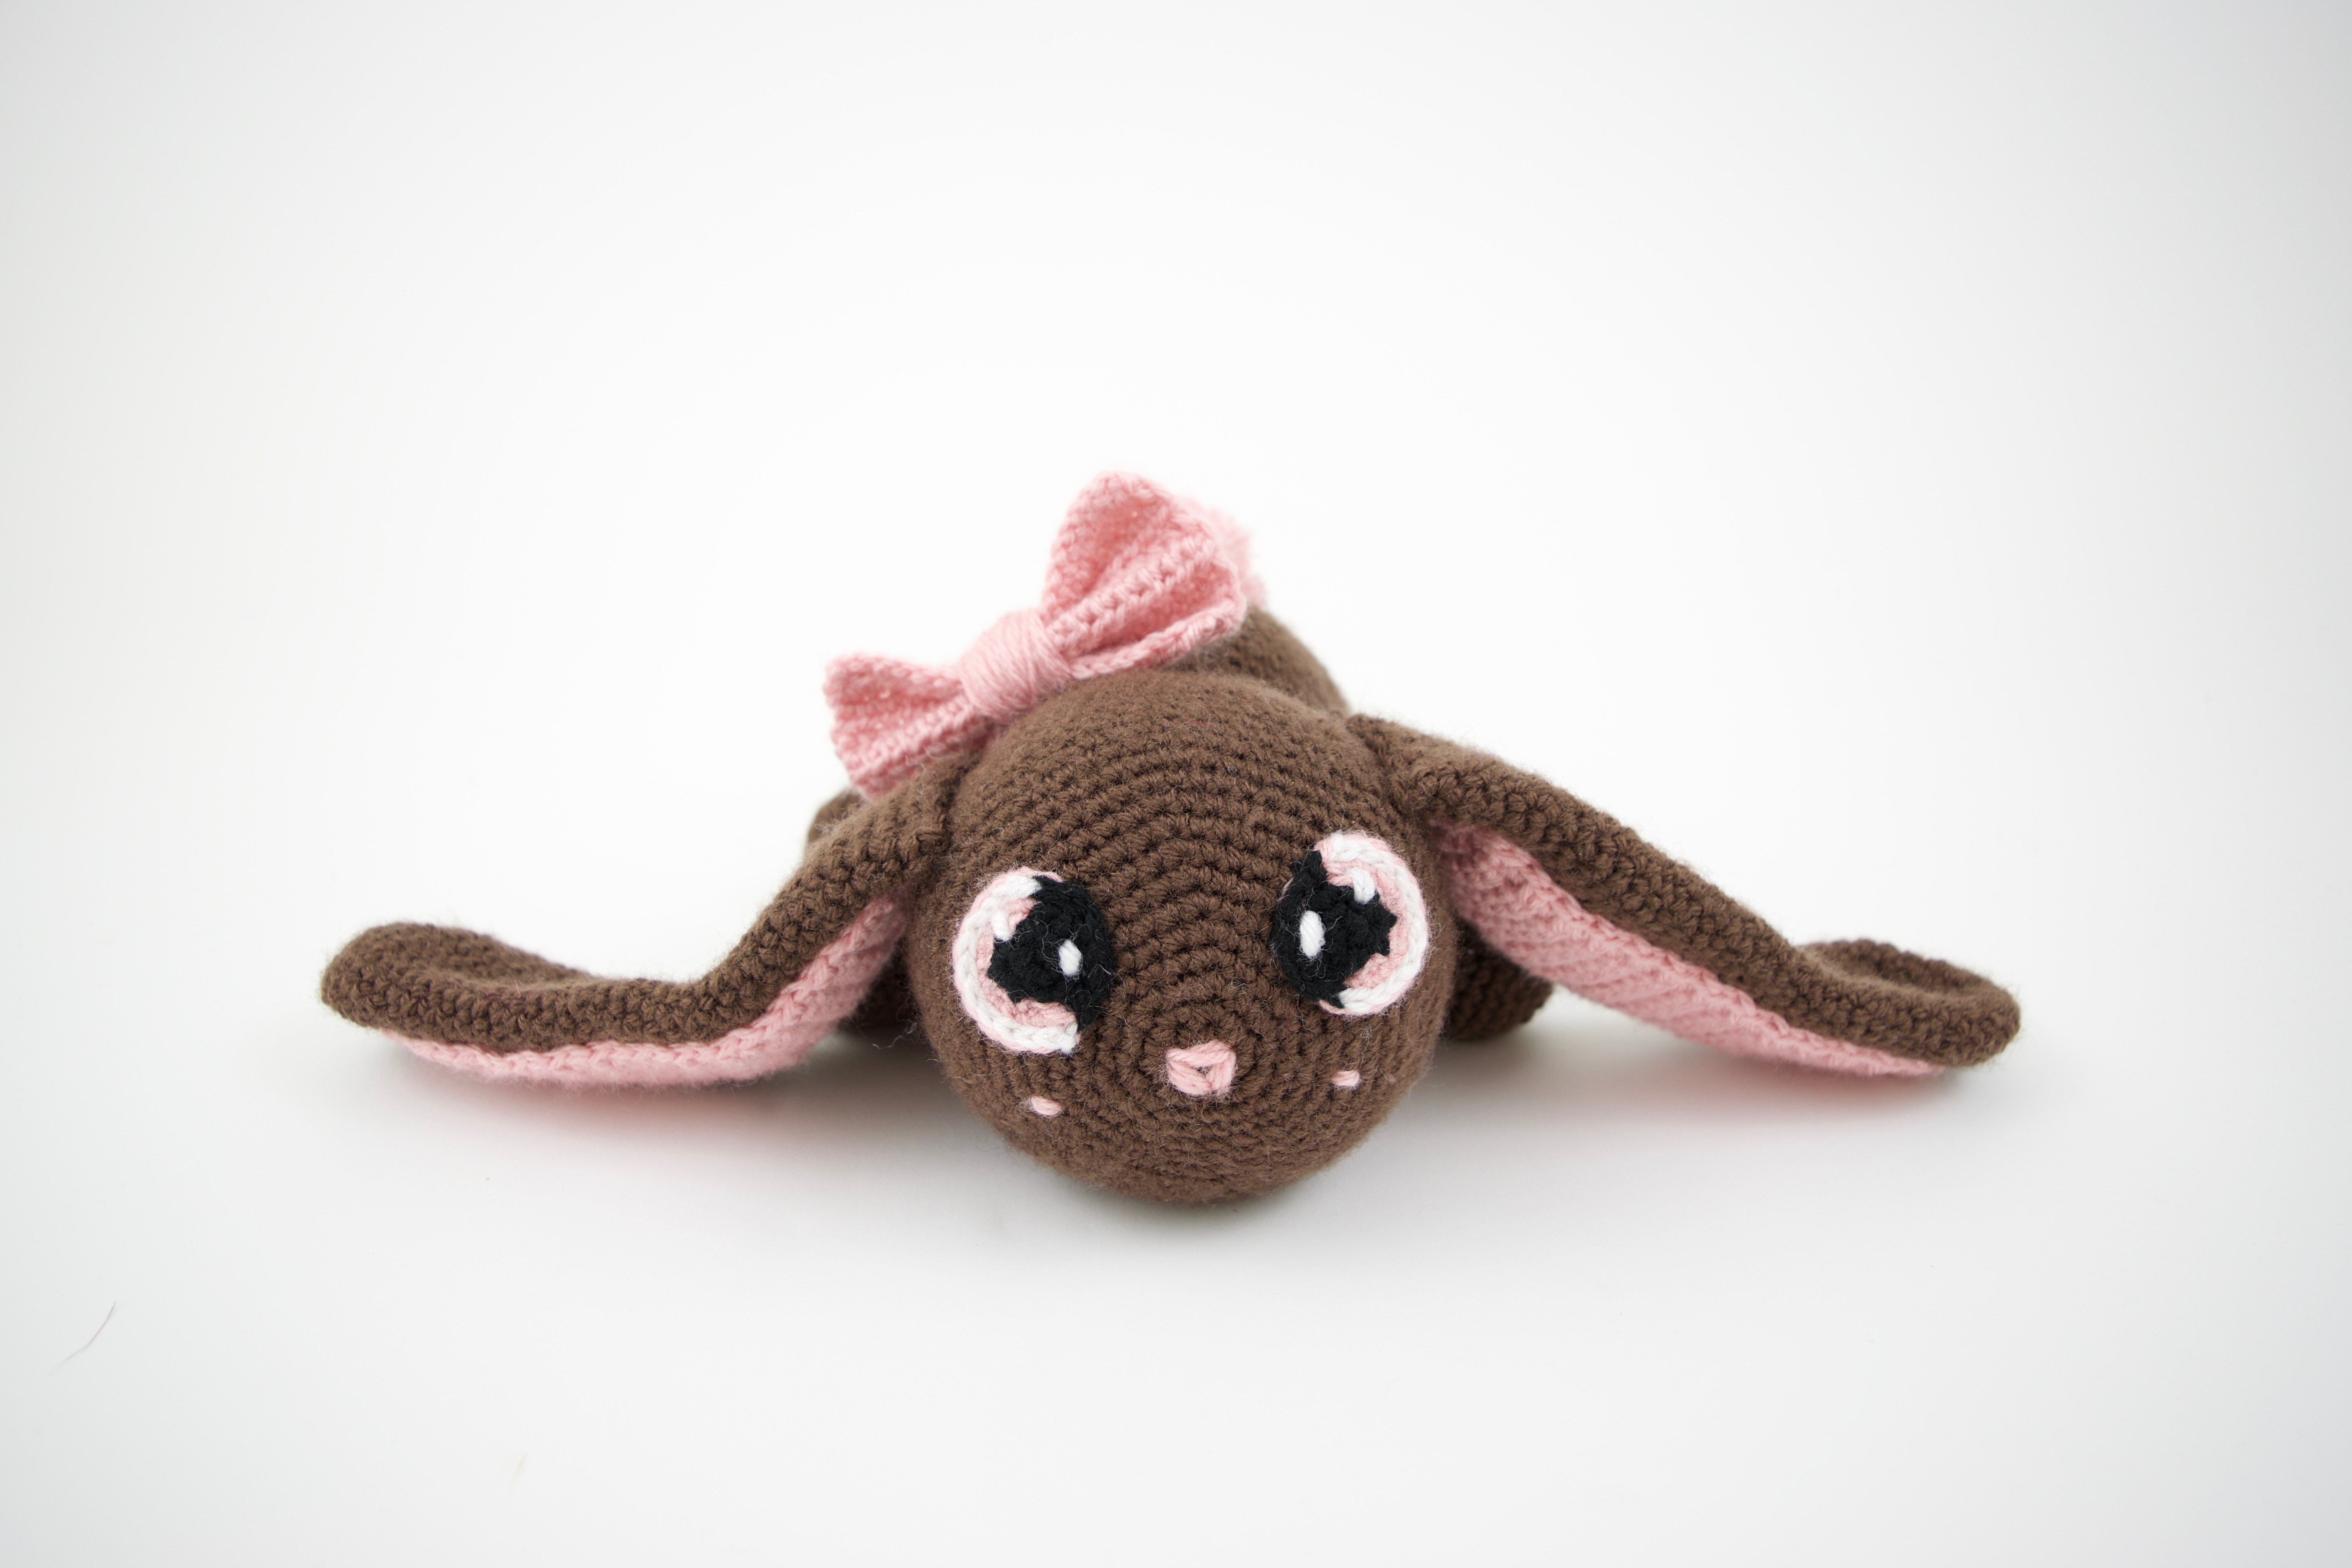
Sew on eyes and embroider nose and cheeks!
Bow
Ch 18
Row 1: Hdc in second chain from hook, hdc across (17)
Row 2-10: Ch 1, turn. Hdc across (17)
Finish off and weave through
 Pictured above – Finish off the main square. Take a generous piece of yarn and pull through the center
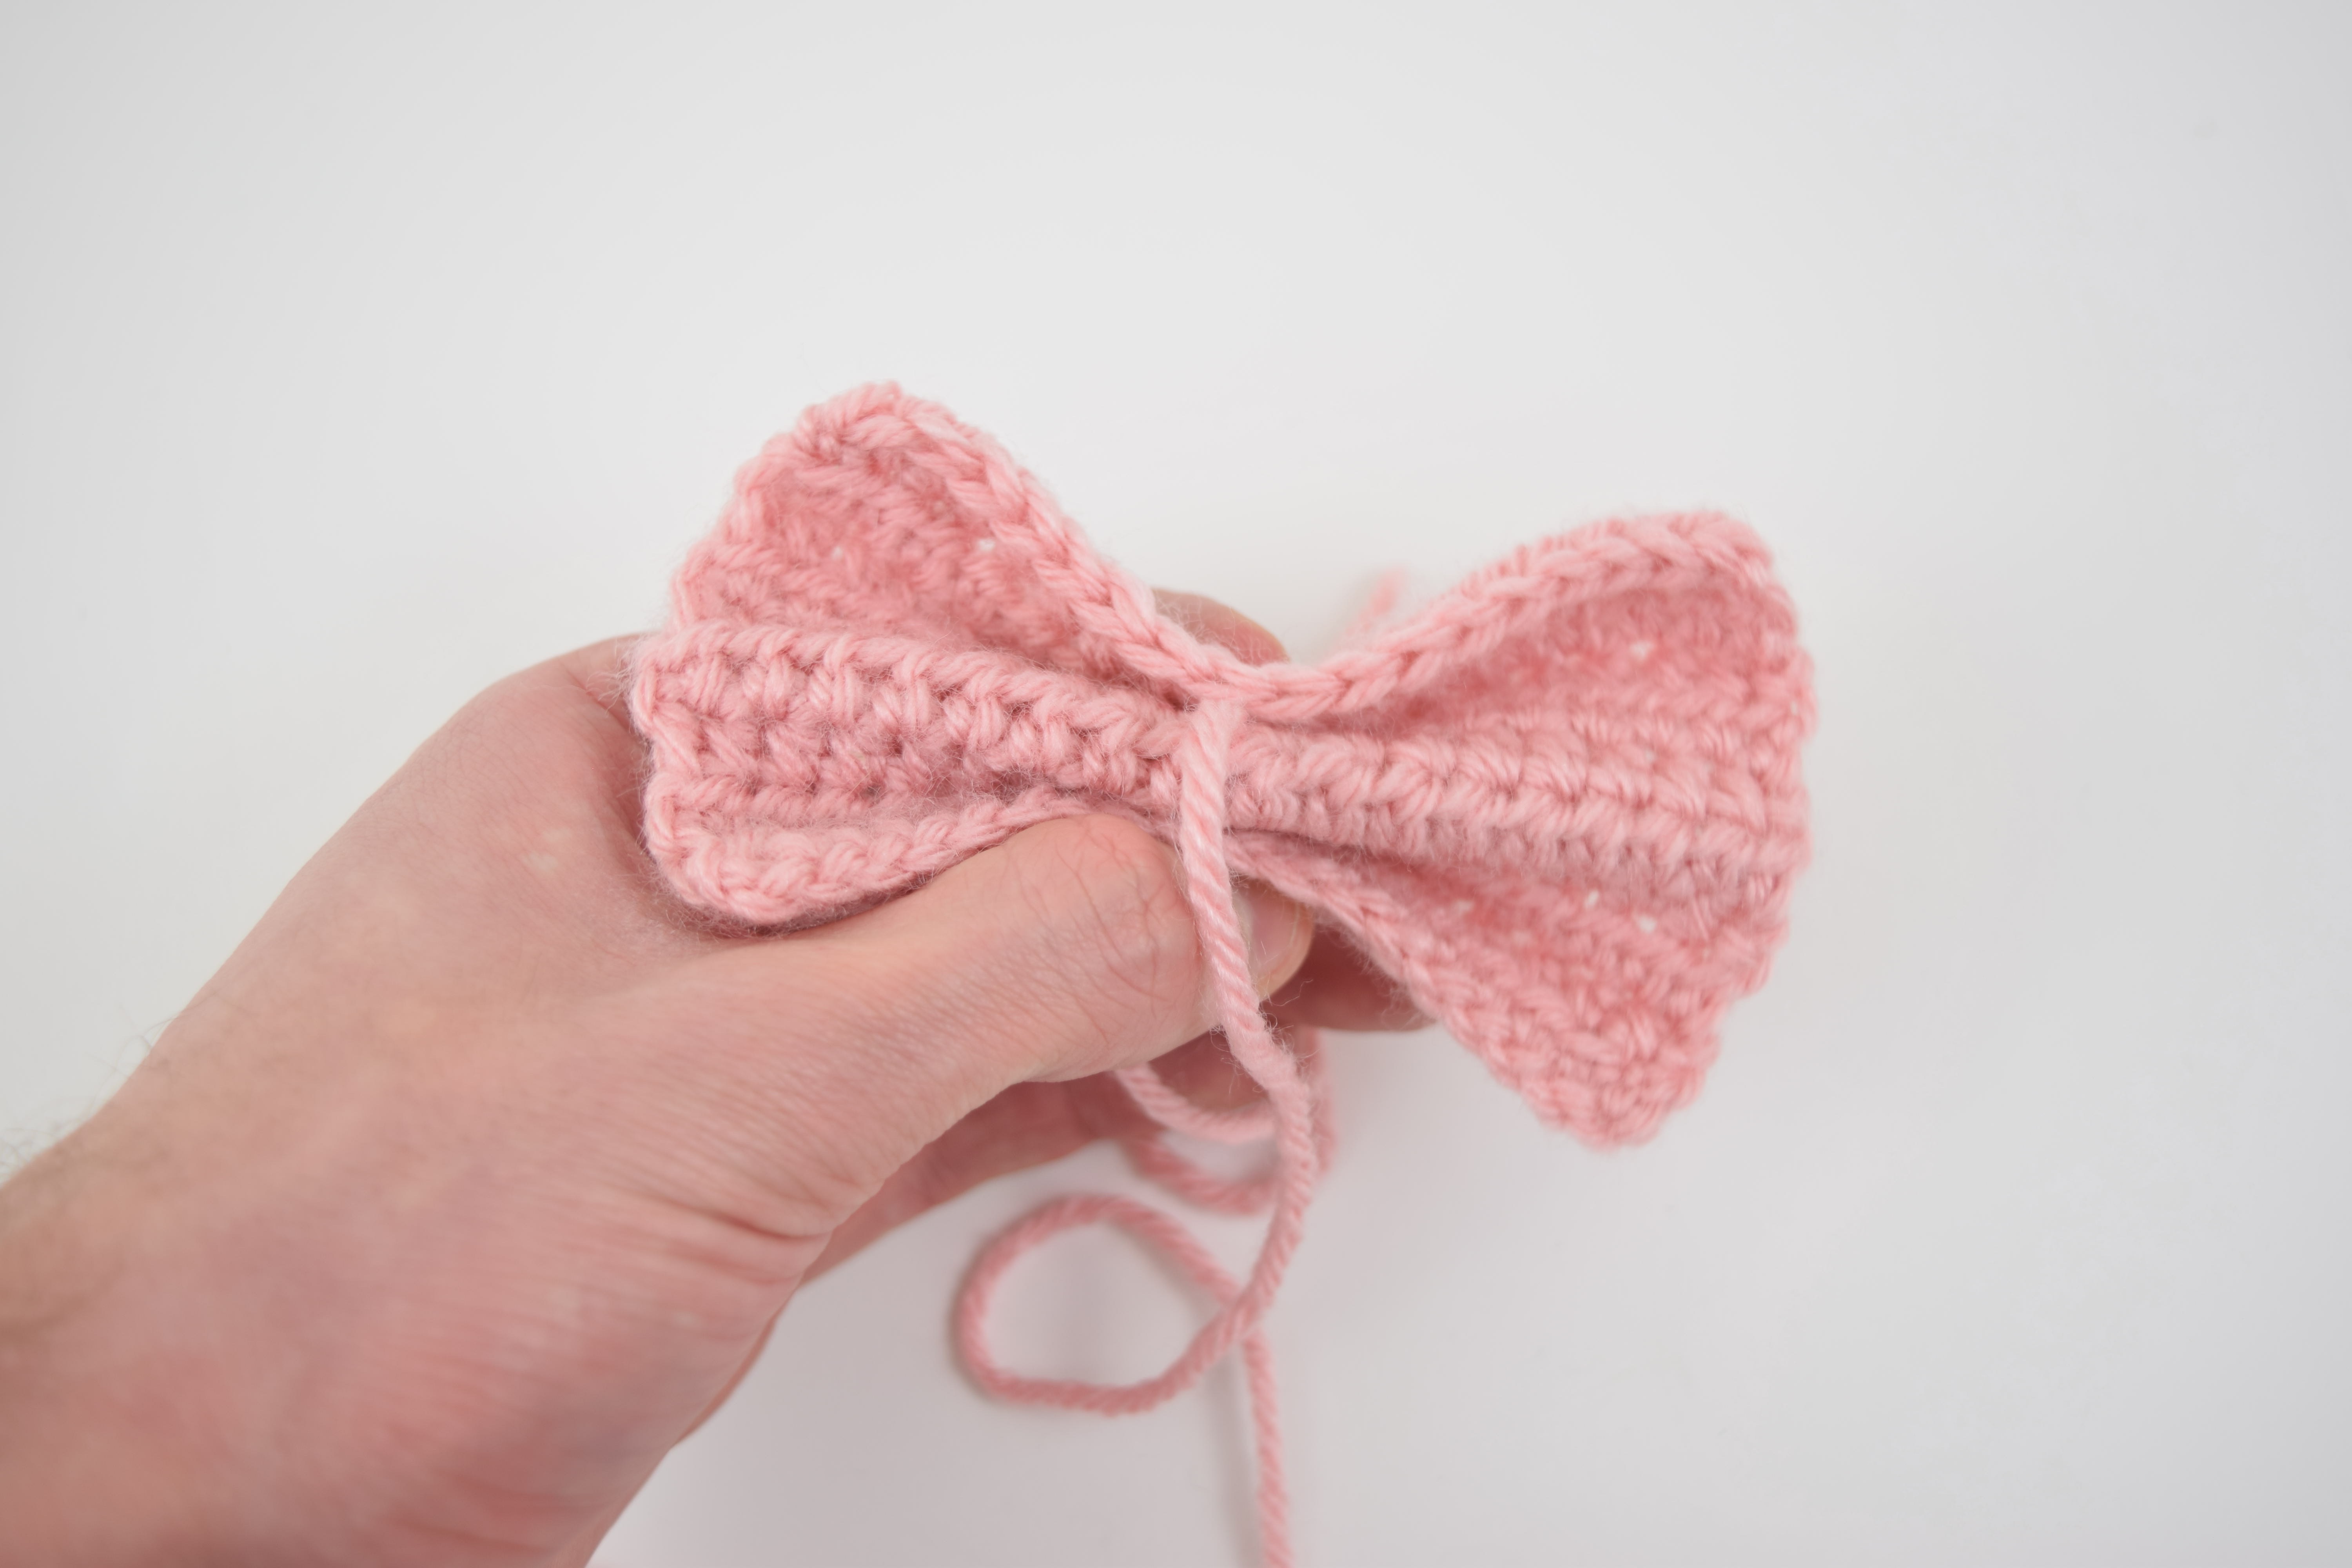
Pictured above – Pinch the square
 With the yarn, wrap it around tightly
 To finish off, take your needle and go back through the all the other yarn! You will be using this tail to sewn onto the rabbit.
Viola! You’re done! I hope Lee the Chocolate Bunny brings only smiles to your homes!
 You may not sell my patterns or claim them as your own. You may make items to sell (i.e. on Etsy, at craft fairs) from my patterns but I ask that you link back to my blog and provide credit for the pattern. You are welcome to share my patterns on social media so long as you link back directly to my blog post (providing the link). No copy & paste of my patterns will be allowed under any circumstances.


I loved this pattern it turned out so cute. I did get confused on which part was the body and which was the head, I think I did it right, if not I still think she turned out cute. I had a couple other questions as I went along but Vincent was sooo awesome about answering right away. One of the best things about crochet is I very rarely meet an unhelpful designer.
My bunny is Molly the Marshmallow bunny because I made her white instead of brown. If you are reading this comment trying to decide if its worth trying….DO IT!! even if you get stuck Vincent will help! And it turns out sooo cute you won’t regret it!
Thank you for letting me know about that, will clarify it for future readers! Thank you for such a lovely comment on the pattern, happy you liked it so much! I loved seeing your white bunny on Insta, she turned out so perfect!!