
Chibi Ghosts
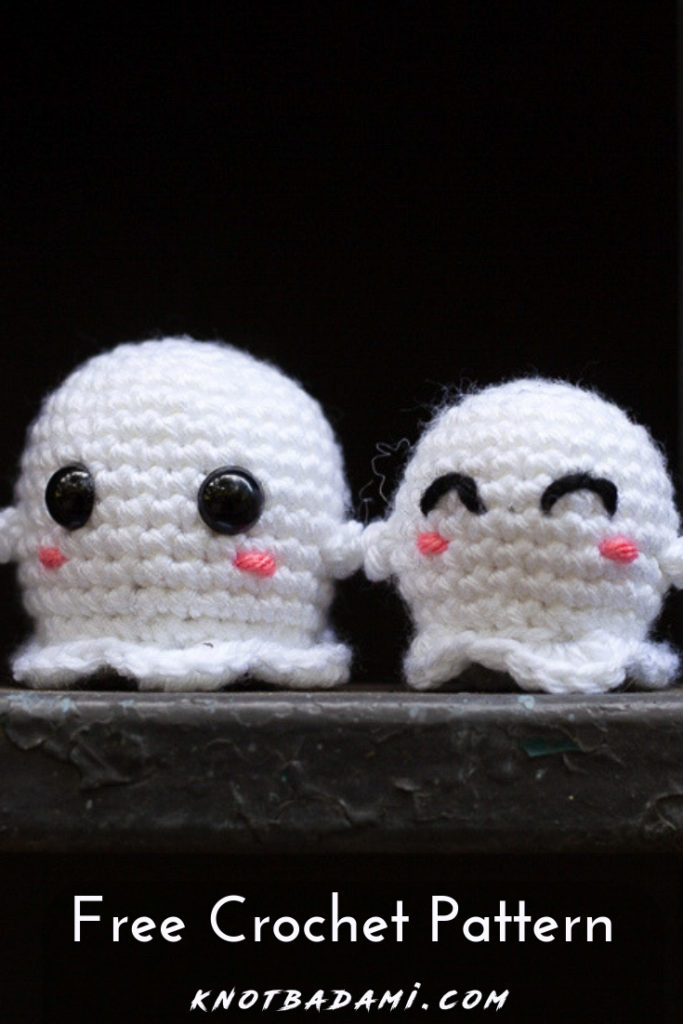
It’s time for fall! When it comes to this season, people get excited about soo many different aspects about it – some enjoy the comfort of the chilling air, the holidays, and the the falling leaves. However, this is also the time that peoples ghoulish side comes out! The spooky season (some call it “spoopy”) is just about here and it’s so fun to relish in the horror themes! So that is where the inspiration for the cute and easy little chibi ghosts came from. I’m not one for completely scary artwork, so I’m throwing cute into these little ghosts.
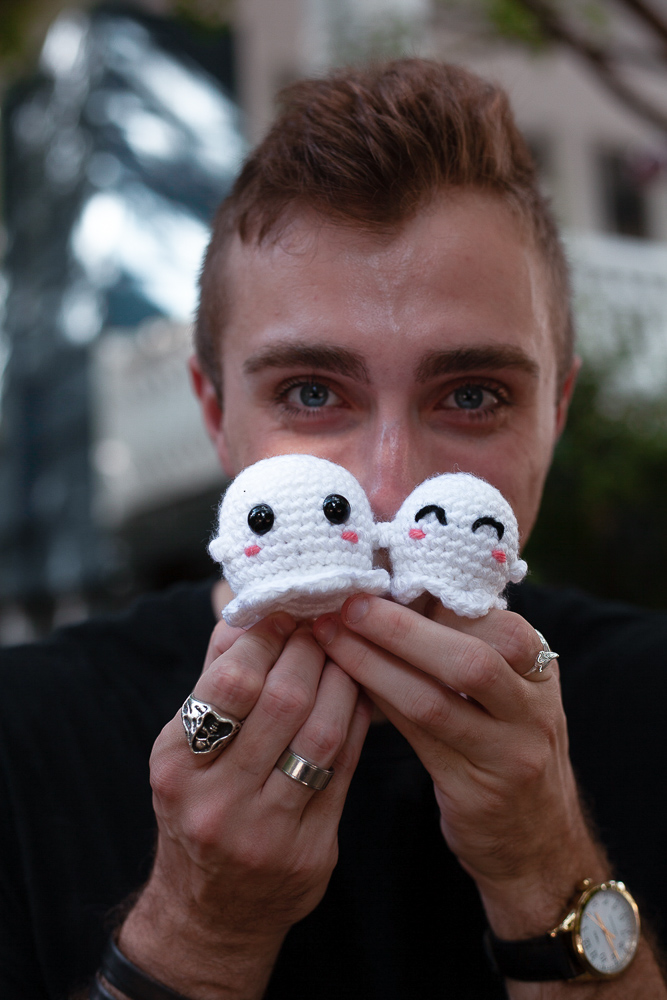
Down below, you can find two sizes for these chibi ghosts – and two different faces! I wanted to show you that they can be diverse depending on what you want to go for with them. These are easy to make and work up pretty quickly and two sizes are available – I hope you enjoy it!

Materials:
Lion Brand Basic Stitch! (Any worsted weight yarn will do) In white and pink
(Will need other colors if you choose to embroider!)
12 mm safety eyes (optional)
Abbreviations:
Ch – chain
Sc – Single Crochet
Sl st – slip stitch
FLO – Front Loop Only
FO – Finish off
Dimensions
Large Ghost – 2.5″ inches tall
Small Ghost – 2″ inches tall
You can find the free YouTube Tutorial on how to make the chunky version!
Notes
- This pattern is worked in the round
- After making the pieces, you’ll find out how to assemble it together at the end!
Don’t forget to pin for later!
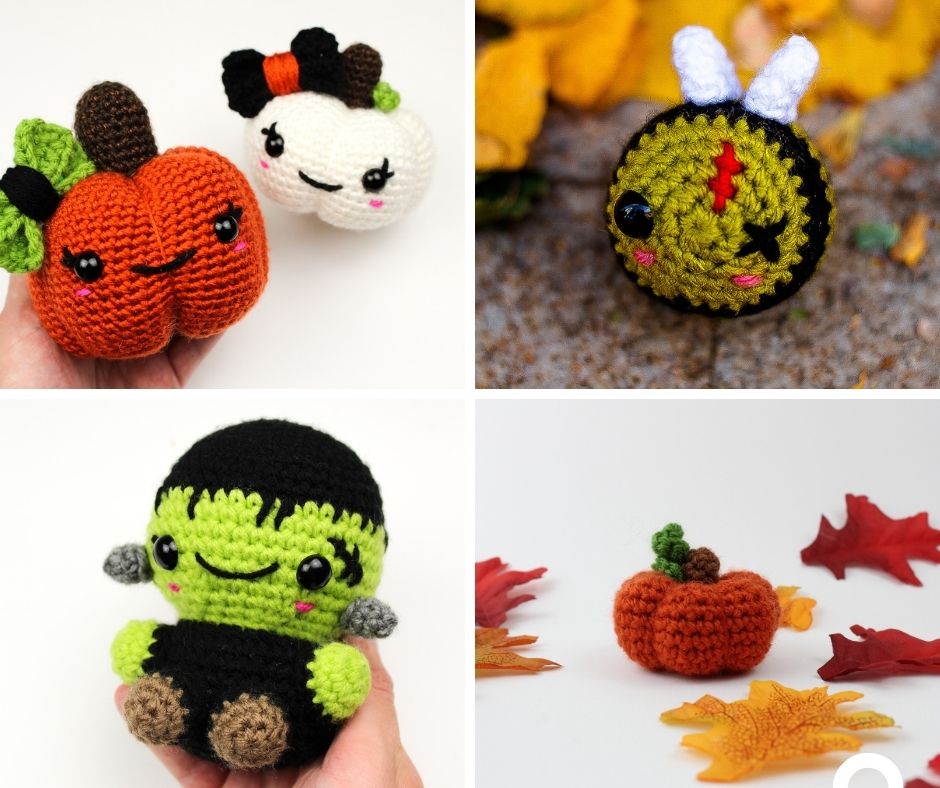
If you’re looking for more Halloween / fall patterns, you can click the links below to find all of these patterns from me as well!
Let’s Begin!
Large:
Rnd 1: 6 Single crochet into Magic Ring (6)
Rnd 2: *Inc* around (12)
Rnd 3: *Sc, Inc* around (18)
Rnd 4: *Sc 2, Inc* around (24)
Rnd 5: *Sc 3, Inc* around (30)
Rnd 6 – 13: Sc around (30)
Rnd 14: *Sc 3, dec* around (24)
Rnd 15: In FLO, Hdc x4 into stitch, *sk st, sl st, sk st, hdc x4*, repeat from * In final stitch, sl st.
Insert safety eyes into rnd 10 (counting down from magic ring) with 5 stitches apart.
Adding Arms
Attach your yarn by pulling through a single stitch on the side:
Ch 3. Sl st into same stitch.
Bottom:
Rnd 1: 6 Single crochet into Magic Ring (6)
Rnd 2: *Inc* around (12)
Rnd 3: *Sc, Inc* around (18)
Rnd 4: *Sc 2, Inc* around (24)
FO
(Leave a long enough tail for sewing!)
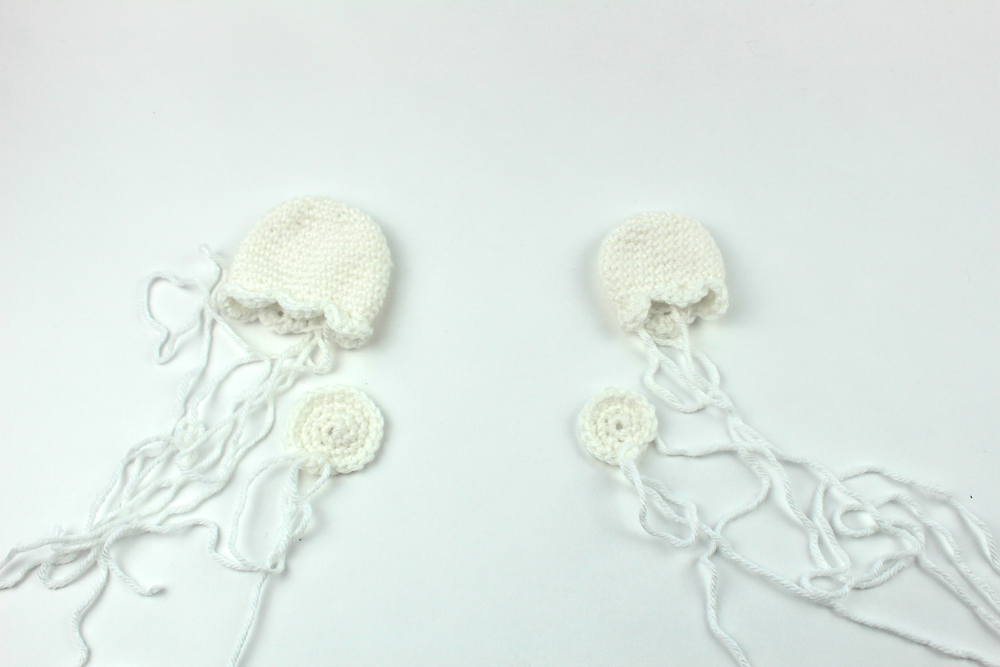
Here are all the pieces you’ll end up with!
Small:
Rnd 1: 6 Single crochet into Magic Ring (6)
Rnd 2: *Inc* around (12)
Rnd 3: *Sc, Inc* around (18)
Rnd 4: *Sc 2, Inc* around (24)
Rnd 5 – 10: Sc around (24)
Rnd 11: *Sc 2, dec* around (18)
Rnd 11: In FLO, Hdc x4 into stitch, *sk st, sl st, sk st, hdc x4*, repeat from * In final stitch, sl st.
Adding Arms
Attach your yarn by pulling through a single stitch on the side:
Ch 3. Sl st into same stitch.
Bottom:
Rnd 1: 6 Single crochet into Magic Ring (6)
Rnd 2: *Inc* around (12)
Rnd 3: *Sc, Inc* around (18)
(Leave a long enough tail for sewing!)
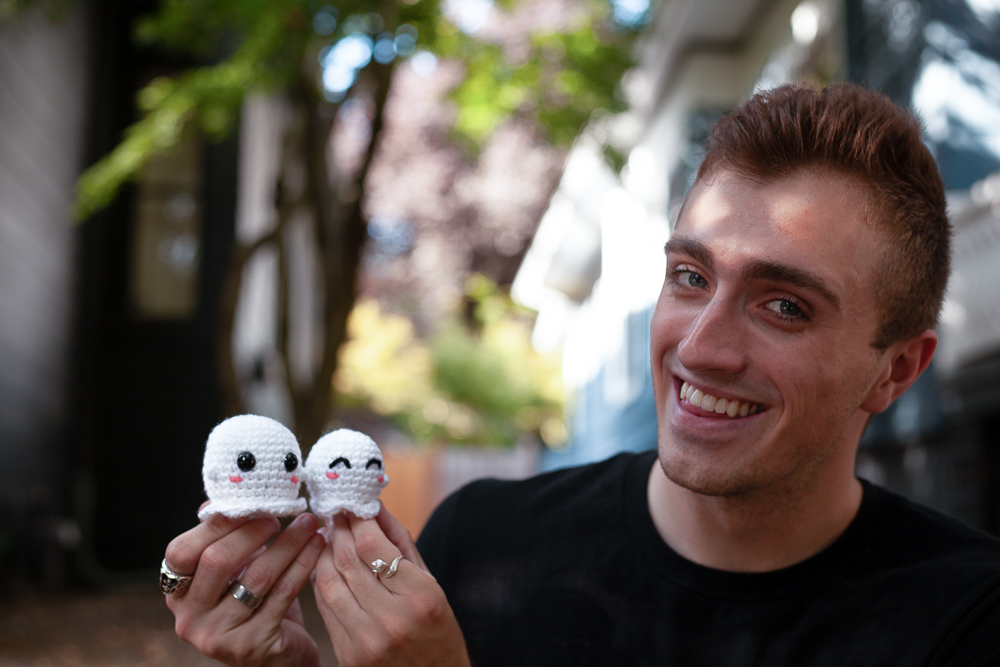
Let’s put it all together now!
Assembly
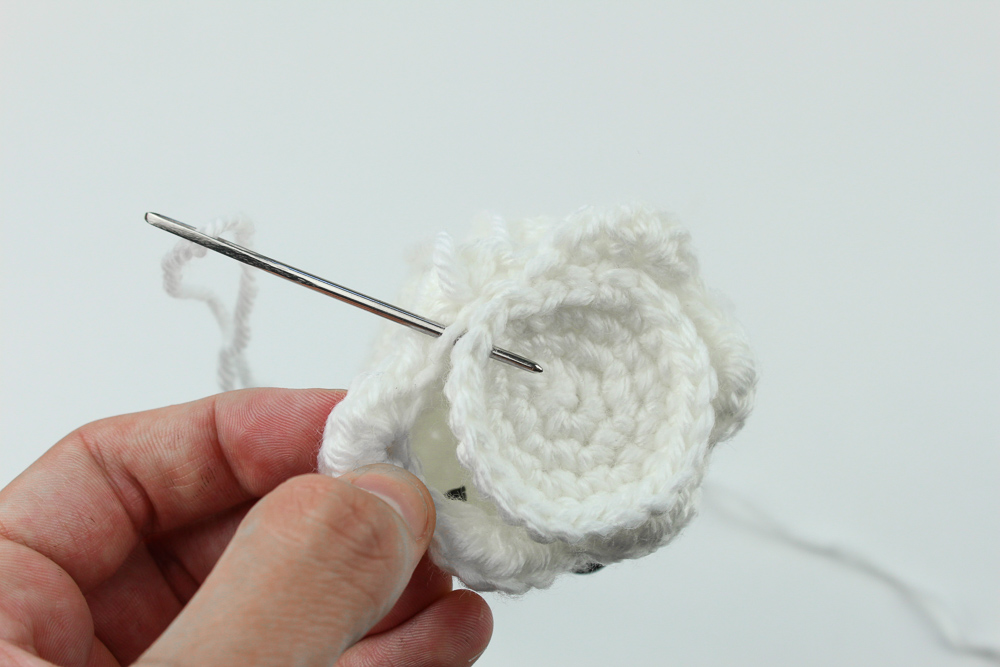
Before attaching the bottoms of your ghosts and stuffing, be sure to attach your safety eyes!

Now with the bottoms of your ghost, you’ll be sewing into each of the back stitch of the main body that were left behind from working in the FLO earlier on!


You may not sell my patterns or claim them as your own. You may make items to sell(i.e. on Etsy, at craft fairs) from my patterns but I ask that you link back to my blog and provide credit for the pattern. You are welcome to share my patterns on social media so long as you link back directly to my blog post(providing the link). No copy & paste of my patterns will be allowed under any circumstances.


Thank you, these are so cute!
These are so cute–can’t wait to make a bunch!!!!
These look a lot of fun to make guy’s Can’t wait to start. ???