Lions always hold a type of image, don’t they? Well to me, my favorite company uses it as their Logo- and that would be Lion Brand Yarn! As I release this pattern, it has been 1 year since Lion Brand Yarn and I exchanged emails to reach out to one another to see what we could do in terms of working together. The universe must’ve had some say, because we both sent emails to one another with only one weekend apart, so special! Since then, I have had the privilege and honor to be apart of their amazing team of creative and influential bloggers and they are truly a dream company to work with. With that said, I thought I would create a miniature Lion to show my appreciation! Please say hello to Brandy the Lion! I even had the opportunity to visit the Lion Brand headquarters over in NYC to hand deliver this little doll to them <3
**Also, don’t forget to pick up your own beautiful Furls Hook’s here!

Brandy the Lion
Skill Level: Easy+
Materials:
1 skein in Vanna’s Choice – Mustard
1 skein in Vanna’s Choice – Terracotta
4mm hook
Two 12 mm safety eyes
Darning Needle
Polyfill
Scissors
Stitch Marker
Hair brush
Abbreviations:
Ch – Chain
Sc – Single Crochet
Inc – Increase
Dec – Decrease
FLO – Front Loop Only
*- Repeat
( ) – number of stitches at the end of the round
***Notes: This pattern is worked in continuous rounds. Adding the hair will be the last step, and be sure to add the safety eyes while doing the head, or it will be difficult to add when the body is done!
Let’s get started!
Body
Rnd 1: Sc 6 into Magic Ring (6)
Rnd 2: *Inc* around (12)
Rnd 3: *Sc, Inc* around (18)
Rnd 4: *Sc 2, Inc* around (24)
Rnd 5: *Sc 3, Inc* around (30)
Rnd 6: *Sc 4, Inc* around (36)
Rnd 7: *Sc 5, Inc* around (42)
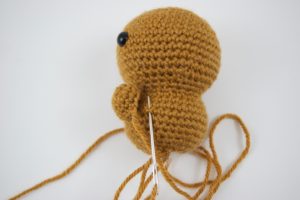
Rnd 8-14: Sc around (42) (Add the safety eye into Row 10 with 9 stitches between
 Rnd 15: *Sc 5, Dec* around (36)
Rnd 16: *Sc 4, Dec* around (30)
Rnd 17: *Sc 3, Dec* around (24)
Rnd 18: *Sc 2, Dec* around (18)
Rnd 19: *Inc in FLO* around (36)
Rnd 20-24: Sc around (36)
Rnd 25: *Sc 4, Dec* around (30)
Rnd 26: *Sc 3, Dec* around (24)
Rnd 27: *Sc 2, Dec* around (18)
Rnd 28: *Sc, Dec* around (12)
Finish off and sew hole closed
Snout (Begin in white)
Rnd 1: 6 sc into Magic Ring (6)
Rnd 2: *Inc* around (12)
Rnd 3: *Sc, Inc* around (18)
Rnd 4-6: Sc around (18)
Finish off and leave tail for sewing
Nose strip:
Ch 5
In second chain from hook, sc across. (4)
Ch 1, turn. Sc across. (4)
Finish off and leave tail for sewing
Nose (in black yarn)
Embroider onto face!

Arms (Make 2)
Rnd 1: 6 sc into Magic Ring (6)
Rnd 2: *Inc* around (12)
Rnd 3-4: Sc around (12)
Finish off and leave tail for sewing


Legs (Make 2)
Rnd 1: 6 sc into Magic Ring (6)
Rnd 2: *Inc* around (12)
Rnd 3-5: Sc around (12)
Finish off and leave tail for sewing
Ears (Make 2)
Rnd 1: 6 sc into Magic Ring (6)
Rnd 2: *Inc* around (12)
Rnd 3-6: Sc around
Finish off and leave tail for sewing
Be sure to sew these on before you do the hair!
Tail
Rnd 1: 6 sc into Magic Ring (6)
Rnd 2-7: Sc around (6)
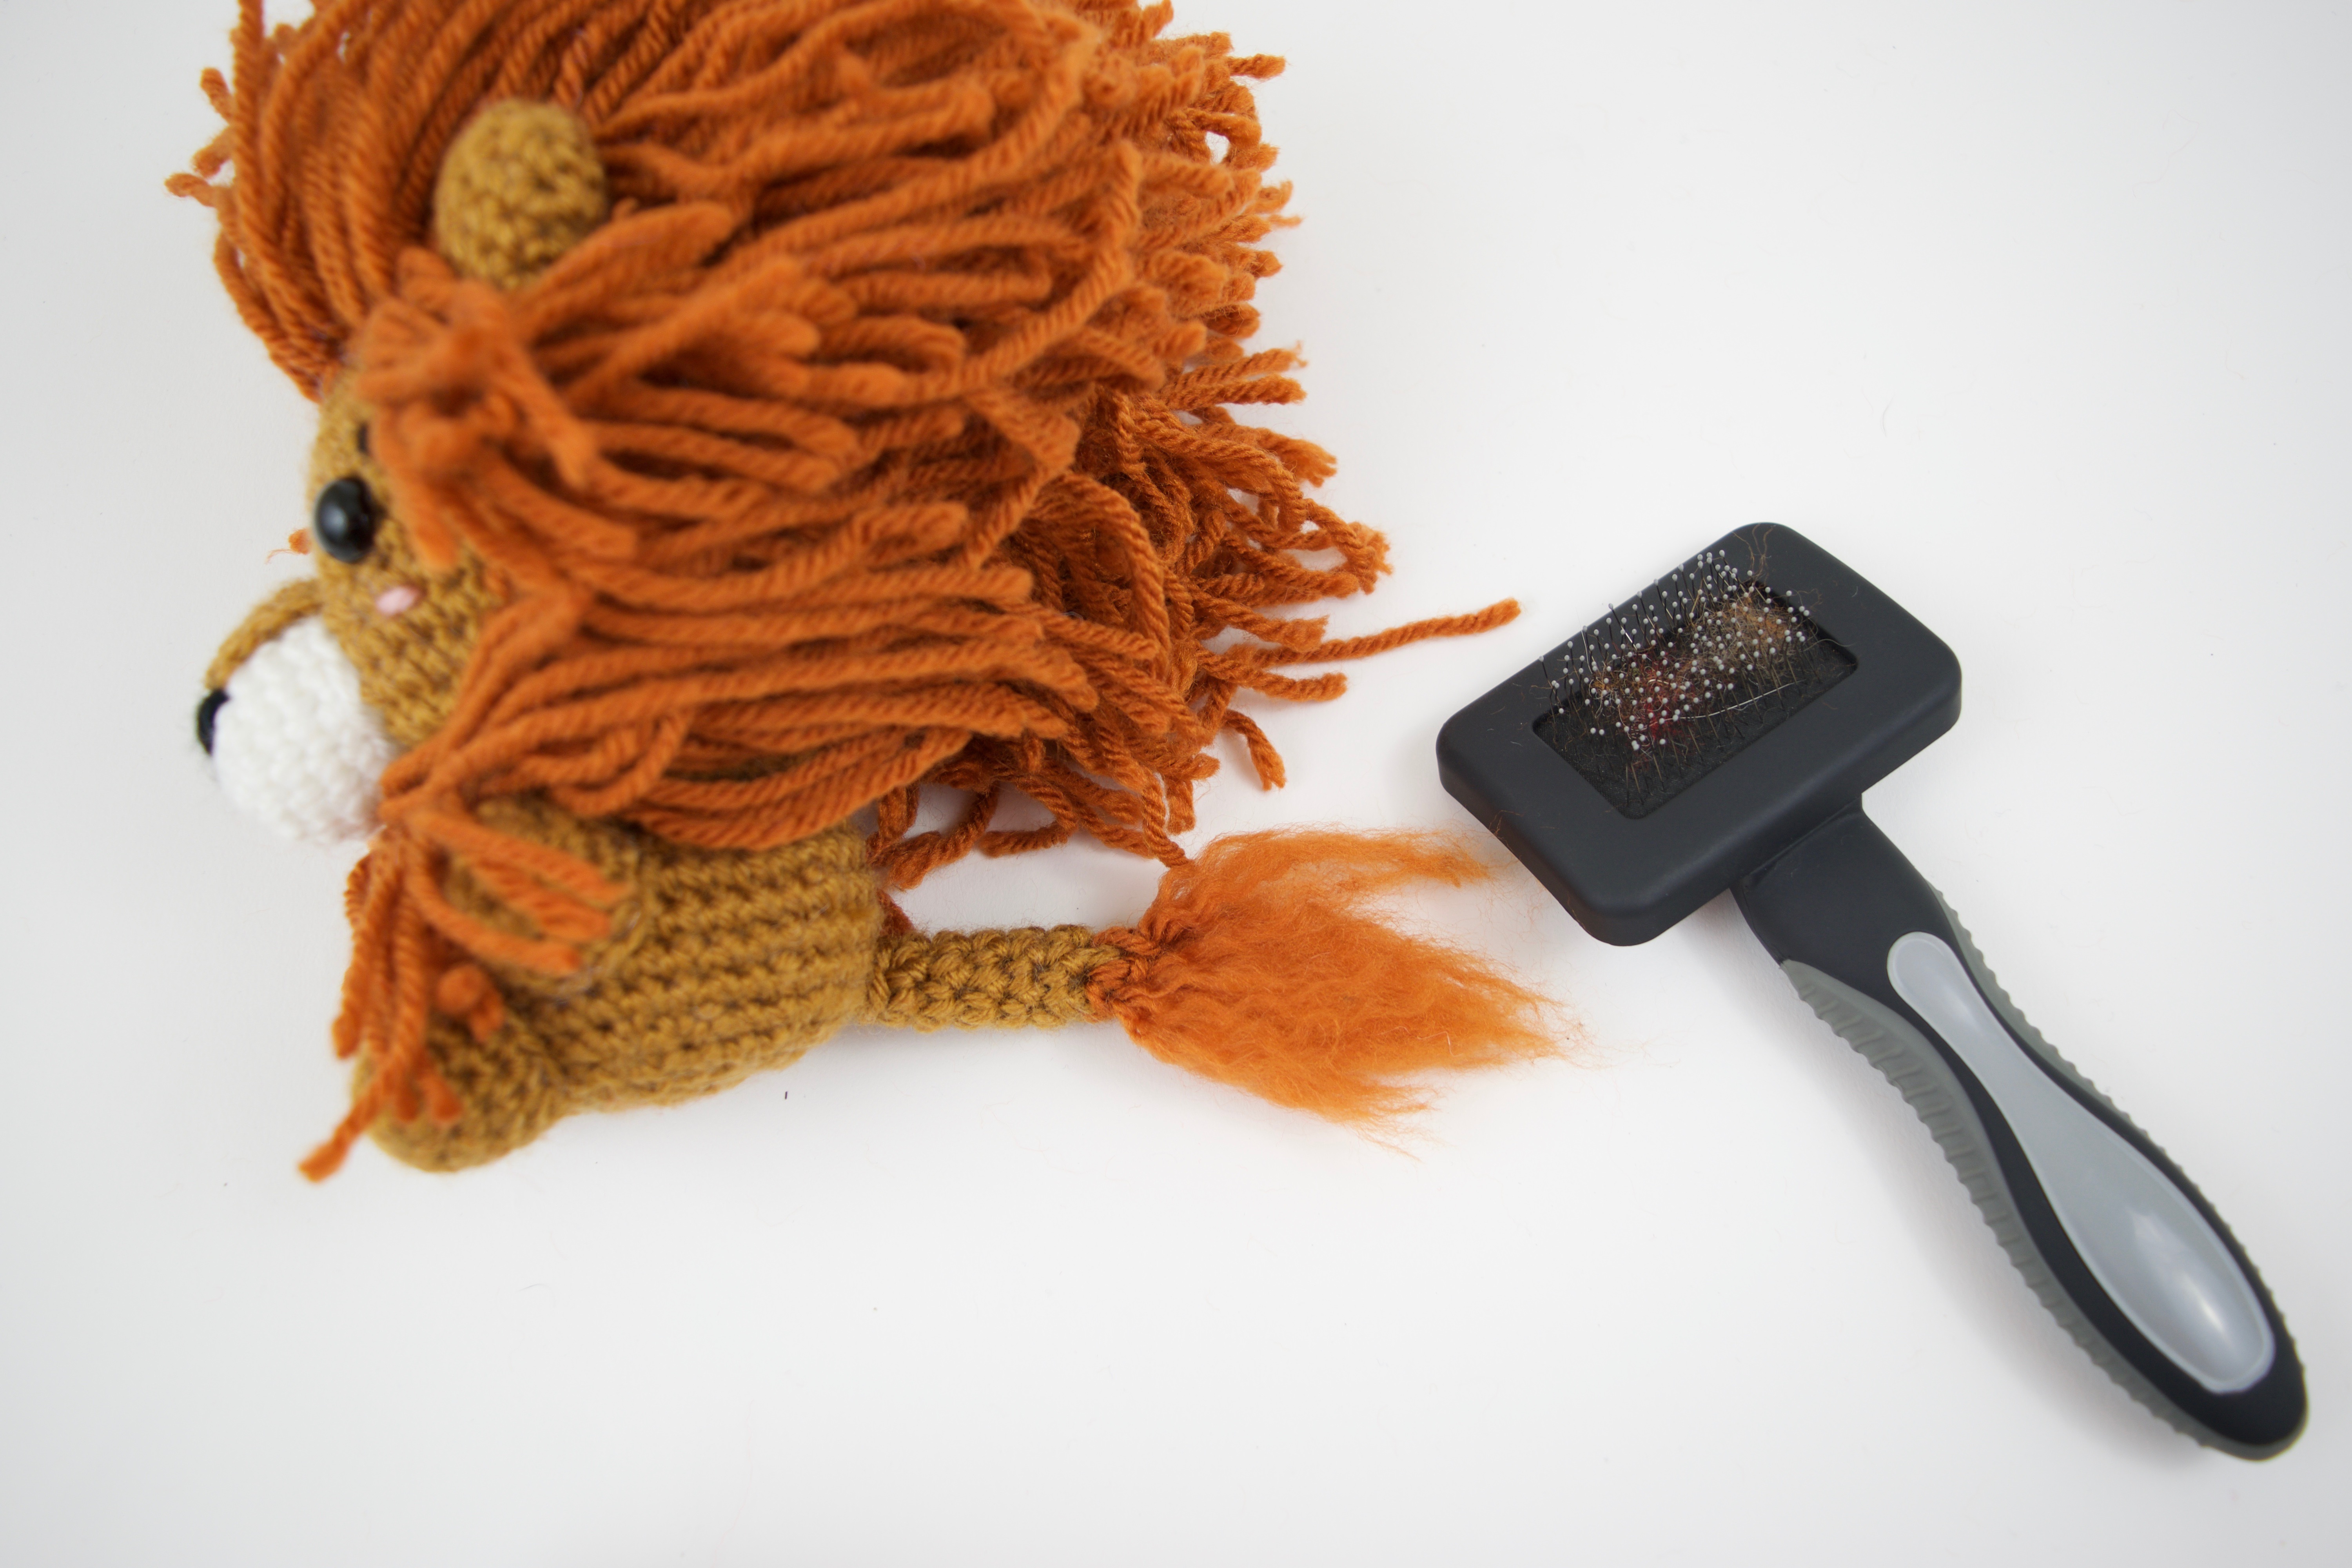
Like the head of hair (down below), pull the orange yarn through the end of the tail and brush it with a hair brush.
 Attaching the hair:
With the Orange yarn, cut out many different strands (Don’t worry abut them being too long, you can always give your lion a haircut afterword!)
With your hook, pull the yarn through each individual stitch, and then pull the yarn through the loop you’ve created.


When pulling the yarn across the front of the head, do two rows in front of the ears and don’t forget to widows peak!
You may not sell my patterns or claim them as your own. You may make items to sell (i.e. on Etsy, at craft fairs) from my patterns but I ask that you link back to my blog and provide credit for the pattern. You are welcome to share my patterns on social media so long as you link back directly to my blog post (providing the link). No copy & paste of my patterns will be allowed under any circumstances.

