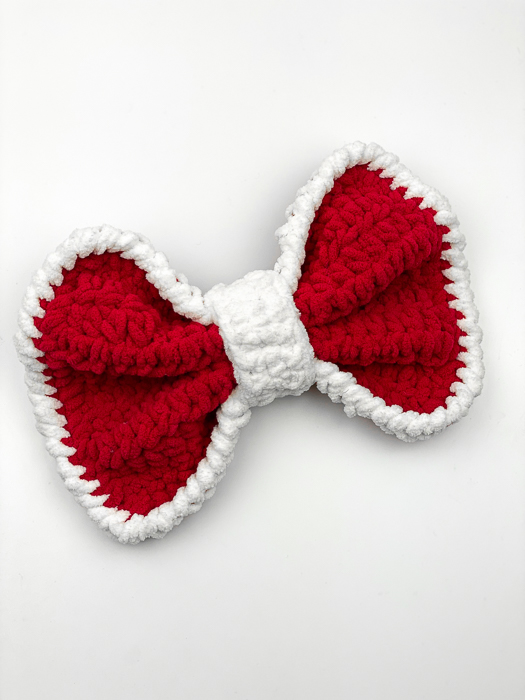
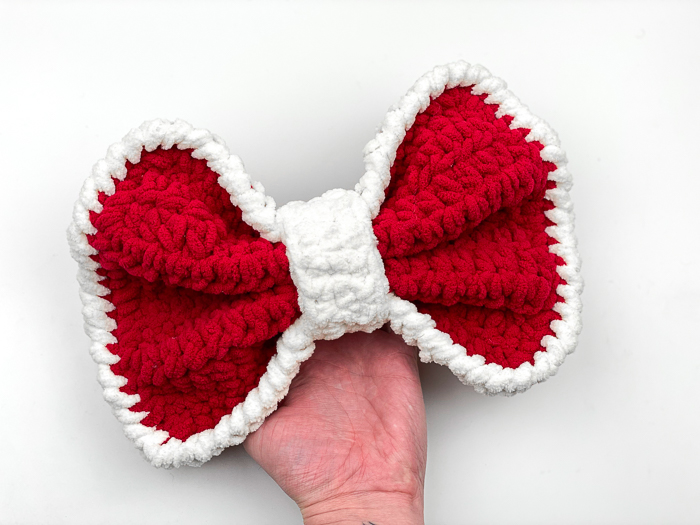
Bows make everything cuter.
The holidays are here and one of my favorite accessories / decorations ever are bows! I think bows can make anything cute and a lot of my projects have included bows in their designs even. You can use bows for a fashion statement, on a gift, and even add a nice touch on your amigurumi dolls! Which you will find below.
Don’t let this bow pattern be stuck for just the holidays – they can be used and created for all different kinds of events. One example of this would work so well when going down to Disneyland even. I can think of three other great circumstances as well, can’t wait to see your creativity with this project.

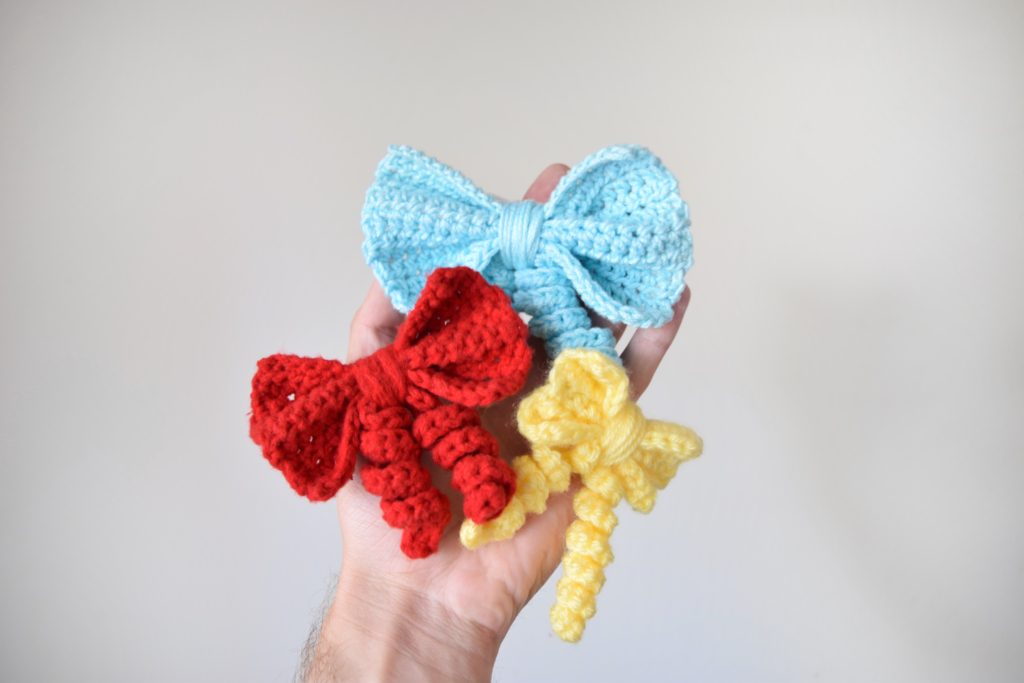
This isn’t the first bow pattern to hit the blog! However, those bows were all made with size 4 worsted weight yarn. This time, I am going Jumbo with it. Down below, you can find the full tutorial for FREE!
Want to get started on those smaller ones I was talking about? Find the other style by clicking HERE for the free pattern!
I would love to see the different colors you use and other creative ways you use your bow! For mine, I will be attaching mine to my bigger dolls and putting it on someone’s gift. What will you be doing? You can also show me on all of my social media platforms found down below!
Which can all be found here:
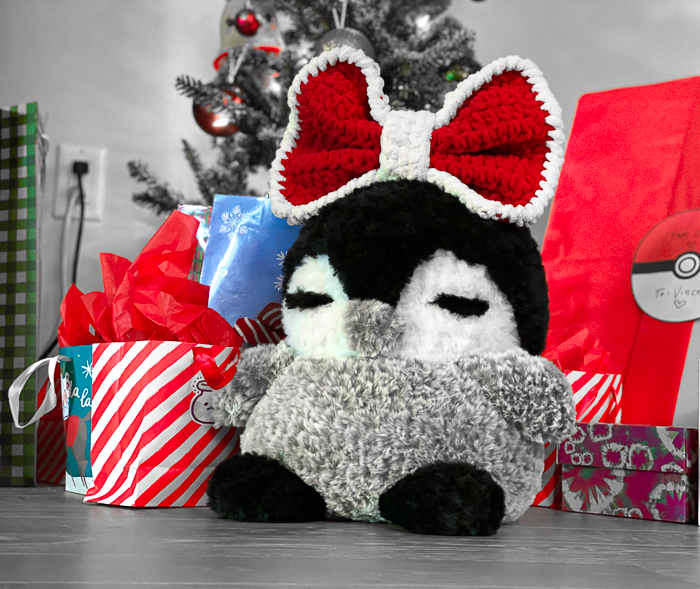
Another fun way to include your JumBow is to attach it to your other jumbo amigurumi – here is an example of how my Polar Penguin is getting festive for this holiday! However, this bow can be used for any holiday throughout the year. Click the photo to find the pattern for my Polar Penguin to get started on!
All editorial content and projects are intellectual property of Vincent Green-Hite, designer of Knot Bad.
If you wish to share this pattern, you may link to this pattern but please do not reprint it on your site. You may keep a copy for your own personal use but please DO NOT sell the pattern or distribute it.
You may sell products made from this pattern but please clearly credit the design to Knot Bad and link it my website knotbadami.com Make sure to post it!
Use the hashtag #yarnpunk and #handmadewithjoann when posting it and please feel free to tag me and show me how yours turned out! You can also find the Facebook group and subreddit r/yarnpunk to post to as well!
So here’s what you’ll need:
All the yarns can be substituted with any jumbo sized yarn (size 6)* and any colors you want! This can also be followed with any size yarn to vary in size.
1 Skein in Bernat Blanket Yarn (in Crimson Red)
1 Skein in Bernat Blanket Yarn (In Vintage White)
Dimensions
Height: 7.5″ inches roughly
Width: 12″ inches roughly
Don’t forget to pin this pattern for later! It can be easy to forget so make sure you have this tucked away for a rainy day on your Pinterest Boards!

Skill Level:
Easy
Abbreviations (In US terms)
Sl st – Slip Stitch
Ch – chain
Sc – Single Crochet
Hdc – Half Double Crochet
FLO – Front Loop Only
* *- Repeat
FO – Finish Off
Notes:
- This pattern is worked continuously in the round
- This pattern is written in US terms
- You can find helpful tutorials throughout, but if you would like to find some of my tips and tricks you can head HERE!
- The photo for each step will be found BELOW said step.
- Find my YouTube tutorial for the Magic Ring here!
Let’s Get Started!
Ch 21
Row 1: In second chain from hook, hdc. Hdc across (20) If you cannot hit the 20 stitches, try chaining 22 instead!
Row 2 – 13: Ch 1, turn. Hdc across (20)
Do not finish off – we will be crocheting some more!
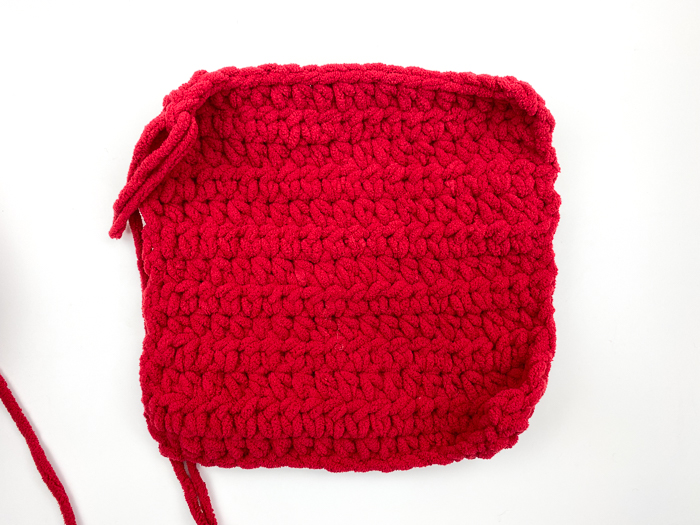
We will now be creating a border around our square with half double crochets! In the same corner, ch1.
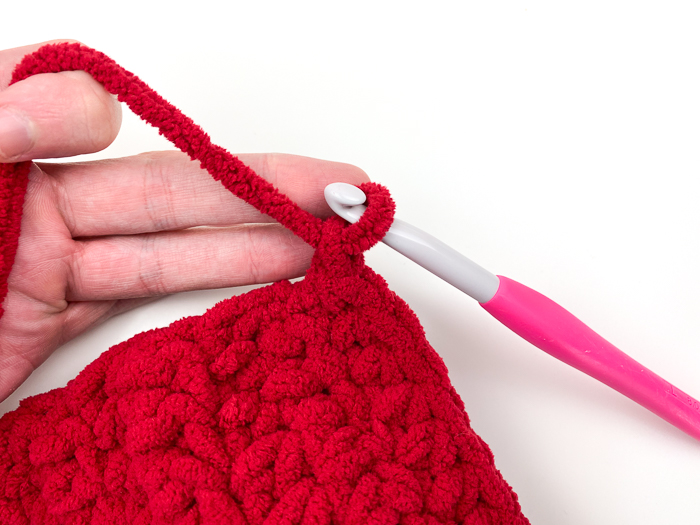
Begin half double crocheting down the side of your project. Here is how that will look:
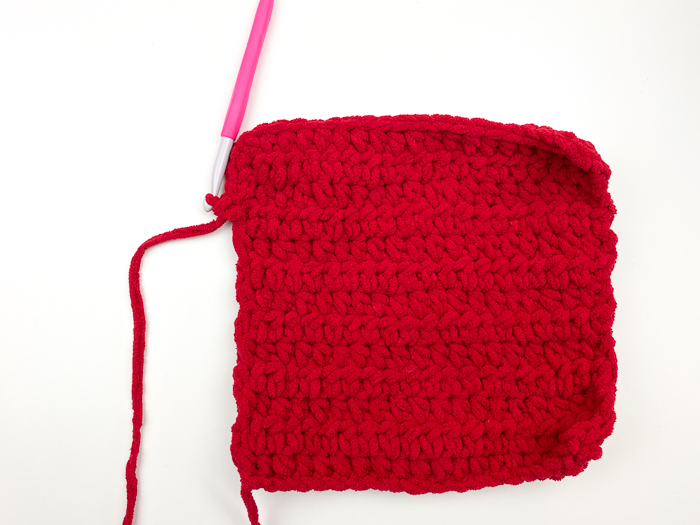
Continue this all the way down to the corners. In the corners, you will do 3 hdc into the same stitch and it will naturally turn.
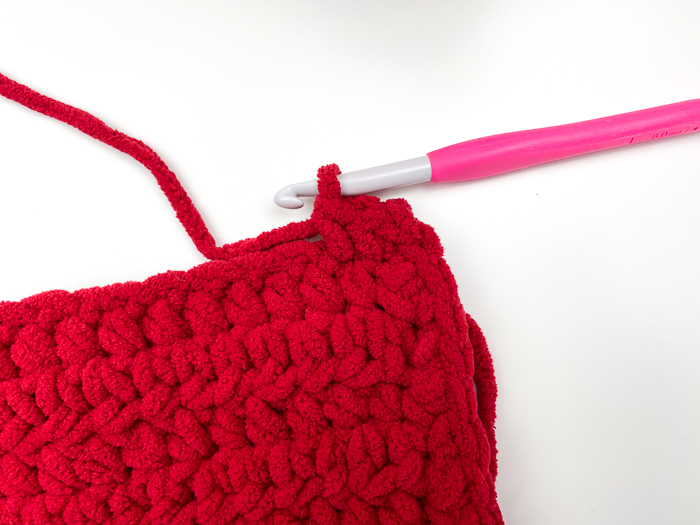
Do this for the next corner as well all the way until we get back to our last (top) row where we had done our original hdc (Row 13)
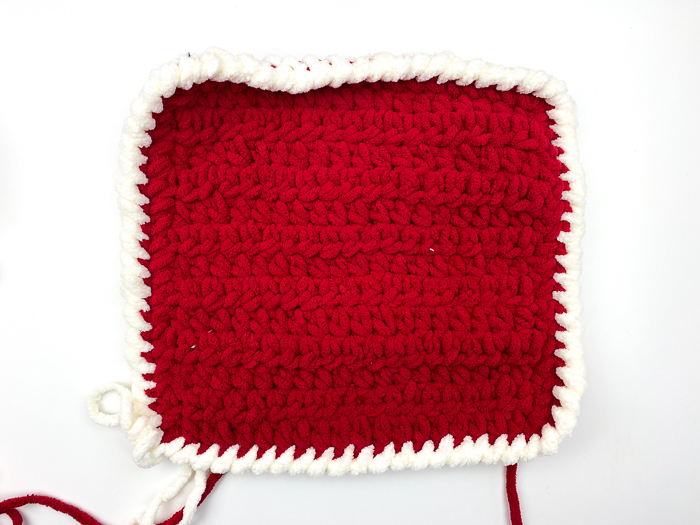
We will now be attaching our white yarn to perform the crab stitch!
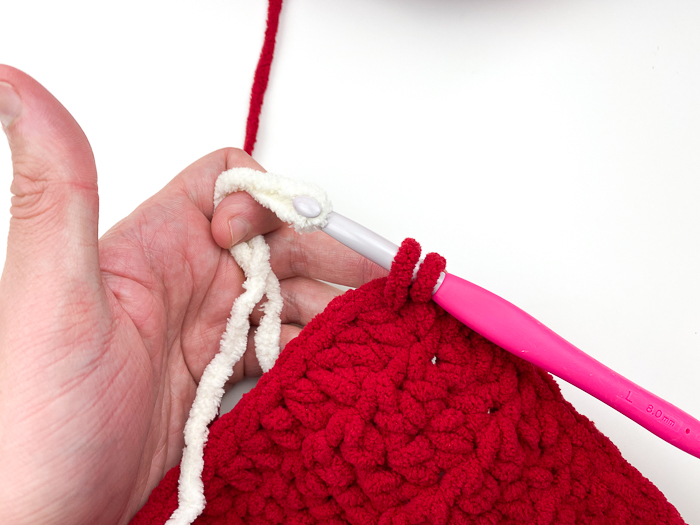

Instead of crocheting to the left like we had been doing, we will actually be working backwards with a single crochet. Ch 1 and then insert your hook into the stitch BEHIND your current stitch like so:

Yarn over from the back and pull through both loops
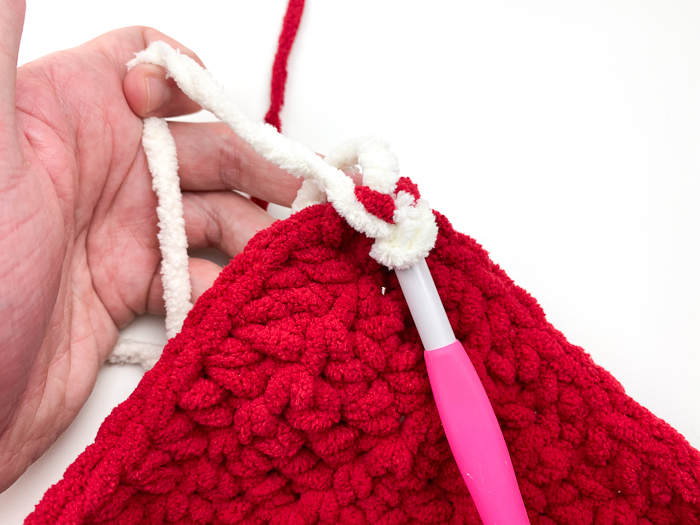
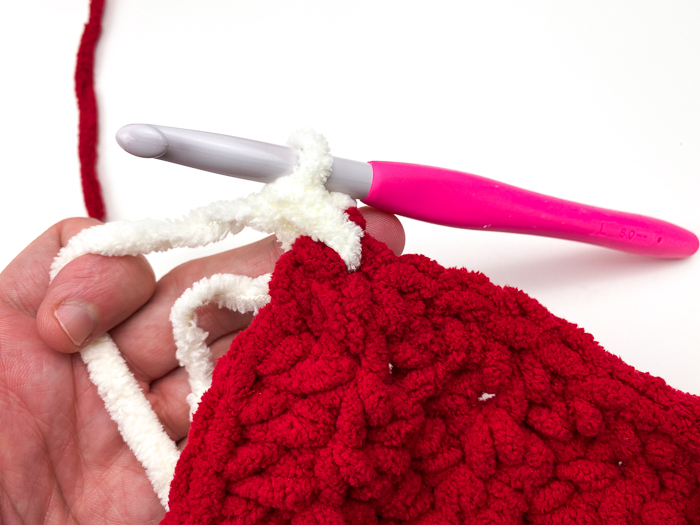
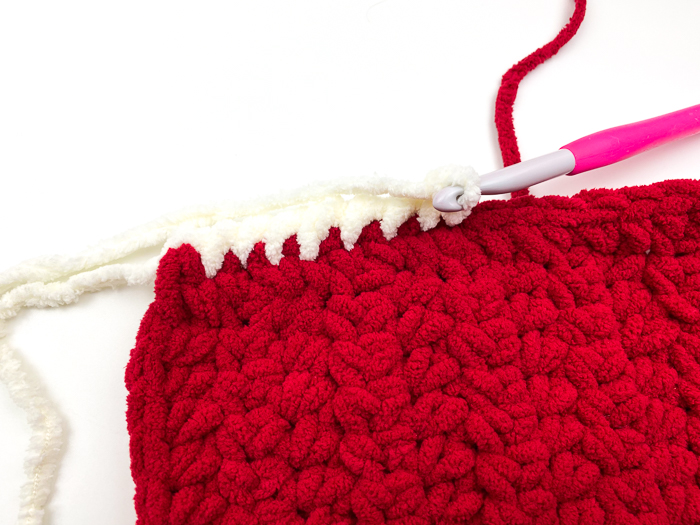
Insert into the next stitch and continue around the entire project!

Here is how this will be looking!
Creating the Band
Beginning in White
Ch 3
Row 1: Single crochet in second chain from hook. (1)
Row 2 – 14: Ch 1, turn. Sc crochet into your stitch (1)
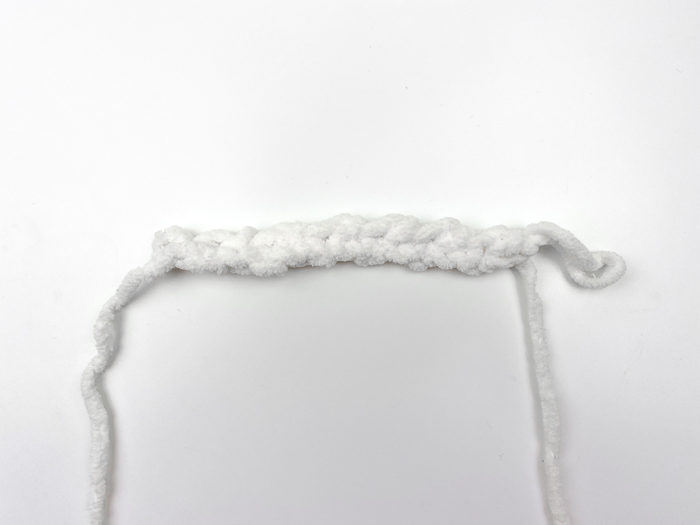
Once you get to the end of your rows, ch 1. We will be working along the side of your work with single crochets like so:
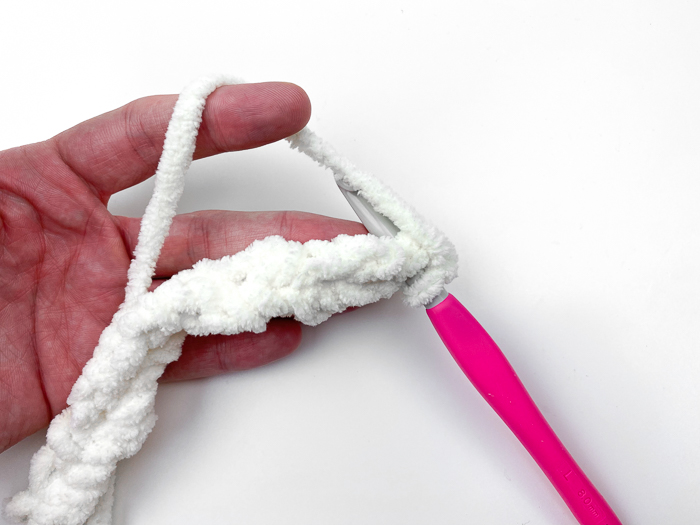
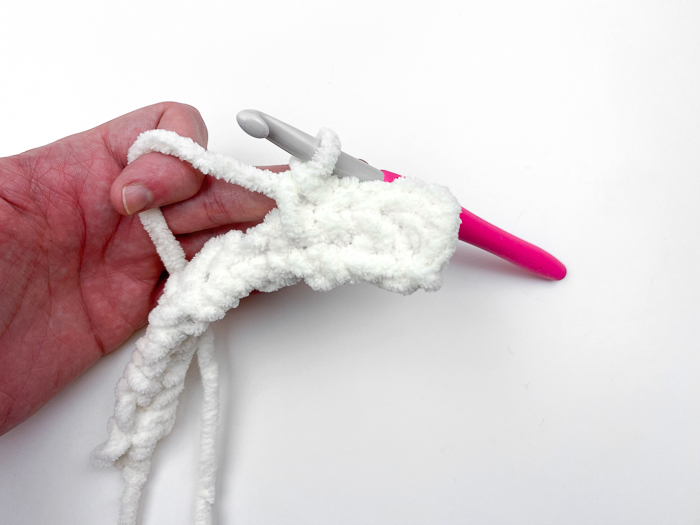
At the corner, perform 3 single crochets into the same corner stitch. Your work will begin to turn like so:
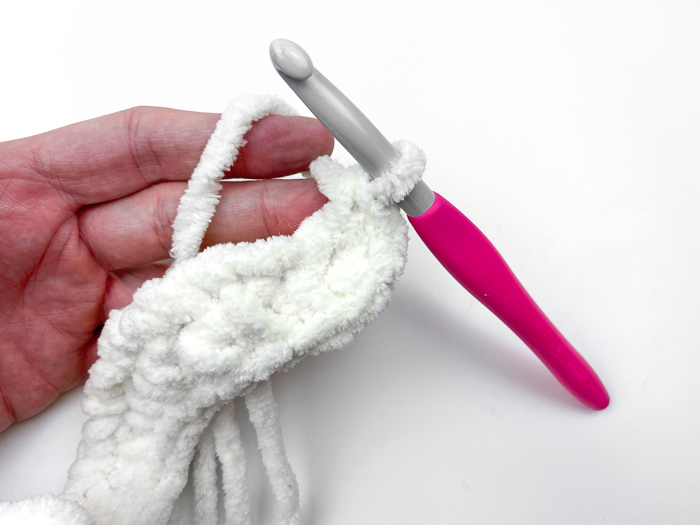
Along the bottom of the piece, continue single crocheting into each stitch along the chain. Sl st into final and here is how it will look!
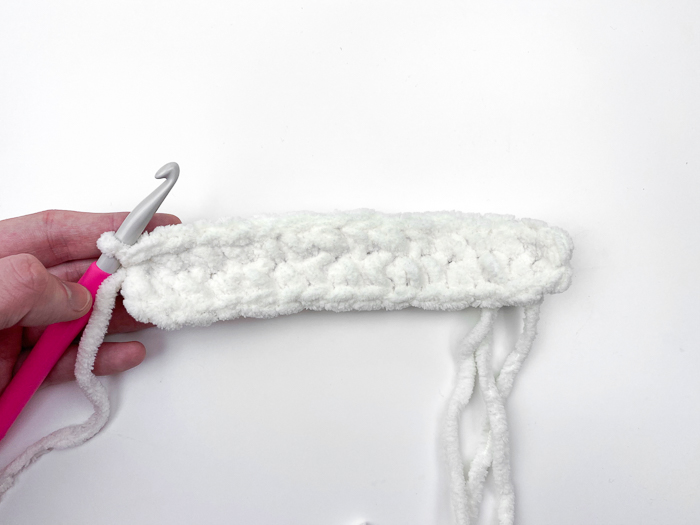
Leave tail for sewing
Putting the Bow together
With your main square, you will be “pinching” it starting from the center
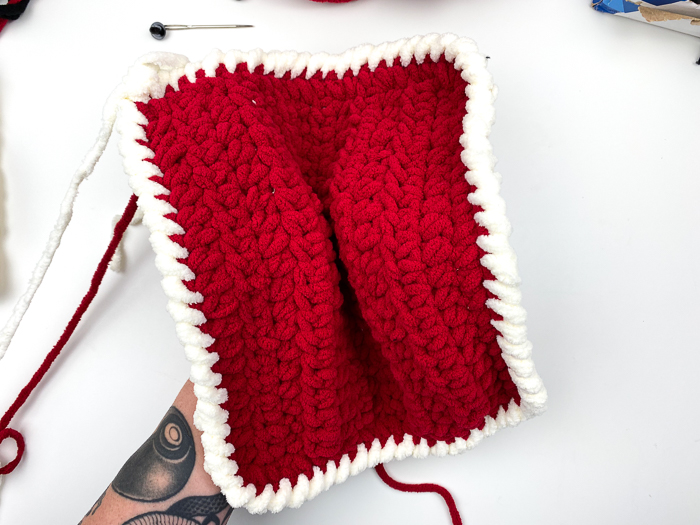
Pinch and fold your work anther time so the middle looks like it’s being swallowed
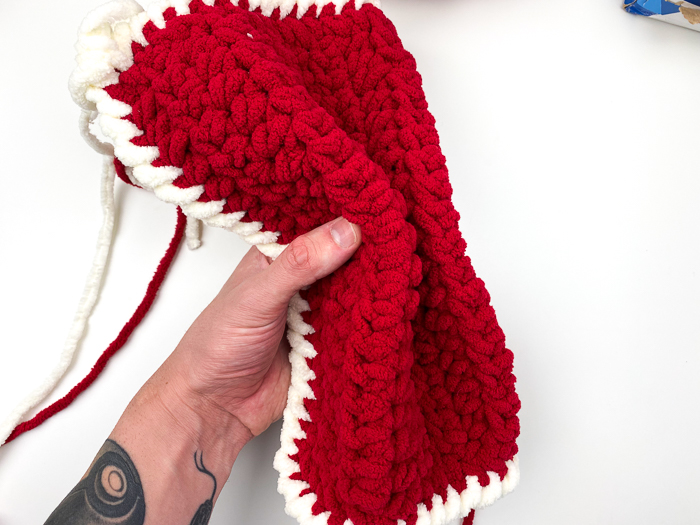
For one last pinch, take the last two ends of the square and pinch those together like so:
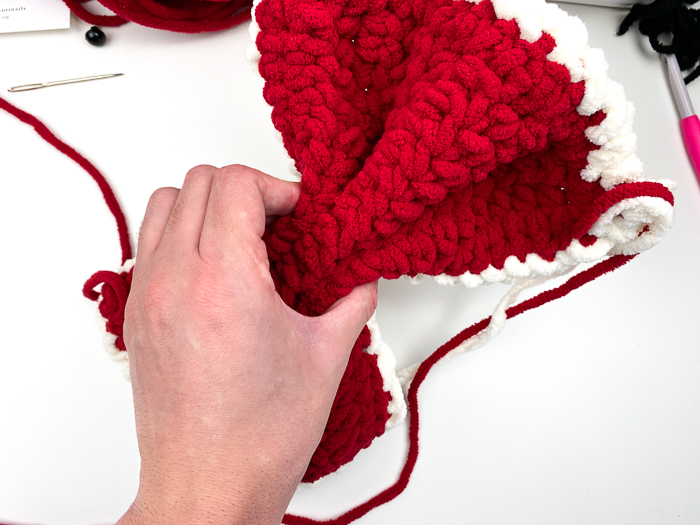
Now that we have our square pinched to how we like, we will be using the band to secure it. Pinched in the middle, wrap the band around.
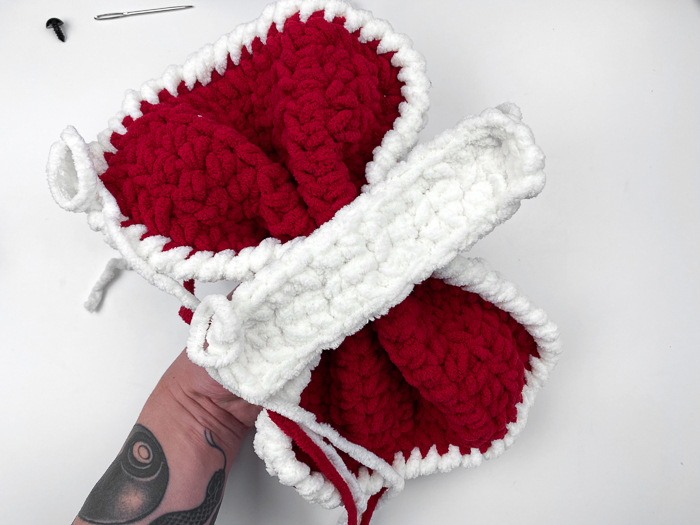
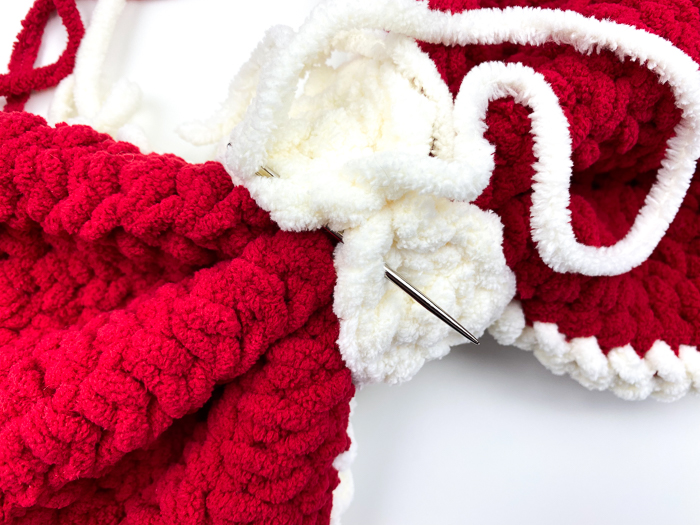
From the back, you will be pulling the band together and sewing together and keeping it tight
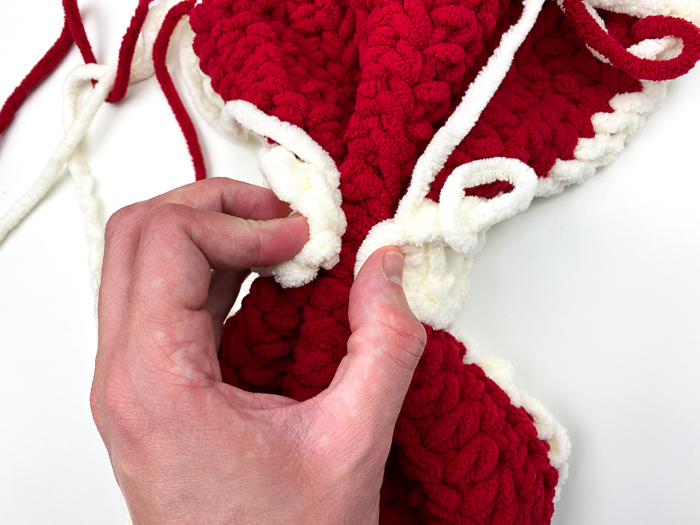
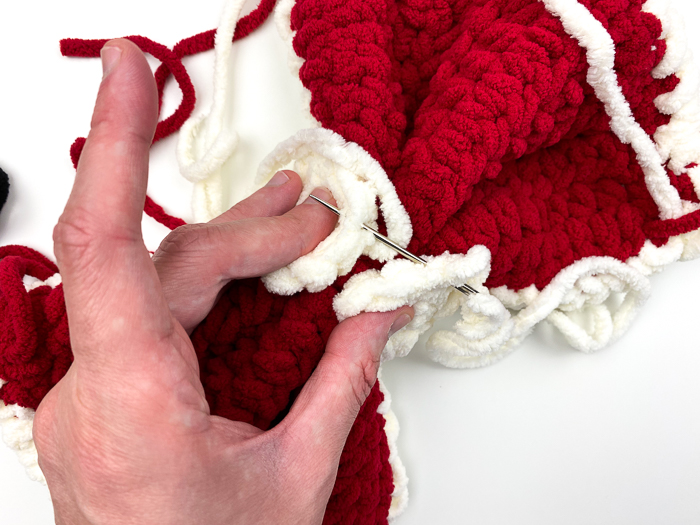
Weave your yarn through a few times and securely fasten!
Once you weave in all of your tails, you’re done! Congratulations! I cant wait to see everything that you do with your Jumbow. Let me know down below what you plan on doing!
All editorial content and projects are intellectual property of Vincent Green-Hite, designer of Knot Bad.
Please do not claim this pattern as your own. If you wish to share this pattern, you may link to this pattern but please do not reprint it on your site. You may keep a copy for your own personal use but please DO NOT sell the pattern or distribute it.
You may sell products made from this pattern but please clearly credit the design to Knot Bad and link it my website knotbadami.com Make sure to post it!
Use the hashtag #yarnpunk and #handmadewithjoann when posting it and please feel free to tag me and show me how yours turned out! You can also find the Facebook group and subreddit r/yarnpunk to post to as well!
