There are tons of reasons why streaming platforms have made our lives better and more convenient but there a huge aspect I want to touch upon today – And that is accessibility. As English speakers in the western world, it’s so great that we can be exposed to other cultures and their cinema on screen at the click of a button! No longer is there a language barrier that can prevent us from enjoying them!
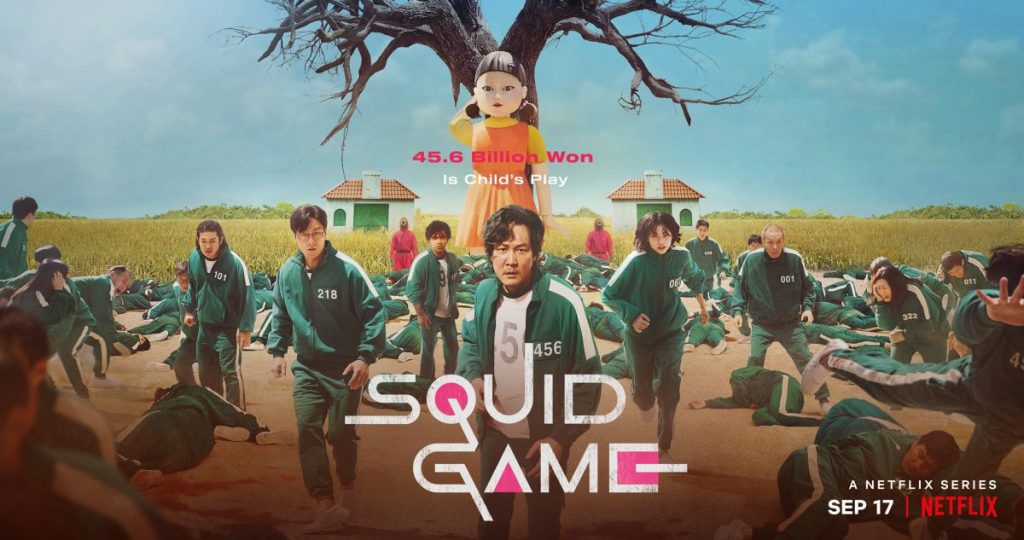
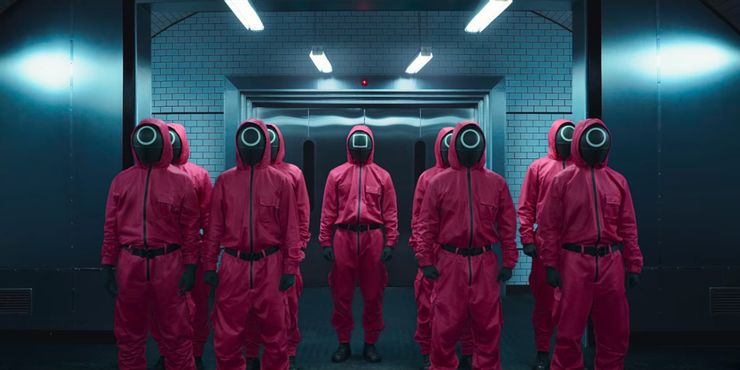
The show we have just watched that has taken the world by storm is Squid Game! It’s a K-drama combined with being a thriller as well. It’s intense, dark, and pretty gruesome. Definitely not for the feint of heart!
But if you are into those kind of gore psychological thrillers, I could not recommend it enough. The series is found on Netflix and this promo might look familiar to you.
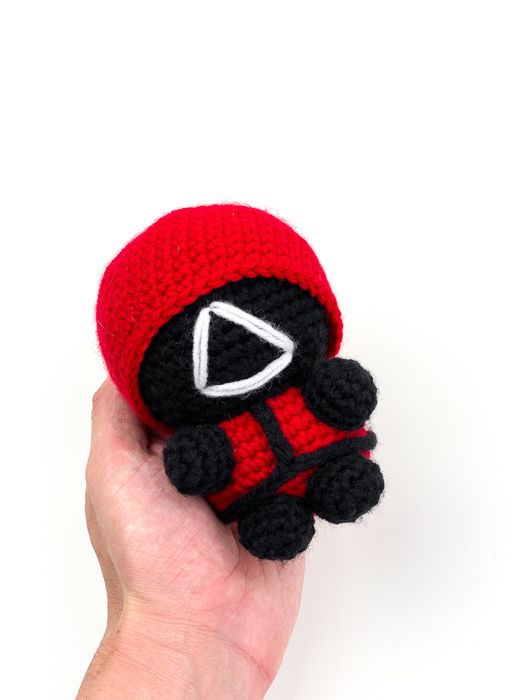
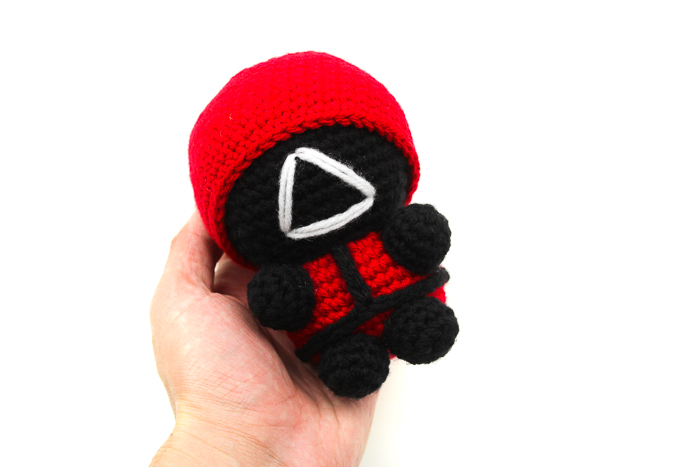
I don’t typically do this, but I just loved the show so much that I wanted to come up with a quick pattern to follow this trend! We will have to see how this blog post ages in the long run but for the time being, I really enjoyed making this chibi project. There have been other maiguurmi artists who have made their own fan artas well but I hope you’ll enjoy my style to this.
What did you think of the show? Let me know down below in the comments, would love to share opinions with you!
Down below, you will find the free pattern! Enjoy!
Please do not claim this pattern as your own. If you wish to share this pattern, you may link to this pattern but please do not reprint it on your site. You may keep a copy for your own personal use but please DO NOT sell the pattern or distribute it.
You may sell products made from this pattern but please clearly credit the design to Knot Bad and link it my website knotbadami.com Make sure to post it! Use the hashtag #yarnpunk and #handmadewithjoann when posting it and please feel free to tag me and show me how yours turned out! You can also find the Facebook group and subreddit r/yarnpunk to post to as well!
So here’s what you’ll need:
All the yarns can be substituted with any worsted weight yarn (size 4)*
1 Skein in JOANN Big Twist (in Black)
1 Skein in JOANN Big Twist (in White)
1 Skein in JOANN Big Twist (in Red)
1 Skein in JOANN Big Twist (in Medium Rose)

Dimensions
Height: 5″ inches roughly
Width: 3.5″ inches roughly
Don’t forget to pin this pattern for later! It can be easy to forget so make sure you have this tucked away for a rainy day on your Pinterest Boards!
Skill Level:
Easy
Abbreviations (In US terms)
Sl st – Slip Stitch
Ch – chain
Sc – Single Crochet
Inc – Increase
Dec – Decrease
FLO – Front Loop Only
* *- Repeat
FO – Finish Off
Notes:
- This pattern is worked in the round
- This pattern is written in US terms
- You can find helpful tutorials throughout, but if you would like to find some of my tips and tricks you can head HERE!
- The photo for each step will be found BELOW said step.
- Find my YouTube tutorial for the Magic Ring here!
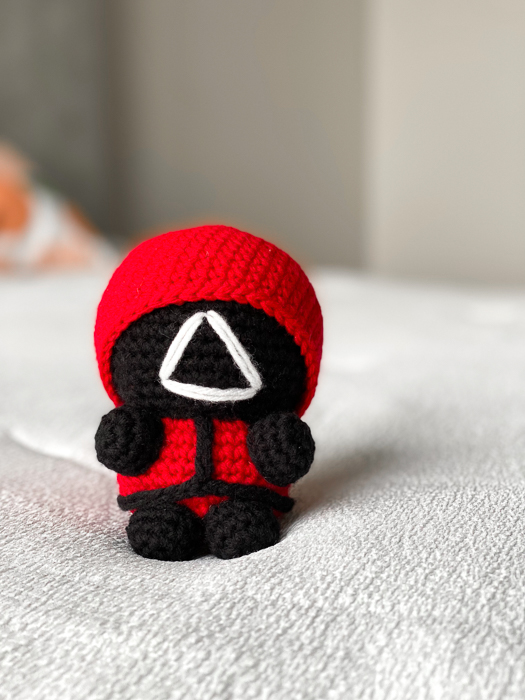
Let’s Begin
Main Body
(Begin in Black)
Rnd 1: 6 Single crochet into Magic Ring (6) (Click here for video tutorial!)
Rnd 2: *Inc* around (12)
Rnd 3: *Sc, Inc* around (18)
Rnd 4: *Sc 2, Inc* around (24)
Rnd 5: *Sc 3, Inc* around (30)
Rnd 6: *Sc 4, Inc* around (36)
Rnd 7: *Sc 5, Inc* around (42)
Rnd 8 – 14: Sc around (42)
Rnd 15: *Sc 5, Dec* around (36)
Rnd 16: *Sc 4, Dec* around (30)
Rnd 17: *Sc 3, Dec* around (24)
Begin stuffing firmly
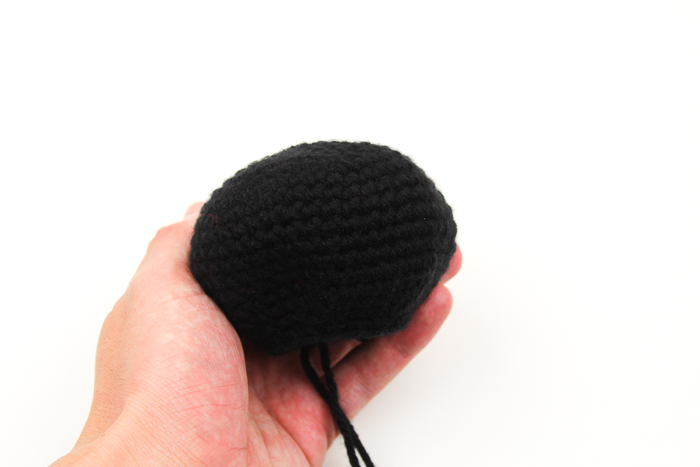
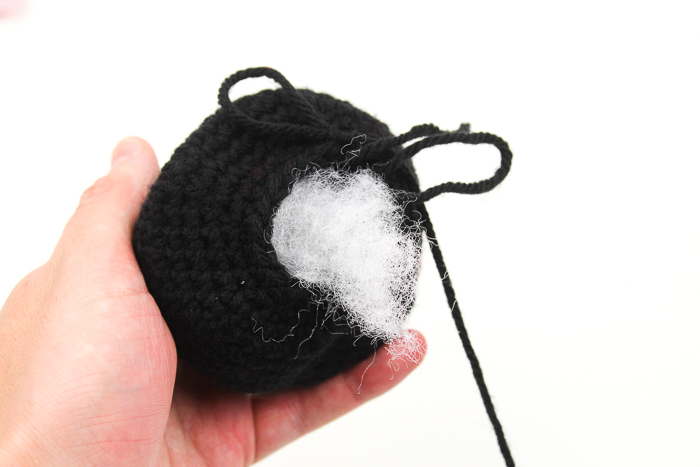
Rnd 18: *Sc 2, Dec* around (18)
Switch to Red
Rnd 19: *Inc in FLO* around (36)
Rnd 20 – 24: Sc around (36)
Rnd 25: *Sc 4, Dec* around (30)
Rnd 26: *Sc 3, Dec* around (24)
Stuff firmly
Rnd 27: *Sc 2, Dec* around (18)
Rnd 28: *Sc, Dec* around (12)
Close hole shut (Click here to see how to seam your hole shut at this stage!)
Finish off
Hood
Begin in Red
Rnd 1: 6 Single crochet into Magic Ring (6) (Click here for video tutorial!)
Rnd 2: *Inc* around (12)
Rnd 3: *Sc, Inc* around (18)
Rnd 4: *Sc 2, Inc* around (24)
Rnd 5: *Sc 3, Inc* around (30)
Rnd 6: *Sc 4, Inc* around (36)
Rnd 7: *Sc 5, Inc* around (42)
Rnd 8 – 18: Sc around (42)
Finish off
Arms and Legs (Make 4 in Total)
Begin in Black
Rnd 1: 6 Single crochet into Magic Ring (6) (Click here for video tutorial!)
Rnd 2: *Inc* around (12)
Rnd 3 – 4: Sc around (12)
Finish off and leave tail for sewing
Belt
(These are the numbers I used. However, everyone has different tension so you can change these numbers if need be!)
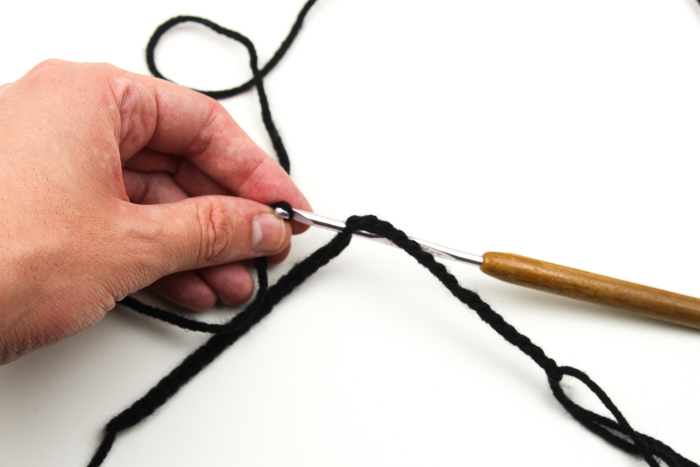
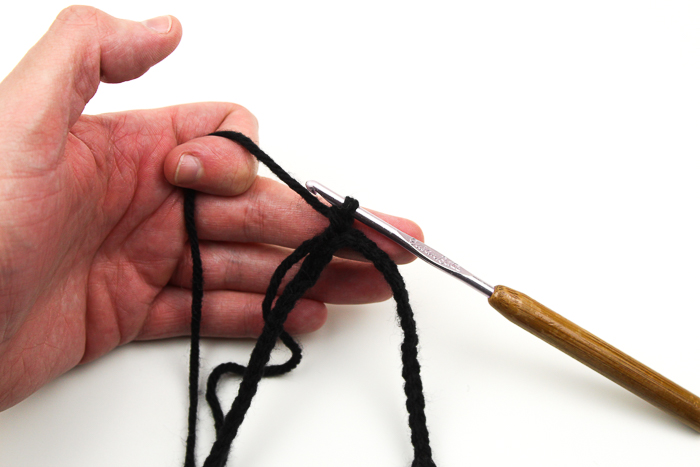
Slip knot, ch 36. Finish off.
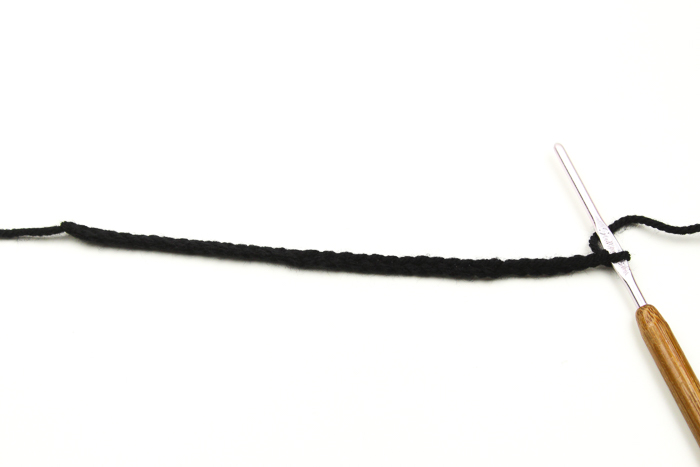
To add the “zipper”, attach your yarn into stitch 18. Attach with a sc. Chain 5 (6 in total)
Assembly
Your body should all be made in one piece, so congratulations on being done with that part! It is time to sew on the limbs and belt / zipper. The order of this doesn’t matter but I preferred to add the belt so I could see where the arms and legs go! But you may choose at your own discretion.
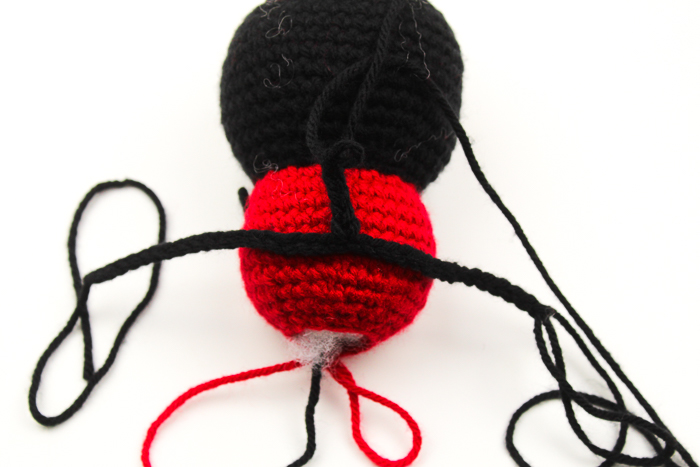
On the red body, place your belt on the 5th “ridge” starting from the first ridge of the red. (The ridge is where the stitches meet, the round that is lowest so the belt sits more snug)
In the back where both ends meet, you will use your darning needles to sew together!
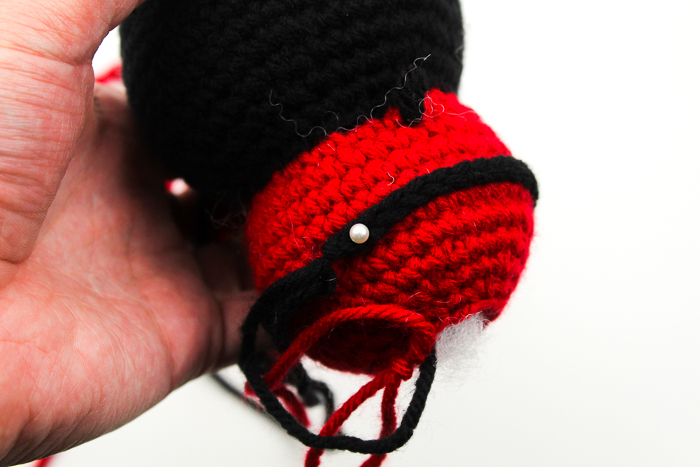
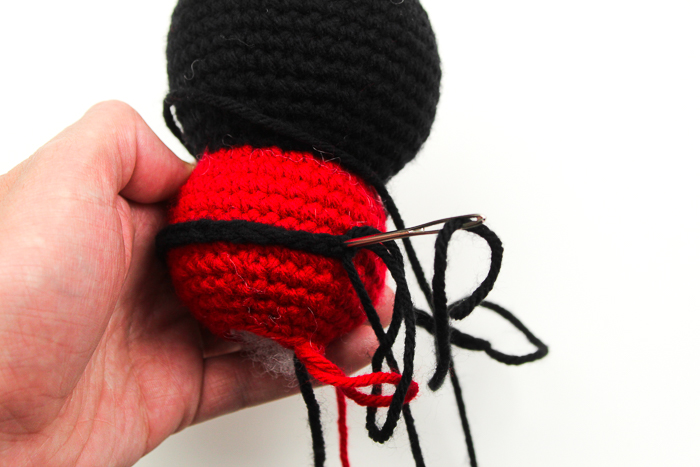
and then sew the front with the zipper!
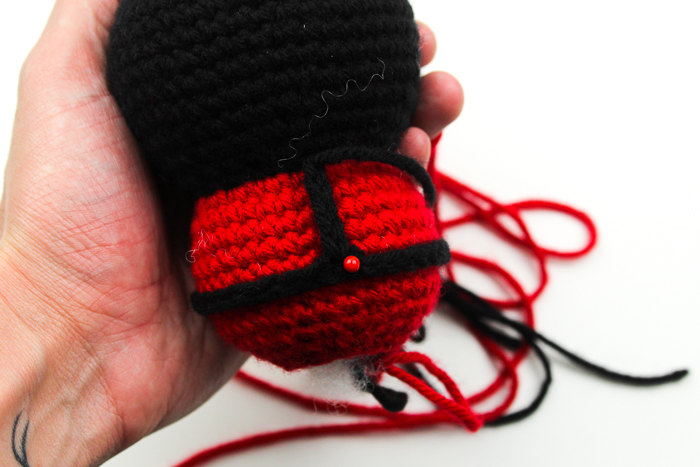
Using our safety pins (they’re optional but they’re helpful!) place the limbs where you want sewn. Attach all the pieces using your darning needle once again!
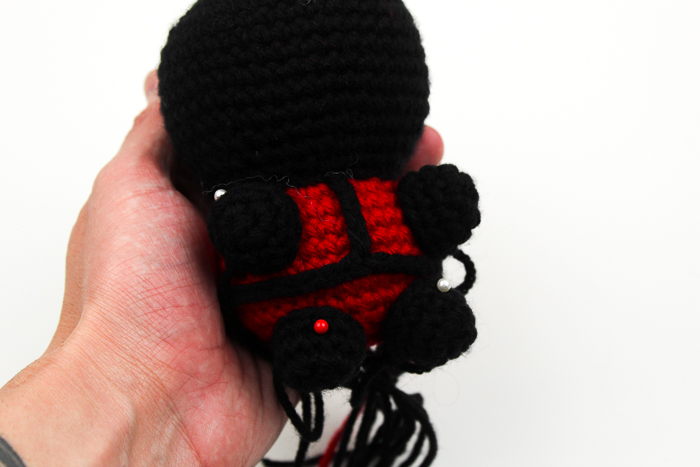
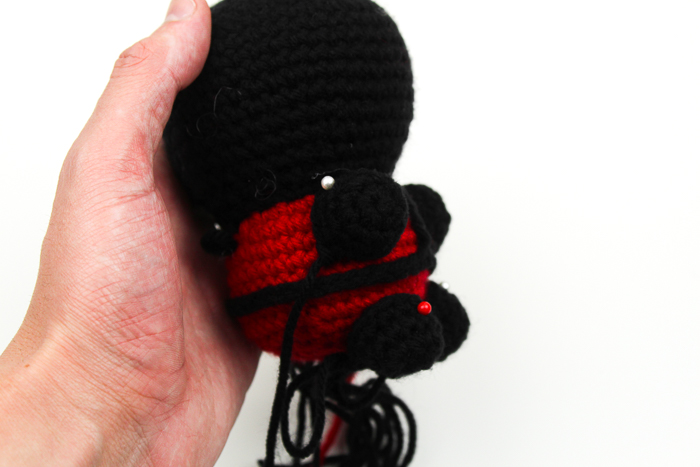
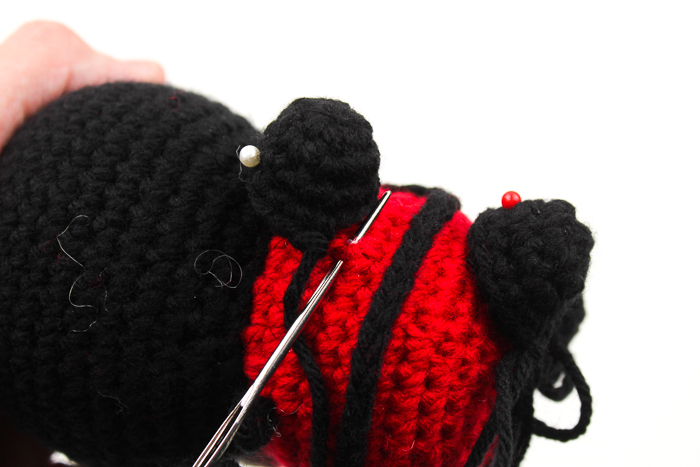
Before it’s fully sewn on, you will wont to add some polyfill to keep the shape!
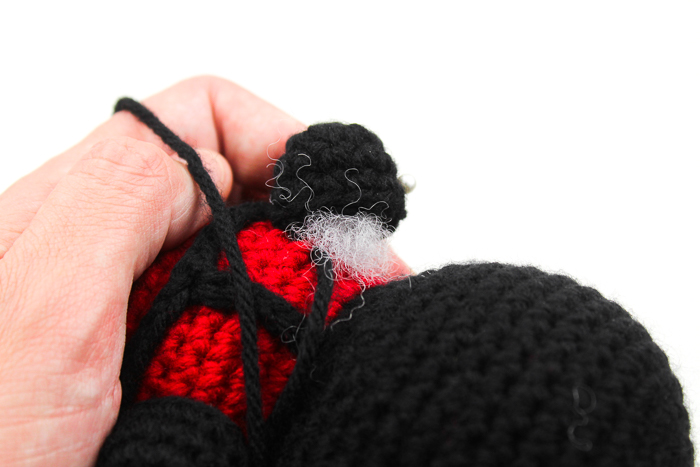
Almost done! Now it’s just time to add on the embroidered face shape (Your choice between square, triangle, and circle) and putting on the hood! the hood should be snug and sewing won’t be necessary but you can if you would like the extra security.
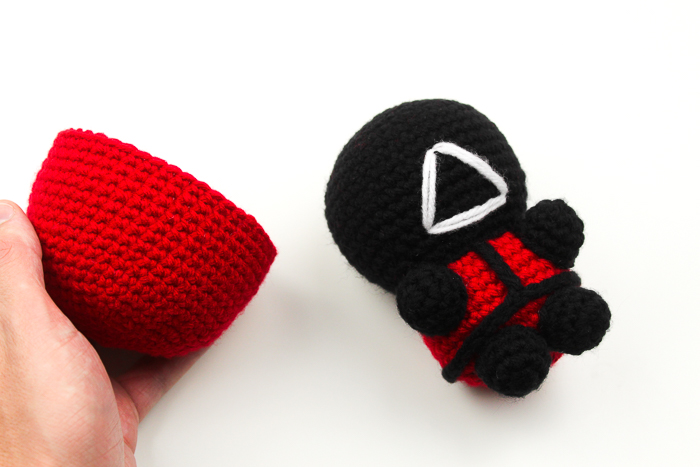
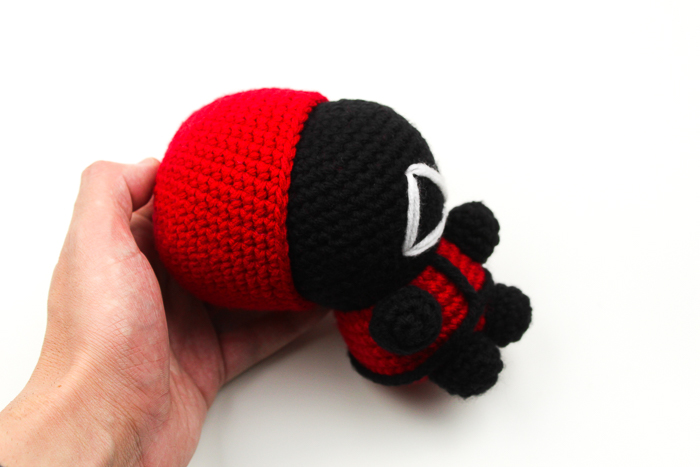
All done! I hope you enjoyed the pattern and it came out so cute, can’t wait to see how it turns out!
Please do not claim this pattern as your own. If you wish to share this pattern, you may link to this pattern but please do not reprint it on your site. You may keep a copy for your own personal use but please DO NOT sell the pattern or distribute it. You may sell products made from this pattern but please clearly credit the design to Knot Bad and link it my website knotbadami.com Make sure to post it! Use the hashtag #yarnpunk and #handmadewithjoann when posting it and please feel free to tag me and show me how yours turned out! You can also find the Facebook group and subreddit r/yarnpunk to post to as well!

