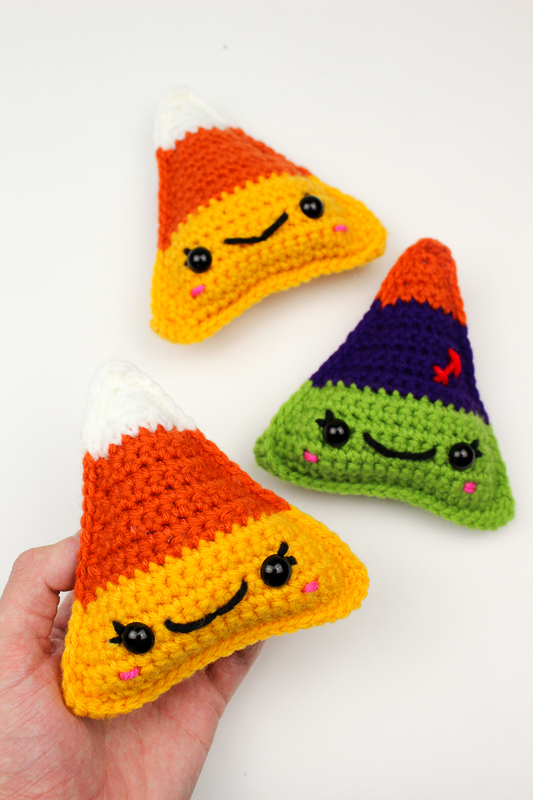
Anything and everything can be cute and I have a sweet candy for you on the blog – Candy Corn! However… mine ended up turning out looking like a Dorito? If you can look past that, I have no doubt you’ll love making these cute and kawaii plushies! Really easy and quick to make.
I am not sure when or how candy corn became such a staple treat in the season of Halloween, but it seems like its never going anywhere and I think I have no option but to embrace it. I personally think the taste is.. odd. I don’t hate it, but I am pretty done eating them after about 5 pieces. I know some love it and some hate it – Over on Twitch, chat had a good comparison – they kind of taste like candles. Let me know how you feel about them!
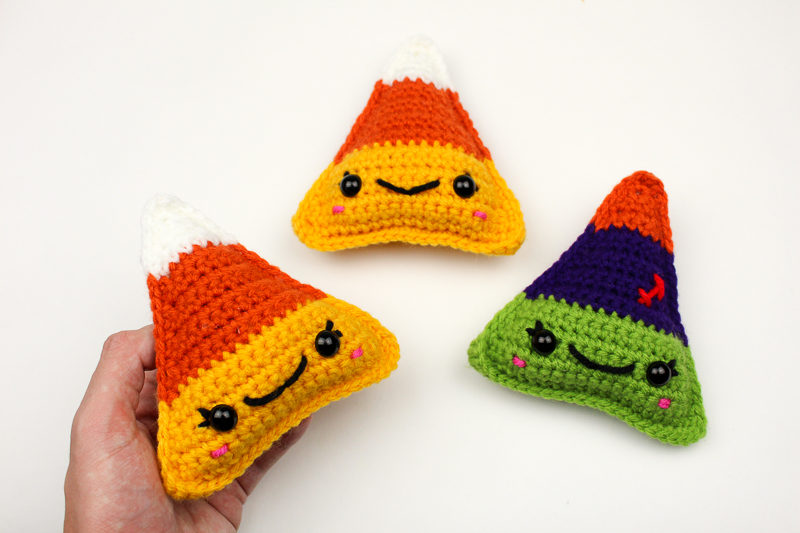
Down below, you can find the full free pattern and all the materials needed to make your own! Along with the normal candy corn, there’s even a festive Halloween flavor! Can’t wait to see which ones you make!
Please do not claim this pattern as your own. If you wish to share this pattern, you may link to this pattern but please do not reprint it on your site. You may keep a copy for your own personal use but please DO NOT sell the pattern or distribute it.
You may sell products made from this pattern but please clearly credit the design to Knot Bad and link it my website knotbadami.com
Make sure to post it! Use the hashtag #yarnpunk when posting it and please feel free to tag me and show me how yours turned out! You can also find the Facebook group and subreddit r/yarnpunk to post to as well!
So here’s what you’ll need:
All the yarns can be substituted with any worsted weight yarn*
1 Skein in JOANN Big Twist Value (Varsity Gold) [Color A]
1 Skein in JOANN Big Twist Value (Burnt Orange) [Color B]
1 Skein in JOANN Big Twist Value (White) [Color C]
For Halloween Flavor
1 Skein in JOANN Big Twist Value (Light Green) [Color A]
1 Skein in JOANN Big Twist Value (Grape) [Color B]
1 Skein in JOANN Big Twist Value (Burnt Orange) [Color C]
1 Skein in JOANN Big Twist Value (Red)

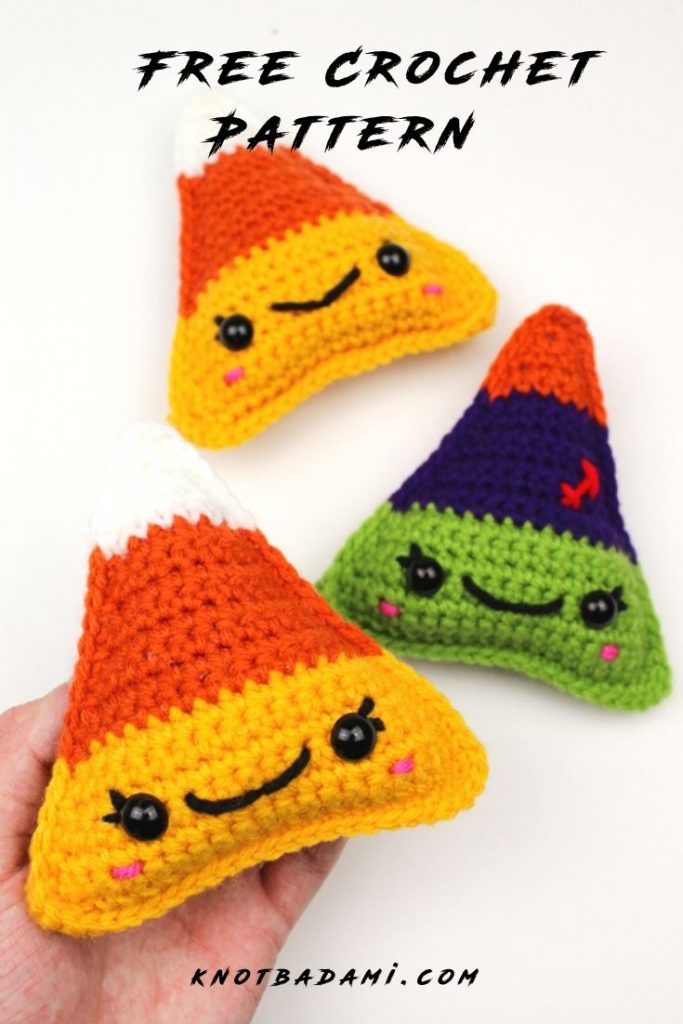
Dimensions
Height: 5″ inches roughly
Width: 5″ inches roughly
Skill Level:
Easy
Abbreviations:
Ch – chain
Sl st – Slip Stitch
Sc – Single Crochet
Dec – Decrease
* *- Repeat
FO -Finish Off
Notes:
- This pattern is worked in rows. It is worked in two flat panels
- The pattern will guide you in how to make the pieces – at the bottom will be where you find the assembly
- You can find helpful tutorials throughout, but if you would like to find some of my tips and tricks you can head HERE!
- The photo tutorial for each step will be found UNDER the written step.
- When working on the panels, you will see Color A,B, and C when switching colors – feel free to choose the standard candy corn or the Halloween one!
Lets Begin!
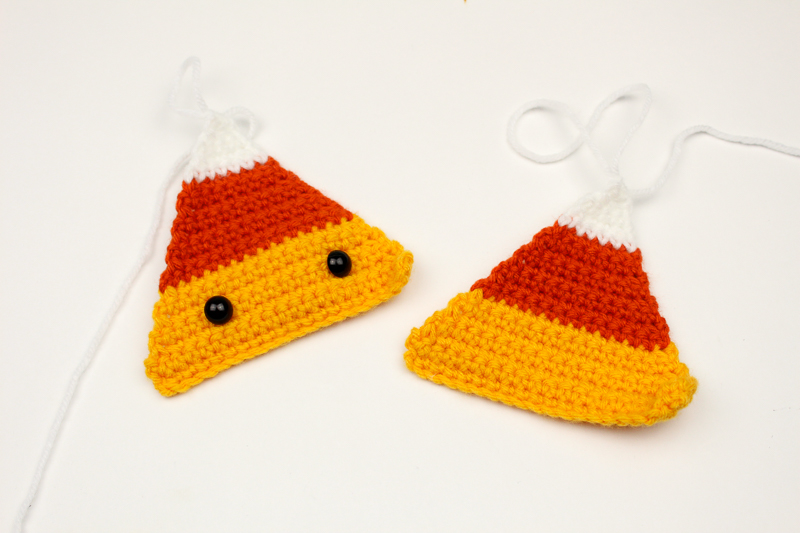
We will be making TWO panels.
Begin in Color A, Ch 21
Row 1: Sc into second chain, sc across (20)
Row 2: Ch 1, turn. Sc across (20)
Row 3: Ch 1, turn. Dec in first two stitches, sc across, dec in last two stitches (18)
Row 4: Ch 1, turn. Sc across (18)
Row 5: Ch 1, turn. Dec in first two stitches, sc across, dec in last two stitches (16)
Row 6: Ch 1, turn. Sc across (16)
Row 7: Ch 1, turn. Dec in first two stitches, sc across, dec in last two stitches (14)
Switch to Color B
Row 8: Ch 1, turn. Sc across (14)
Row 9: Ch 1, turn. Dec in first two stitches, sc across, dec in last two stitches (12)
Row 10: Ch 1, turn. Sc across (12)
Row 11: Ch 1, turn. Dec in first two stitches, sc across, dec in last two stitches (10)
Row 12: Ch 1, turn. Sc across (10)
Row 13: Ch 1, turn. Dec in first two stitches, sc across, dec in last two stitches (8)
Row 14: Ch 1, turn. Sc across (8)
Row 15: Ch 1, turn. Dec in first two stitches, sc across, dec in last two stitches (6)
Switch to Color C
Row 16: Ch 1, turn. Sc across (6)
Row 17: Ch 1, turn. Dec in first two stitches, sc across, dec in last two stitches (4)
Row 18: Ch 1, turn. Sc across (4)
Row 19: Dec across (2 dec’s total) (2)
Row 20: Dec into only two stitches (1)
Leave the white yarn still in a loop.
Now that you have both of your panels, be sure all your ends are weaved in besides the tail of the top as mentioned above. And we will also be adding in our safety eyes! Insert them into row 5 with 8 stitches apart.
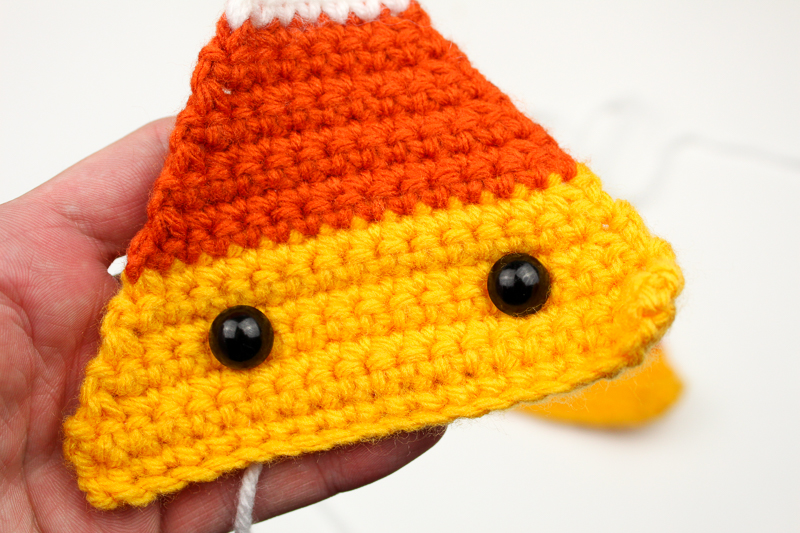
Assembly
**NOTE: You can choose any color option you desire but for the tutorial, we will be doing the standard candy corn!
With both panels on top of one another, you will now be using the single crochet to join them together. Starting from the tip, insert your hook through BOTH panels and pull through to do a sc. (Be sure your working to the left and your work is facing towards you!)
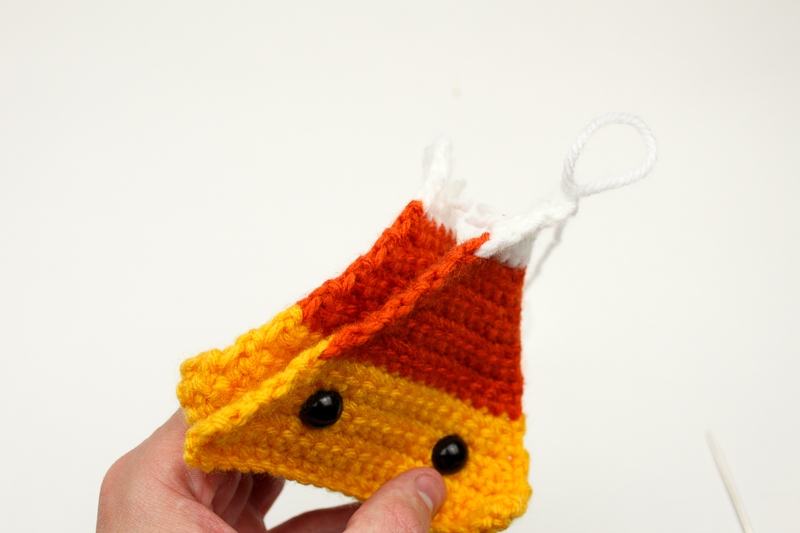
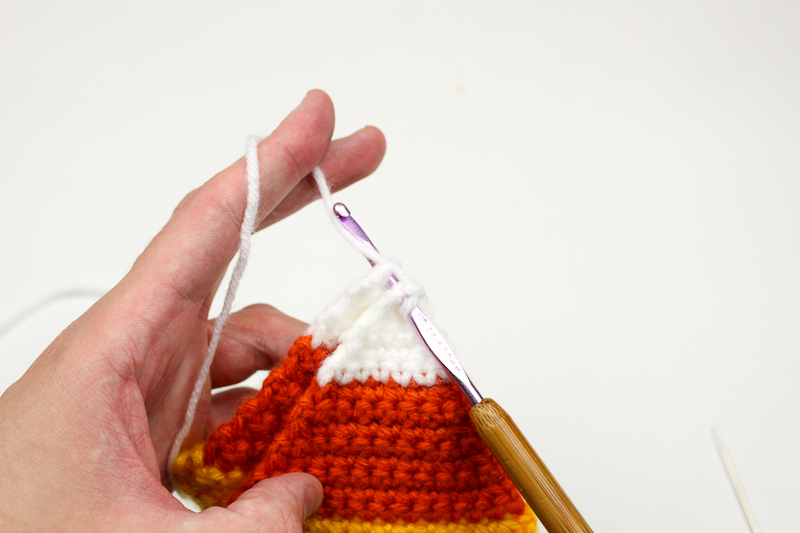
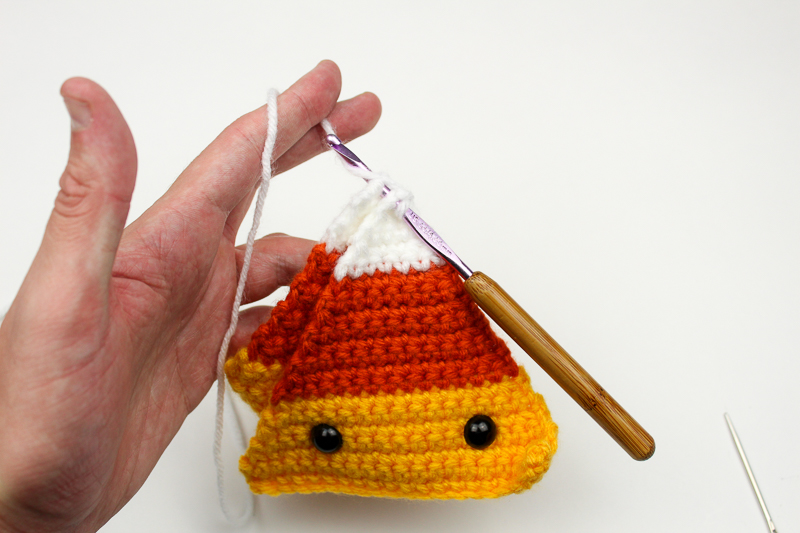
Single crochet down the left side into each stitch going through both panels
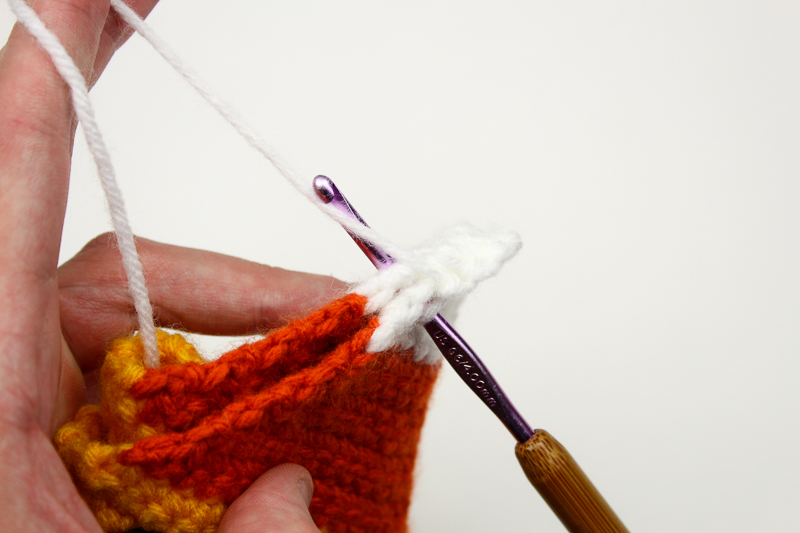
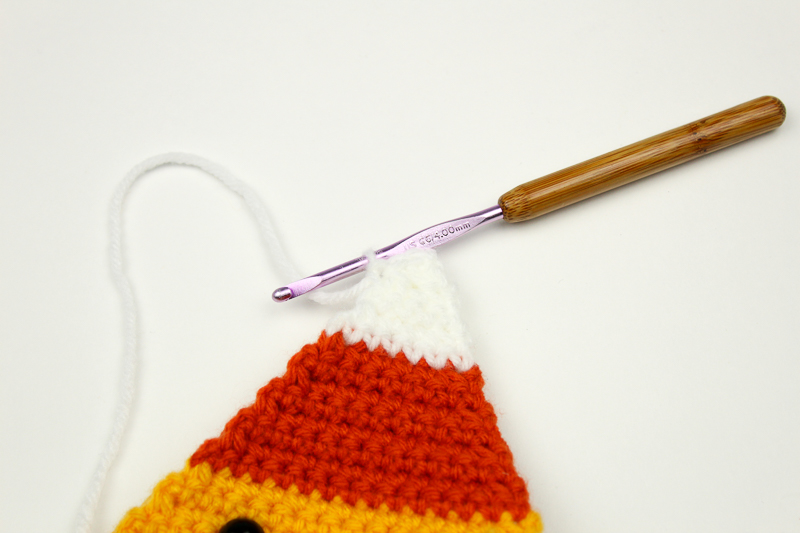
When you get to the next color, switch colors by pulling the following color through the last pull of a single crochet
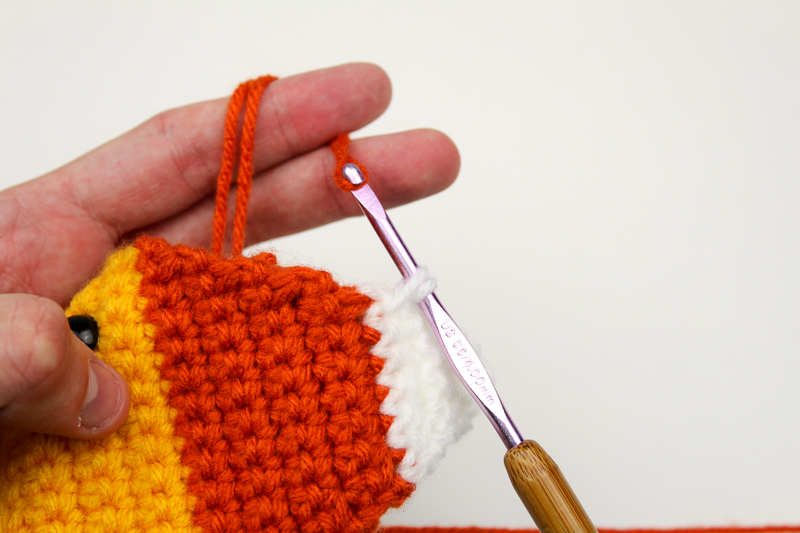
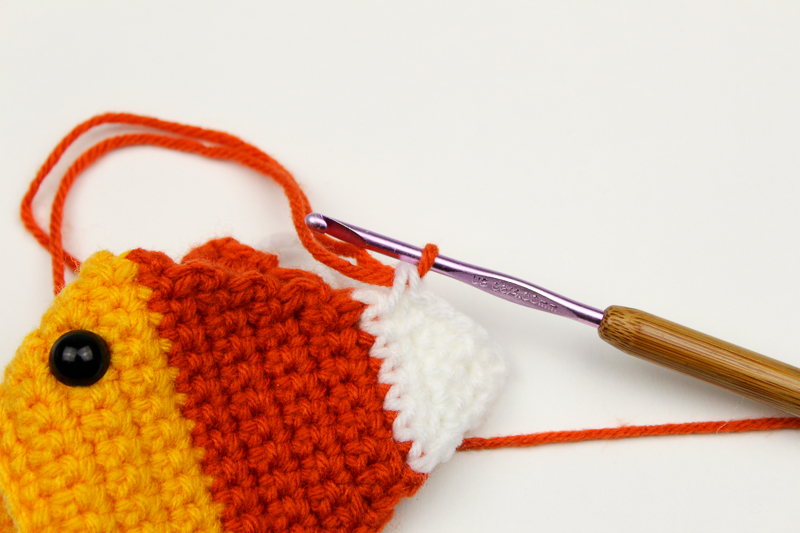
Continue following along and being sure to switch colors – one making it to the corner of the project, you will be doing 3 sc into the same corner stitch! (Do this on the next corner as well)
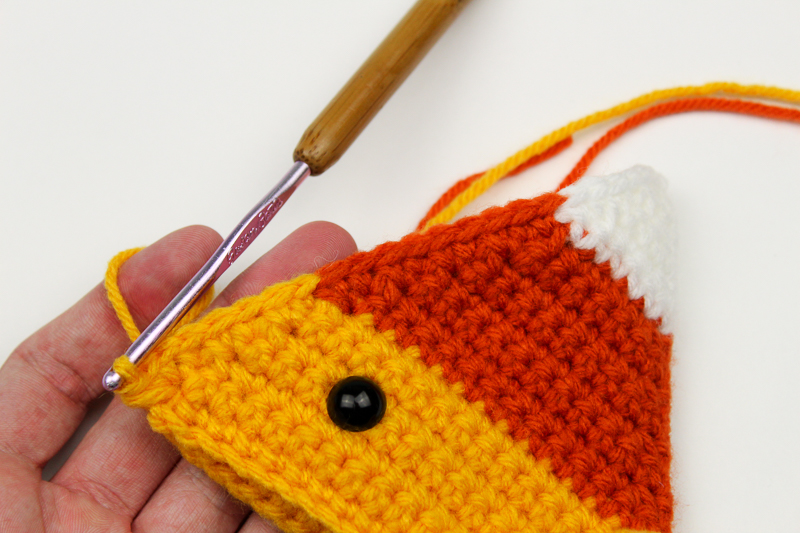
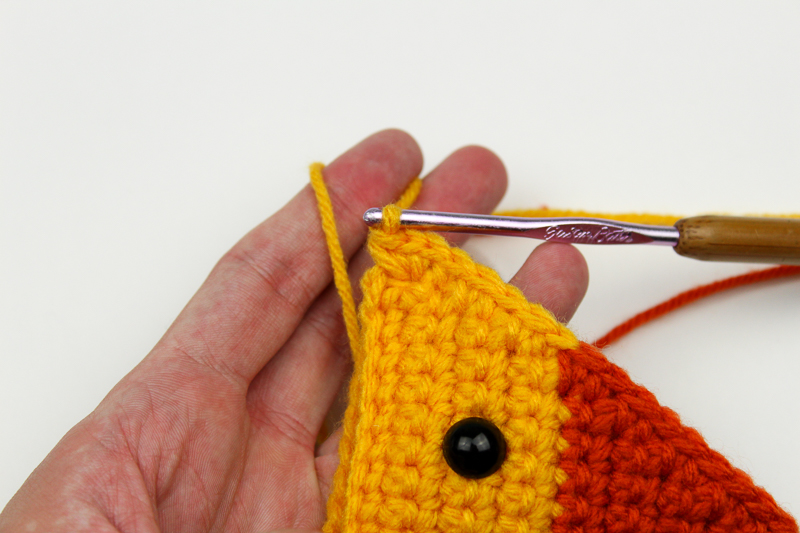
As you begin to get closer to the end of your piece, be sure you’re stuffing firmly!
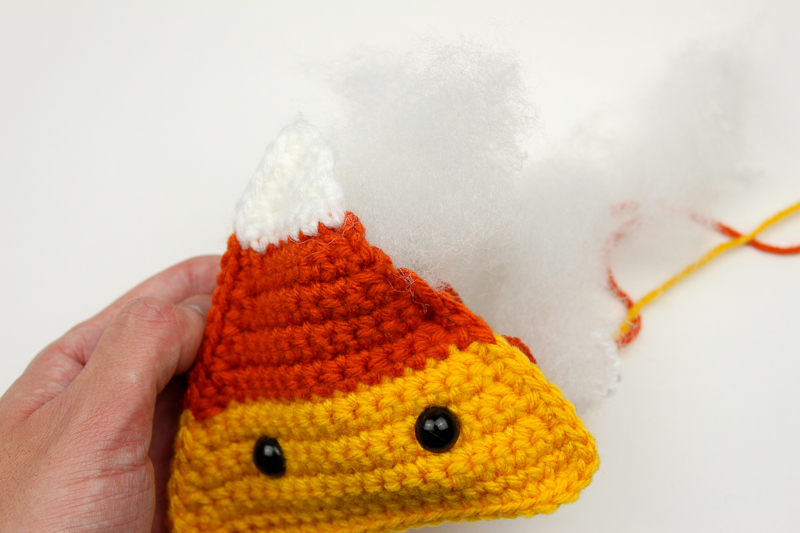
To close it all off, sl st into the very tip and finish off! Weave in all your ends.
The Last step now is adding the small details such as the smile, blush, and lashes! And if you’re going festive, feel free to add the scar!
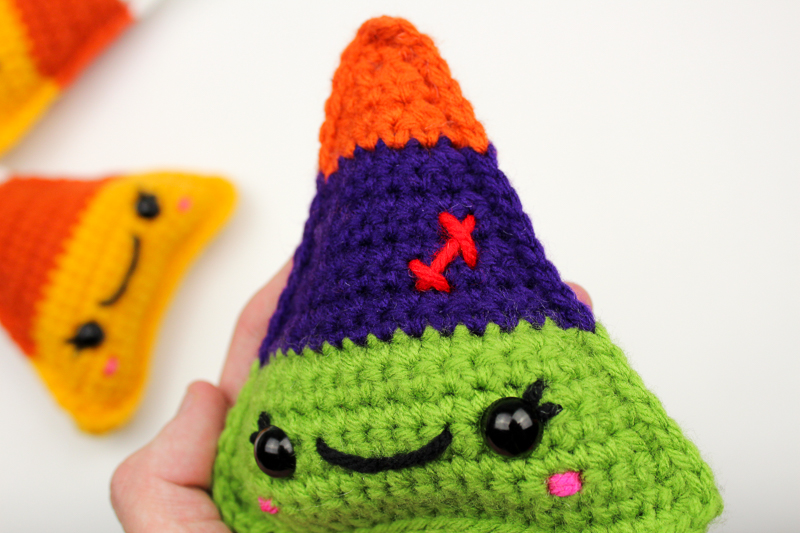
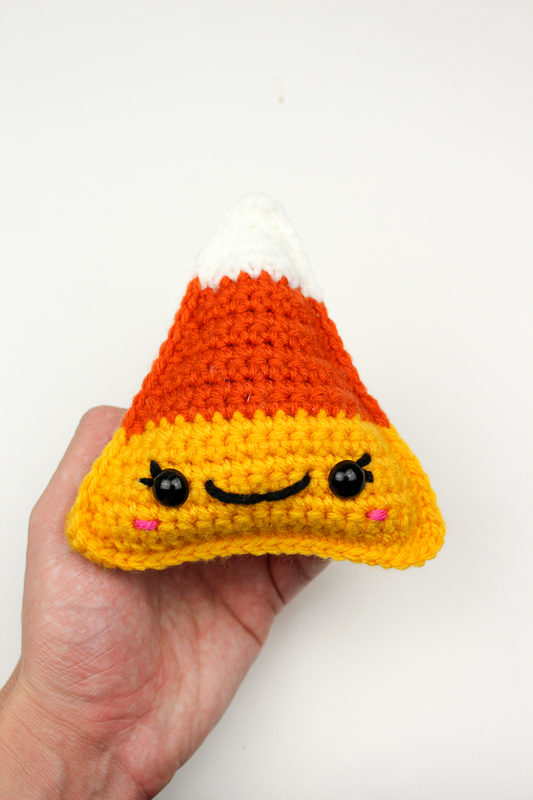
I hope you enjoyed this project! I had fun making this freebie for all of you and I am excited to see them all over social media!
Please do not claim this pattern as your own. If you wish to share this pattern, you may link to this pattern but please do not reprint it on your site. You may keep a copy for your own personal use but please DO NOT sell the pattern or distribute it.
You may sell products made from this pattern but please clearly credit the design to Knot Bad and link it my website knotbadami.com
Make sure to post it! Use the hashtag #yarnpunk when posting it and please feel free to tag me and show me how yours turned out! You can also find the Facebook group and subreddit r/yarnpunk to post to as well!


Curiosity question….How do you do the embroidering after you stuff it? I’ve always done it beforehand because I can’t get it afterwards. Is there a trick to it?
I love your patterns. I just started making amigurumi and yours are so easy to follow!