
Head here to purchase the Shooting Star version!
If you would like to receive patterns every month straight to your email, you can subscribe to me on Patreon by heading here!
Everyone can use a little magic, and here’s one way to wish upon some! And honestly, I think a lot of people could go for some magic right now. After playing enough Animal Crossing and wishing on stars, I was inspired to make my own! I tried to give it the most plushie look that I could, and it went well I think!
I know working in points like this can seem pretty intimidating but I promise this is easier thank it looks!
Disclaimers:
Please do not claim this pattern as your own. If you wish to share this pattern, you may link to this pattern but please do not reprint it on your site. You may keep a copy for your own personal use but please DO NOT sell the pattern or distribute it.
You may sell products made from this pattern but please clearly credit the design to Knot Bad and link it my website knotbadami.com
Make sure to post it! Please feel free to tag me and show me how yours turned out!
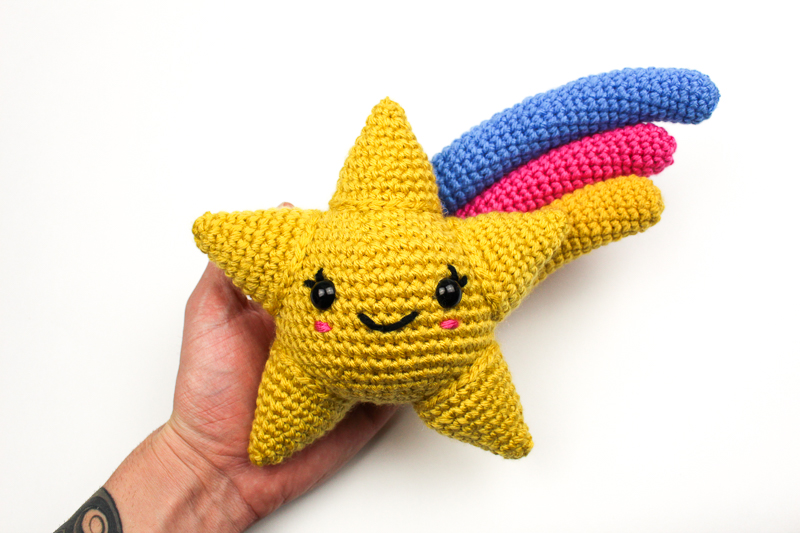
If you would like to learn how to make this star into a shooting star, you can head to both these places to learn more! Ravelry and Etsy
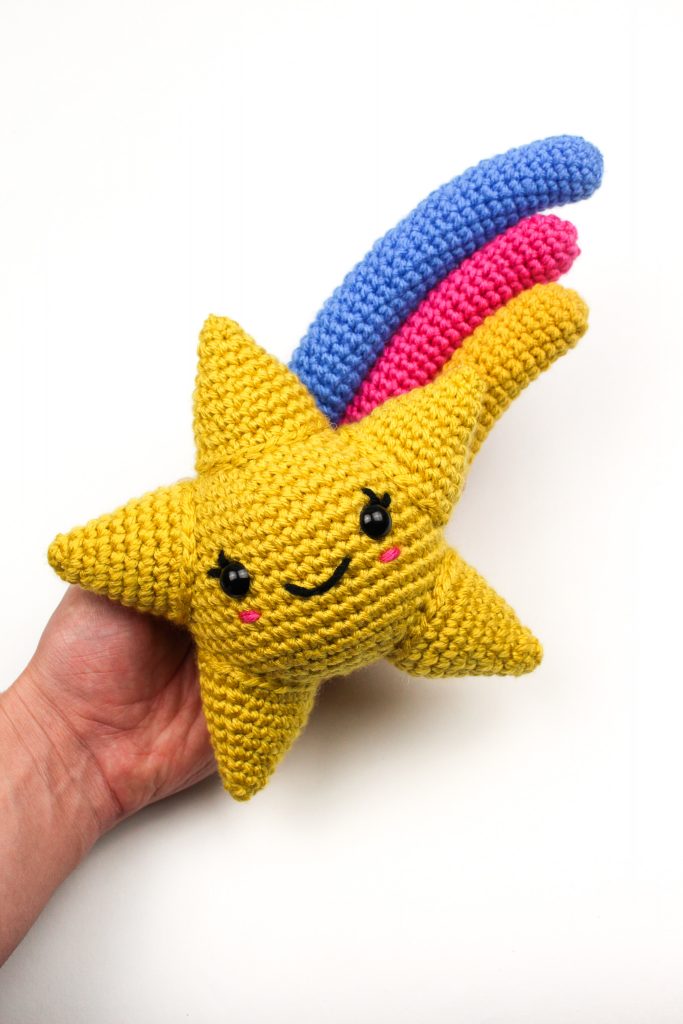
So here’s what you’ll need:
All the yarns can be substituted with any worsted weight yarn*
1 Skein in Lion Brand’s Basic Stitch Anti-Pilling (In Mustard – Color A)
1 Skein in Lion Brand’s Basic Stitch Premium (In Coastal – Color B)
1 Skein in Lion Brand’s Basic Stitch Premium (In Raspberry – Color C)
1 Skein in Lion Brand’s Basic Stitch Anti-Pilling (In Black)
Dimensions
Height: 6″ inches
Width: 6″ inches
Skill Level: Easy+
Don’t forget to pin this pattern for later! It can be easy to forget so make sure you have this tucked away for a rainy day on your Pinterest Boards!
Abbreviations:
Ch – chain
Sl st – Slip Stitch
Sc – Single Crochet
FLO – Front Loop Only
BLO – Back loop only
* *- Repeat
FO -Finish Off
Notes:
- This pattern is worked in the round and not joined.
- You can choose any color combo you wish – Up top you will see Color A and Color B which will also be directed in the pattern!
- The pattern will guide you in how to make the pieces – at the bottom will be where you find the assembly
- You can find helpful tutorials throughout, but if you would like to find some of my tips and tricks you can head HERE!
- The photo tutorial for each step will be found UNDER the written step.
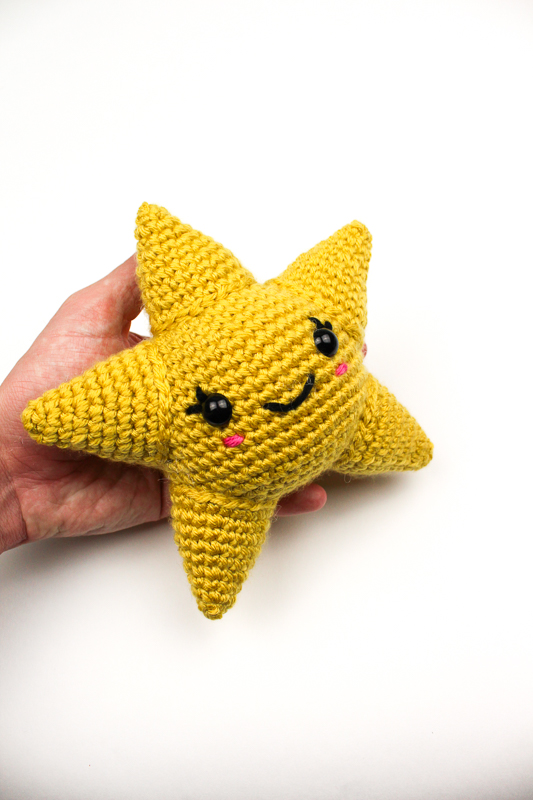
Let’s Get Started!
Main Body – Start in Color A (Mustard)
Rnd 1: 6 Single crochet into Magic Ring (6)
Rnd 2: *Inc* around (12)
Rnd 3: *Sc, Inc* around (18)
Rnd 4: *Sc 2, Inc* around (24)
Rnd 5: *Sc 3, Inc* around (30)
Rnd 6: *Sc 4, Inc* around (36)
Rnd 7: *Sc 5, Inc* around (42)
Rnd 8: *Sc 6, inc* around (48)
Rnd 9 – 16: Sc around (48)
Rnd 17: *Sc 6, Dec* around (42)
Rnd 18: *Sc 5, Dec* around (36)
Rnd 19: *Sc 4, Dec* around (30)
At this point, you will want to begin stuffing the body firmly! Place your safety eyes in round 11 with 8 stitches apart. Head HERE to learn how to stuff your project
Rnd 20: *Sc 3, Dec* around (24)
Rnd 21: *Sc 2, Dec* around (18)
Rnd 22: *Sc, Dec* around (12)
Rnd 23: *Dec* around (6)
Finish off and sew hole shut.
Star Points (Make 5)
Rnd 1: 5 Single crochet into Magic Ring (5)
Rnd 2: Sc around (5)
Rnd 3: *Inc* around (10)
Rnd 4: Sc around (10)
Rnd 5: *Sc, Inc* around (15)
Rnd 6: Sc around (15)
Rnd 7: *Sc 2, Inc* around (20)
Rnd 8: Sc around (20)
Rnd 9: *Sc 3, Inc* around (25)
Rnd 10: Sc around (25)
Finish off and leave tail for sewing
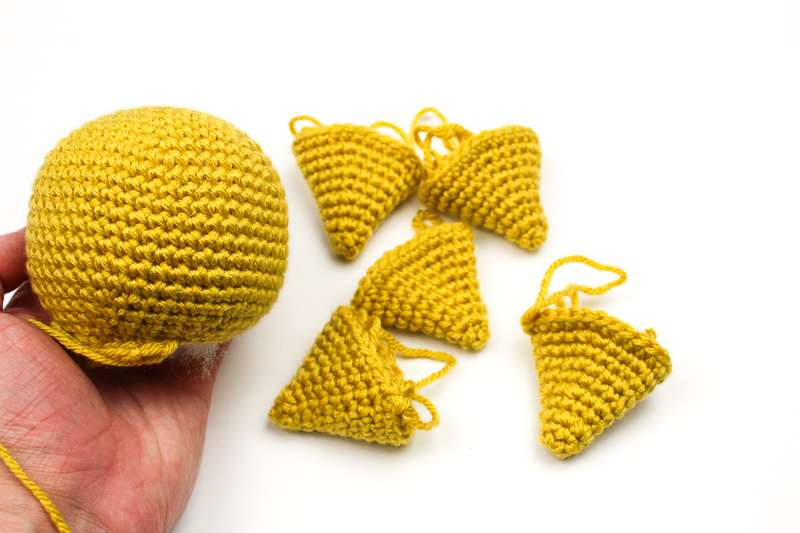
Assembly
With your star points, we are going to sew those on first! It will be extremely helpful to use safety pins to hold each one into place:
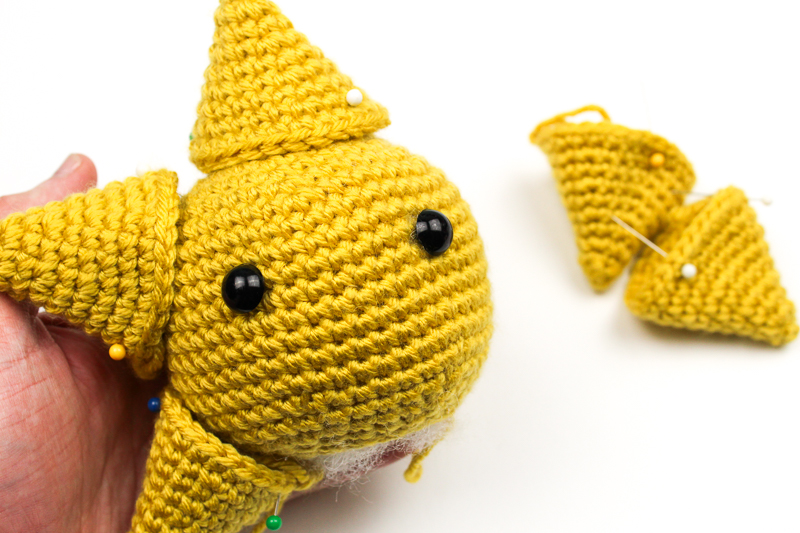


Be sure to stuff each point before finishing!

All Done!

If you would like to make the shooting star version, you can head over to Ravelry and Etsy to pick up that version!


Aawwww, this looks awesome!!! Can’t wait to make it.