Who else has a giant sweet tooth? I’m trying my best to cut back on the sweets so I thought this would be a perfect substitute! No sugar involved but still very sweet. Thanks to Clover USA, I was able to bring the candy to you, and in this case, gumballs! I would have to say that the red gumballs are probably my favorite! (Do they have actual flavors?) What’s your favorite color gumball? Let me know down below!
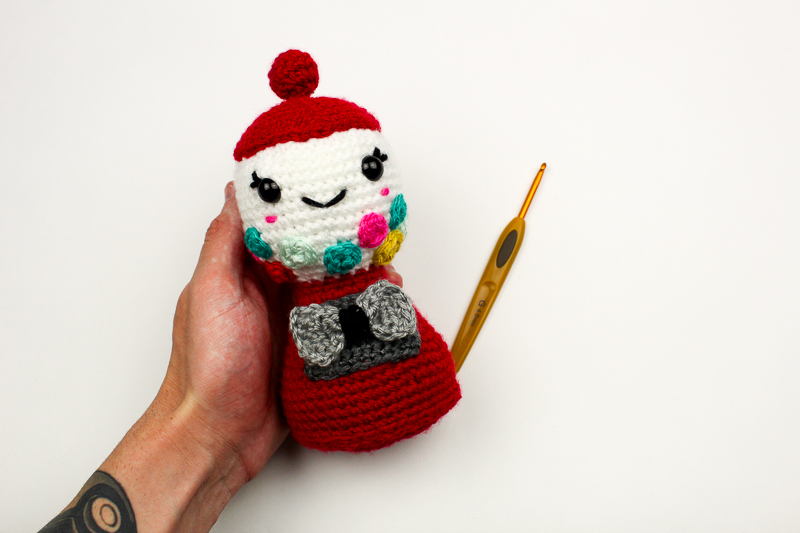
I remember how awesome it was to take your quarter, put it in the slot, and get some candy! Especially as a kid, 25 cents felt like it was going far. And what’s even sweeter is using Clover’s hooks to make this amigurumi! Thanks to Clover, creativity is not hard to achieve when you have the proper tools! My magic wand here is my 4mm hook.
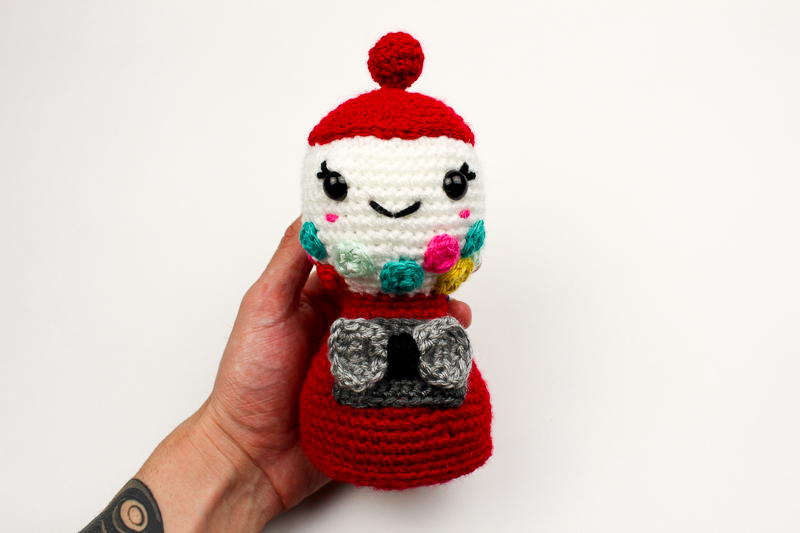
Today in partnership with Clover USA, you can find the free pattern the Gummy Gumdrop Machine down below. Get started on your own and be sure to get everything you need from Clover USA!
All editorial content and projects are intellectual property of Vincent Green-Hite, designer of Knot Bad. This post was sponsored by Clover USA but all ideas and opinions are my own.
If you would like to receive patterns every month straight to your email, you can subscribe to me on Patreon by heading here!
Any worsted weight yarn will work for all these colors!
So here’s what you’ll need:
1 Skein in Lion Brand’s Basic Stitch Premium (In Snow)
1 Skein in Lion Brand’s Basic Stitch Premium (In Black)
1 Skein in Lion Brand’s Basic Stitch Premium (In Garnet)
1 Skein in Lion Brand’s Basic Stitch Premium (In Raspberry)
(For the gumballs, choose size 4 yarn with the colors of your choosing! I recommend more Lion Brand Basic Stitch Premium)

Make sure to grab your clover hook in the 4mm size!

Dimensions
Height: 7″ inches
Width: 3″ inches
Skill Level: Easy

Abbreviations:
Ch – chain
Sl st – Slip Stitch
Sc – Single Crochet
Hdc – Half Double Crochet
FLO – Front Loop Only
( ) – The number inside is the amount of stitches at the end of the round/row!
* *- Repeat
FO -Finish Off
Gauge:
Isn’t needed for this project
Notes:
- This pattern is worked in the round and not joined.
- You can choose any color combo you wish for the gumballs.
- You can find helpful tutorials throughout, but if you would like to find some of my tips and tricks you can head HERE!
- The photo tutorial for each step will be found UNDER the written step.
- This Pattern is written in US terms!

Let’s Begin!
Main body (begin in white)
Rnd 1: 6 Single crochet into Magic Ring (6)
Rnd 2: *Inc* around (12)
Rnd 3: *Sc, Inc* around (18)
Rnd 4: *Sc 2, Inc* around (24)
Rnd 5: *Sc 3, Inc* around (30)
Rnd 6: *Sc 4, Inc* around (36)
Rnd 7: *Sc 5, Inc* around (42)
Rnd 8-14: Sc around (42)
Insert safety eyes into Rnd 10 with 9 stitches apart
Rnd 15: *Sc 5, Dec* around (36)
Rnd 16: *Sc 4, Dec* around (30)
At this point, you will want to begin stuffing the head firmly! If you want to learn more on stuffing, head to this post here!
Rnd 17: *Sc 3, Dec* around (24)
Rnd 18: *Sc 2, Dec* around (18)
Rnd 19: Sc into FLO around (18)
Rnd 20: Sc around (18)
Rnd 21: *Sc 2, Inc* around (24)
Rnd 22: Sc around (24)
Rnd 23: *Sc 3, Inc* around (30)
Rnd 24: Sc around (30)
Rnd 25: *Sc 4, Inc* around (36)
Rnd 26: Sc around (42)
Rnd 27: *Sc 5, Inc* around (42)
Rnd 28: Sc around (42)
Rnd 29: *Sc 6, Inc* around (48)
Rnd 30 – 34: Sc around (48)
Finish off
Bottom
Rnd 1: 6 Single crochet into Magic Ring (6)
Rnd 2: *Inc* around (12)
Rnd 3: *Sc, Inc* around (18)
Rnd 4: *Sc 2, Inc* around (24)
Rnd 5: *Sc 3, Inc* around (30)
Rnd 6: *Sc 4, Inc* around (36)
Rnd 7: *Sc 5, Inc* around (42)
Rnd 8: *Sc 6, Inc* around (42)
Finish off and leave tail for sewing
You’ll be sewing the bottom into place – be sure you’re stuffing the body!

Top
Rnd 1: 6 Single crochet into Magic Ring (6)
Rnd 2: *Inc* around (12)
Rnd 3: *Sc, Inc* around (18)
Rnd 4: *Sc 2, Inc* around (24)
Rnd 5: *Sc 3, Inc* around (30)
Rnd 6: *Sc 4, Inc* around (36)
Rnd 7: *Sc 5, Inc* around (42)
Rnd 8: *Sc 6, Inc* around (42)
Finish off and leave tail for sewing

Tippity Top
Rnd 1: 6 Single crochet into Magic Ring (6)
Rnd 2: *Inc* around (12)
Rnd 3-4: Sc around (18)
Rnd 5: *Dec* around (12)
Finish off and leave tail for sewing (seen above!)
Bow
Ch 6
Row 1: Hdc into second chain from hook, Hdc across (5)
Row 2 – 4: Ch 1, turn.
Finish off
With your yarn (black strand) insert through the center and wrap around tightly! You can head here for a full bow photo tutorial!
Chest Piece
Ch 6
Row 1: Sc into second chain from hook, sc across (5)
Row 2: Ch 1, turn. Sc inc into first stitch, sc across, sc inc into last stitch. (7)
Row 3: Ch 1, turn. Sc inc into first stitch, sc across, sc inc into last stitch. (9)
Row 4: Ch 1, turn. Sc inc into first stitch, sc across, sc inc into last stitch. (11)
Row 4 – 5: Ch 1, turn. Sc across (11)
Finish off and leave tail for sewing


Gumballs:
You can choose any color coordination you wish for this!
Rnd 1: 6 Single crochet into Magic Ring (6)
Finish off and leave tail for sewing

Once you have everything sewn on and in place, it’s time to embroider the face! Which means you’re including the lashes, smile, and blush! And of course, any other detail you want to add!

All done!
Make sure to post it! Please feel free to tag me (@knot.bad) and show me how yours turned out by using the hashtag #yarnpunk
And don’t forget to check out Clover and everything they have to offer, especially their hooks!