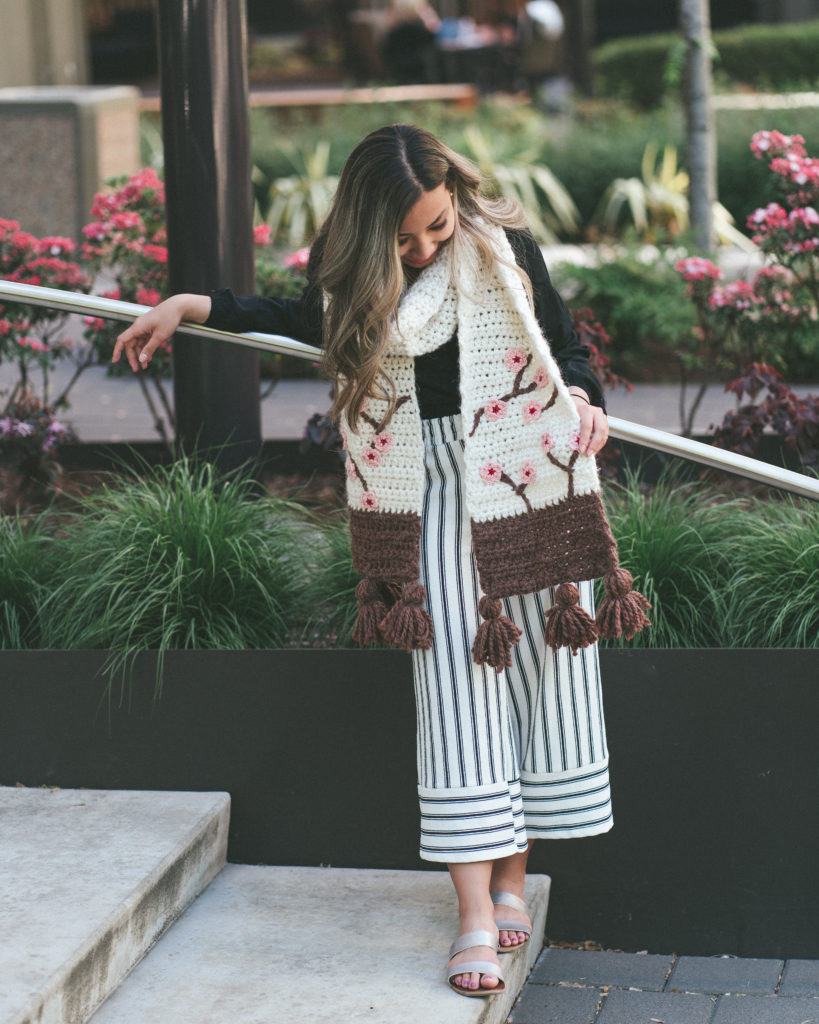
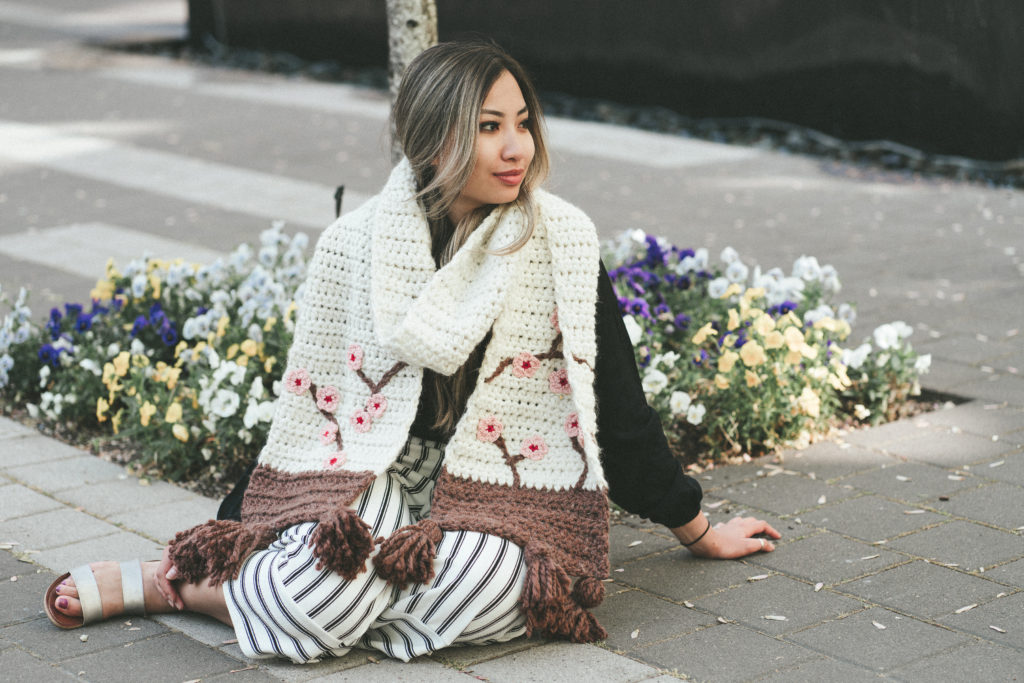
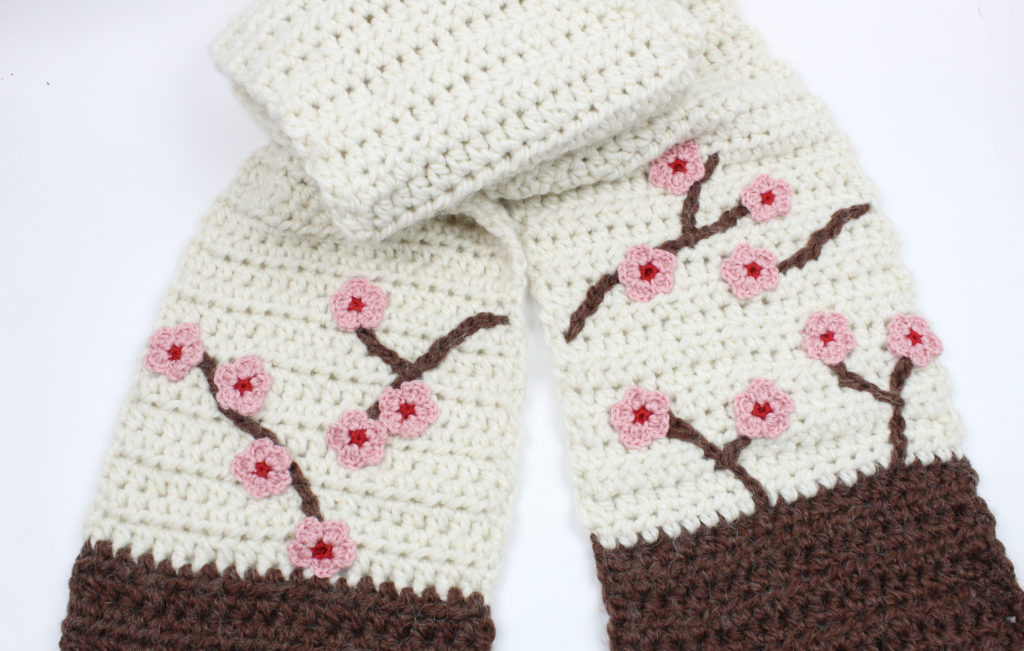
I have always loved the beauty of Cherry Blossoms and the aesthetic they bring with them. We fortunately get some in Portland during the spring, but I have always dreamed of seeing them bloom in Japan! I have actually planned a trip for Japan for October 2019, so to hold me over for my anticipation, I have created this Sakura Scarf! (In case you didn’t know, Sakura means Cherry Blossom in Japanese)
I was looking for yarn in JOANN to find the perfect yarn that could bring that “whimsy” that cherry blossoms typically do – and I fell in love with the Buttercream! Cherry blossoms have a sturdiness to them. JOANN is allowing my creativity to blossom, and with this pattern, you can too!
All editorial content and projects are intellectual property of Vincent Green-Hite, designer of Knot Bad. This post was sponsored by JOANN Stores but all ideas and opinions are my own.
Here’s Everything You need to Know Before Starting:
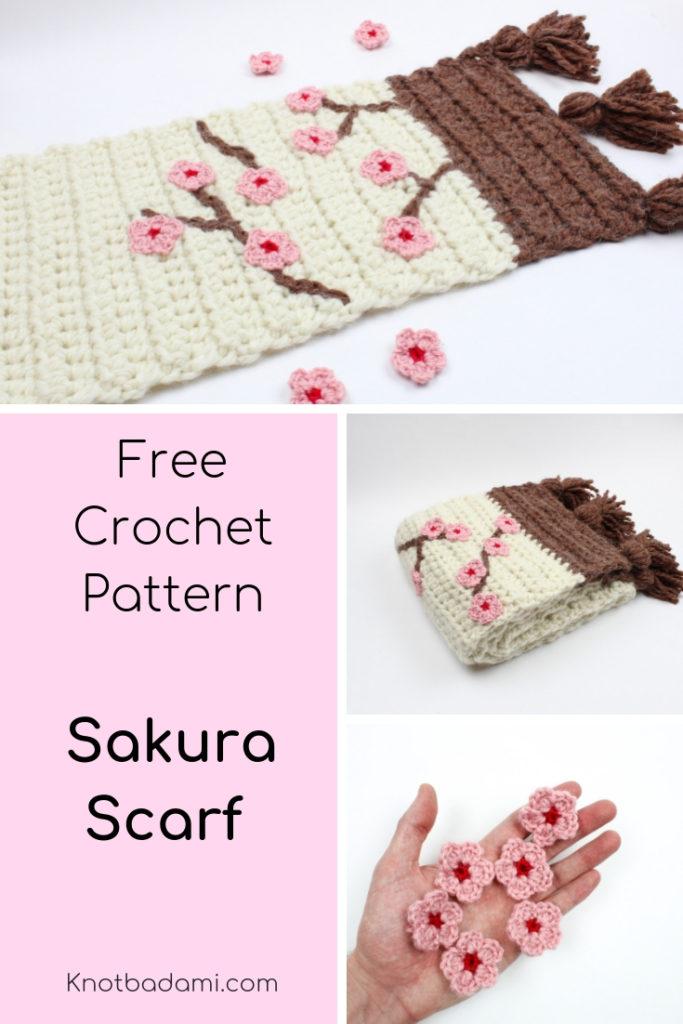
If you would like to purchase the Ad-free, printer friendly PDF version of this pattern, you can head HERE to get it from Ravelry!
Materials:
10mm Crochet Hook (This size will be used for the entirety of the scarf and the embroidered branches)
4mm Crochet Hook (This is used for the cherry blossoms)
Gauge: 8 stitches x 6 rows = 4×4” in Hdc
Skill Level: Easy
Dimensions:
Height – 87.5″ inches
Width – 9.5″ inches
Abbreviations:
Ch – chain
Sl St – Slip Stitch
Sc – single crochet
Inc – Increase (2 Sc in next stitch)
Dec – decrease (Sc 2 together)
Hdc – Half Double Crochet
Dc – Double Crochet
* – Repeat
Be sure to pin this pattern for later on Pinterest!
Let’s Begin!
Starting in Brown (Color B)
Ch 20
Step 1: In second chain from hook, hdc. Hdc across (19)
Step 2: Ch 1, turn. Hdc across (19)
Step 3: Repeat step 2 for Color B until it reaches 5″ inches.
Switch to White
Step 4: Repeat step 2 until the scarf reaches the length of 82.5″ inches in length (or your desired length!) (19)
Switch to Color B (Brown)
Step 5: Repeat step 2 for Color B until it reaches 5″ inches of brown (87.5″ inches in total) Switch to Brown
Finish off
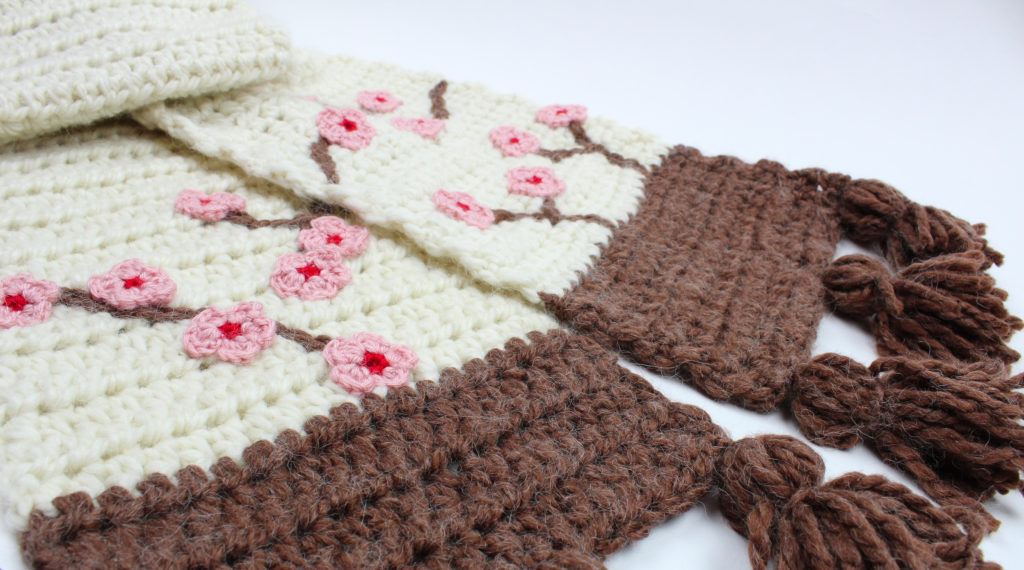
Creating the Cherry Blossoms:
Begin in Red
Sc 5 into the Magic Ring (But switching to Pink in the last stitch!)


Sl st into next stitch.

Ch 2. Dc into the SAME stitch as your sl st is in.


Dc into the same stitch 2 more times (3 times total)

Sl st into the next stitch

Repeat the same process of Ch 2, 3 Dc, sl st into next stitch.

Adding on the branches using surface crochet:
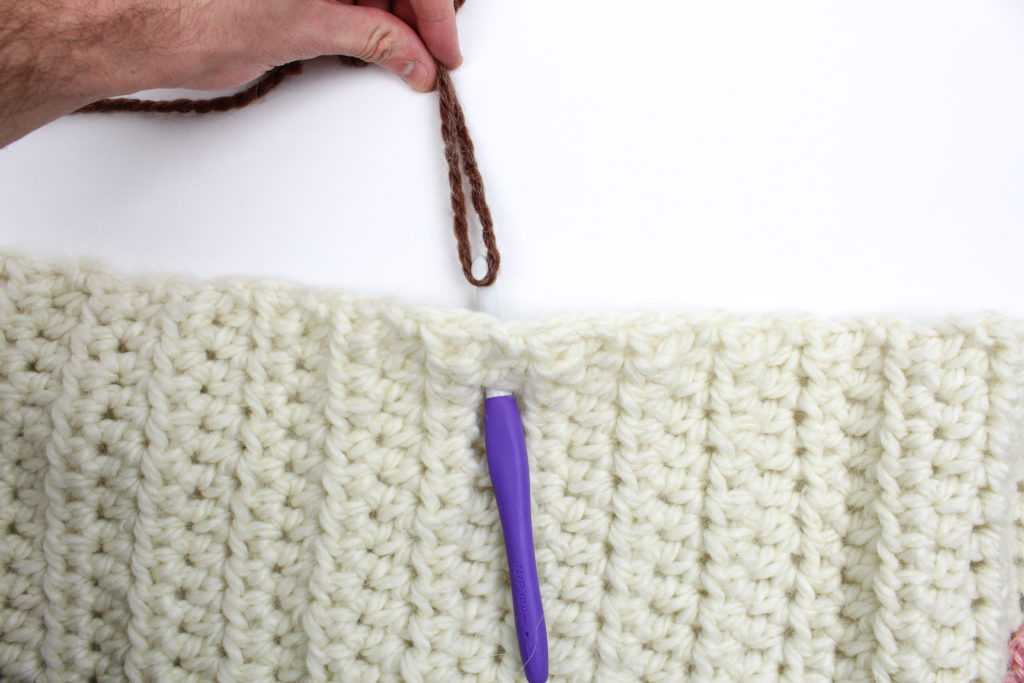
Starting from your desired starting point, inset your hook through a stitch hole and pull your yarn up through it.
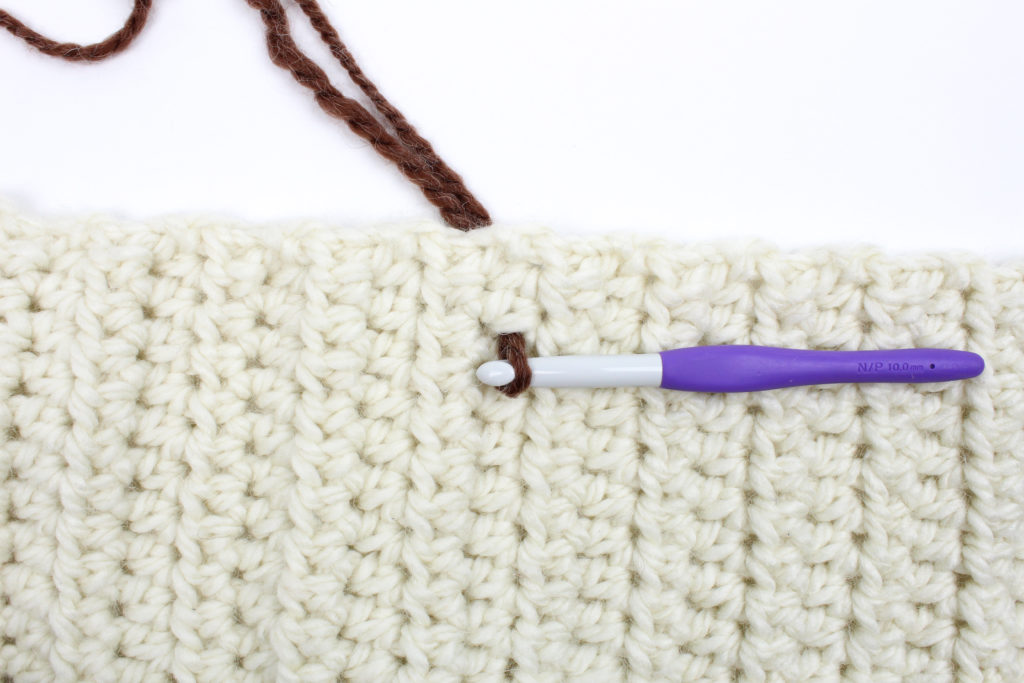
Insert your hook into any stitch next to this one and pull your yarn up from under
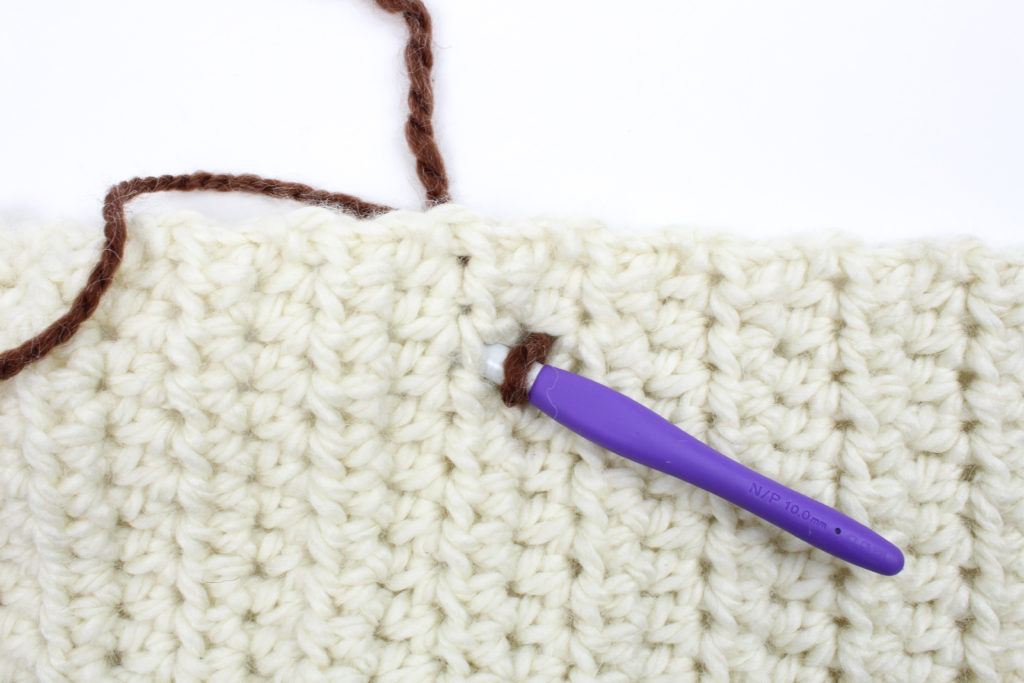
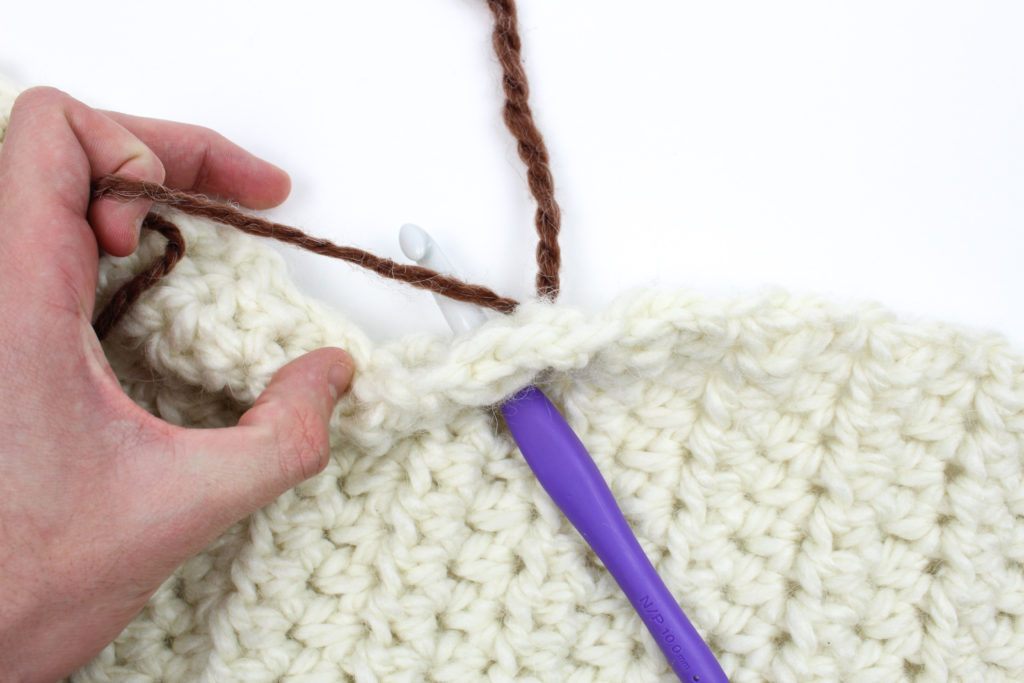
Pull your yarn through and sl st through your previous loop like so:
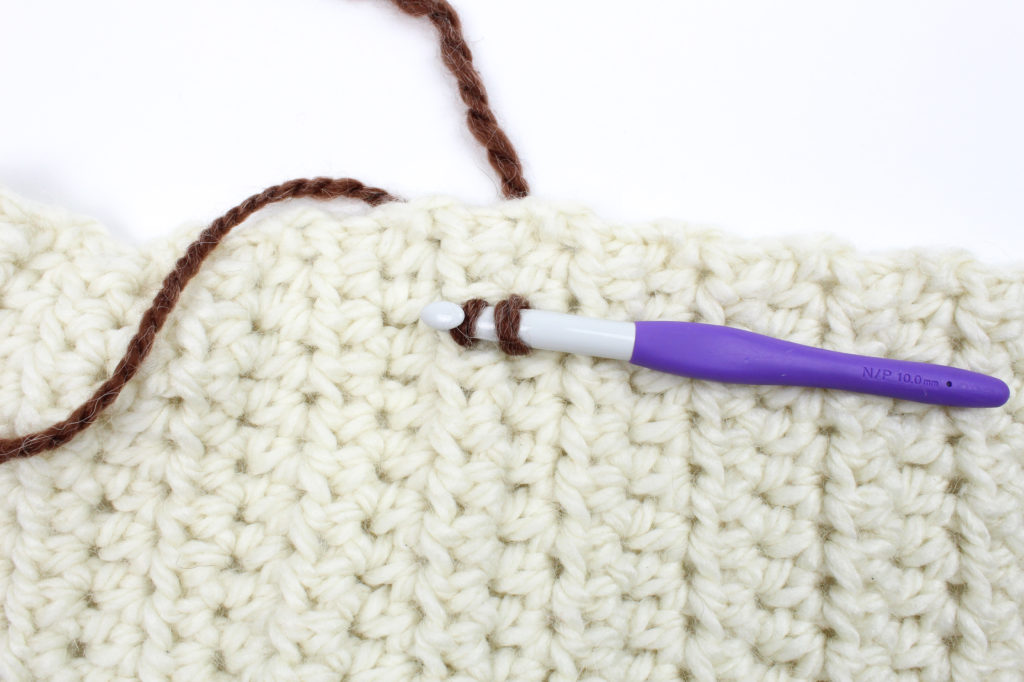
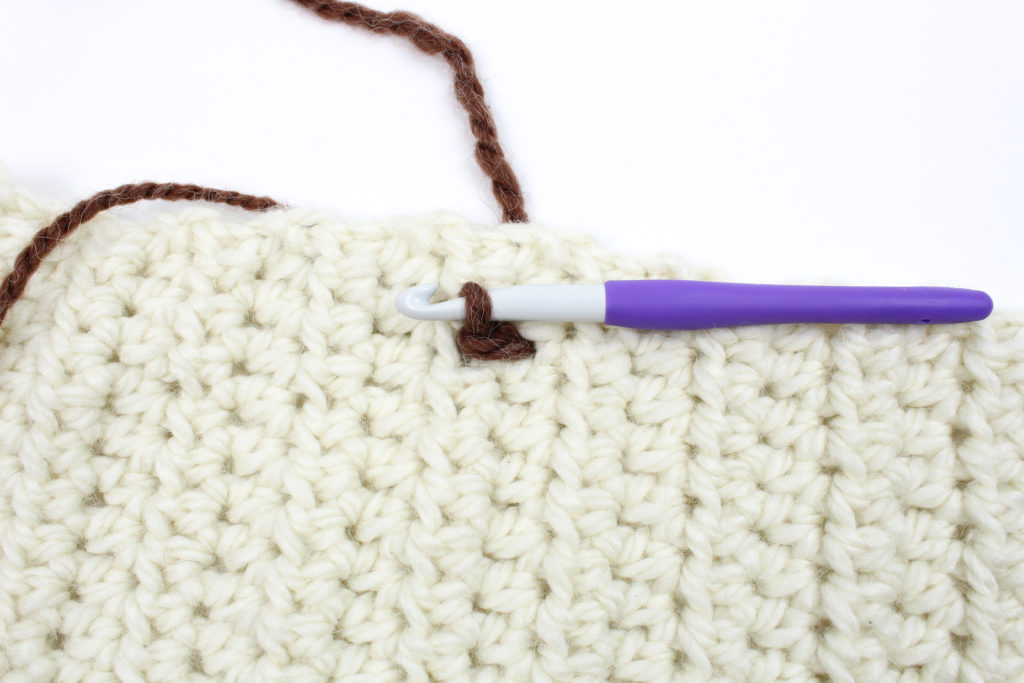
Continue this same step by step process to create branches the way you envision cherry blossom trees!
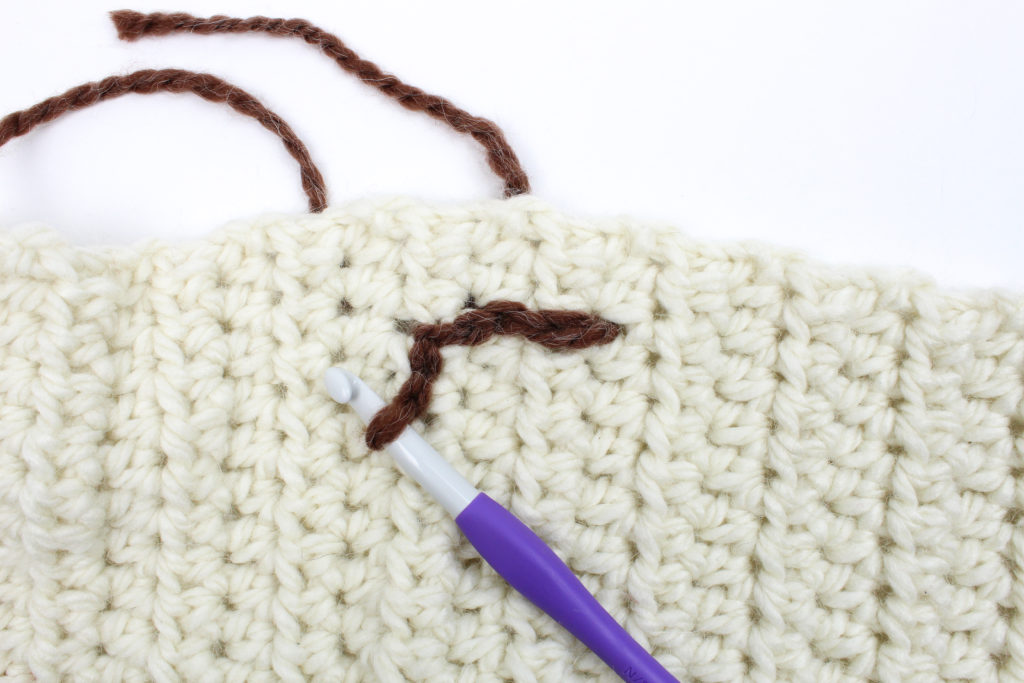
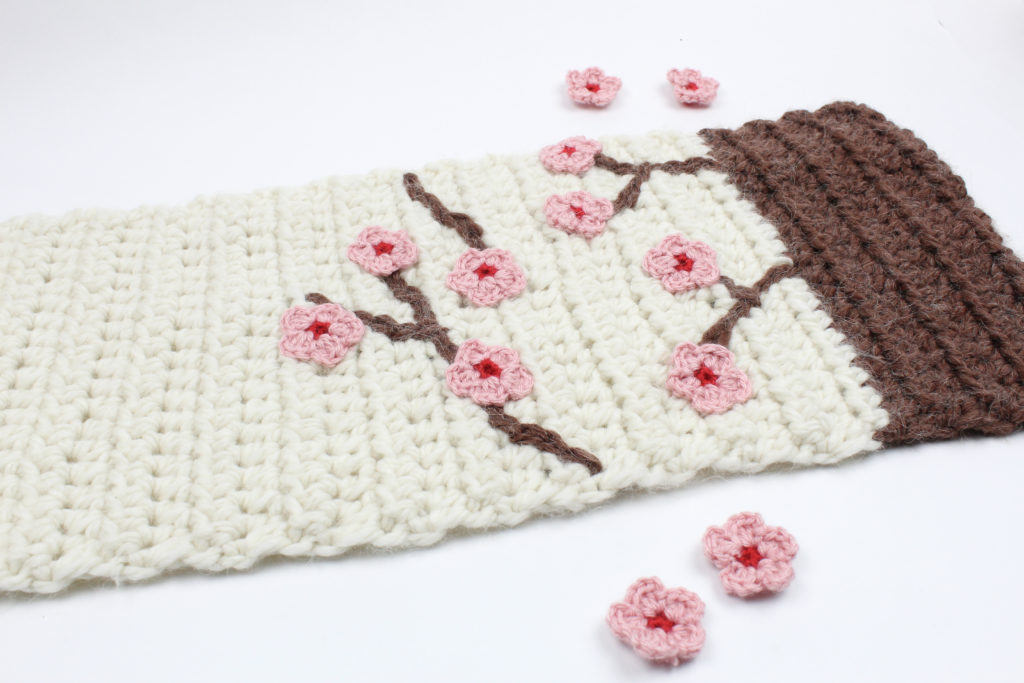
Assembly: It will be best to create your branches first before you start sewing on the cherry blossoms: Create your own vision of a cherry blossom garden! Once the branches are assembled, sew on your cherry blossoms!
Creating the Tassels
Wrapping your yarn around an object (I used a Nintendo Switch!) pull your yarn through the top and tie a knot. Pull off the object, and tie another strand around the top portion and cut the bottom! Attach to both ends of the scarf, resulting in 6 tassels. Video Tutorial below to learn how to do so!
You may not sell my patterns or claim them as your own. You may make items to sell(i.e. on Etsy, at craft fairs) from my patterns but I ask that you link back to my blog and provide credit for the pattern. You are welcome to share my patterns on social media so long as you link back directly to my blog post(providing the link). No copy & paste of my patterns will be allowed under any circumstances.
Be sure to tag @knot.bad and @yarnpunk on your socials and use the hashtag #yarnpunk!


Hi Vincent,
This is a lovely design! Elegant, not overly complicated, and lots of room for personal touches! Thanks so much for sharing, and best wishes to you.
Deborah in Winnipeg, Canada