 So happy to have you here! It’s finally time for Yarn Punk to be in existence!!
Adding your own touch of crochet and/or knitting to your everyday clothing and/or upcycling isn’t something that I came up with, but I think throwing it into a genre is the *new part and I am so happy to show you how to add some Yarn Punk flair to your own clothing!
It’s important to remember that this is a tutorial on how to do the technique of attaching your clothing; after that, the imagination is all in your hands!
If you’re looking for some other unique ways on how to Yarn Punk your clothing click HERE to find some!
Be sure you’re using soft yarn that will feel comfortable on your body, and nothing too scratchy! My go-to yarn brand is Lion Brand Yarn for my Yarn Punk needs.
Be sure to tag @yarnpunk on Instagram and use the Hashtag #yarnpunk to show off your work and for a chance to be featured!
Crochet can be added onto anything such as coats

Even onto your denim!

There is just so much you can do with it all and I’m really excited to have a tutorial to share with all you all down below and let your creativity shine! Such a perfect way to upcycle and make your old clothes come back with some liveliness!
Materials:
A piece of clothing (Shirt, Coat, pants, etc.)
Darning Needle(the thicker the fabric the sharper it’ll need to be!)
Yarn of any color (I love using my Lion Brand for all my pieces, just so many comfy options from them!)
Crochet hook/ Knitting needles
Scissors
And a Punk attitude!
Down below, we will be creating the blanket stitch to begin and creating our loops to work into. Once you have that part, the rest is just crocheting like normal! (your choice of stitch sequence and joining or continuing in the round) We will be starting with a shirt, but this same process applies for any clothing piece.
*Note: If working two of the same parts (such as 2 sleeves) be sure keep in mind how many beginning loops you create so you can replicate it on the other side to be the sizing consistent! Depending on your tension, it will be a good idea to create the blanket stitch twice through to create a thicker loop.
*The step will be ABOVE the picture.
Step 1: With your yarn and needle, poke a hole through the shirt, offering a little bit of room between the edge of the clothing and hole.


Step 2: We are creating a knot to secure our yarn. Go back through the same hole you just pierced and before you tighten the loop, go through the created loop with your needle.


Step 3: Now that you have your knot, take off your needle and attach the other end of your to start working with it. Insert another hole next to the knot, going from front to back. (The more you practice, the more you can eyeball distance of holes!)

Step 4: With the shape you’ve just created, you will now come back up and THROUGH the loop. Keep it a little tight, but don’t pull too hard!

Step 5: Now, you will repeat this process! Insert your needle to create a hole next to the previous and continue this around. At the end, Insert into the first hole.

You will end up with something like this once you’re done with this step!

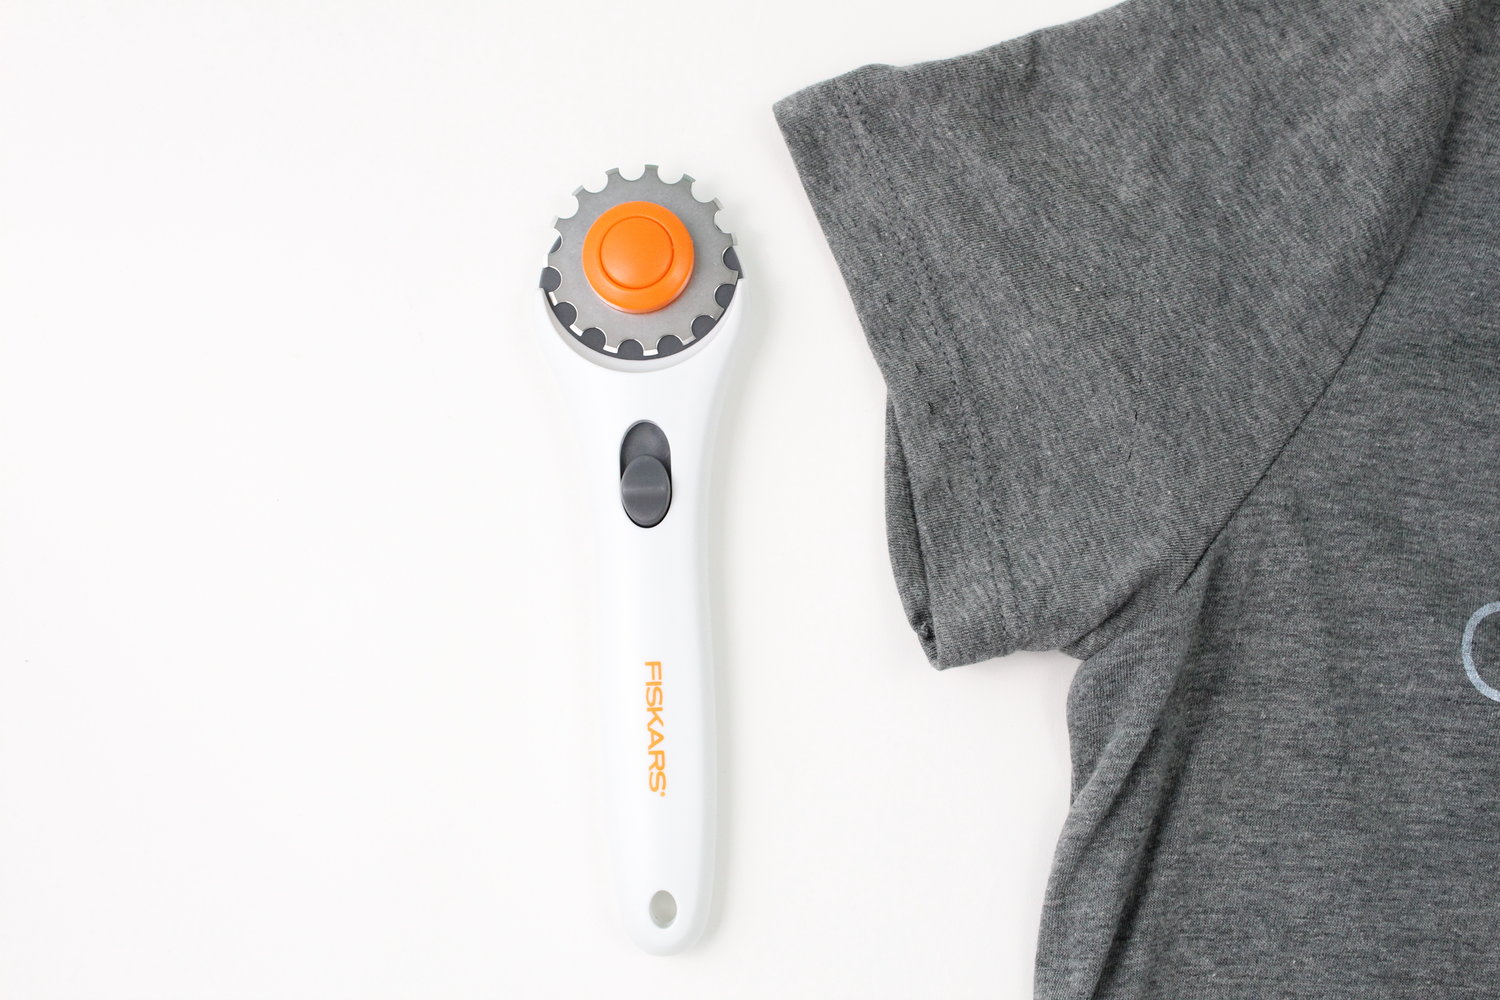
If this way is too slow and you have some extra cash laying around, it may be worth investing into this nifty tool; A rotary cutter!

By pushing down and rolling it through your desired area, it can create holes at a perfect distance!


If you would like to get your own, you can find them at your local Joann HERE or even on amazon HERE! (You will need the sharp blade as well! Check it out here!)
Now, to learn how to attach your yarn so you can be on your way to creating your own Yarn Punk Pieces!
Step 1: Insert your hook through your first stitch
*It’s good to note that if you plan on joining in the rounds, it’ll be good to do this somewhere more discrete, such as under the armpit!

Step 2: Take your yarn and pull it through with your stitch


Step 3: Take your working yarn and ch from here (1 or 2 chains, depending on the stitch you begin with) and start your work!
Attaching knitting (Picture tutorial under each step)
Insert your needle through the loop (or loops, depending if you layered the first step!)

With your needle, grab your working yarn to pick up the stitches.

Scoop your yarn and pull through the loop!

Step 3: Once you reach the end of the round, begin your Knitting!
I hope this creates inspiration for yourself to give your clothing some more life! Walking around with pieces that you’ve added your own “thing” to will only become more addictive.
Adding yarn this way isn’t the only way to Yarn Punk your clothing; you can always sew on as well!
Be sure to check back here on the blog for more tutorials on different types of ways to spice up your clothing. Be sure to use the hashtag #yarnpunk to show off All your work that you’ve done!
Have an idea for Yarn Punking clothing or a free clothing pattern that you want to show off on the Yarn Punk web site? Head here to the “Apply to be Featured” page for a chance to have your own blog post!


I took an old jean jacket, removed the sleeves, and replaced them with knitted in sleeves. It came out great!