******You can purchase the Ad-Free, Printer Friendly Version from Etsy HERE and from Ravelry Here! This includes the step by step process on how to create the Frosted Basket! You can order the full KIT used to create this project through Lion Brand Yarn Here! (A deal I must add!) Don’t forget those gorgeous Furls hooks here! You will see the one I use in the pictures below.
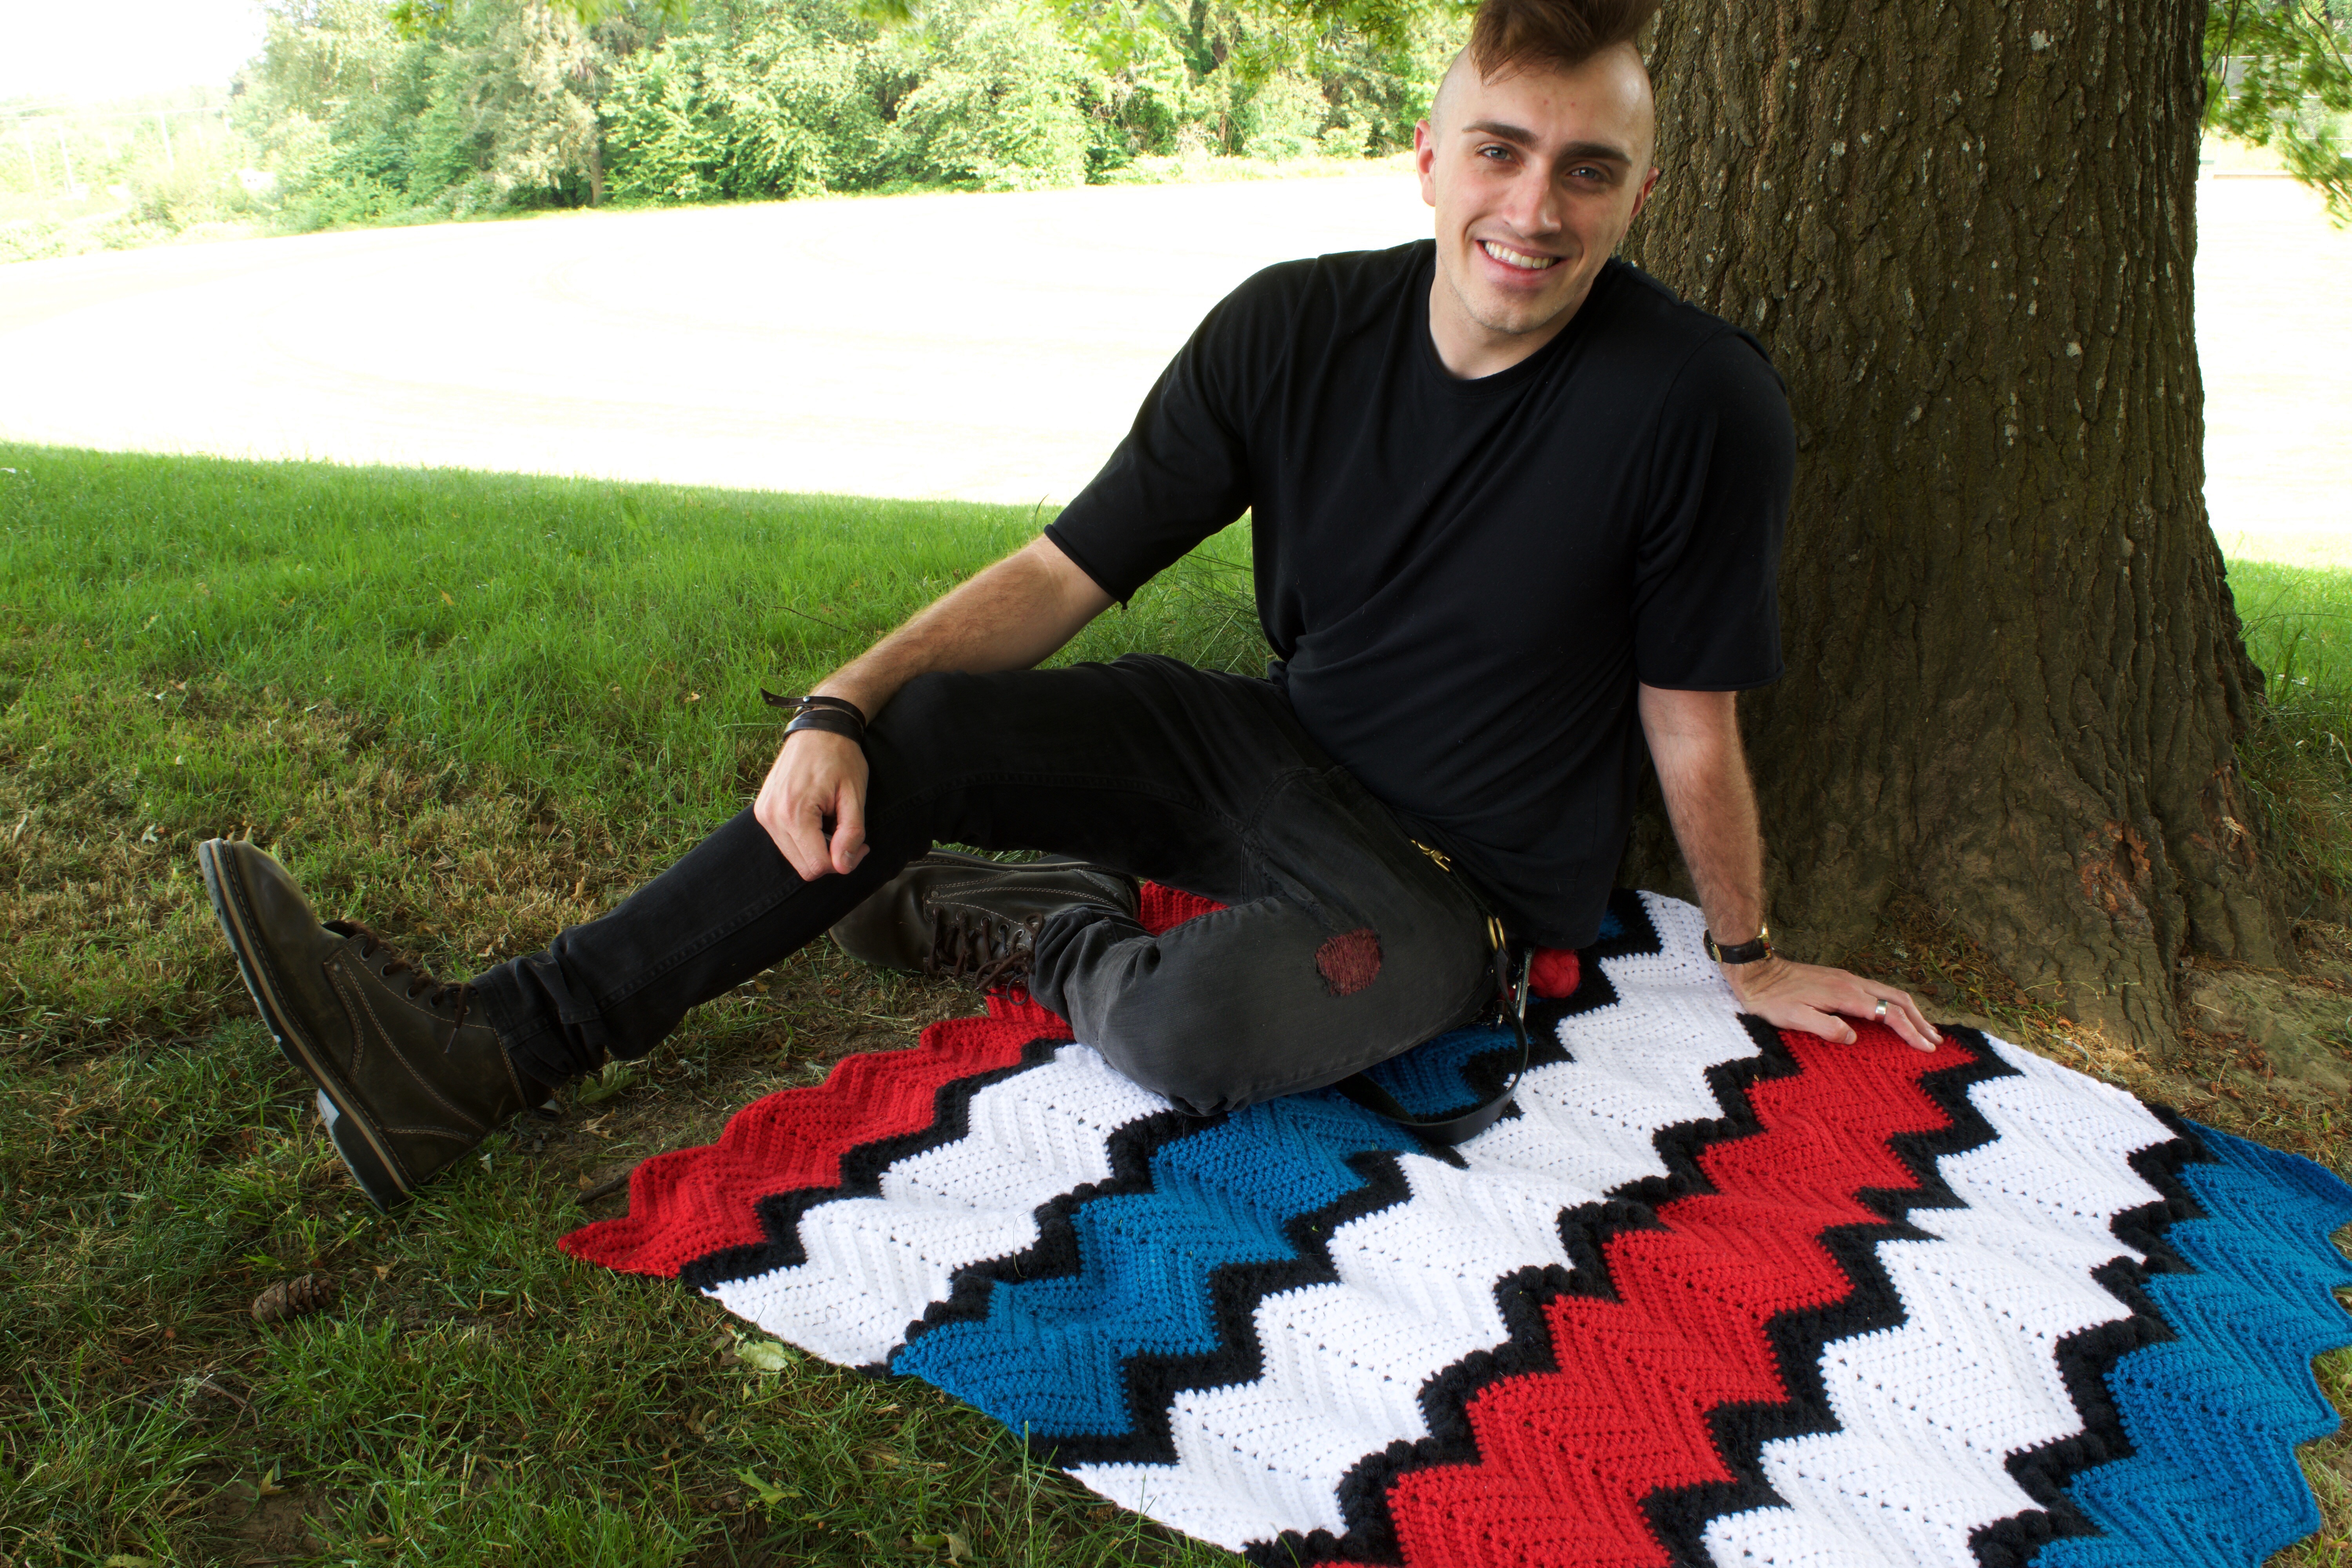
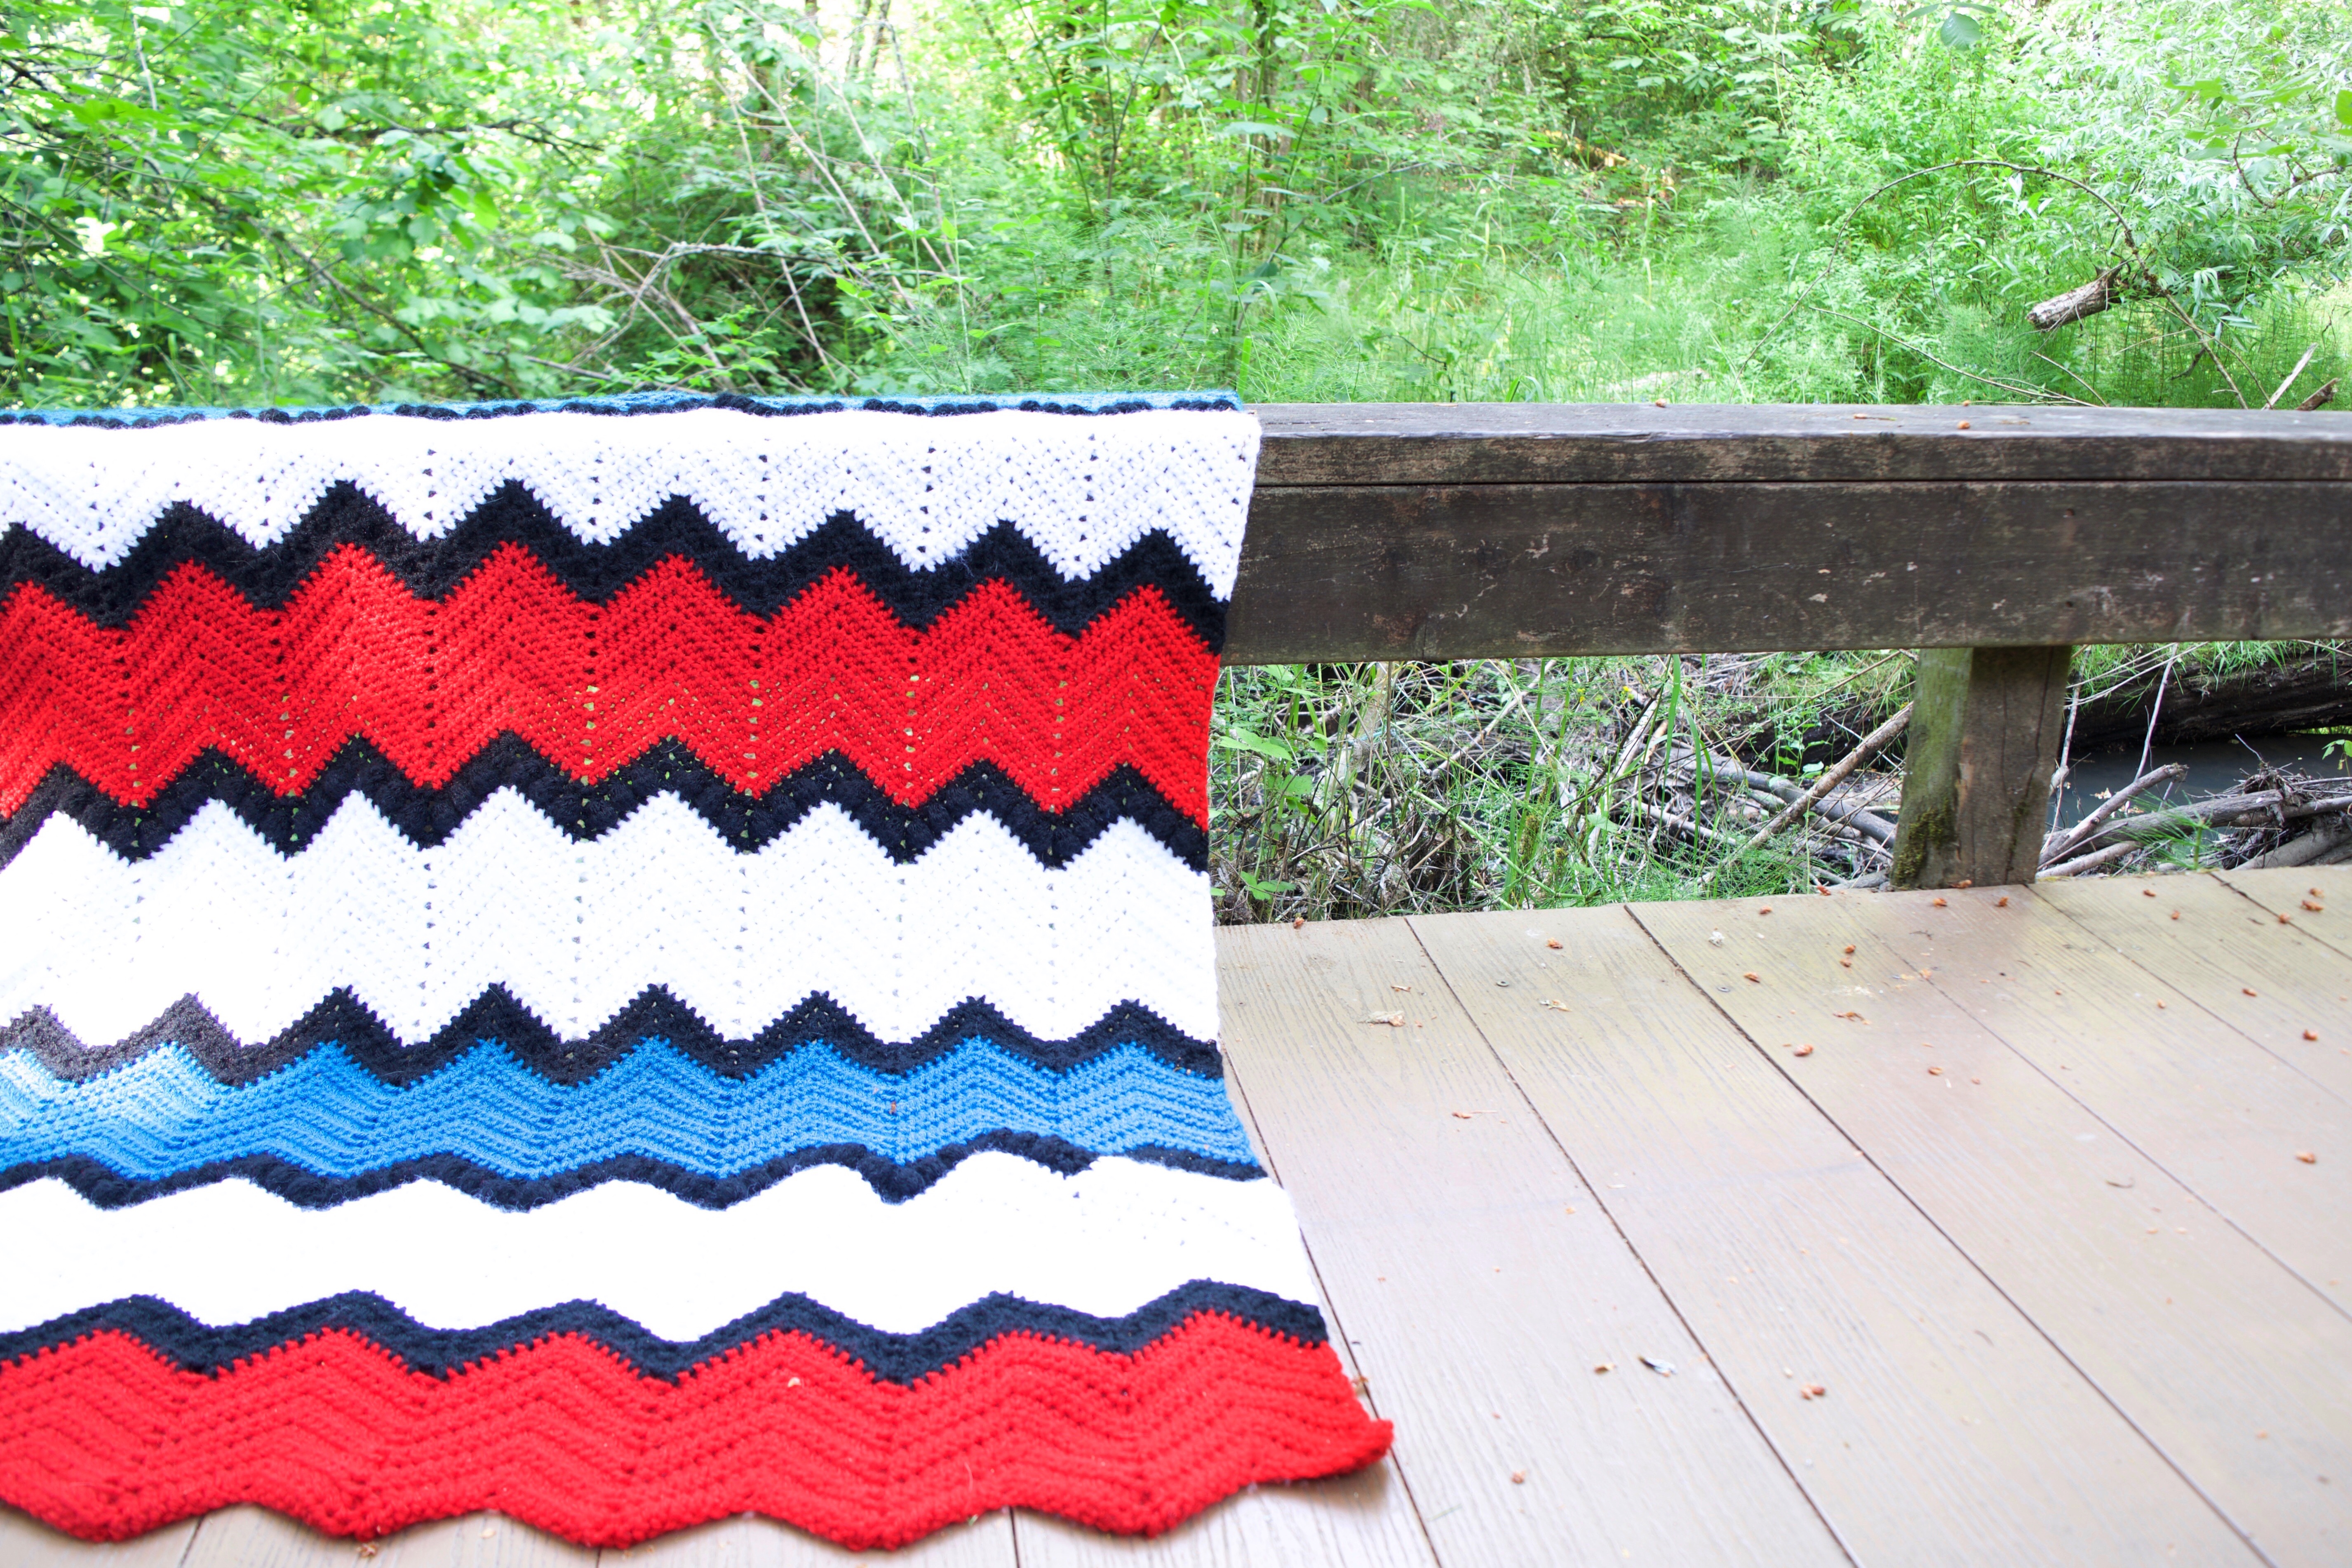
The Firecracker Throw
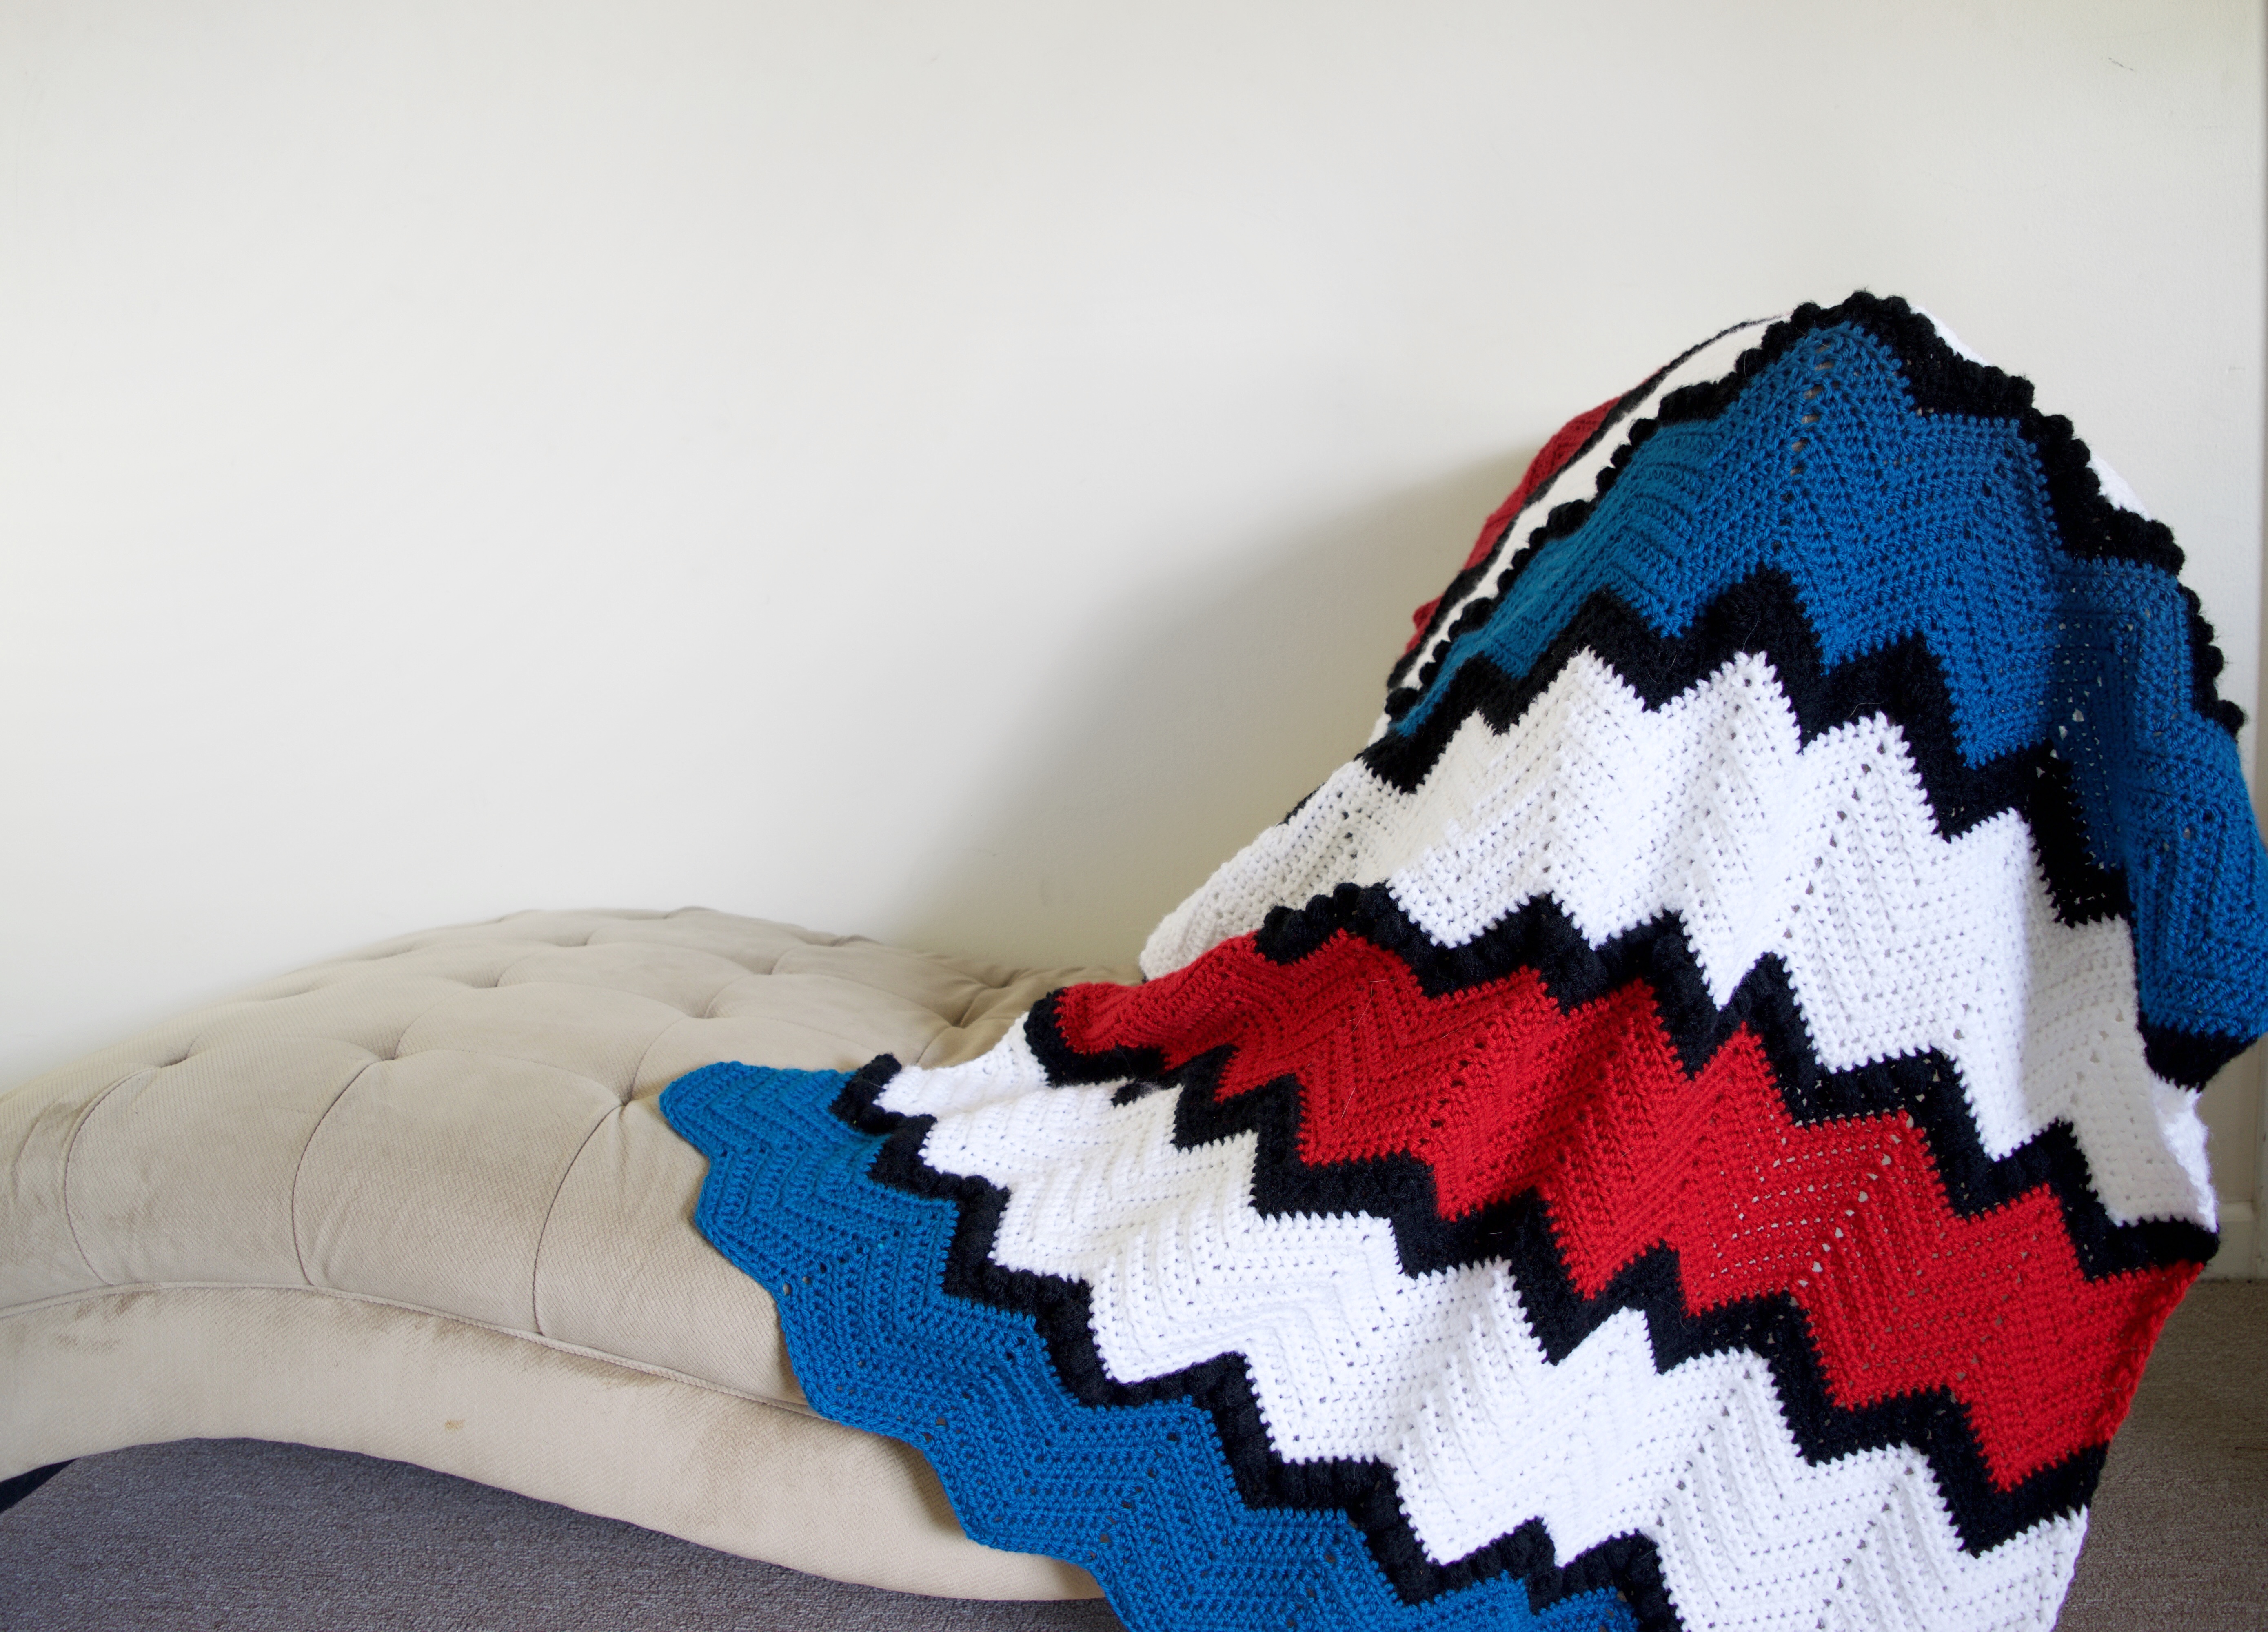
Sure, Winter is a great time to be working on those blankets to keep warm but who said blankets were only meant to be used inside? With these warmer seasons, it’s time to get outside and enjoy the holidays and other people! This brightly colored throw is perfect year round!
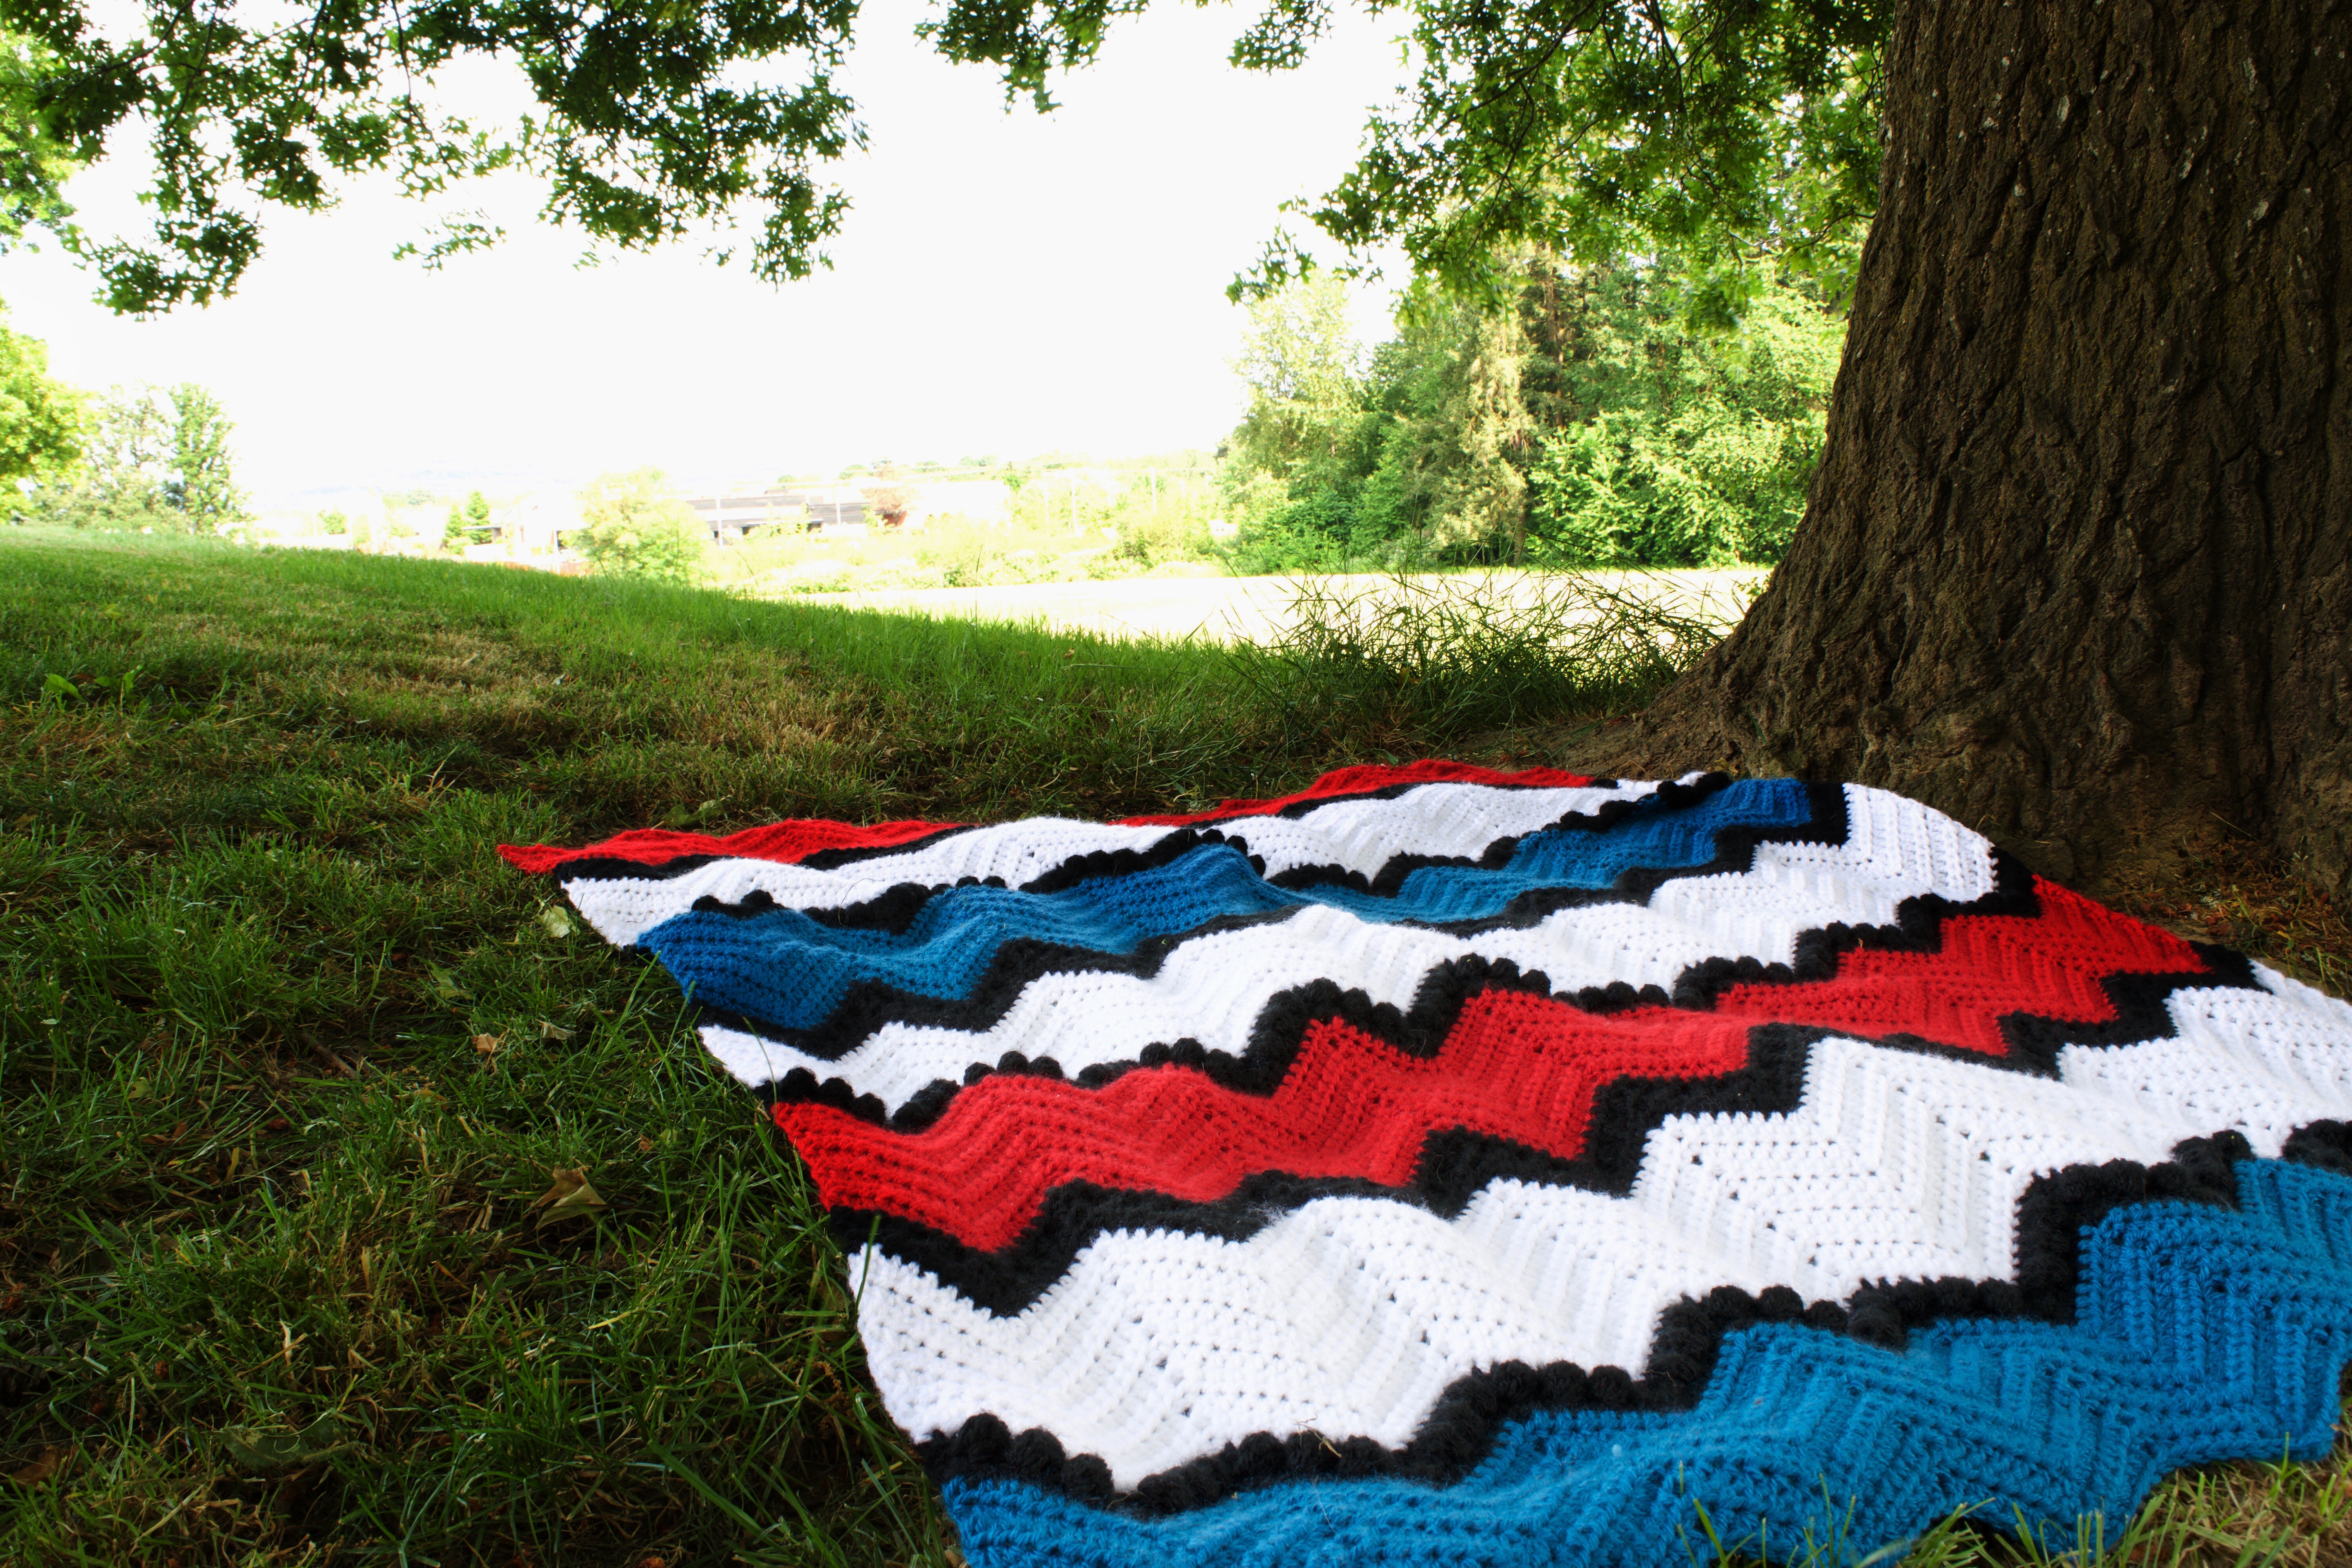
In collaboration with Lion Brand Yarn, I bring you the Firecracker Throw! Do you remember those popsicles that were all the rage with this same color scheme? I would be lying if I said I didn’t get inspiration from those! Made with the Chevron Stitch (which is a super fun stitch by the way), but also a fun texture surprise; within the black lines, it is made using the bobble stitches! Adding some fun variety to this vibrant blanket!
So let’s get started!
Skill Level: Intermediate
Materials:
You will need 10 skeins in total using Vanna’s Choice
- 3 Skeins in White
- 2 Skeins in Scarlet
- 2 Skeins in Sapphire
- 2 Skeins in Black
6mm Hook
Scissors
Darning Needle
Gauge: 14 sts x 11 rows = 4”x4” square in Hdc
Dimensions:
49’ inches in Height
38-39” in Width
Abbreviations:
Hdc– Half Double Crochet
Ch – Chain
BS – Bobble Stitch
Sk – skip
Rep – Repeat
Sl st – Slip Stitch
Rep – Repeat from
Notes: The entirety of this pattern will be done using the Chevron stitch and a few of the rounds will consist of using the Bobble Stitch technique. For our Bobble Stitches, we will be sure to have 6 loops on our hooks before pulling through all of them.
 Pattern Instructions
You will begin by chaining 152 (Make sure to count thoroughly!) Begin in Red
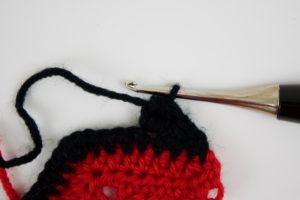
Row 1: In the second chain from the hook, Hdc2tog, and hdc in the next 5 stitches (6 total). After your 6 hdc, *3 hdc into one stitch (which will be your first hump). Do 7 more hdc across, sk 2, and hdc. Hdc 6 more, rep from * On the last 6 of this row, hdc 5, and then hdc2tog into the last 2 stitches.
Picture tutorial of this first row down below:

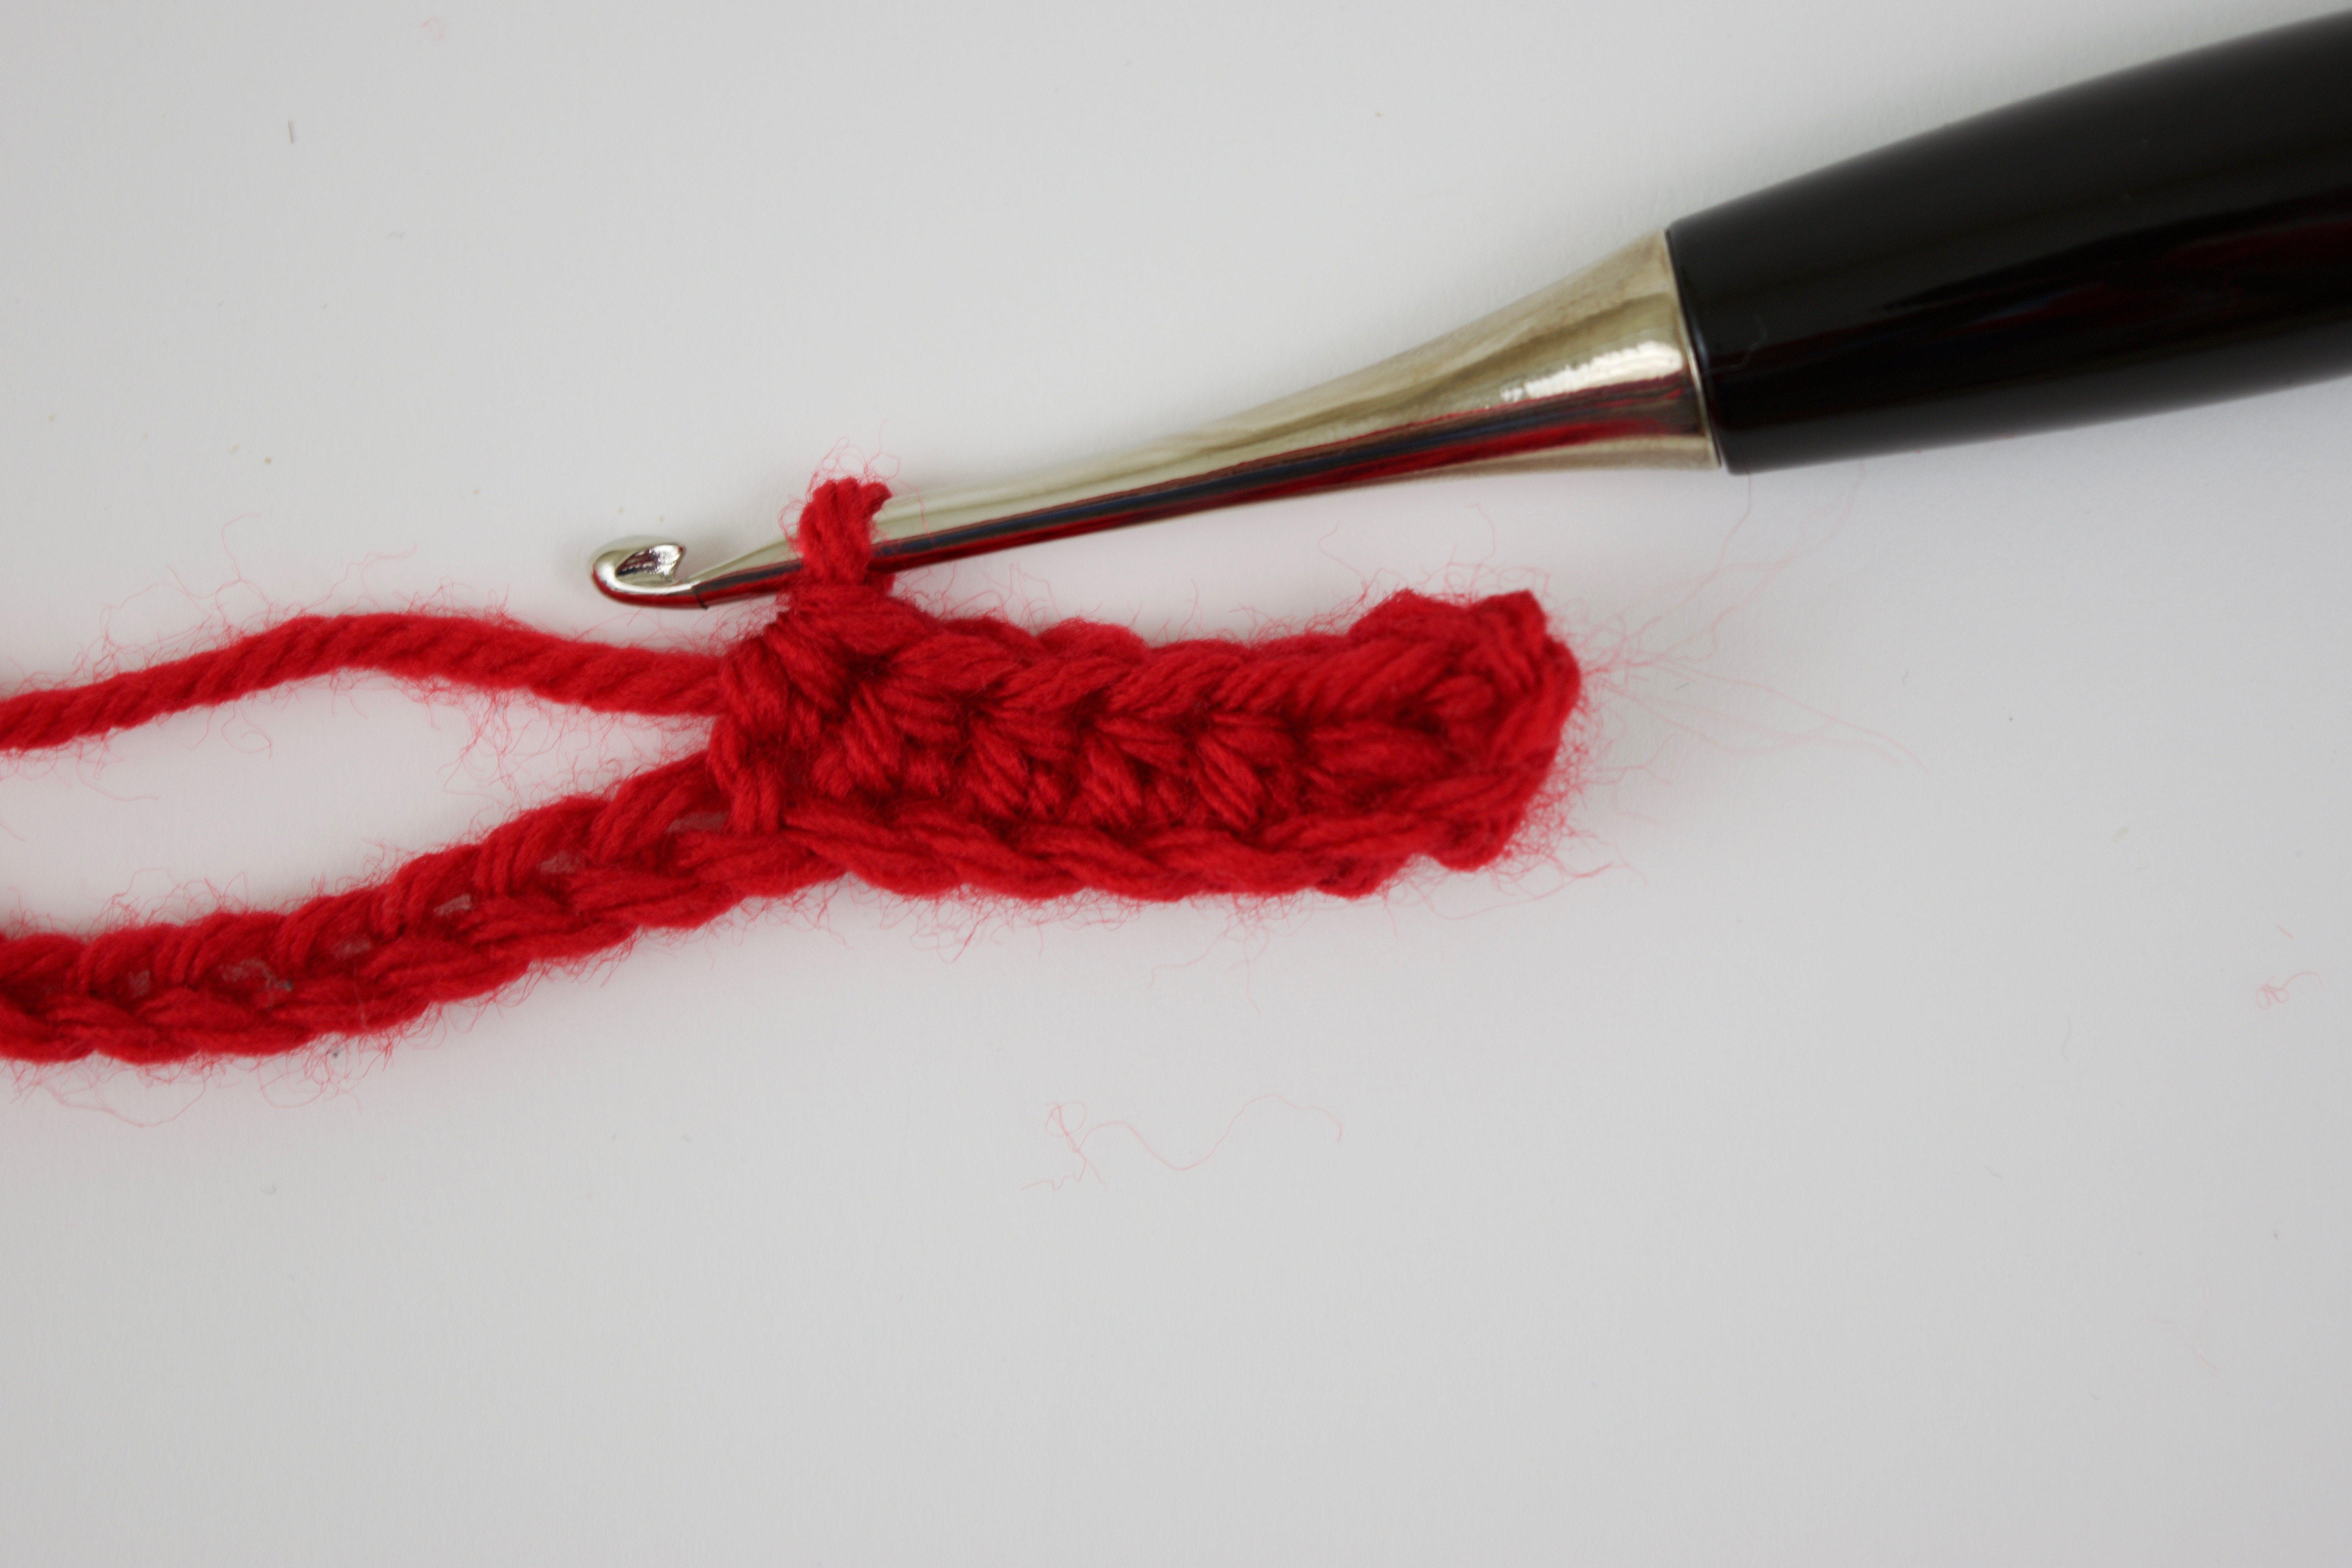
(Above) When doing Hdc2tog, hdc in the second chain from the hook along with a hdc in the next stitch as well. You will have 5 loops on your hook; pull through all 5
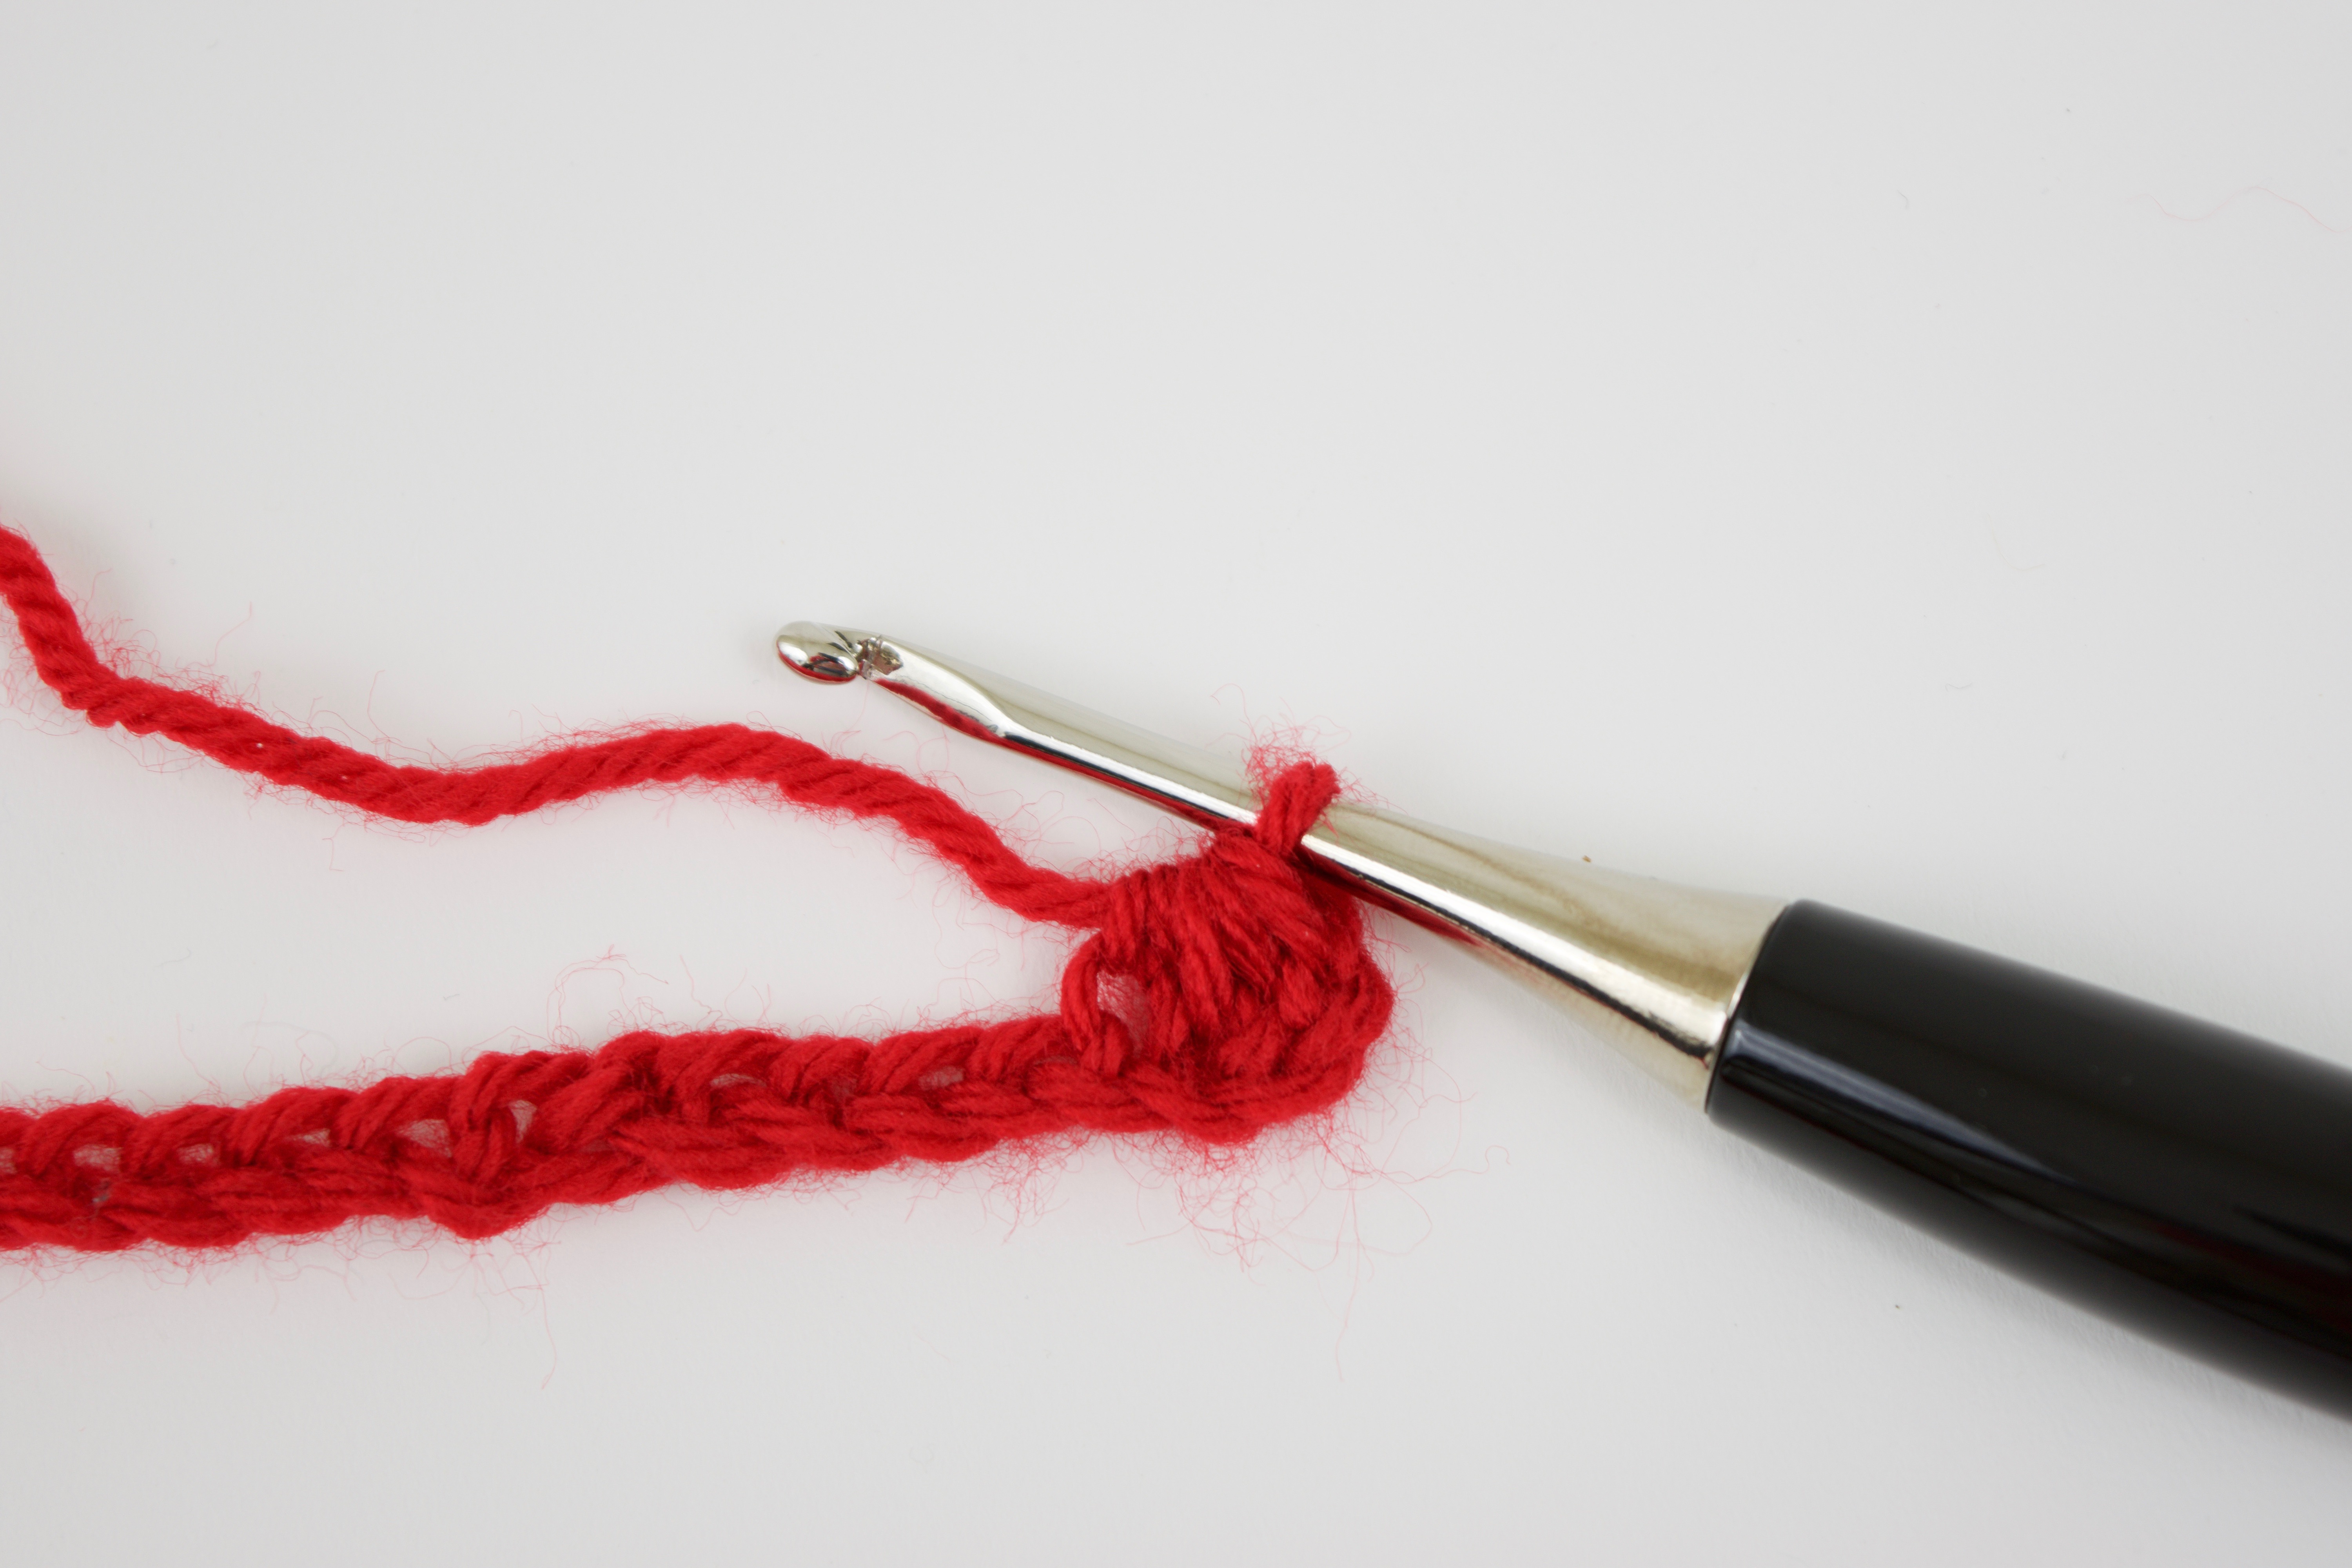
After your hdc2tog, you will now hdc 5 more for a total of 6 hdc’s (seen below)
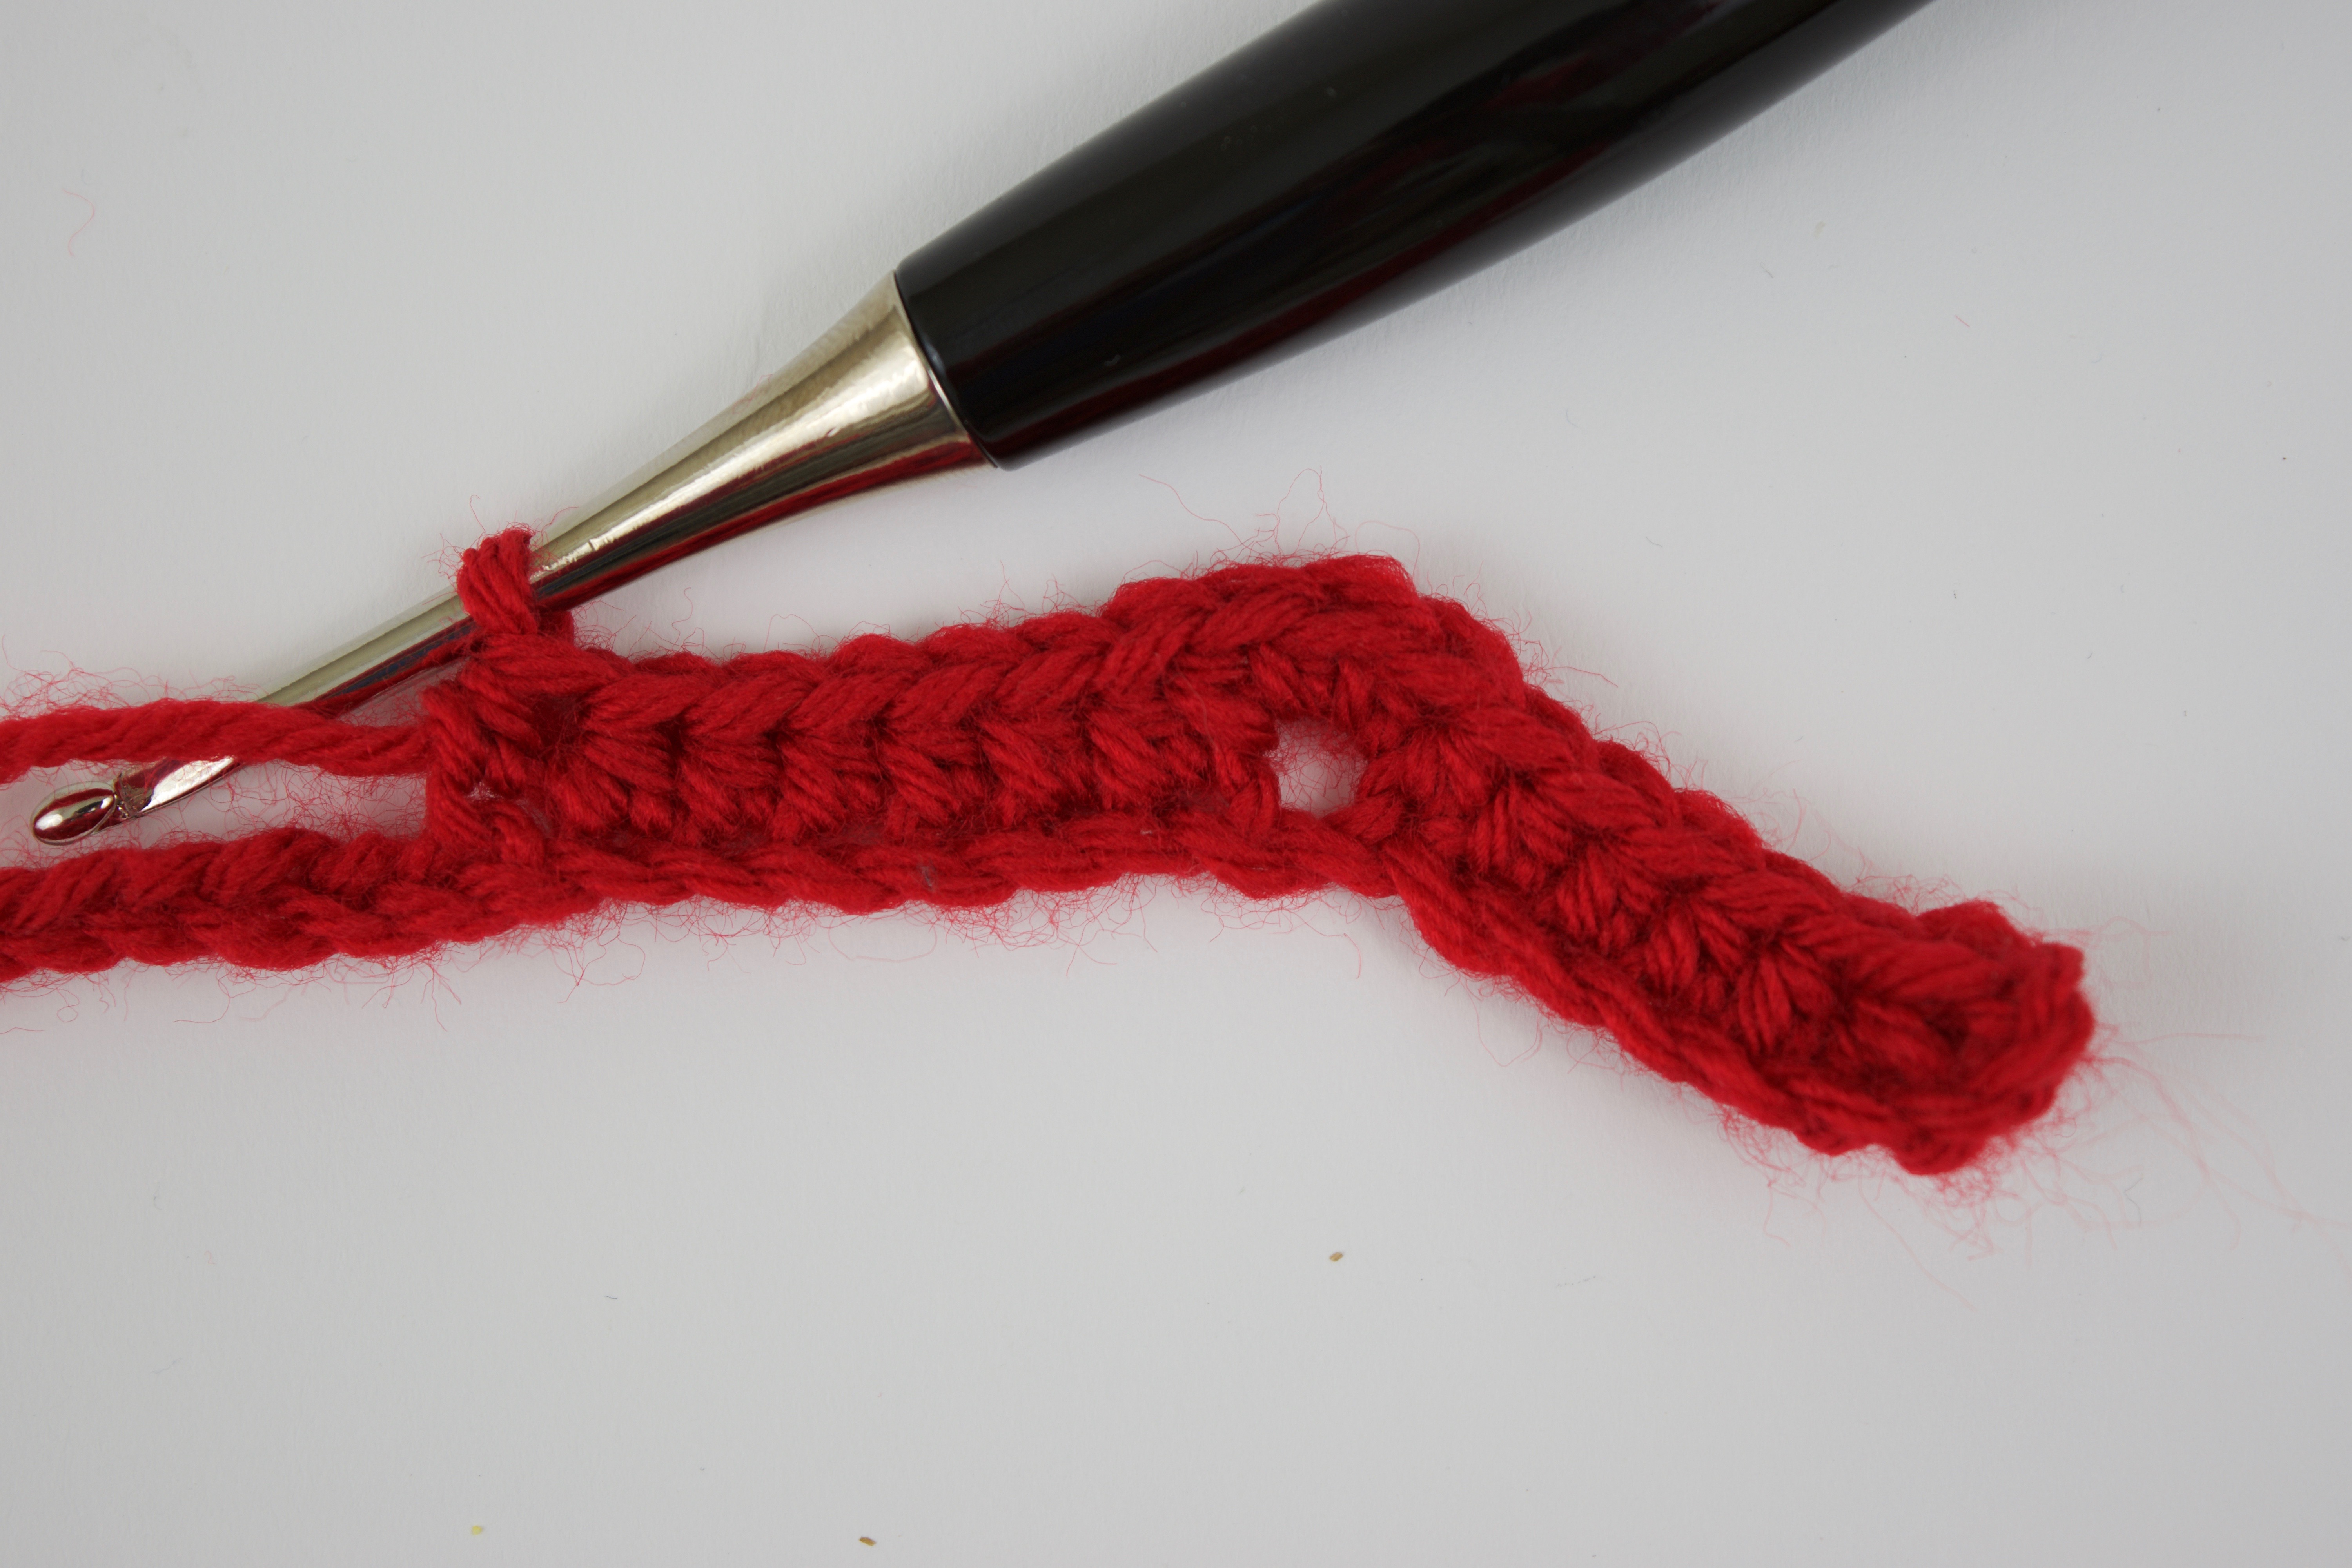
 In the next stitch, insert 3 hdc’s in the same stitch, and this will create your “hump”

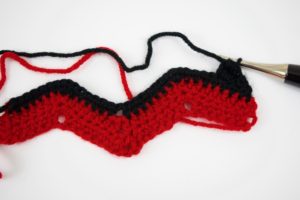
Hdc into the next 7 stitches
Skip two stitches, and hdc. (below)
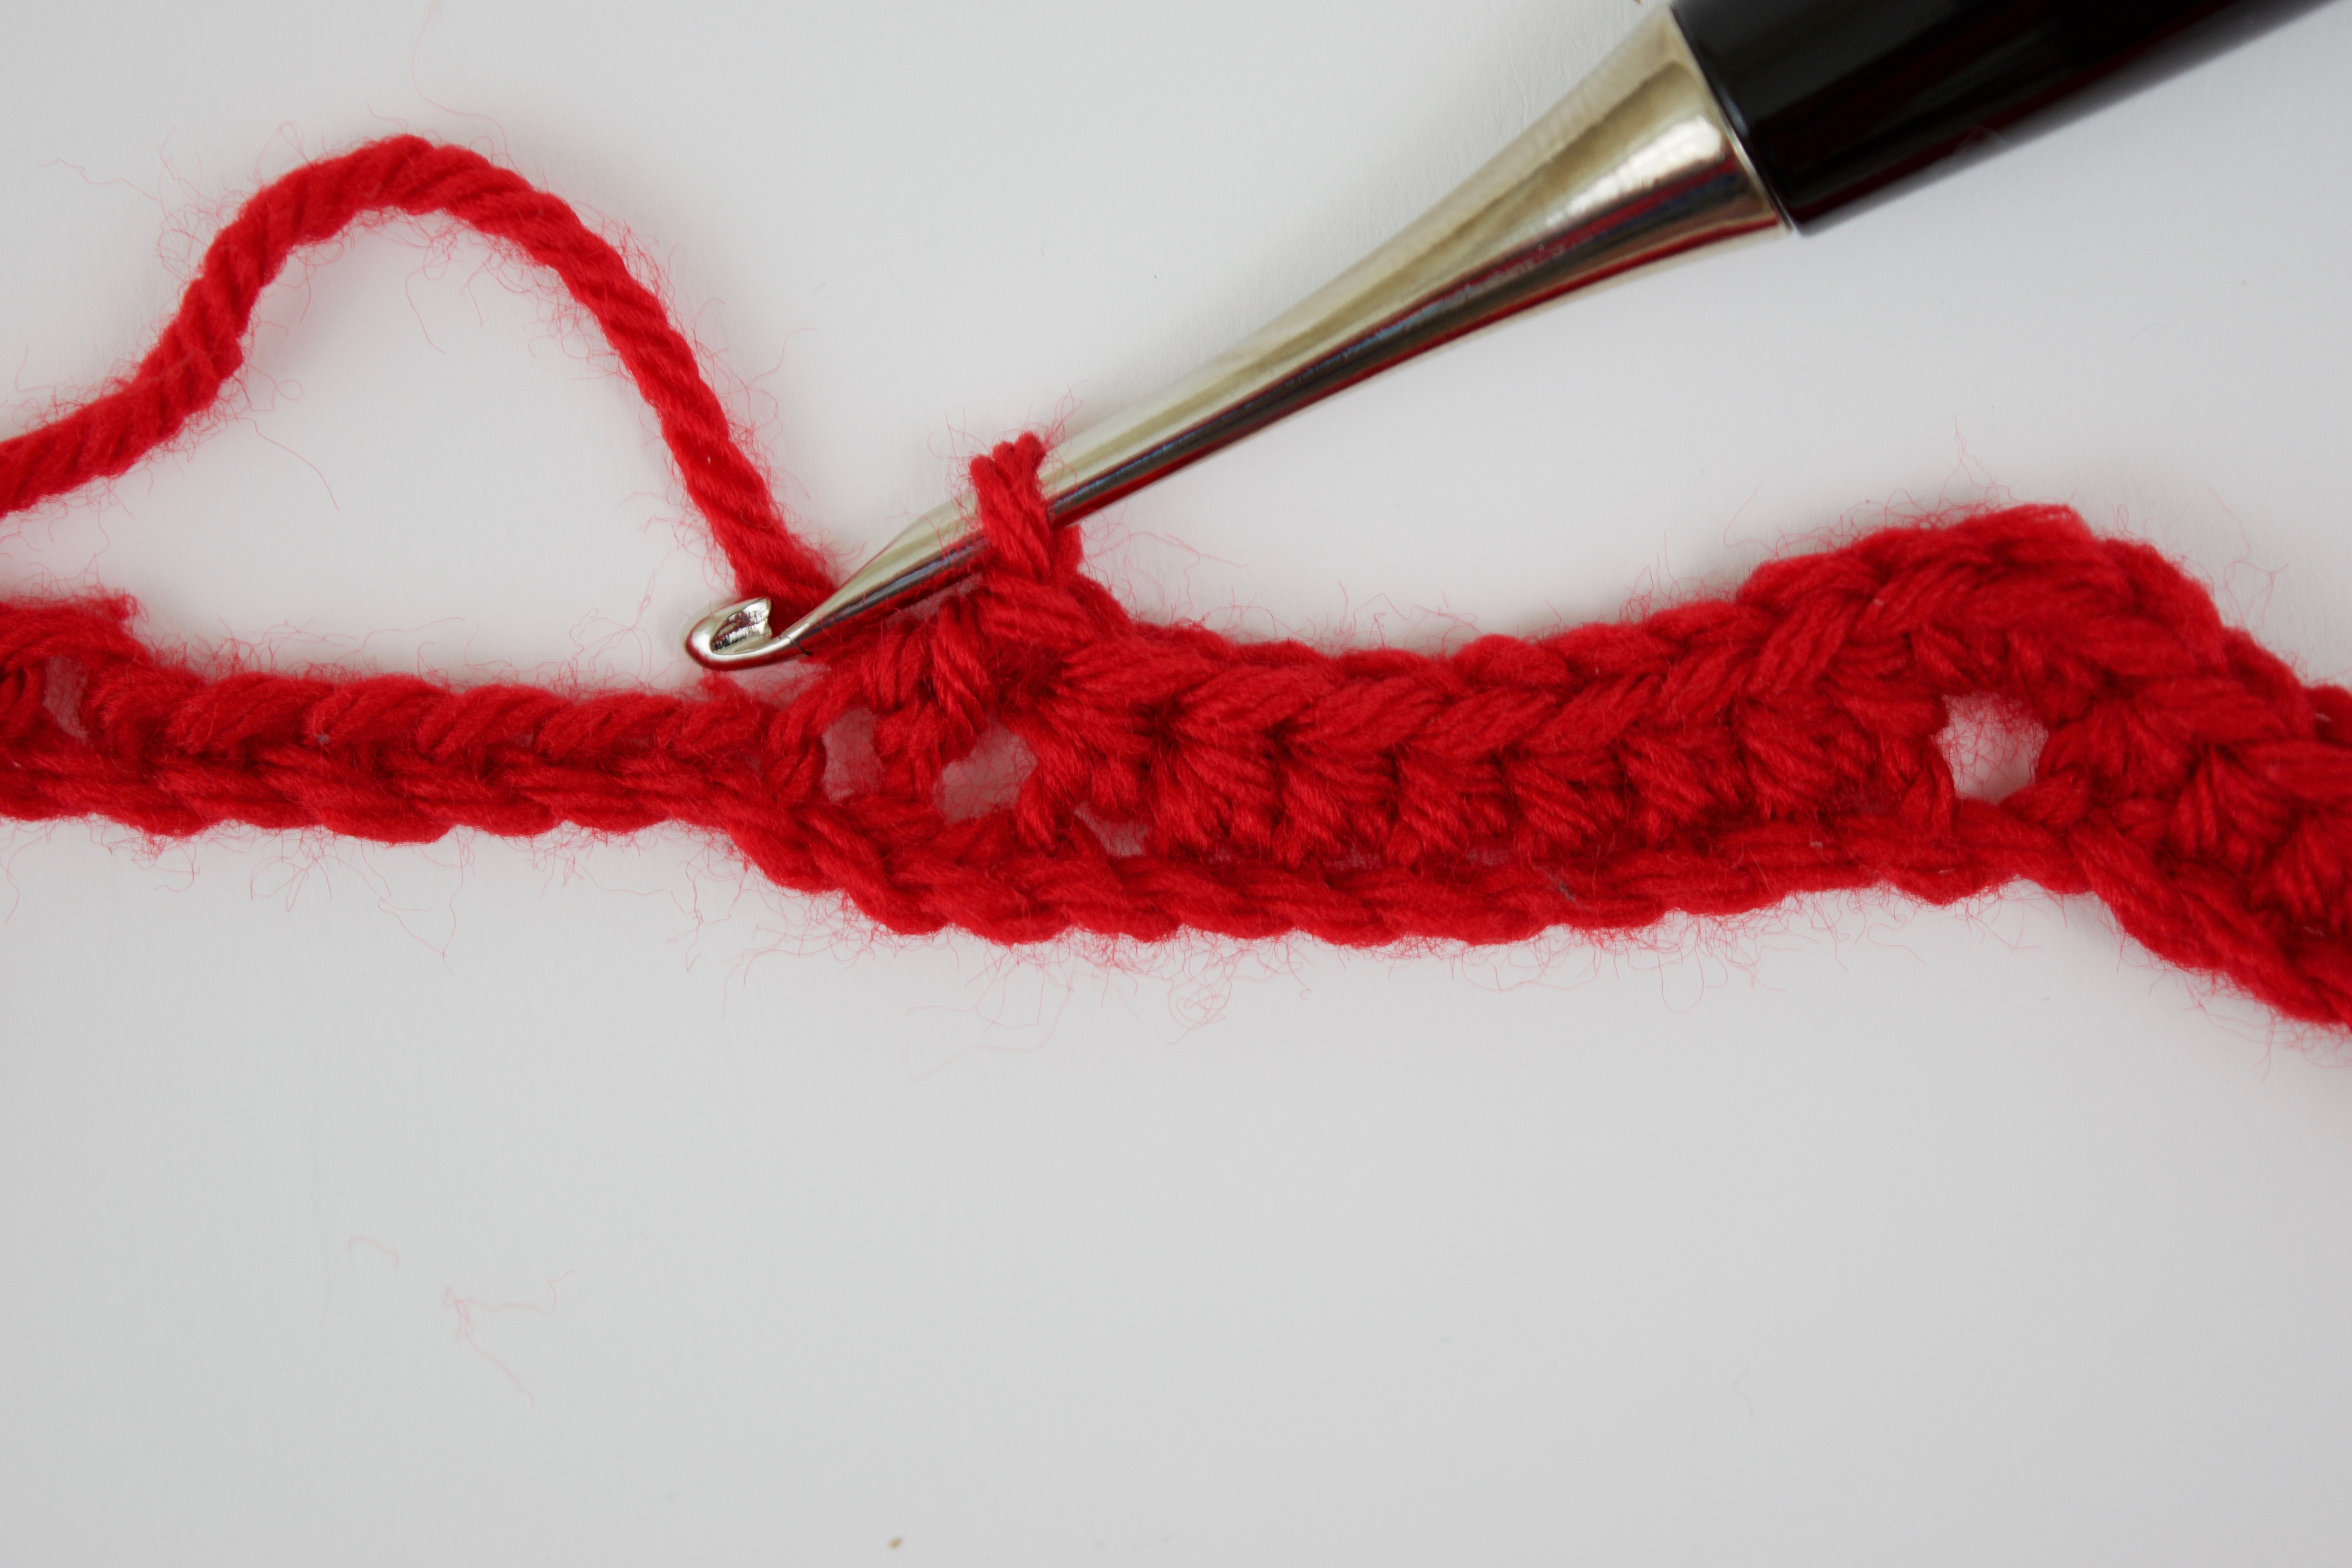
Hdc 6 more stitches (for a total of 7) and repeat this process until your last string of stitches! At that point, hdc 5, hdc2tog into the last two stitches.
Row 2: Ch 1, turn. Hdc2tog and hdc in next 5 stitches (6 total). *3 Hdc into the same stitch, and then 7 more hdc across. Sk 2, hdc. Hdc 6 more (7 total), repeat from * On the last 6 of this row, hdc 5, and then hdc2tog into the last 2 stitches.
Row 3 – 10: Repeat Row 2
Switch to Black
Row 11: Repeat Row 2
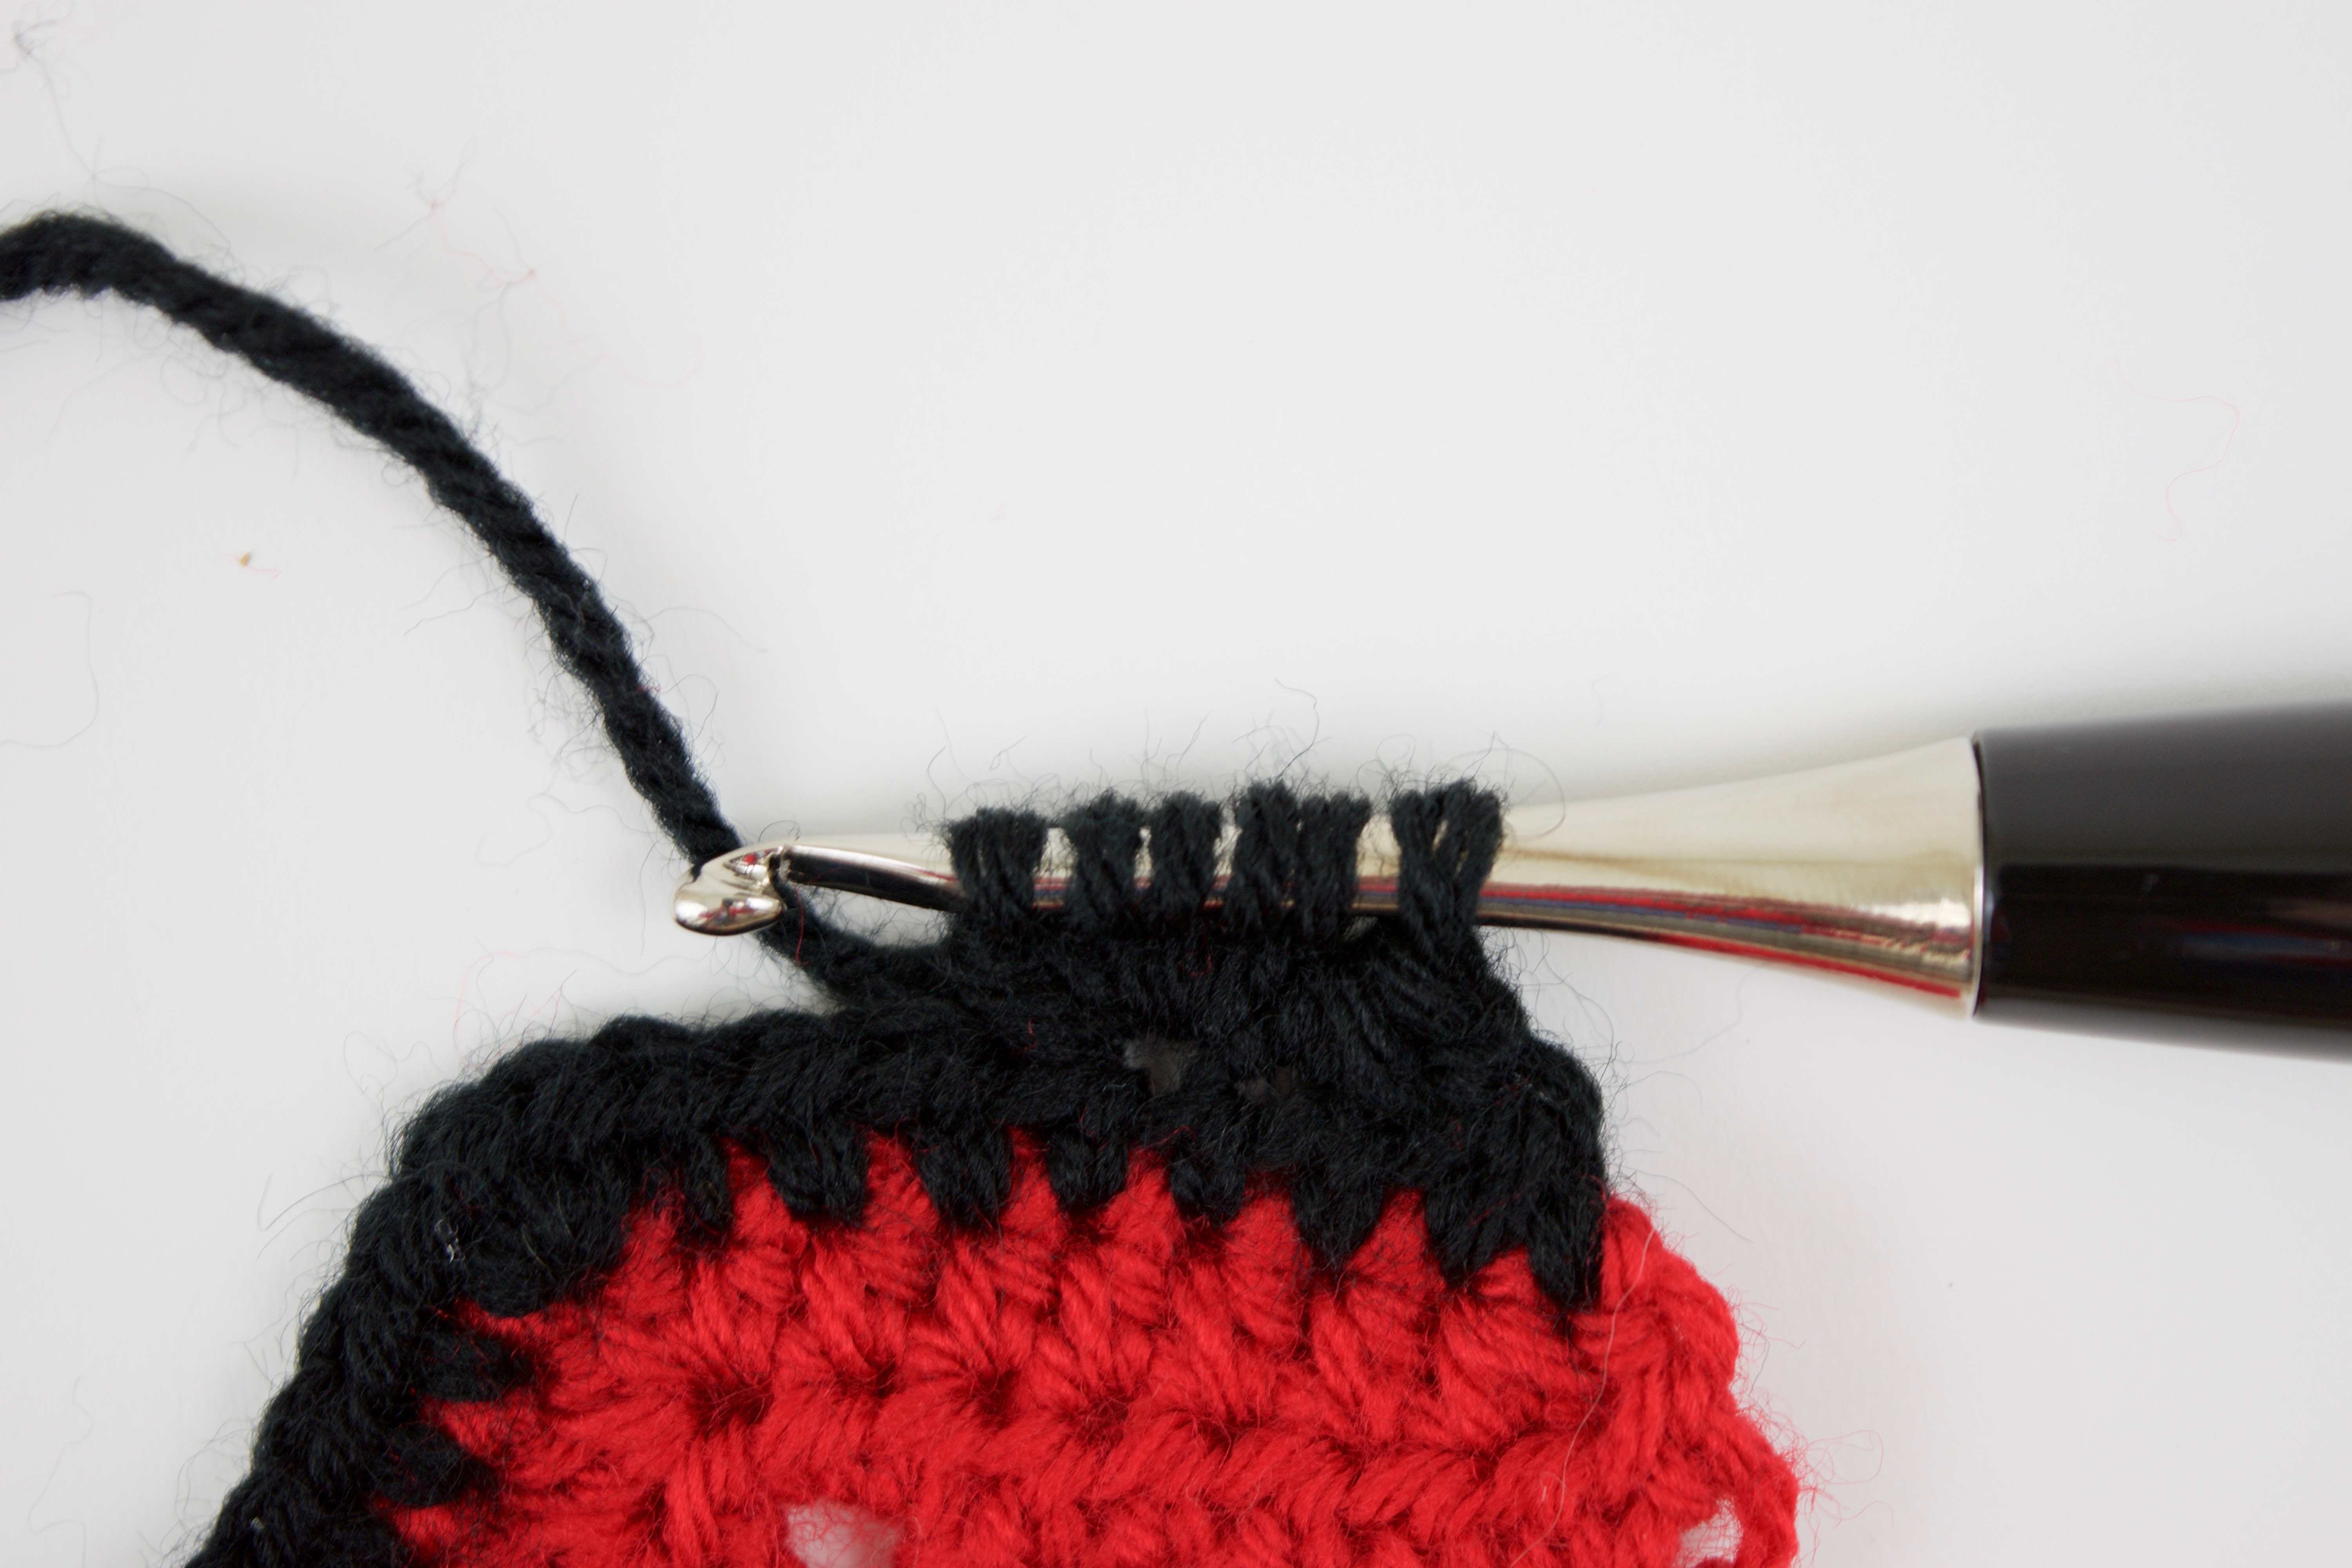
Row 12: Ch 1, turn. Hdc2tog and in the next stitch, BS. (for this bobble, you will have 6 loops on your hook before pulling thorugh all!), hdc in next two stitches. BS, hdc, and then *3 hdc into the same stitch. Hdc into next stitch, BS, hdc, BS, hdc, BS, hdc. Sk 2, and insert your hdc. BS into next, hdc, BS, hdc, BS, hdc, rep from * In the last 6 stitches, hdc, BS, hdc 2 more times BS, and then hdc2tog for the last 2 stitches. (Seen below)
To create your bobble stitches, yarn over and insert hook into stitch so you have three loops on your hook. Yarn over, and pull through two stitches; will be left with 2 loops. Do this 4 more times (Doing this 5 times total into the same stitch) until you are left with 6 loops on your hook.
 Yarn over, pull through all 6 loops
Row 13: Repeat Row 2
Switch to White
Row 14 – 23: Repeat Row 2
Switch to Black
Row 24: Repeat Row 2
Row 25: Repeat Row 12
Row 26 : Repeat Row 2
Switch to Blue
Row 27 – 36: Repeat Row 2
Switch to Black
Row 37: Repeat Row 2
Row 38: Repeat Row 12
Row 39: Repeat Row 2
Switch to White
Row 40 – 49: Repeat Row 2
Switch to Black
Row 50: Repeat Row 2
Row 51: Repeat Row 12
Row 52: Repeat Row 2
Switch to Red
Row 53-62: Repeat Row 2
Switch to Black
Row 63: Repeat Row 2
Row 64: Repeat Row 12
Row 65: Repeat Row 2
Switch to White
Row 66-75: Repeat Row 2.
Switch to Black
Row 76: Repeat Row 2
Row 77: Repeat Row 12
Row 78: Repeat Row 2
Switch to Blue
Row 79-88: Repeat Row 2
Finish off! Time to weave in all your ends!
 I hope you enjoyed this pattern as much as I did! I would love to see it when it is complete – be sure to tag @knot.bad on Instagram or find me on knotbadami.com!
You may not sell my patterns or claim them as your own. You may make items to sell (i.e. on Etsy, at craft fairs) from my patterns but I ask that you link back to my blog and provide credit for the pattern. You are welcome to share my patterns on social media so long as you link back directly to my blog post (providing the link). No copy & paste of my patterns will be allowed under any circumstances.