Today you will be learning how to decipher the wrong and right side of amigurumi!
For the first 6 months, it turns out all of my work was inside out and I was getting the correct shapes because of it.. I really wish someone would have told me this when I first started crocheting. With this simple step of making sure your work is facing the correct way, your finished piece will look so much cleaner and even more professional. So, I want to be that person who helps YOU avoid this mistake!
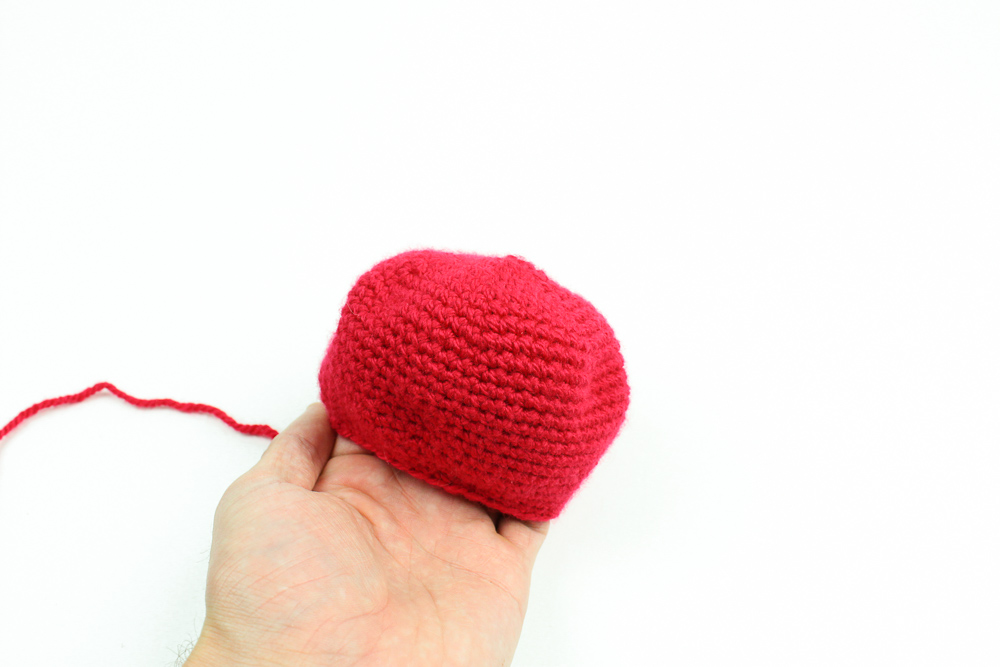
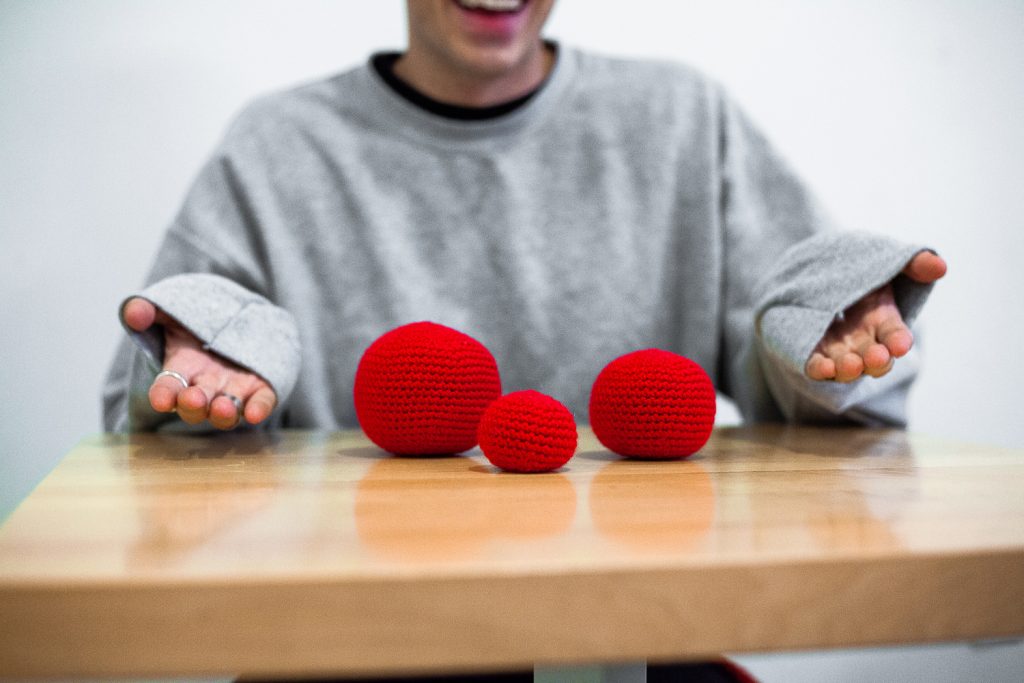
Down below, I will be showing the difference of the right and wrong side of your amigurumi work! Down below, you can see two different ball shaped pieces, take a look to see if you can spot much of a difference:


You can find all my FREE and full YouTube channel HERE! Be sure to subscribe to stay up to date and be alerted!
I think what makes it really confusing to know there is even a difference is that they almost look kind of the same! However, when working with both of these, you will immediately be able to tell which one holds a “rounder” shape.
The second image is the “correct” side and the first image is the wrong side. On the right side, the stitches will look a bit more pronounced. While working on the wrong side, your stitches will look more flat. Another way of telling is by the texture – the correct side will have more texture of stitches when feeling it out!
One other indication that you are showing off the incorrect side is looking for where the tail is located – if the tail is sticking out, this is the wrong side! All you need to do is flip your work inside out and then you’re all set.

Learn how to work on the correct side of your first amigurumi ball with this FREE crochet project by clicking the image below!


