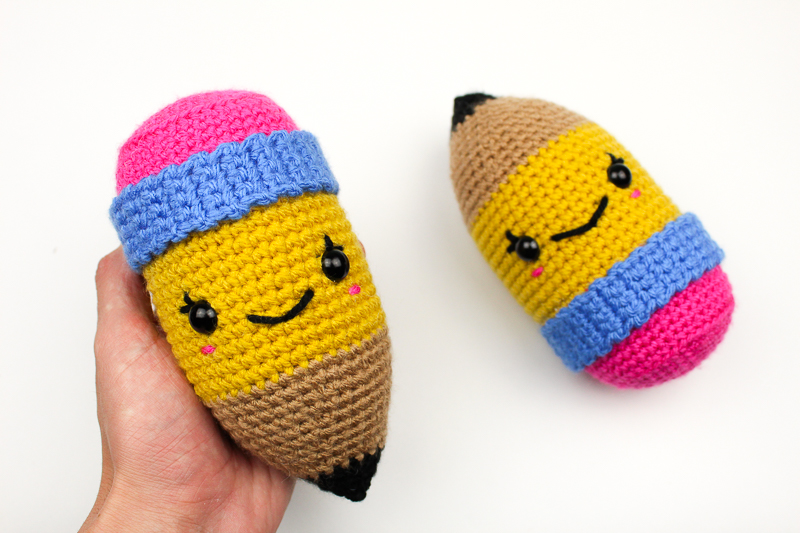
This post was sponsored by JOANN – My favorite craft store to visit for all my yarn and tools that I use. Also, you can’t resist all their coupons.
Back to school shopping included wearing and buying masks this year and that gives an idea of what this year may look like. For everyone, going back to school is looking very different. Like, wow. As of writing this, I don’t think anyone knows what this is going to look like. I know a lot of kids will be distance learning and I can only imagine how hard it would be to focus. It would be for me, I know that.
But to give a little bit of normalcy, lets make home feel like a classroom – and always keep a gentle reminder around! These crochet Patient Pencils are so so easy to make and can serve as a little reminder that learning is in session. Thanks to JOANN, having a fun project is readily available for anyone!
Disclaimers
JOANN has always been there to support creativity and during this dark and stressful year, creativity is even more important than ever and we are both here to help bring some of those imagination to your new school year! Sometimes it just takes a quick little reminder to get you back into the zone and with this new Back to School Campaign from JOANN!
Crochet is also a wonderful project to keep focus (it’s helped me so much) and this project is beginner friendly, a great amigurumi to do for beginners! It will be a challenging year for many and small little glimmers of joy can really go a long way.
JOANN has everything you need to keep crocheting even beyond this month and during this crazy school year – find the materials for what you need down below! Be sure to use the hashtag #handmadewithJOANN when posting your own pencils!
All editorial content and projects are intellectual property of Vincent Green-Hite, designer of Knot Bad. This post was sponsored by JOANN Stores but all ideas and opinions are my own.
Please do not claim this pattern as your own. If you wish to share this pattern, you may link to this pattern but please do not reprint it on your site. You may keep a copy for your own personal use but please DO NOT sell the pattern or distribute it.
You may sell products made from this pattern but please clearly credit the design to Knot Bad and link it my website knotbadami.com
Make sure to post it! Use the hashtag #yarnpunk when posting it and please feel free to tag me and show me how yours turned out! You can also find the Facebook group and subreddit r/yarnpunk to post to as well!
Down below, you will find the pattern and everything you need to know about it before getting started!
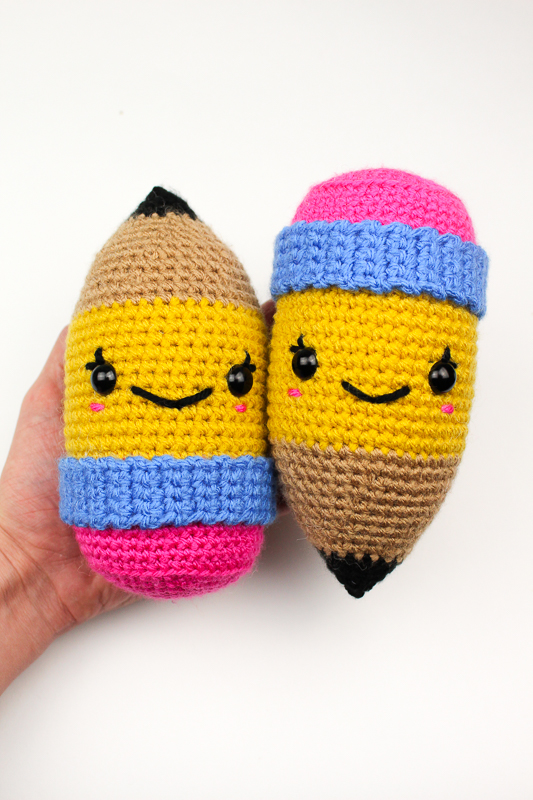
So here’s what you’ll need:
All the yarns can be substituted with any worsted weight yarn*
1 Skein in Lion Brand’s Basic Stitch Premium (In Black)
1 Skein in Lion Brand’s Basic Stitch Premium (In Coastal)
1 Skein in Lion Brand’s Basic Stitch Premium (In Goldmine)
1 Skein in Lion Brand’s Basic Stitch Premium (In Raspberry)
1 Skein in Lion Brand’s Basic Stitch Anti-Pilling (In Saffron)
Dimensions
Height: 7″ inches
Width: 3″ inches
Skill Level:
Easy

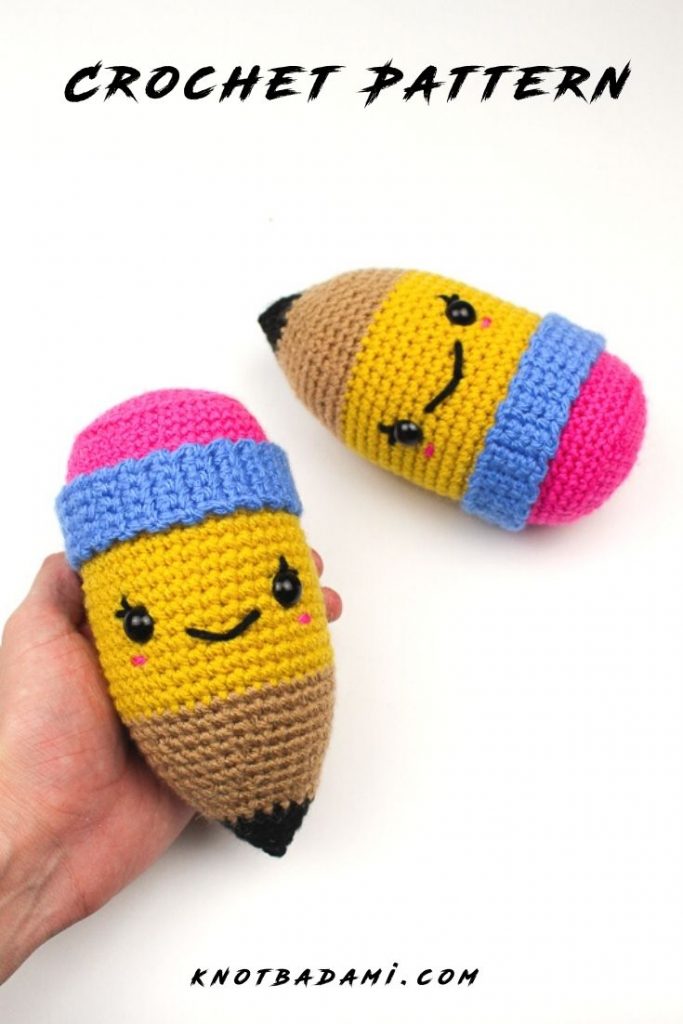
Abbreviations:
Ch – chain
Sl st – Slip Stitch
Sc – Single Crochet
Dec – Decrease
BLO – Back loop only
* *- Repeat
FO -Finish Off
Notes:
- This pattern is worked in the round and not joined.
- The pattern will guide you in how to make the pieces – at the bottom will be where you find the assembly
- You can find helpful tutorials throughout, but if you would like to find some of my tips and tricks you can head HERE!
- The photo tutorial for each step will be found UNDER the written step.
Lets Begin!
Main Body – Start in Pink (starting at the eraser)
Rnd 1: 6 Single crochet into Magic Ring (6)
Rnd 2: *Inc* around (12)
Rnd 3: *Sc, Inc* around (18)
Rnd 4: *Sc 2, Inc* around (24)
Rnd 5: *Sc 3, Inc* around (30)
Rnd 6: *Sc 4, Inc* around (36)
Rnd 7: *Sc 5, Inc* around (42)
Rnd 8: Sc in BLO (42)
Rnd 9 – 16: Sc around (42)
You will have your work moving upward and here’s how it should be looking!
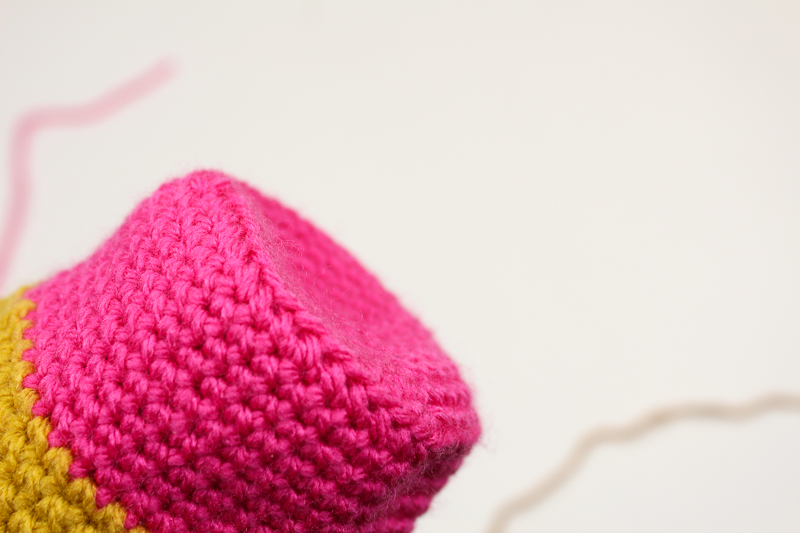
Switch to yellow
Rnd 17 – 27: Sc around (42)
Let’s now take a moment to put our safety eyes in and stuff our piece firmly!
The safety eyes will be placed 8 rows above the pink eraser beginning in the yellow – or – 5 rounds before you switch to beige. (The eye placement is the same for both dolls!)
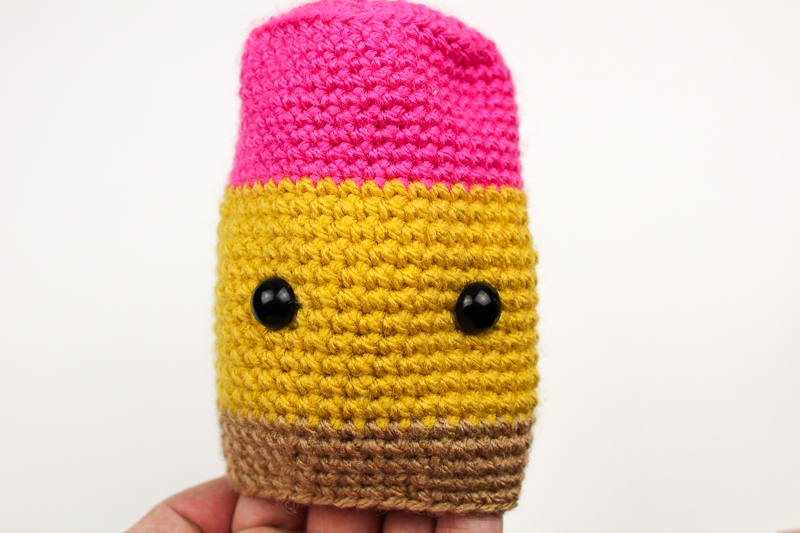
And stuff your work!
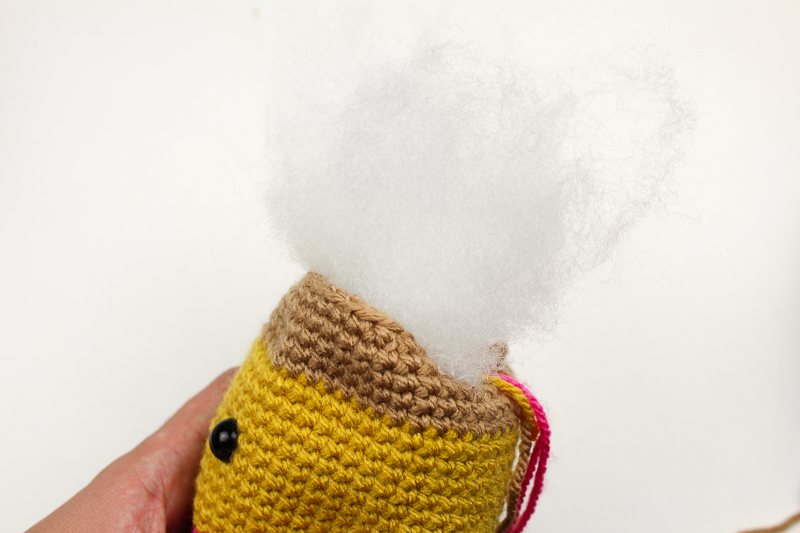
(Continue stuffing all the way until last round)
Switch to beige
Rnd 28 – 29: Sc around (42)
Rnd 30: *Sc 5, Dec* around (36)
Rnd 31: Sc around (36)
Rnd 32: *Sc 4, Dec* around (30)
Rnd 33: Sc around (30)
Rnd 34: *Sc 3, Dec* around (24)
Rnd 35: Sc around (24)
Rnd 36: *Sc 2, Dec* around (18)
Switch to black
Rnd 37: Sc around (18)
Rnd 38: *Sc, Dec* around (12)
Rnd 39: Sc around (12)
Rnd 40: *Dec* around (6)
Finish off
Blue Wrap (Eraser Steel)
Ch 5
In second chain from hook, sc. Sc across (4)
Row 2 – 48: Ch 1, turn. Sc across (4)
Finish off and leave tail for sewing.
Assembly!
So the only part that really needs assembly is just attaching your blue wrap to the pencil!
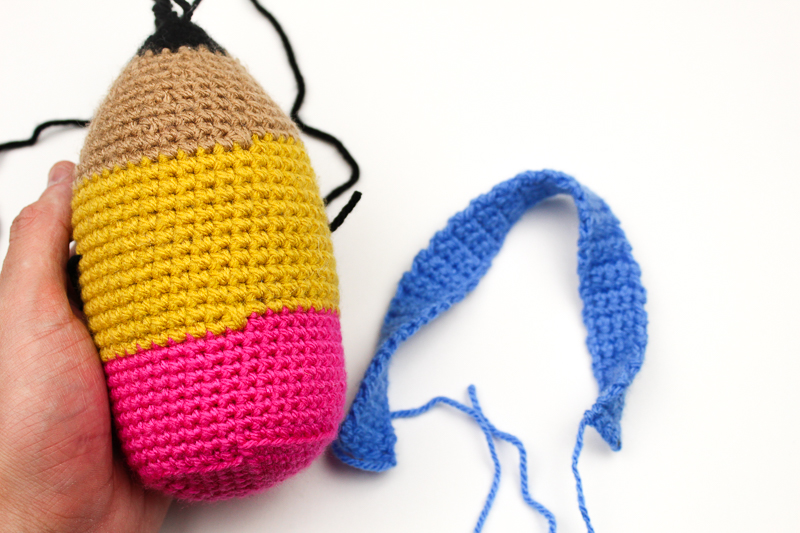
Attaching on the opposite side of where your face will be, connect and then use your darning needle to go through the main body and back up to attach both ends together.
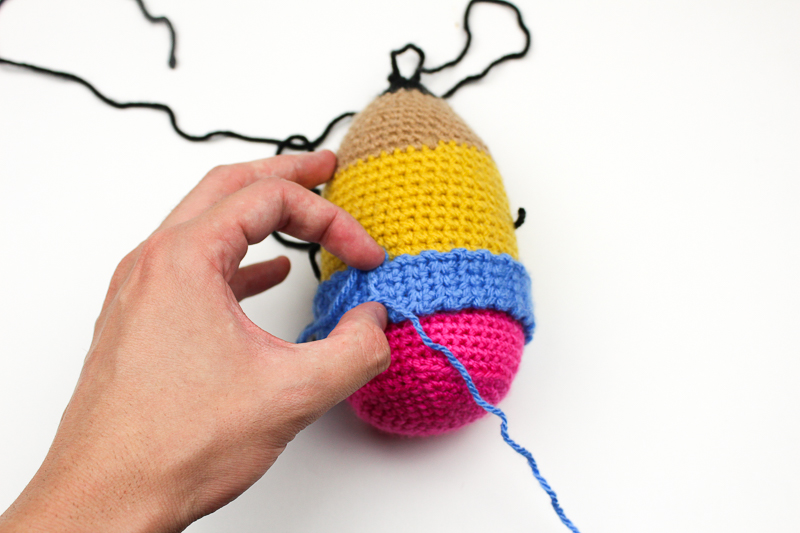
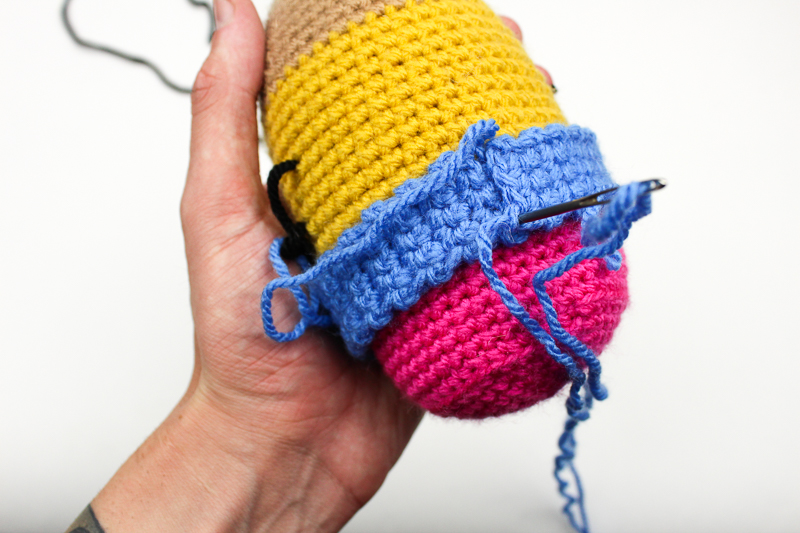
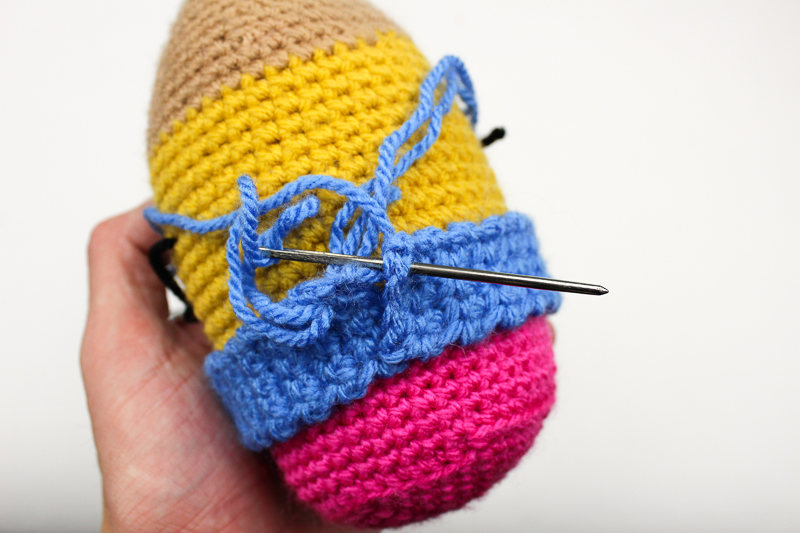
And for some extra security and fastening, take the time to add a hidden stitch on the sides to avoid it moving around too much!
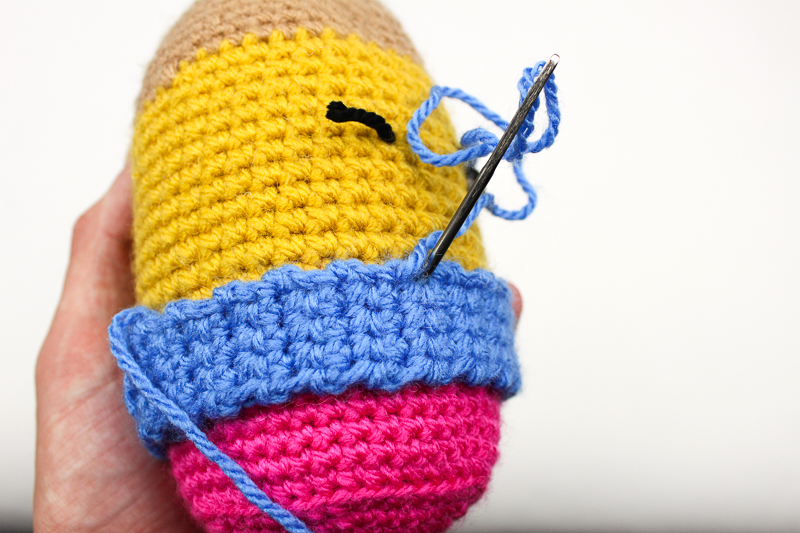
And for the final part of the project (besides weaving in your ends!) it’s time to embroider the face on in any fashion you want! As you can see below, I’ve shown two different variations for them – can’t wait to see how your turns out!
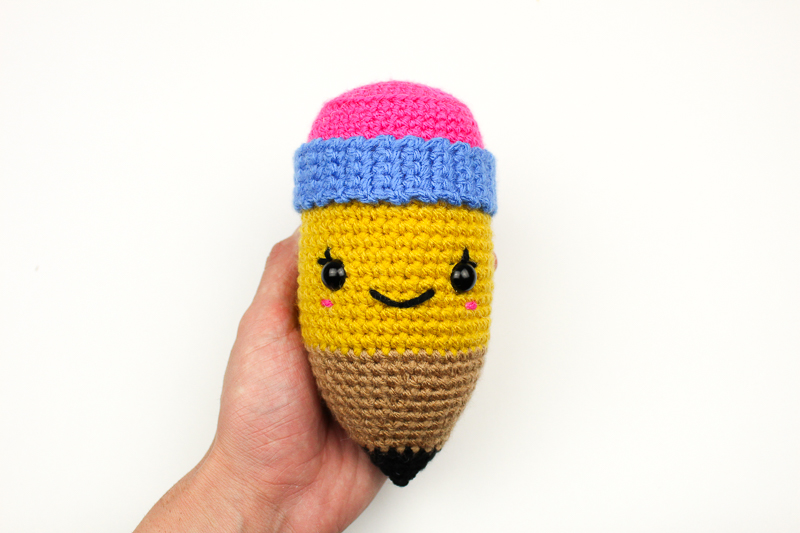
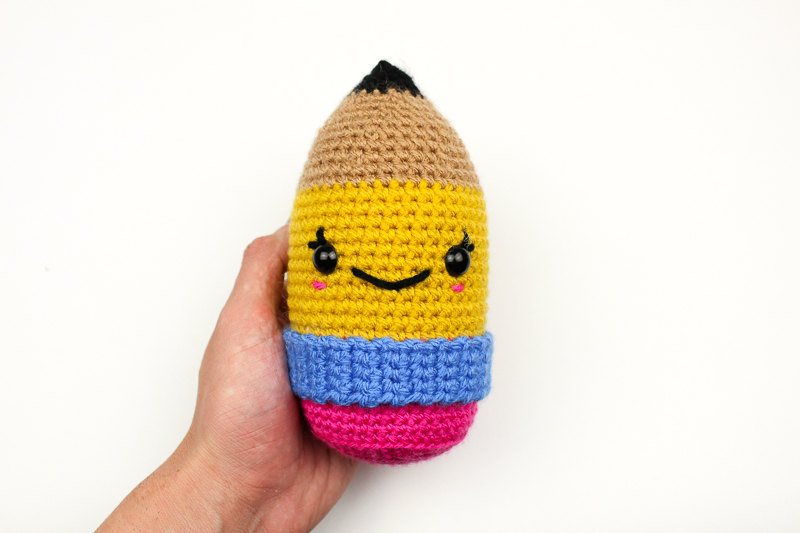
ALL DONE!
I am wishing all the hardworking students the best when it comes to this crazy new transition and doing their best to stay focused. Also, wishing the warmest wishes to all the parents and guardians taking on a whole new hat and adjusting to this life style, too. You are so important and I hope it’s recognized within your homes.
Please do not claim this pattern as your own. If you wish to share this pattern, you may link to this pattern but please do not reprint it on your site. You may keep a copy for your own personal use but please DO NOT sell the pattern or distribute it.
You may sell products made from this pattern but please clearly credit the design to Knot Bad and link it my website knotbadami.com
Make sure to post it! Please feel free to tag me and show me how yours turned out!


Very cool, this will be a cute gift to my neices that are teachers
Thank you for the pattern
Love your stuff Vincent, so adorable <3