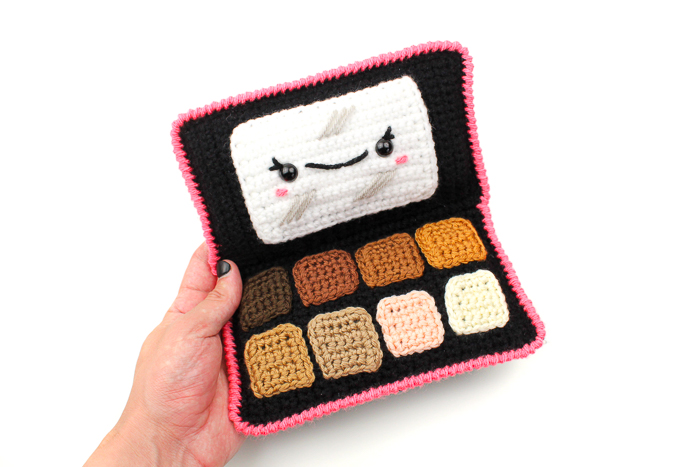
This post was sponsored by JOANN – My favorite craft store to visit for all my yarn and tools that I use. Also, you can’t resist all their coupons!
Representation does matter.
It always has but much of our media has been a let down when it comes to it. As a white male, I have had the privilege of seeing myself being represented in media my entire life. I have always felt like I could be whatever I want because the roles and products reflect my skin tone.
Although representation has a long way to go, there have definitely been strides which I am so happy to see! With this blog post, I am happy to show off a yarn that JOANN stores now have on their shelves from Lion Brand Yarn – Skein Tones! Yarn comes in so many different colors and it’s really nice to see a new line show off so many different skin colors of all different crafters!
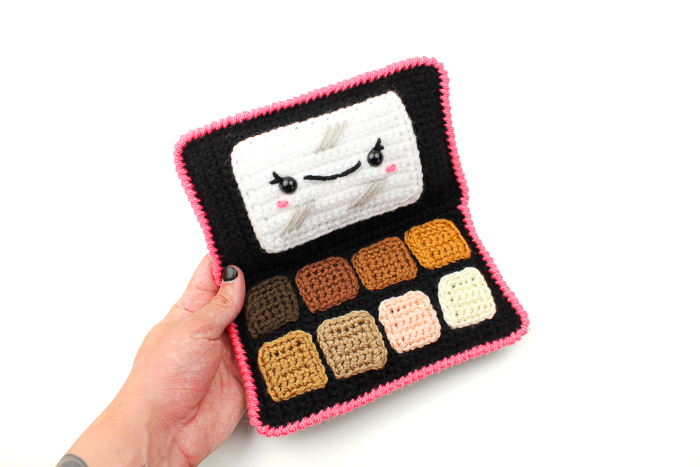
So with JOANN’s help, I wanted to showcase this new line of yarn in a fun new way! And the route I decided to go with is creating a eyeshadow makeup palette! From my partner and her interest in the world of make-up, I know representation can be lacking in that industry so I wanted to make this one work. All skin tones are beautiful and everyone should be able to find their own in media!
Down below, you can find the free pattern to get started on your very own with the Skein Tone line! Also, I want to know, where else in media do you want to see more representation?
All editorial content and projects are intellectual property of Vincent Green-Hite, designer of Knot Bad. This post was sponsored by JOANN Stores but all ideas and opinions are my own.
Please do not claim this pattern as your own. If you wish to share this pattern, you may link to this pattern but please do not reprint it on your site. You may keep a copy for your own personal use but please DO NOT sell the pattern or distribute it.
You may sell products made from this pattern but please clearly credit the design to Knot Bad and link it my website knotbadami.com
Make sure to post it! Use the hashtag #yarnpunk when posting it and please feel free to tag me and show me how yours turned out! You can also find the Facebook group and subreddit r/yarnpunk to post to as well!
So here’s what you’ll need:
All the yarns can be substituted with any worsted weight yarn (size 4)*
1 Skein in JOANN Big Twist (in Black)
1 Skein in JOANN Big Twist (in White)
1 of each Skein in Lion Brand Yarn’s Skein Tones in all these colors found down below: (Not all colors were used from the yarn line, so feel free to substitute them if you would like!)
- Ivory
- Peach
- Ebony
- Adobe
- Hazelnut
- Cedarwood
- Mahogany
- Truffle

Dimensions
Height: 7″ inches roughly
Width: 7″ inches roughly
Don’t forget to pin this pattern for later! It can be easy to forget so make sure you have this tucked away for a rainy day on your Pinterest Boards!
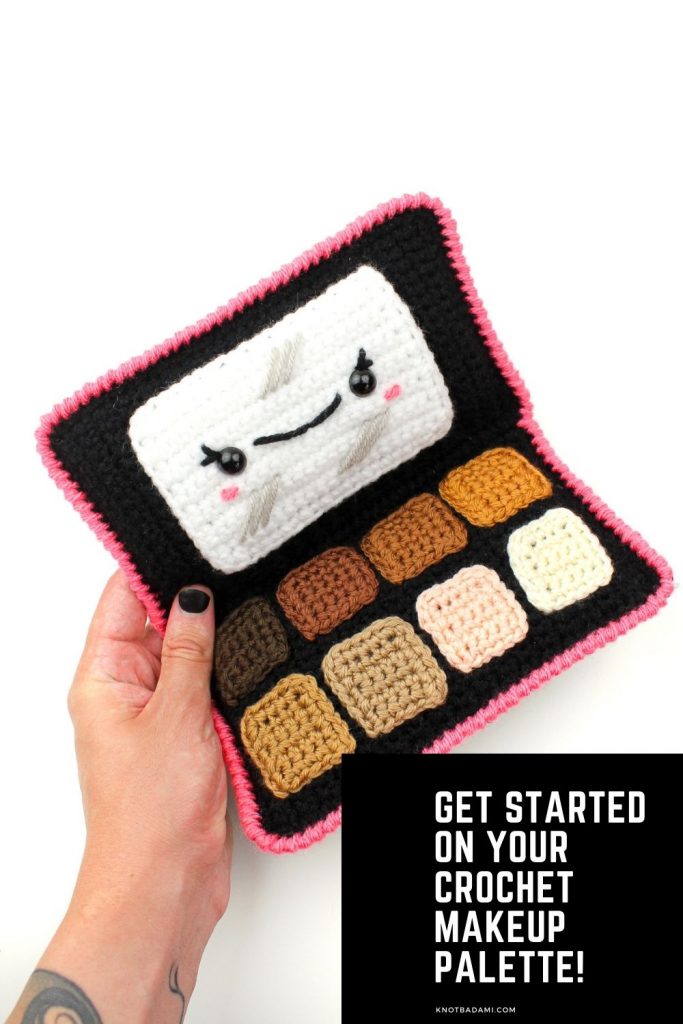
Skill Level:
Intermediate
Abbreviations (In US terms)
Sl st – Slip Stitch
Ch – chain
Sc – Single Crochet
Inc – Increase
Dec – Decrease
CS – Crab Stitch
* *- Repeat
FO -Finish Off

Notes:
- This pattern is worked in rows
- This pattern is written in US terms
- You can find helpful tutorials throughout, but if you would like to find some of my tips and tricks you can head HERE!
- The photo for each step will be found BELOW said step.
- Find my YouTube tutorial for the Magic Ring here!
- *** WHEN CHAINING: You will be asked to chain a certain number and you next round will be 2 less than the beginning chain (Ex: chain 20 will mean 18 total stitches) My tension is too tight so I always go up one. If getting to 18 from the example above means chaining 19 for you, please do so!

Lets Begin!
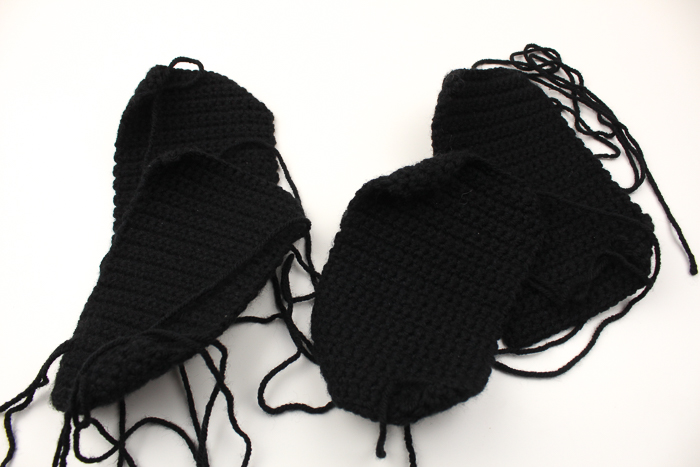
Main Body (Make 4 Panels)
***(Be sure to check the notes section so you can get the correct stitch count when chaining!)
Begin In black
Ch 20
In second chain from hook, sc. Sc across (18)
Row 2 – 35: Ch 1, turn. Sc across (18) Make sure these numbers a re correct
Finish off and leave tail for sewing
Mirror
Begin in White
Ch 22
In second chain from hook, sc. Sc across (20)
Row 2 – 15: Ch 1, turn. Sc across (20)
Crochet around the block now. Sc across side, sc x 3 in corner, sc across. Do this all the way around
Finish off and leave tail for sewing
Insert safety eyes into Row 8 with 10 stitches apart.
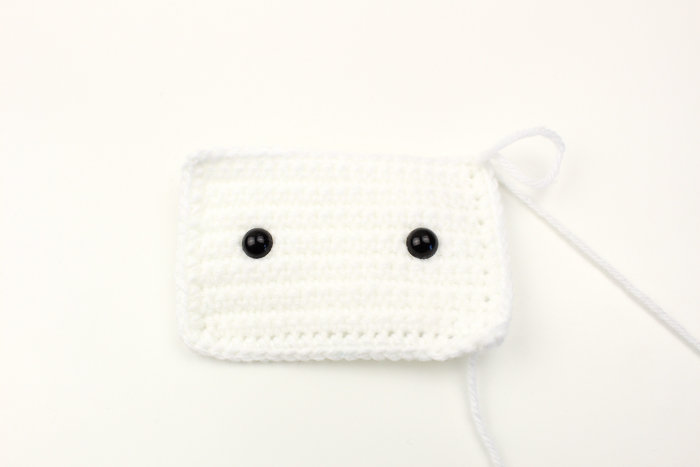
At this time, we can now embroider our “reflection” lines onto the face. Down below, they will be seven stitches apart.

Square makeup
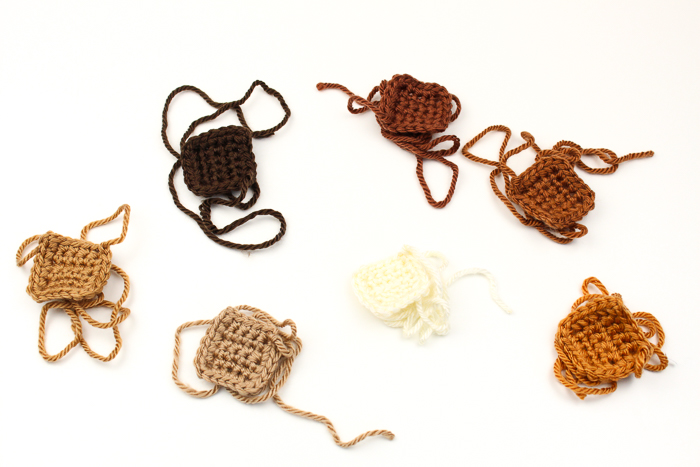
(Begin in one of each skein tone listed above, with a total of 8)
Ch 7
Row 1: Sc into second chain from hook, sc across.
Rnd 2 – 5: Ch 1, turn. Sc across (5)
Crochet around the square now. Ch 1, sc into first stitch. Sc across.
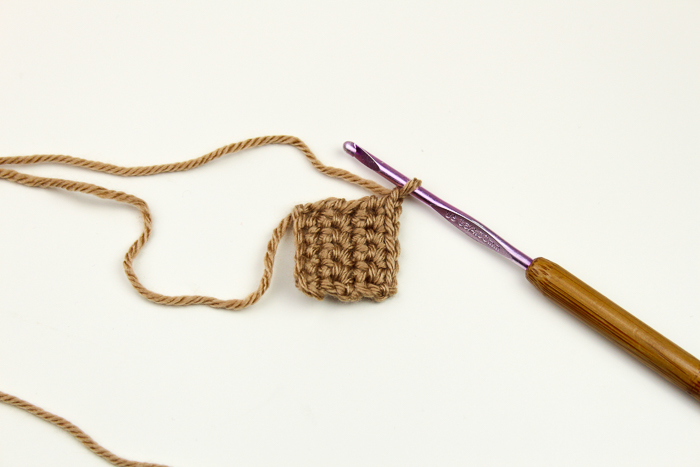

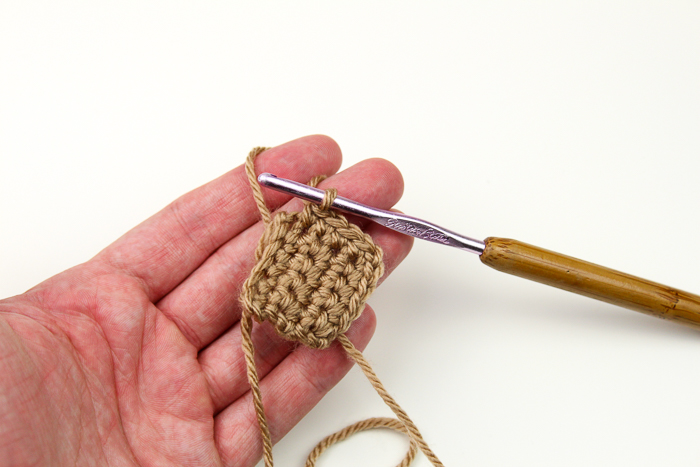
You will now insert 3 single crochets into the corner stitch!
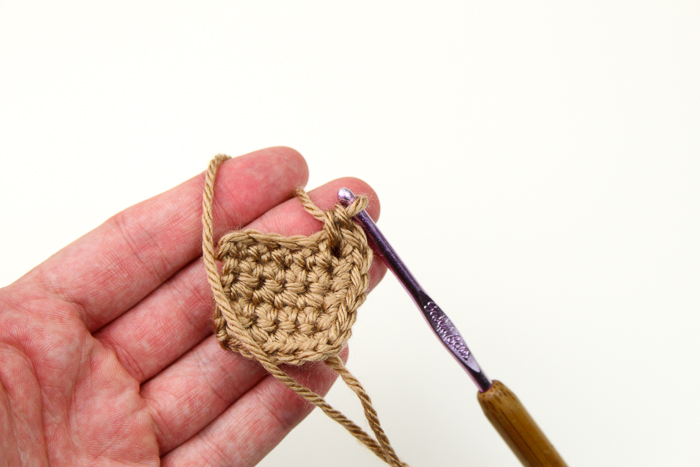
Continue this all the way until you get to your beginning row!

Make 8 in all colors!
Assembly
This first section is going to be the trickiest – putting together our panels! The reason why is because we are going to try and make it as flat as possible. This can be difficult but not impossible – our panels will still have a slight “puff” to them
Taking our two panels, we will line them up on top of one another. With your working yarn, push through your first stitch of the panel AND the corresponding stitch on the other panel like so:
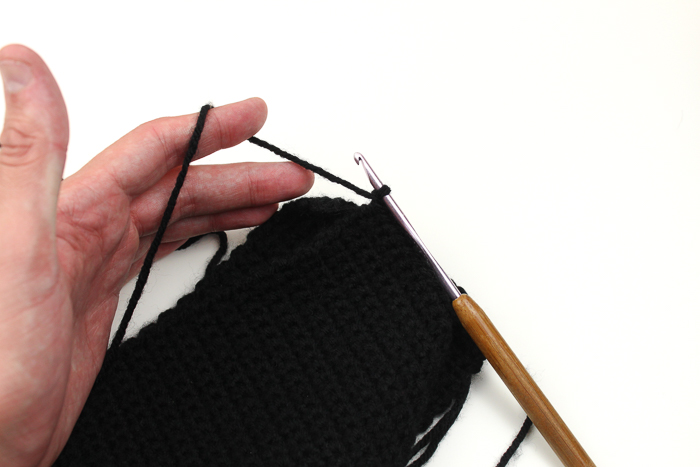
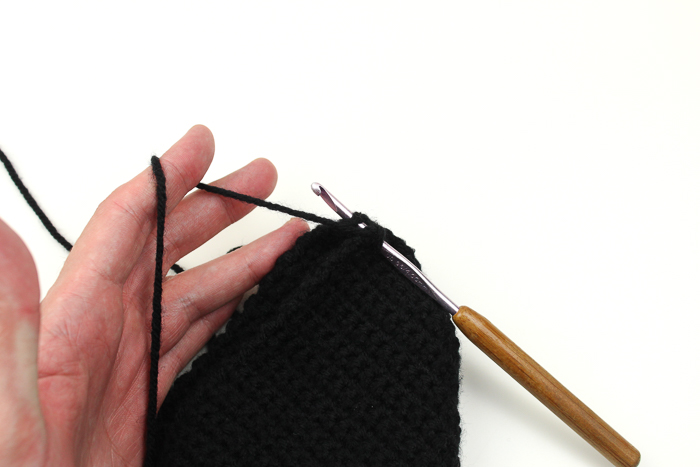
Pull through both stitches:
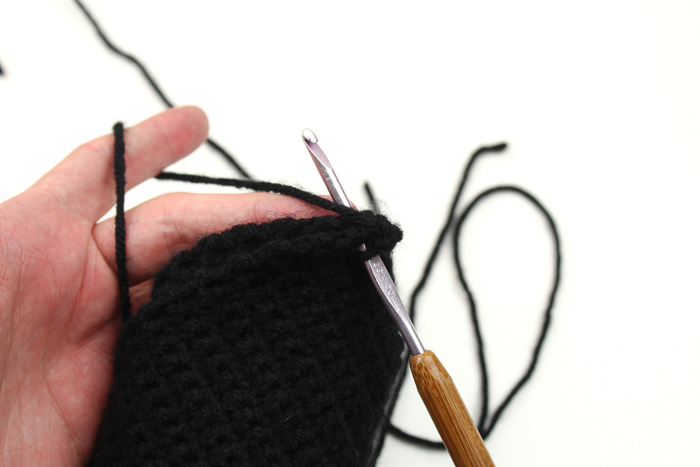
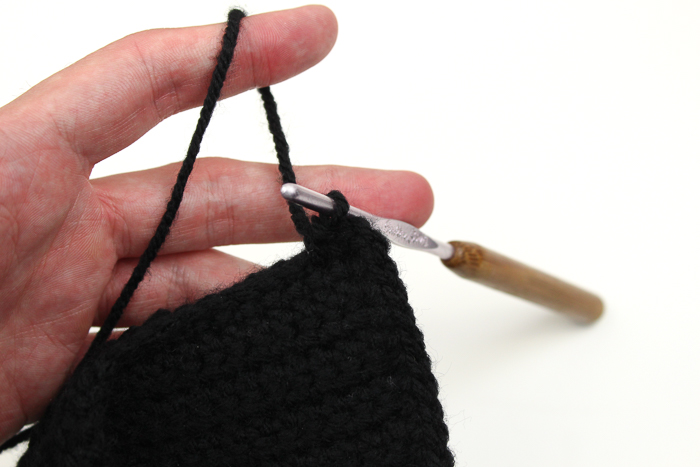
Perform a single crochet. Continue doing your sc’s around the entire panel until about your 3/4 of the way done!

Now that we have almost just one side left, its time for the hard part: Stuffing! To do this, it will take some patience. Instead of just shoving huge amounts of your polyfill into the piece, you will want to put in smaller, light portions. You will want to make this firm but flat as best as you can.
The amount NOT to use at once:

The amount to use:

Stuff slowly and firmly.

It might take a few tries but we want to keep this panel as flat we can so it can maintain a shape!


Finish up the last side of you panel with your Sc’s!
Do this same process with your next panel and we will have two at the end:

Now that we have both panels, we will want to attach them together! Line them up and take your working yarn to pull through both:


Once connected, instead of weaving back and forth, we will pull over and continually pull left to right (instead of left to right, right to left, left to right like you typically would)
This will be how the needle always goes through the stitches:
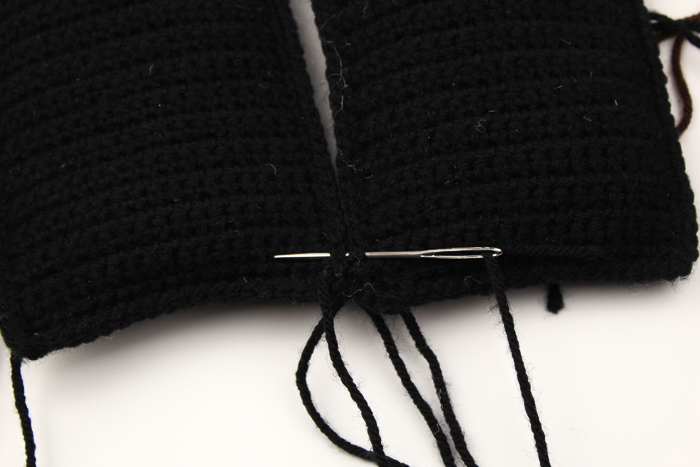
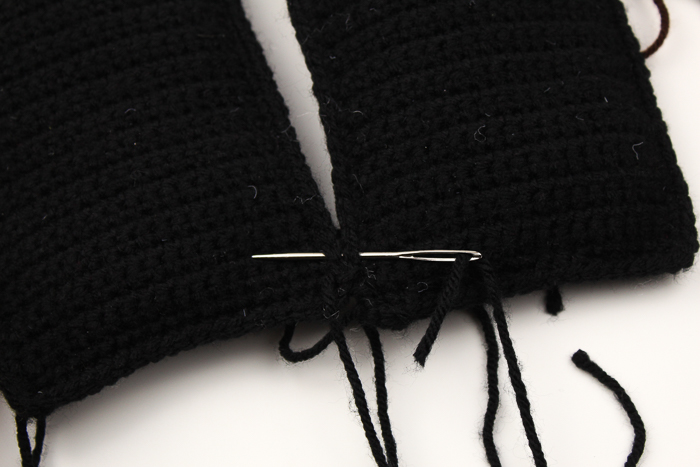
Here’s how the stitching will look!
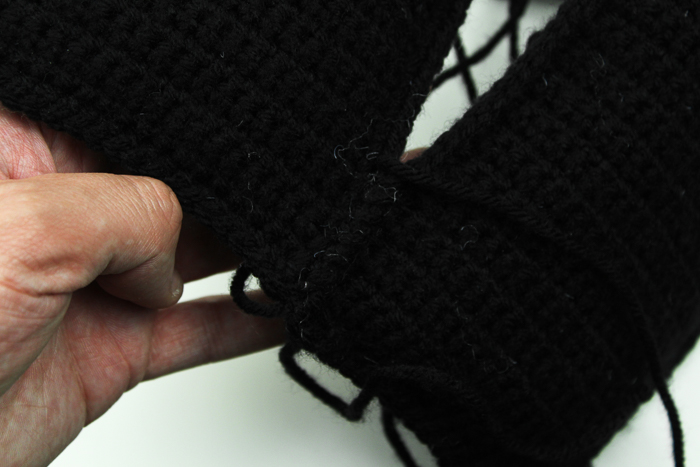
You will now have both foldable pieces!
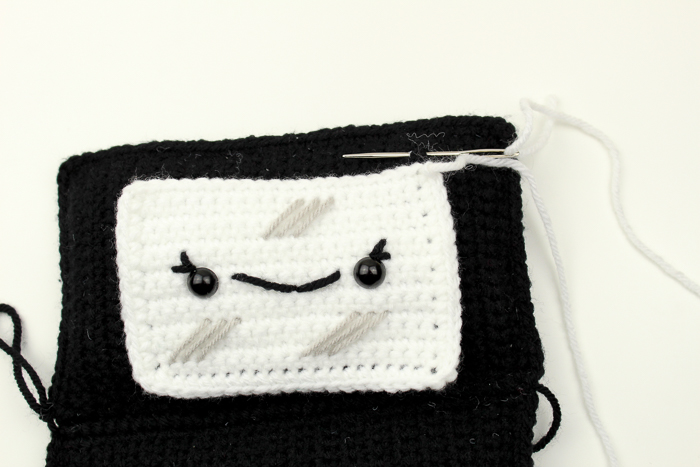
Choose one side to be the “top” of the palette, where your mirror will go. With your darning needle, you will sew around the entire mirror and put it in the center! (You will not be stuffing this portion.)

Sewing on the Makeup squares
Now, place the squares you made onto the bottom portion, pinning these will be helpful! You can choose the color coordination, but I decided to start with the darkest colors and moving towards lighter:
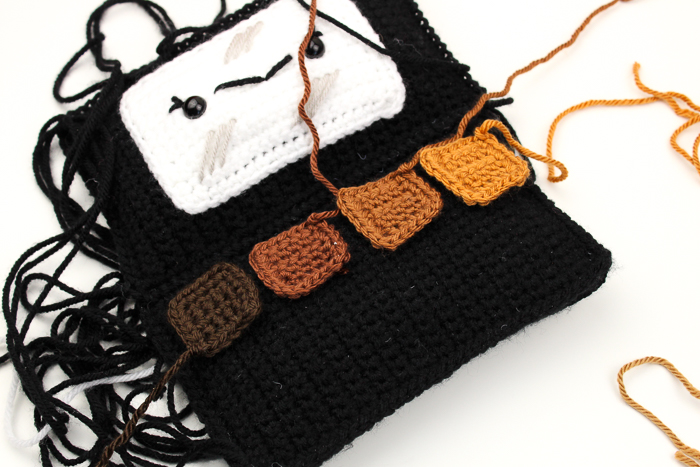
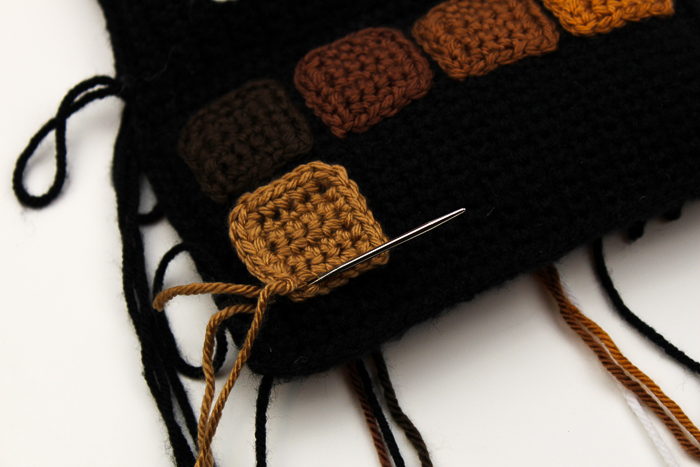
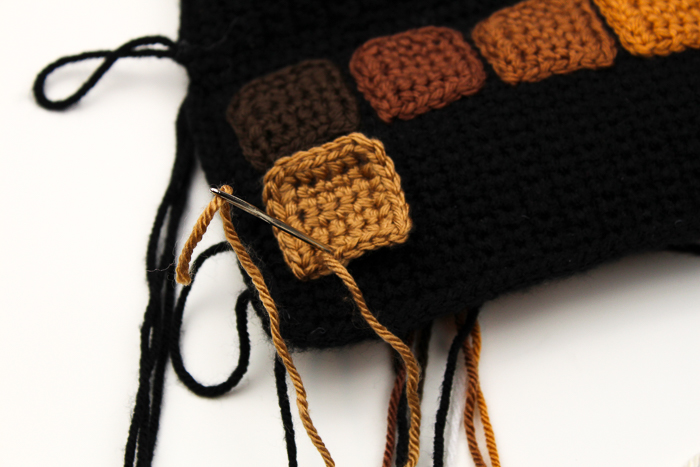
With your darning needle, you will now be sewing in all the squares onto the bottom half!
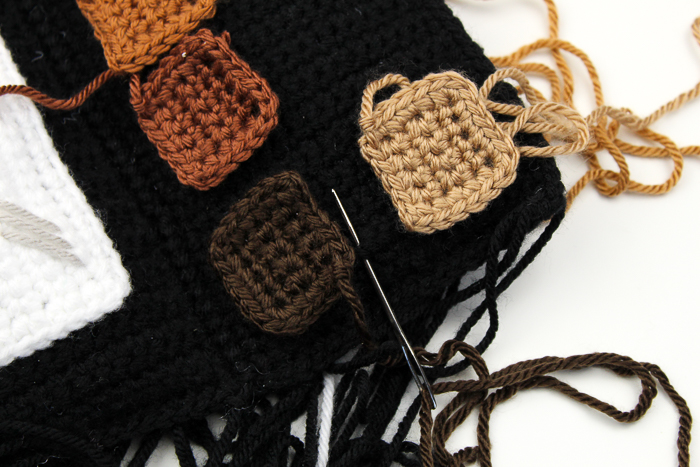
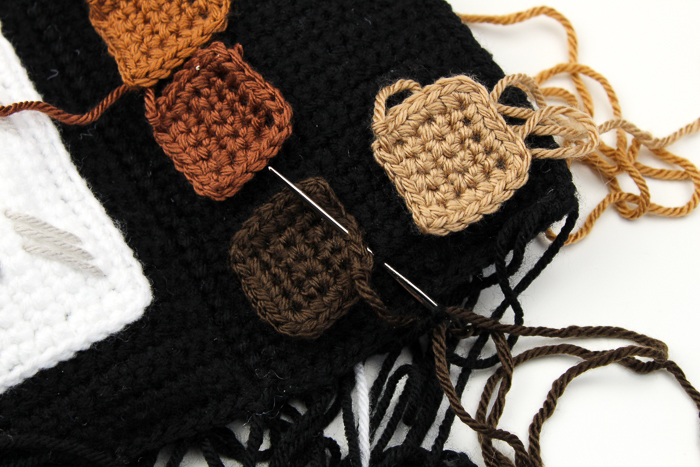
There will be 4 on top and 4 on bottom. When sewing, you will insert from above and then come from below all the way around.
Adding a Border
To create our border, we will be doing a crab stitch all the way around! You can choose any color you like but I went with pink for this one.
Attach your yarn on the side when both of the panels fold. Pull through and perform a single crochet.
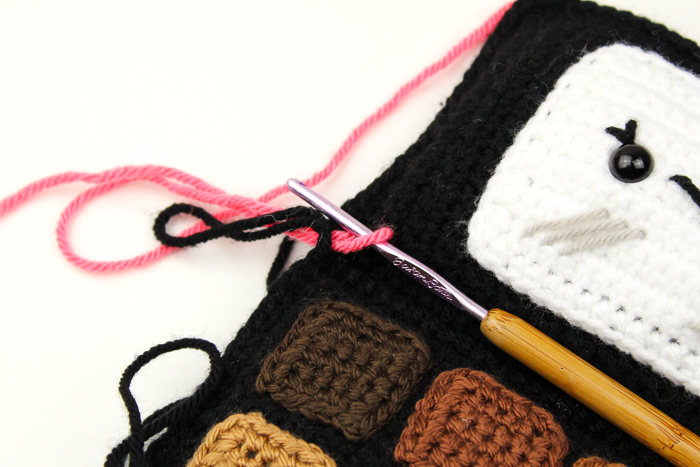
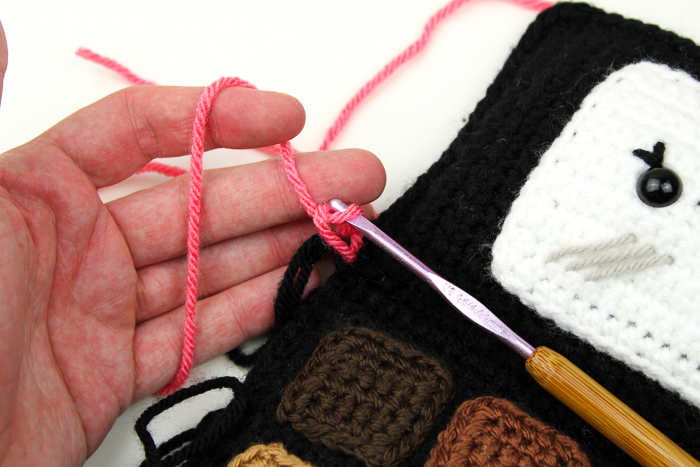
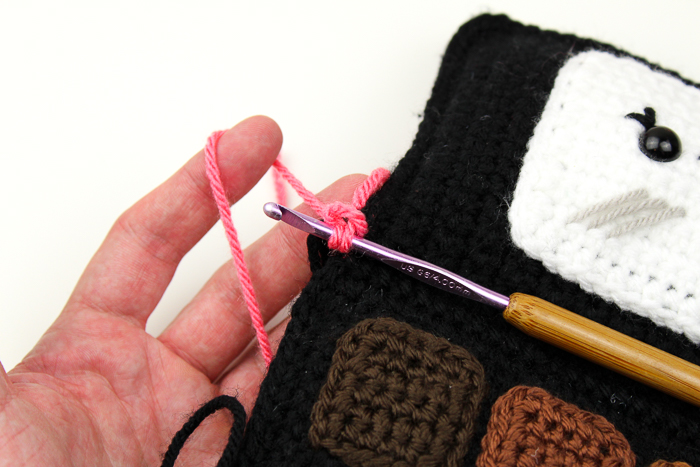
Now, instead of crocheting to the left, we will actually be going backwards (to the right!) It will feel awkward at first for sure – insert your hook into the stitch to your RIGHT and single crochet like normal:
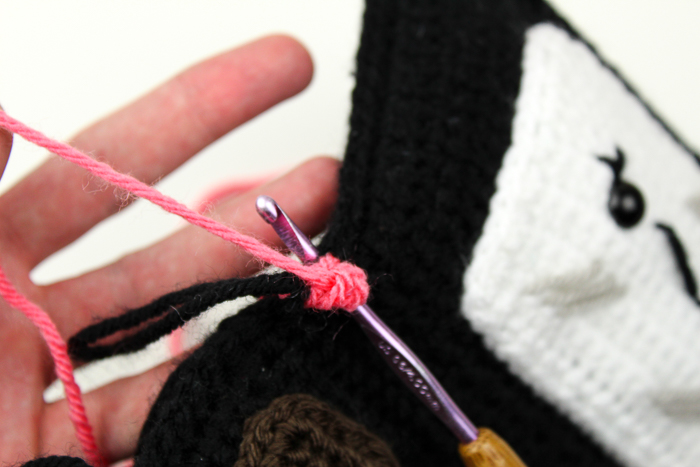

Here is how it will begin to look!

Just continue this all the way across and around the entire border, even at the points where the panels fold!


Once you go all the way around and finish off weaving in your ends, you’re done! Yay!
It’s so awesome to see what JOANN and Lion Brand Yarn are doing to create more inclusivity when it comes to the makers who are using their yarns – and I hope this is a fun way for you to implement them into a project!
All editorial content and projects are intellectual property of Vincent Green-Hite, designer of Knot Bad. This post was sponsored by JOANN Stores but all ideas and opinions are my own.
Please do not claim this pattern as your own. If you wish to share this pattern, you may link to this pattern but please do not reprint it on your site. You may keep a copy for your own personal use but please DO NOT sell the pattern or distribute it.
You may sell products made from this pattern but please clearly credit the design to Knot Bad and link it my website knotbadami.com

