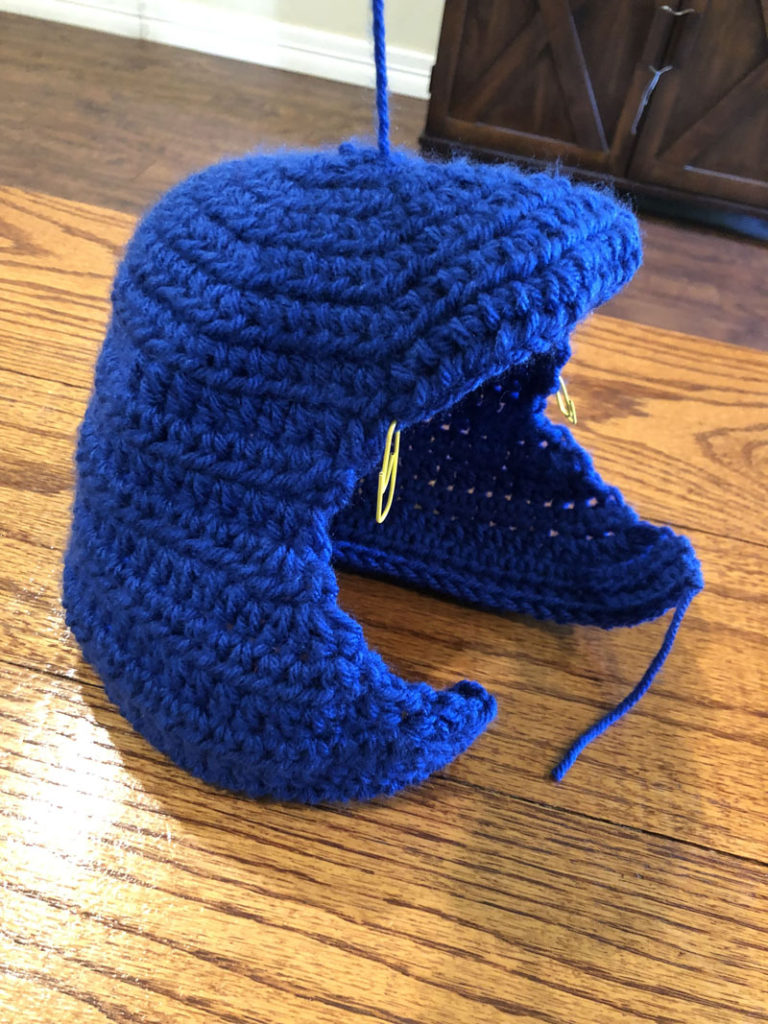
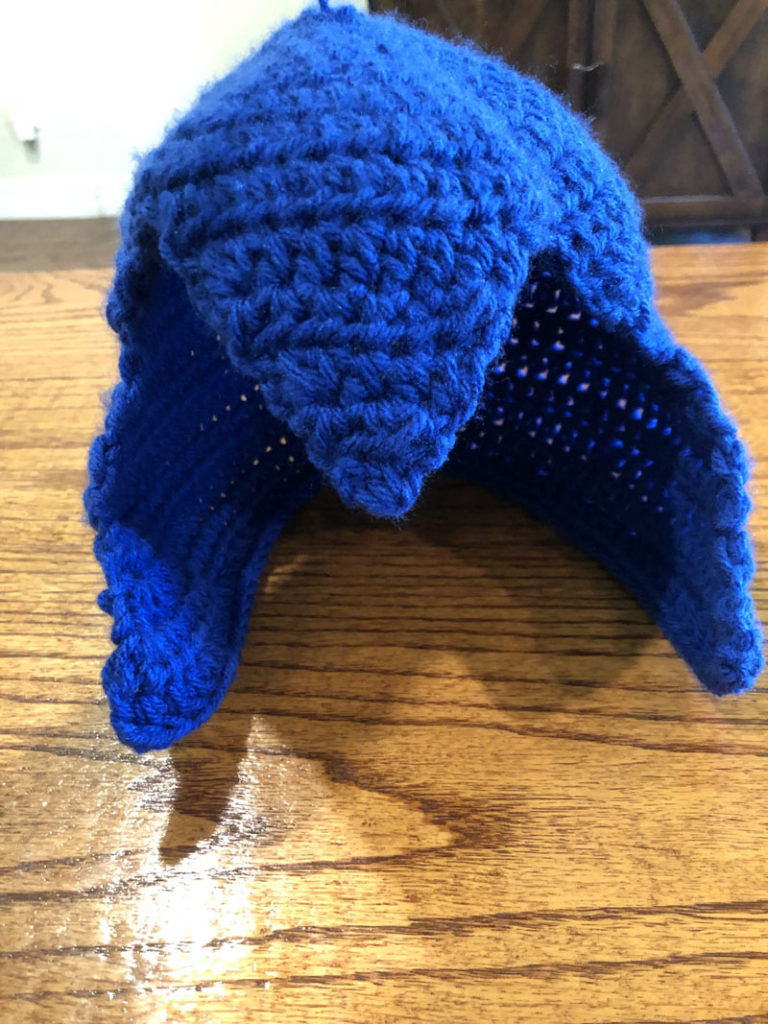
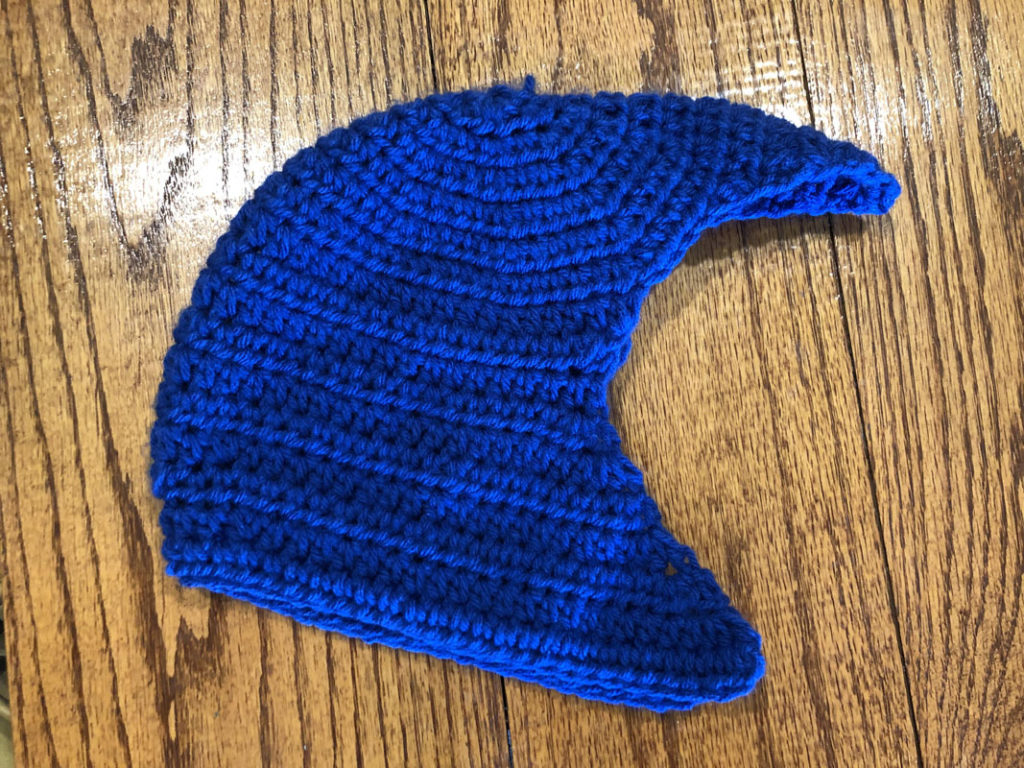
Today, we have another guest feature for the blog! Today is a free pattern for those of you who have that nerdy obsession with video games like I do – It’s a Mega Man Helmet! Please welcome our new Yarn Punk, Maura!
“Hi, I’m Maura, aka The Knitcromancer! I’m a Midwesterner living in Austin, TX. I got my start in the crafting by my grandma teaching me how to knit, so I’d make scarves for all my stuffed animals. In high school I decided to learn crochet, and mostly learned from written patterns and a lot of stumbling. Once the internet was more ubiquitous I could look up patterns and video tutorials. I decided to start making amigurumis of little geeky things I liked, because I never saw them online! At the same time, I started dabbling in cosplay, so I would add on little crochet accents since I am not the best at sewing. I made two (!!) cosplays almost entirely out of yarn, and at a convention someone asked me where they could find my work to buy. I was doing this for myself, but that gave me the push to see that others liked what I could do! Shortly after, I set up my Etsy and personal website and began to make patterns. Check them out!”

(Have something to show to the world as well and want to share you creative intelligence? You can be a Featured Yarn Punk too! Click the image below to be directed to applying!)

Materials Needed:
Blue Yarn
Light Blue Yarn
Red Yarn
I Hook
Scissors
Tapestry Needle
Stitch Markers
Terms to know:
St – stitch
Ch – chain
Hdc – half double crochet
Sc – single crochet
Hdc2tog – half double crochet 2 together
BLO – back loops only
( ) – the number of stitches at the end of a row
[ ] – the pattern repeats in between brackets
// // – personal notes written in italics, to help define why certain shapes are being made
Lets Begin!
Helmet – Make 1
- Begin work in the round
- Magic circle, ch 5, sl st into end (5)
- 2 hdc in each st around (10)
- 2 hdc in each st around (20)
- [Hdc in next st, 2 hdc in next st] around (30)
- [Hdc in next 2 st, 2 hdc in next st] around (40)

- [Hdc in next 3 st, 2 hdc in next st] around (50)
- [Hdc in next 4 st, 2 hdc in next st] around (60). Place marker at end of this row!
- Hdc across only 40 st, place marker, turn work (40). // Stop working in the round, now we will be going back and forth, creating the back of the helmet //
- Ch 2, hdc2tog in first st, hdc across to last 2 st, hdc2tog. Turn (38)

- Ch 2, hdc2tog in first st, hdc across to last 2 st, hdc2tog. Turn (36)
- Hdc across (36)
- 3 hdc in first st of row, hdc across to last st, 3hdc (40)
- 3 hdc in first st of row, hdc across to last st, 3hdc (44)
- 2 hdc in first st of row, hdc across to last st, 2hdc (46)
- 3 hdc in first st of row, hdc 18 st, hdc2tog, hdc 4 st, hdc2tog, hdc 18 st, 3 hdc in last st (48) // This is shaping the back of the helmet, and curving in where the back of the skull meets the neck, so it lays flat //
- 3hdc in first st, hdc 20 st, hdc2tog twice, hdc 20 st, 3 hdc in last st (50)
- 3 hdc in first st of row, hdc 20 st, hdc2tog, hdc 4 st, hdc2tog, hdc 20 st, 3 hdc in last st (52)
- Hdc across (52). Fasten off.


Helmet Peak
- Go back to where the 20 st were left over when shaping the back of the helmet. Attach yarn at 4th st from end.
- Hdc2tog, sc across 8 st, hdc2tog (10)
- Hdc2tog, sc across 6 st, hdc2tog (8)
- Hdc2tog, sc across 4 st, hdc2tog (6)


- Hdc2tog, sc across 2 st, hdc2tog (4)
- Hdc2tog, sc across 1 st, hdc2tog (2)
- Hdc2tog (1). Fasten off yarn, sew in loose ends.


//This makes the heart-shaped face opening in the helmet. Now for the ears and top! //
Helmet Ridge (small) – Make 1
- Using Light Blue, ch 5 and sc across (4)
- Sc across (4)
- Sc across (4)
- Sc across (4). // This will make a square shape. Now to begin to crochet along the sides of the square //

- Ch 1. 3 sc in each corner and 2 sc on each side of the square. (20)

- Sc around (20)
- Sc around (20). Fasten off.
Helmet Ridge (large) – Make 1
- Similar to the smaller ridge, using Light Blue, ch 5 and sc across (4)
- Sc across as many times as you’d like to get the desired length of rectangle. I went with 20 rows
- of sc (20).
- Begin to crochet along the sides of the rectangle as before – 3sc in each corner, sc in each row. // For my use of 20 rows, my total sc count was 54 //
- Sc around (54) [

- Sc around (54). Fasten off.

Ear Cups – Make 2
- Using red, make a magic loop, chain 6 (6)
- 2 sc in each sc around (12)
- [sc in next sc, 2 sc in next sc] around (18). Fasten off.
- Attach Light Blue yarn.

- [sc in next 2 st, 2 sc in next sc] around (24)
- [sc in next 3 st, 2 sc in next sc] around (30)
- [sc in next 4 st, 2 sc in next sc] around (36)
- Working in BLO, sc around (36)

- Sc around (36)
- Sc around (36)
- Sc around (36). Fasten off


Assembly:
Affix the square helmet ridge to the front of the helmet, 2-3 rows above the front peak’s point. Try to get it centered over the peak!

Affix the long rectangular ridge behind the square, keeping it centered on the helmet. It’s like a mohawk!
Attach the ear cups to the sides of the helmet. Try to keep it above the final row, and go no higher than where the 3hdc rows start on the base helmet’s shape. [

You may not sell this pattern or claim them as your own. You may make items to sell(i.e. on Etsy, at craft fairs) from this pattern but I ask that you link back to my blog and provide credit for the pattern. You are welcome to share this pattern on social media so long as you link back directly to my blog post (providing the link). No copy & paste of my patterns will be allowed under any circumstances.
Be sure to tag @knot.bad and @yarnpunk on your socials and use the hashtag #yarnpunk!


Awesome pattern!!!!!!!! It’s so unique and perfect for any Mega Man fan! XD Way to go, Maura/Knitcromancer!!