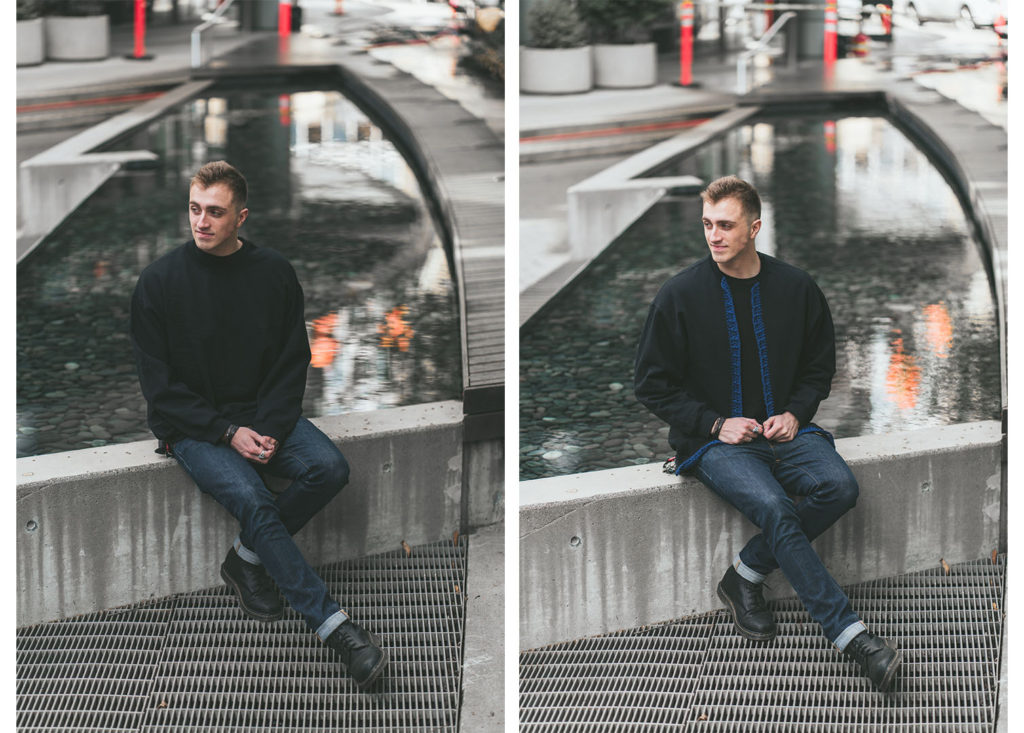
It’s that time of year where the sun is coming out a little more often and we are left with a big question; what’s my wardrobe going to look like this new season? Well, I always think it’s fun to find clothes that you know you won’t be using next year and up-cycling old favorites! The point I’m making is we lose a lot of our fabric this time of year (Sweaters to T shirts, pants to shorts, etc. ) So let’s create something meaningful by eliminating our fabric and adding our own touch!
While walking through the aisles of JOANN and noticed you could find blank canvas’ of T-shirt’s and crew necks and just knew there was something I could do with them! The burst of creativity I get in JOANN is always so inspiring for every season.
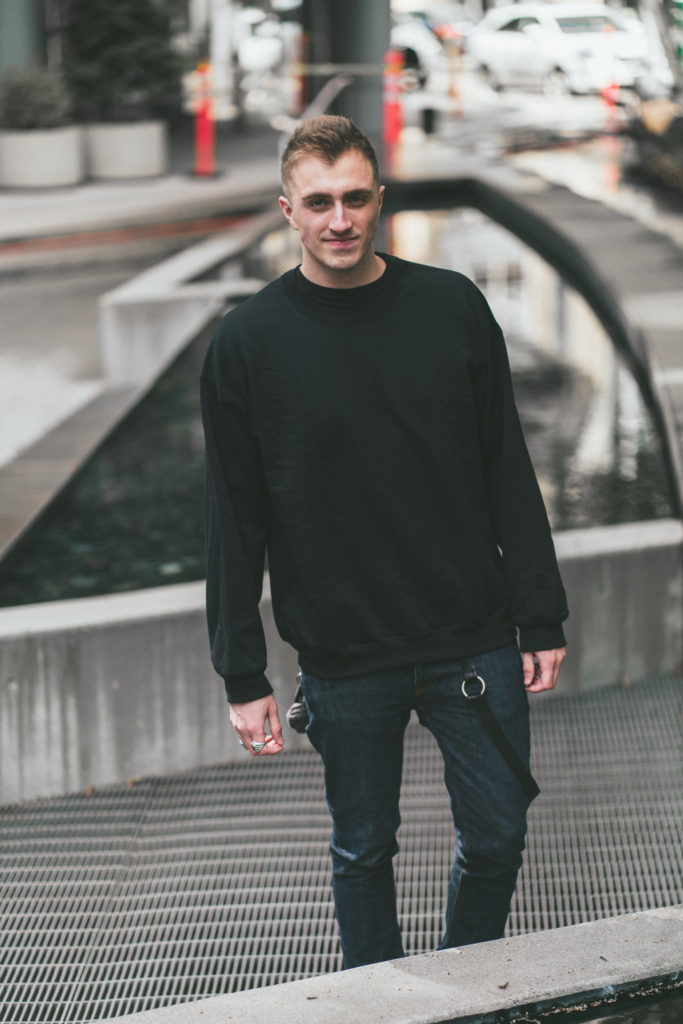
Today, we have a fun Yarn Punk tutorial on how to create your own DIY Cardigan made out of a crew neck! Taking a basic crew neck and turning it into something unique and special is such a fun way to show off your own fashion.
All editorial content and projects are intellectual property of Vincent Green-Hite, designer of Knot Bad. This post was sponsored by JOANN Stores but all ideas and opinions are my own.

Skill Level: Easy
Materials:
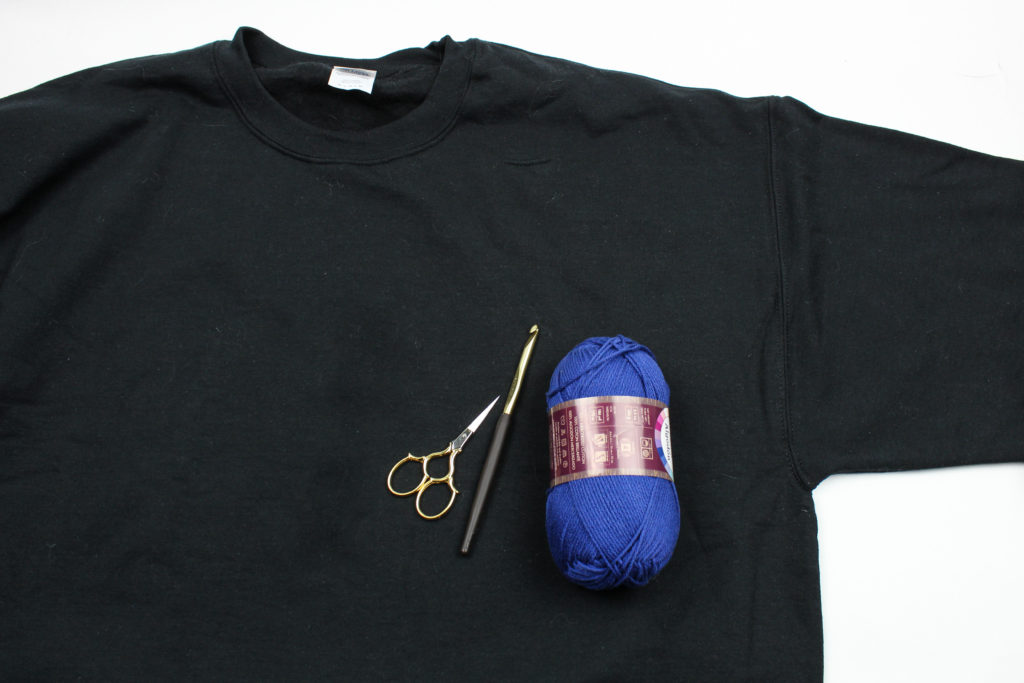
Crew Neck (Whatever size you typically wear!)
Here at JOANN, they’re only $15 in store!
Yarn – Lion Brands 24/7 Cotton (1 Skein)
Don’t Forget to Pin for Later!

Notes:
When creating the opening, the notes below will describe what measurements I used in the photos, but because this is a tutorial, you are allowed to change it up however you please!
The instructions for each step will be ABOVE the picture.
For every 3 rows of double crochet, it will be adding on 1.5″ inches to your piece!
Let’s begin creating your own unique piece!
Laying your cardigan down flat, mark your piece identifying where you will want to be cutting.
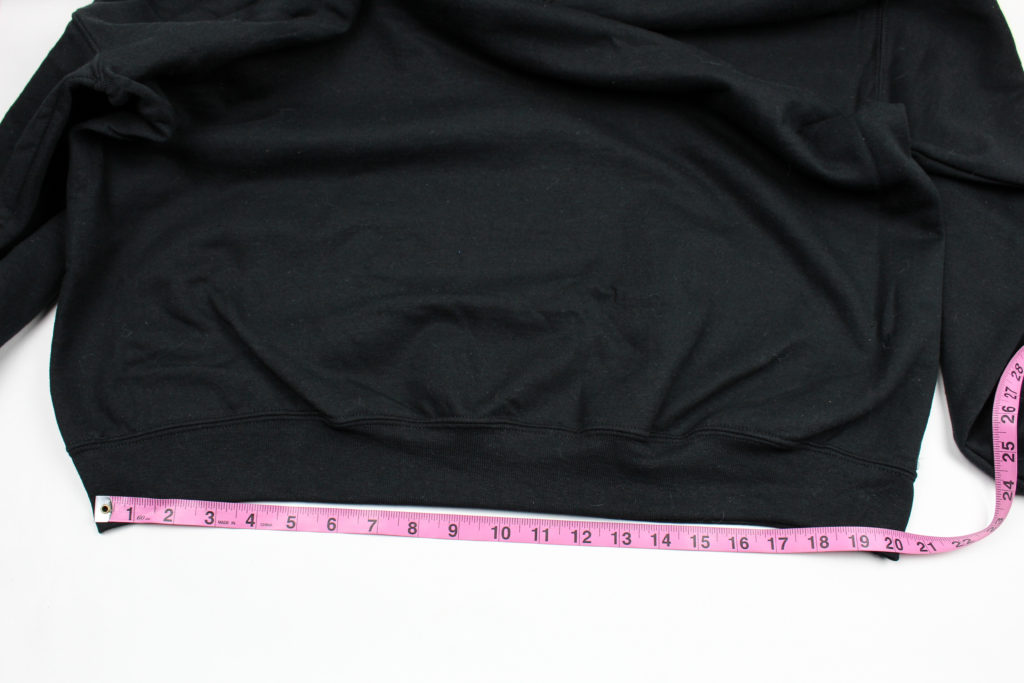
For the crew neck displayed, I was working with an XL; for the center cut, I it is 8” inches wide. This can come down to you and how wide of an opening you want (you will want to make sure you remember that You will be adding on. Each row adds x”)
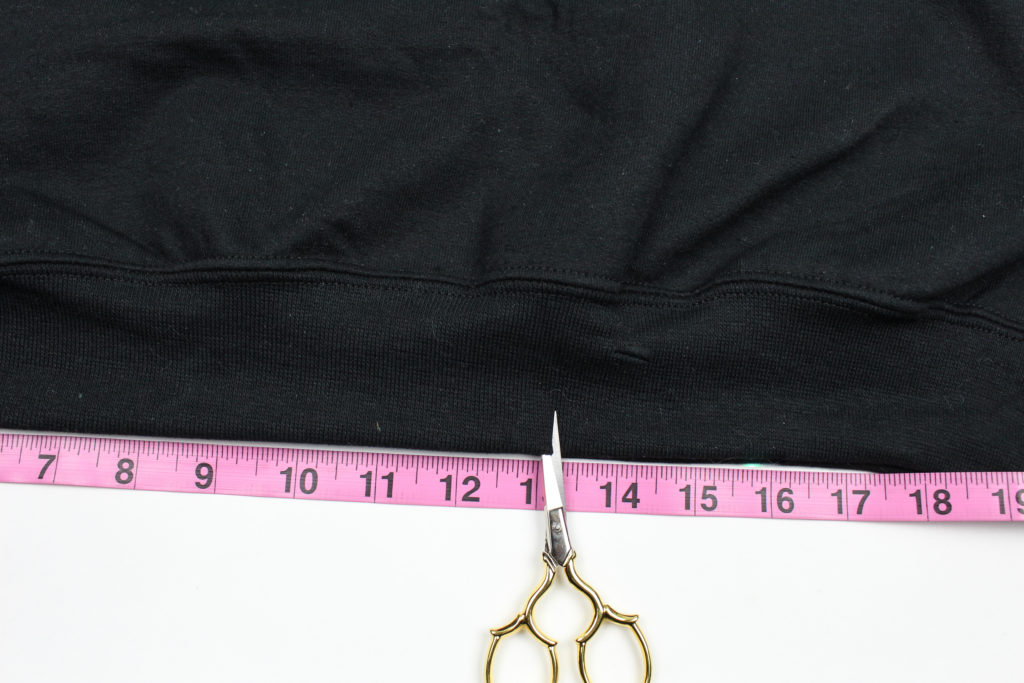
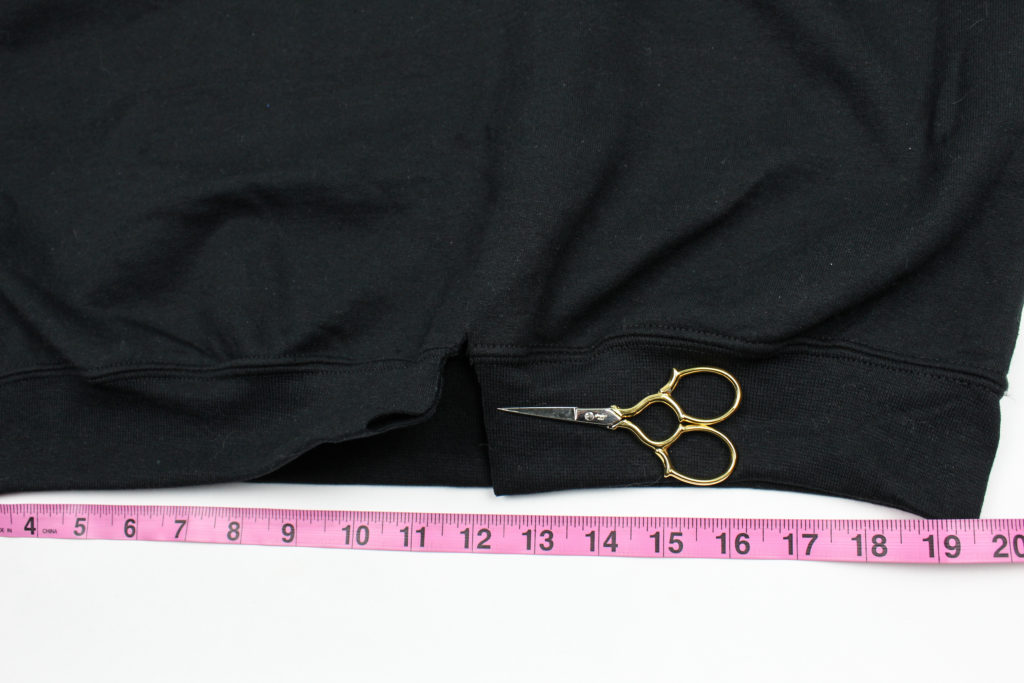
Cut all the way up going past the collar.

Yarn Punking it; starting from the bottom, create a knot. With the other end, you will be creating loops using the blanket stitch! Down below, you will find the photo tutorial on the blanket stitch. From the front side, insert your needle through the fabric about distance away from the last knot. Coming from behind, go back up through the loop. Be sure you are adding a little bit of tension!
Using a Darning needle, you will stab into the fabric to go through the other side.

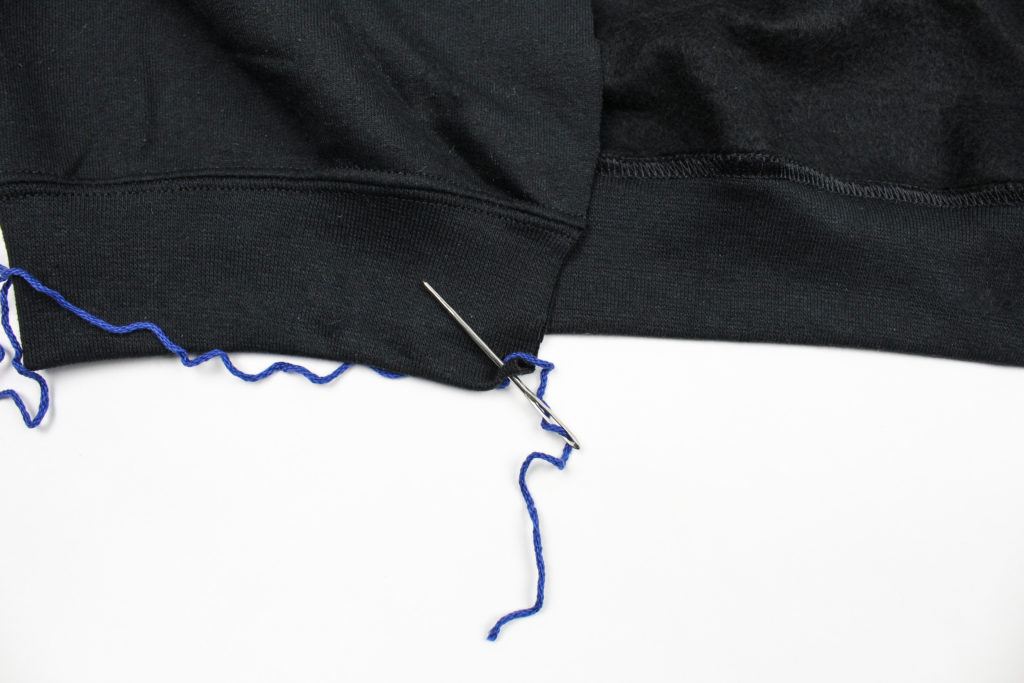
Enter back through your loop to create a knot!
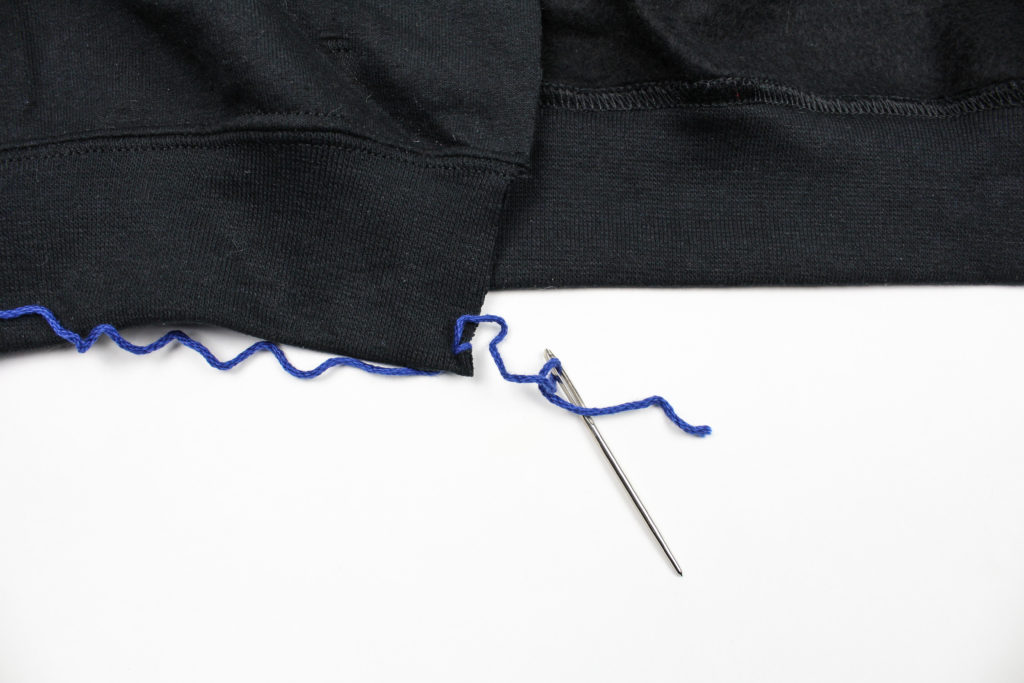
Now using your other end of the yarn (be generous!) will you now be creates more holes going upward. You can either eye ball it or keep measurements (mine are typically .5 inches apart)
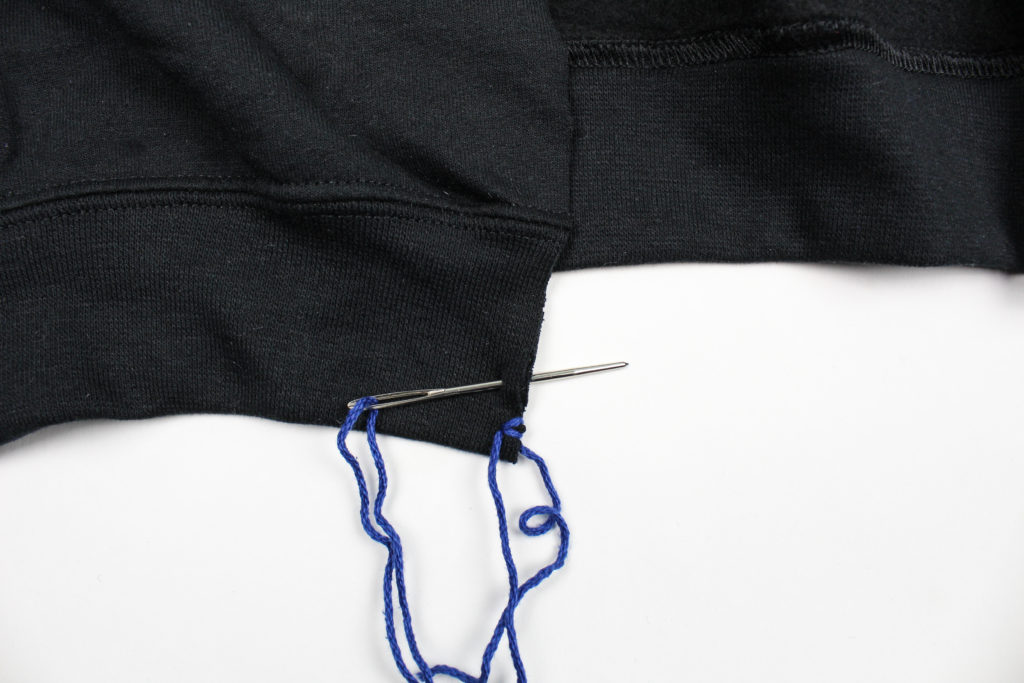
Coming back to the front of the piece, insert your hook through the loop created.
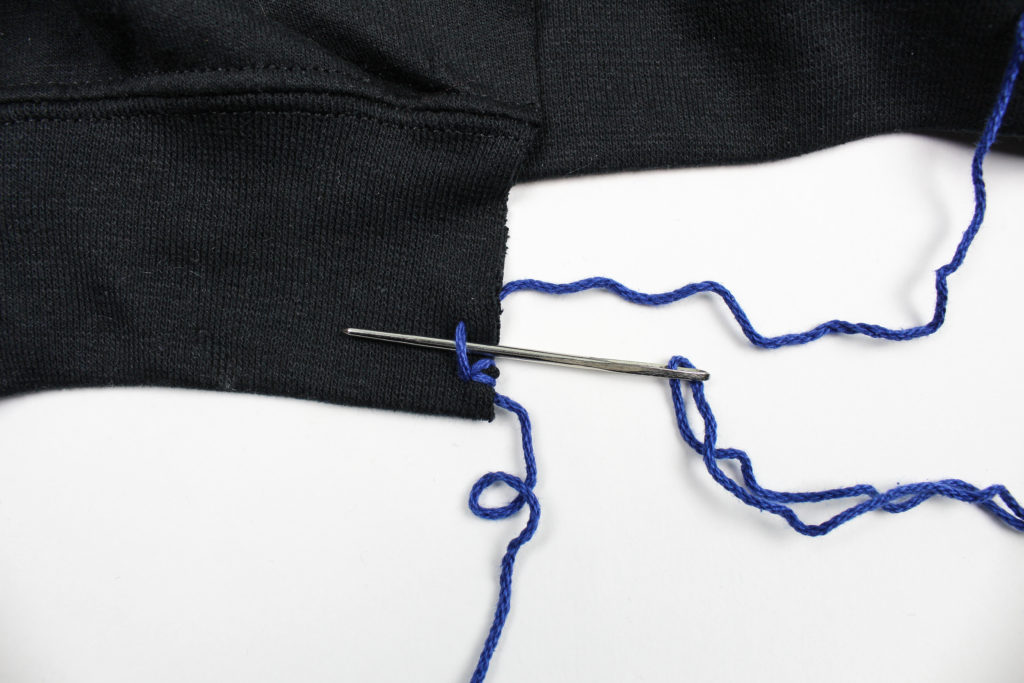
Pull with a little bit of tension and continue this same process all the way up the cardigan and repeating the same process on the other side! (When doing the other side be sure you turn your cardigan so you’re working on the correct side flipped up!)
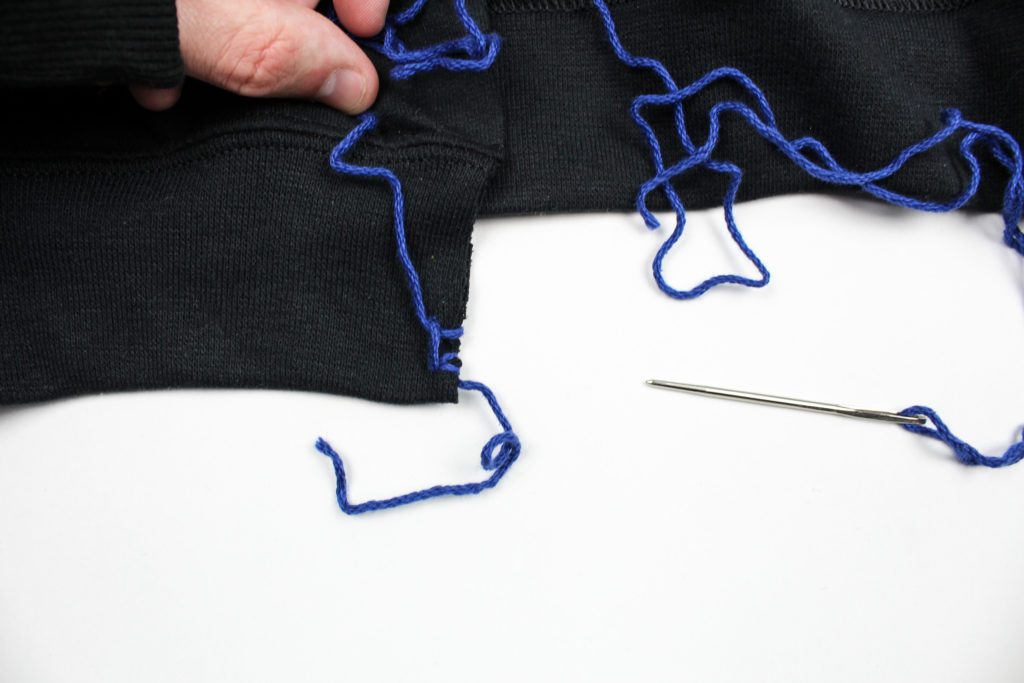
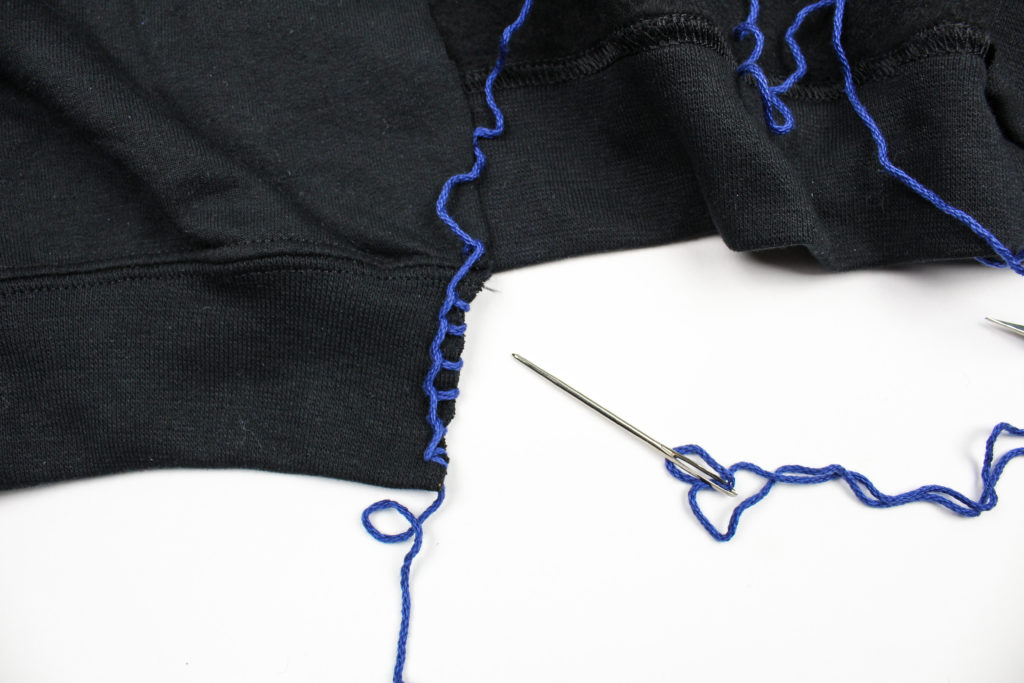
Here’s how it will look!
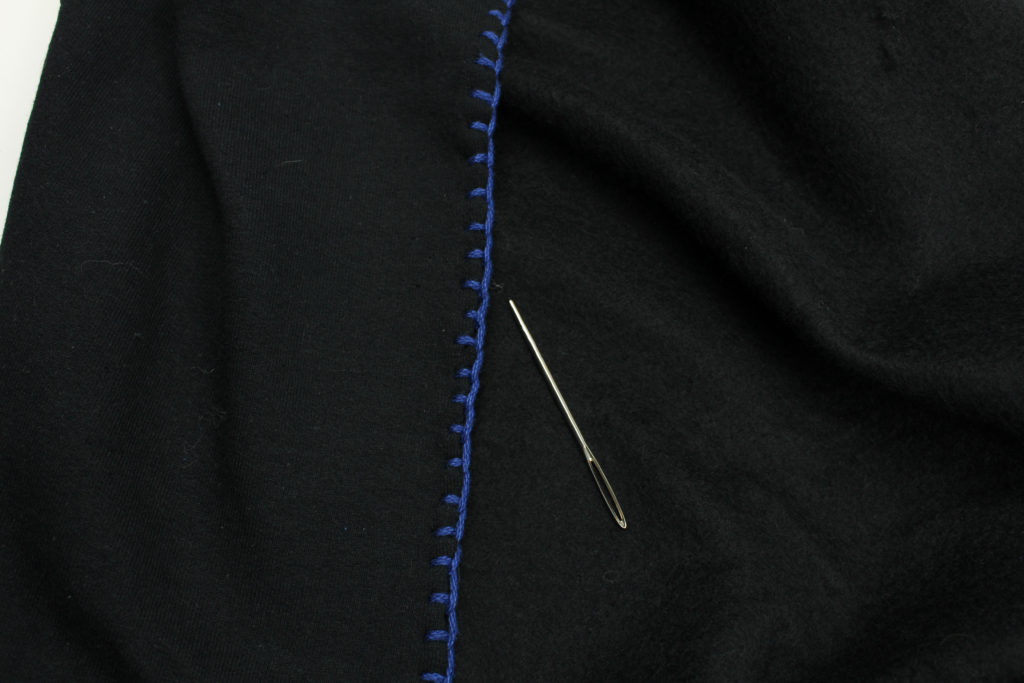
Now that you have all your loops in place to work into, we will now be doing the really fun part; Crocheting! Attach your yarn into the first loop on the bottom and ch 2. Into the same stitch, Dc.
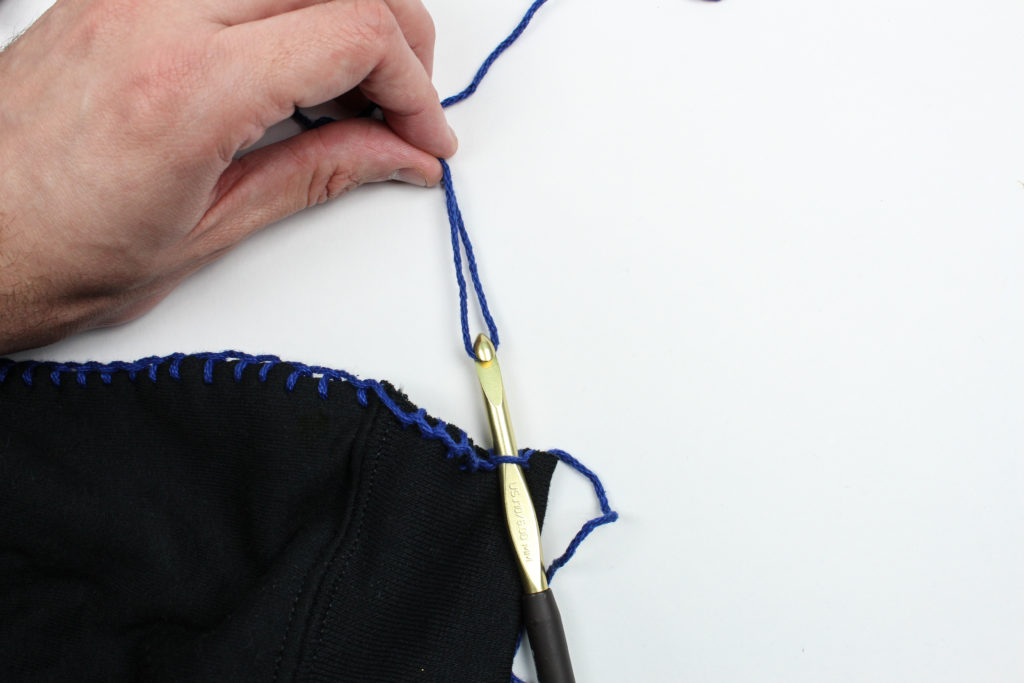

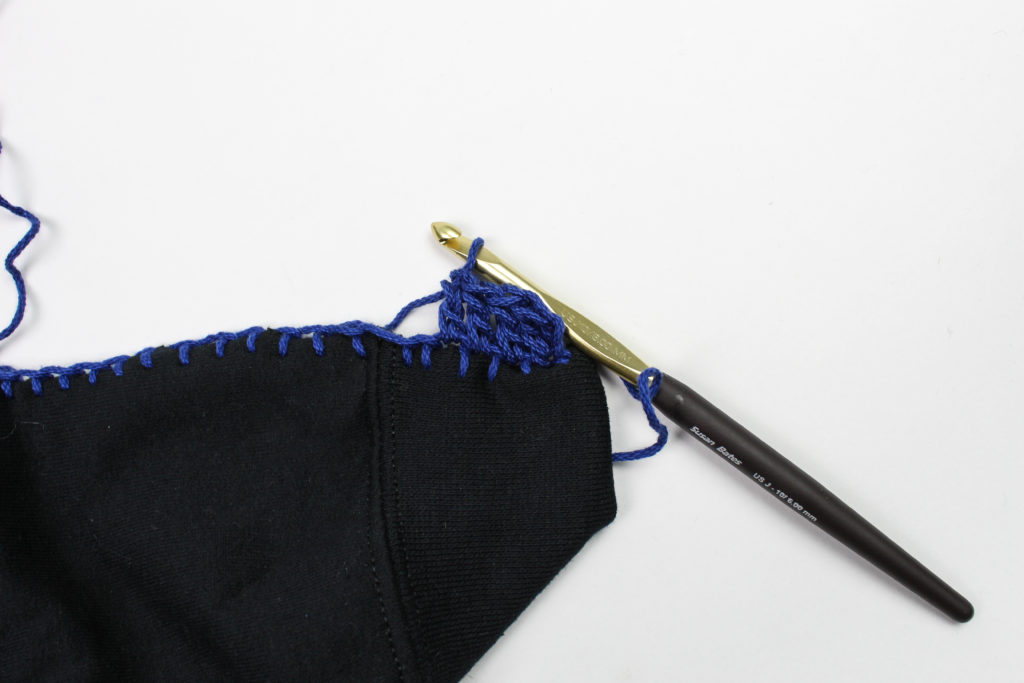
I hope you love your cardigan and proud to show off how much of a Yarn Punk you are!
You may not sell my patterns or claim them as your own. You may make items to sell (i.e. on Etsy, at craft fairs) from my patterns but I ask that you link back to my blog and provide credit for the pattern. All are welcome to share my patterns on social media so long as you link back directly to my blog post (providing the link). No copy & paste of my patterns will be allowed under any circumstances.
Be sure to tag @knot.bad and @yarnpunk on your socials and use the hashtag #yarnpunk!


