There are just so many different eye options when it comes to amigurumi and I’ve done my fair share of experimenting to see which kind I like best. Eyes add so much to your piece and can completely change the outcome/feeling of your finished project and these kawaii/ chibi/ anime eyes will bring out so much character!
Down below, you can find the free pattern for the anime amigurumi eyes if you would like to make something with this appeal!

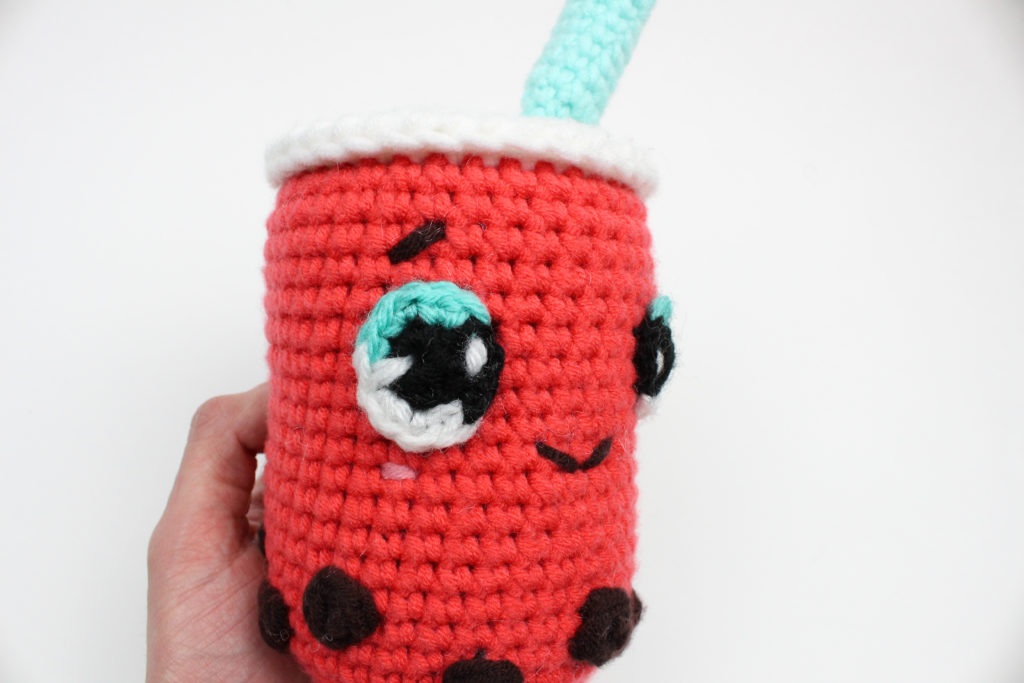
It’s sometimes hard to imagine what this may look like on a finished piece, so here is an example:

Skill Level: Easy
Materials:
This will work with any yarn, but I personally use any worsted weight yarn from Lion Brand Yarn!
Hook will be dependent on yarn size, but for worsted weight (4), a 4mm hook is what I used in the pictures above.
Darning Needle
Scissors
Stitch Marker
Abbreviations:
Ch – Chain
Sc – Single Crochet
Inc – Increase
Sl St – Slip Stitch
Rep – Repeat
( ) – number of stitches at the end of the round
Let’s Begin!
(This begins the Right eye, pattern for left eye will be the same but in reverse order. Instructions below)
Rnd 1: 6 Sc into Magic Ring (6)

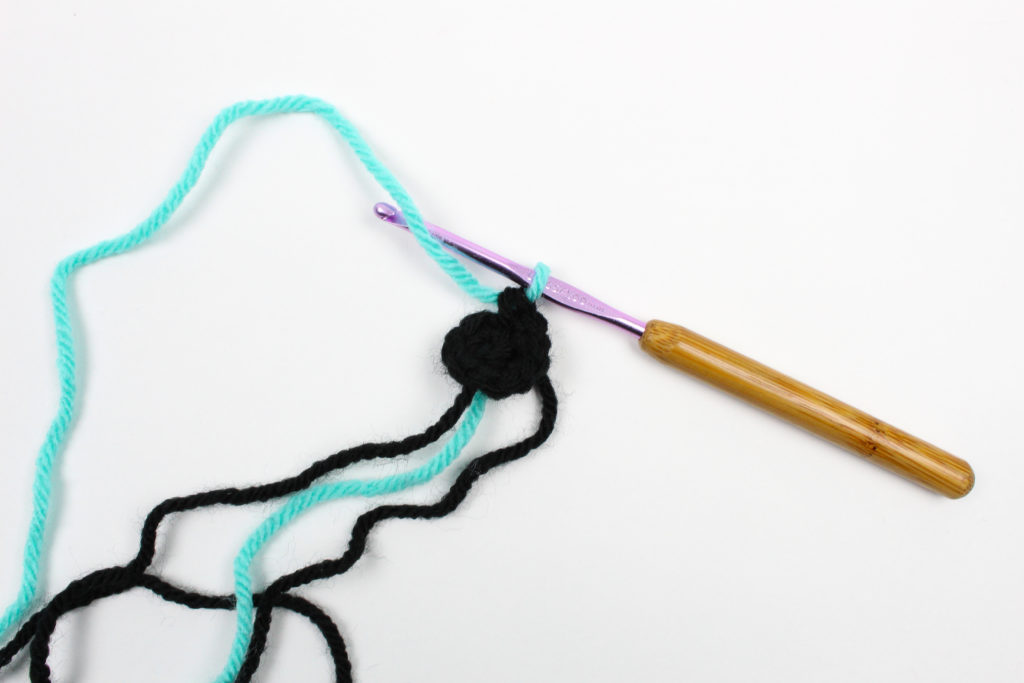
Rnd 2: Inc into the first 3 stitches, and switch to the color of choice on the last Inc of black, seen below

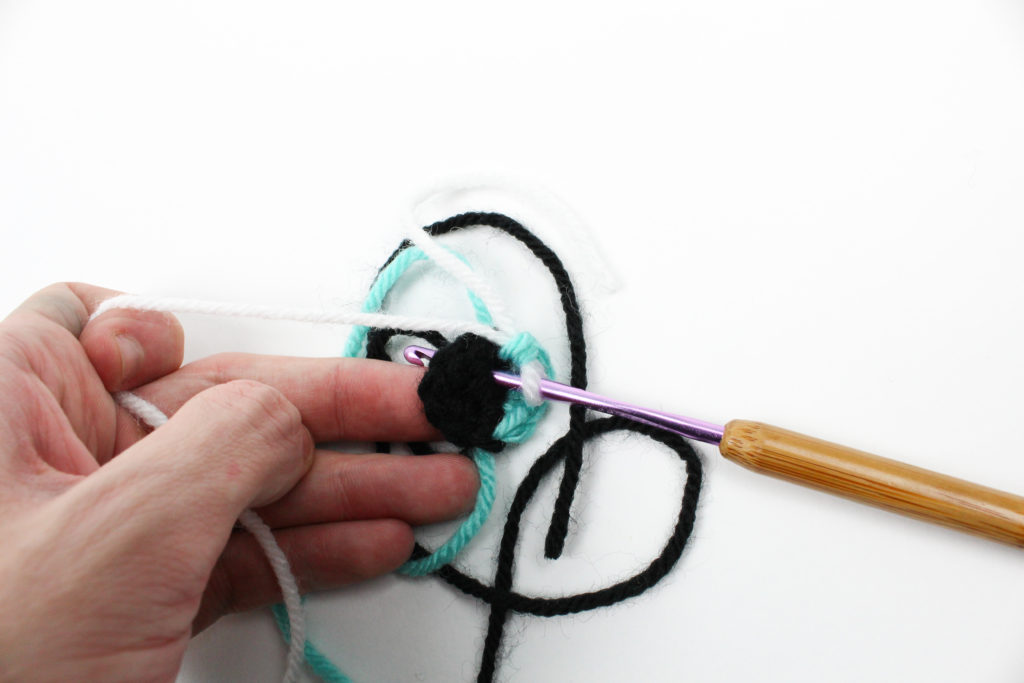
Inc with Color B into the next 2 stitches. Sc into next stitch and switch to white. Sc into the center hole of the Magic Ring

This will create the white spark in the eye!

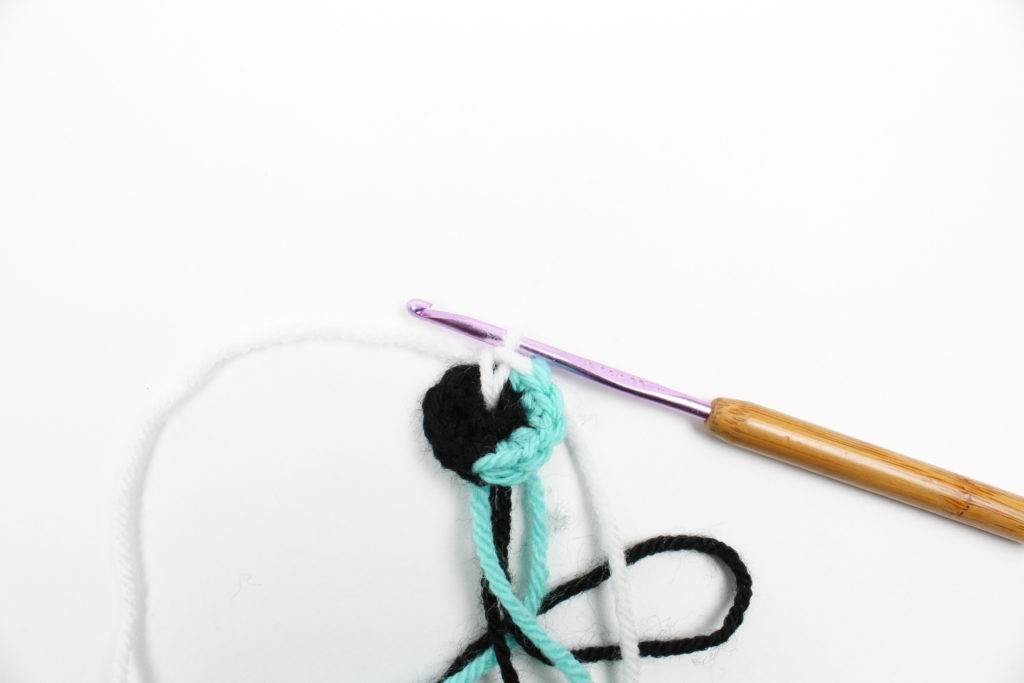
Inc into the next two stitches. Sc into the following and switch to Black, sl st into the remaining black stitches and finish off!
With a piece of white yarn, emborider through to give it the last detail of they eye! (I like to double layer it myself to give it a little more thickness)

Left Eye
Rnd 1: 6 Sc into Magic Ring (6)
Rnd 2: Inc into the first 3 stitches, and switch to white on the last Inc of black.
Inc with White into the next 2 stitches. Insert sc into the hole of the Magic Ring and switch to Color B at the end of this stitch.
Inc into the next two stitches. Sc into the following and switch to Black, sl st into the remaining black stitches and finish off!
I hope this was helpful to all of you and this is a fun way to add some flair to your dolls!
You may not sell my patterns or claim them as your own. You may make items to sell (i.e. on Etsy, at craft fairs) from my patterns but I ask that you link back to my blog and provide credit for the pattern. You are welcome to share my patterns on social media so long as you link back directly to my blog post (providing the link). No copy & paste of my patterns will be allowed under any circumstances.
If you do decide to share on your social’s, be sure to tag @knot.bad and @yarnpunk; Don’t forget to also use the hashtag #yarnpunk!


Omg so cute! thanks for the inspiration! Love your style dude.