
This tutorial is for those who have had experience knowing how to work in a chain and single crochet!
When most people think of crochet, they think of hats, scarves, sweaters, etc, right? Well, crochet is even more than that! I think what’s fascinating behind the craft is the ability to be able to create 3D shapes and brings different characters and dolls to life! But you can still makes your favorite hats with this technique. This type of art form is called Amigurumi, which is a Japanese word that means knitted stuffed dolls.
When you see Amigurumi, or these types of dolls, it’s easy to go wow and admire it, which is what first convinced me to pick it up myself. The hardest part is always just starting, but once you get the basic down the world of Amigurumi opens up for you. This tutorial is for those who have had experience knowing how to work in a chain and single crochet!
But, how do you get started? It looks really intimidating, I get that. Completely. So today, I’m here to teach you the basics! There is a lot that goes into making these type of pieces; learning the magic ring, how to inc and dec, stuffing it, the math, and more! So let’s take it one step at a time and let’s learn how to get the magic ring down.
You can find all my FREE and full YouTube channel HERE! Be sure to subscribe to stay up to date and be alerted!
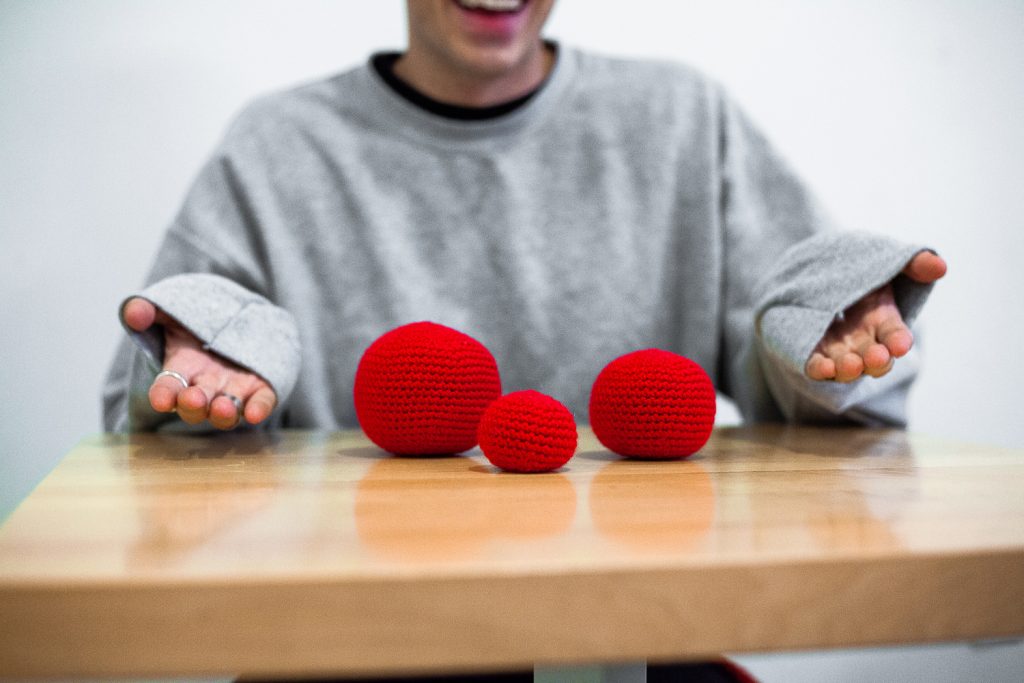
So, what kind of shapes are we talking? Well, something a little more basic and simple is just a ball!
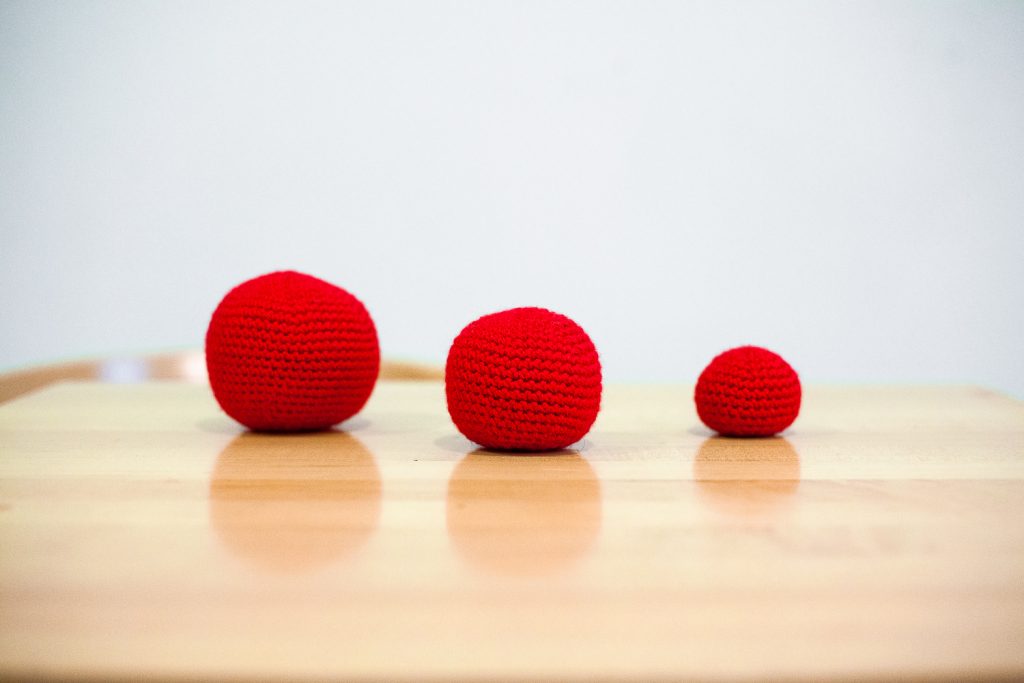
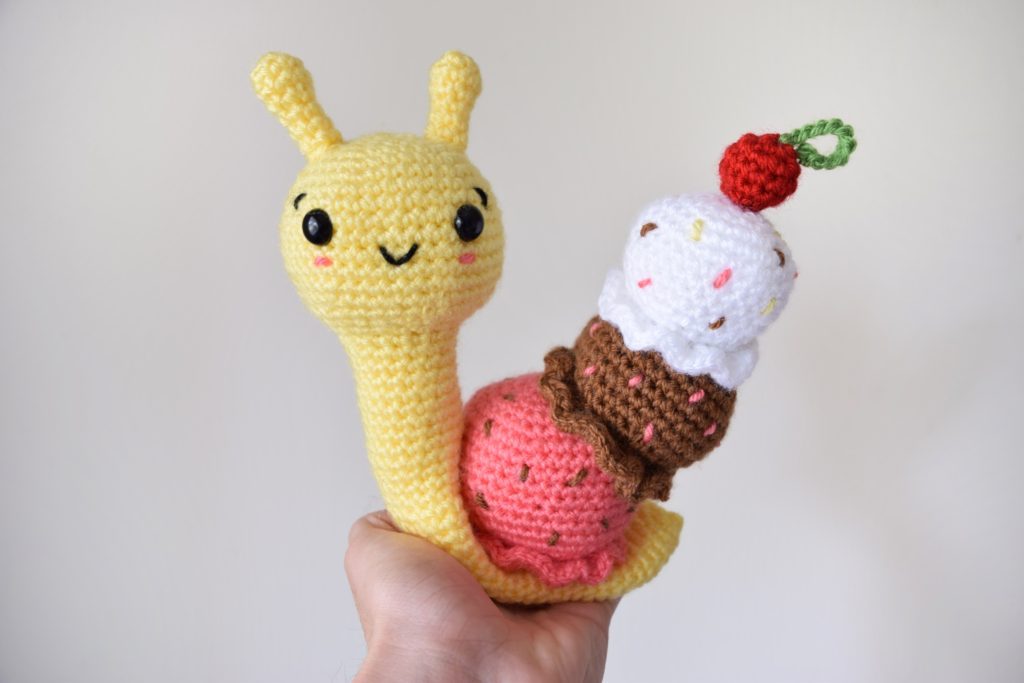
And here is an example of an Amigurumi Doll I’ve made, which is a little more complex, and it all started with the step you’re about to take!
Down below, you can find the free tutorial below with photos! Depending if this is helpful, you may just see a video in the near future! Please let me know if that is something you’d like to see!
So, what will you need to get started?
Worsted weight yarn works the best in my option and my go-to is Lion Brand’s Basic Stitch Yarn!
a crochet hook (my go to is a 4mm)
scissors
Skill Level: Beginner
Abbreviations:
Some other ways you may hear this called is the Magic Circle, Ring, and Magic Loop!
But, how do you get started? It looks really intimidating, I get that. Completely. So today, I’m here to teach you the basics! There is a lot that goes into making these type of pieces; learning the magic ring, how to inc and dec, stuffing it, the math, and more! So let’s take it one step at a time and let’s learn how to get the magic ring down. Down below, you will find the photo tutorial on how to do the magic ring yourself in the way I find most effective. Other tutorials may say other ways, but you will always have the same outcome so don’t worry about not doing it “correctly”,
Notes:
- When reading the tutorial, the instruction will be ABOVE the photo.
- Down below, you will find the photo tutorial on how to do the magic ring yourself in the way I find most effective. Other tutorials may say other ways, but you will always have the same outcome so don’t worry about not doing it “correctly”
- Notes: When reading the tutorial, the instruction will be ABOVE the photo.
Gather your yarn and your hook!

First, take your yarn and put one finger out – Make sure the tail (end) is facing towards you and the working yarn that is still attached to the skein is outward.
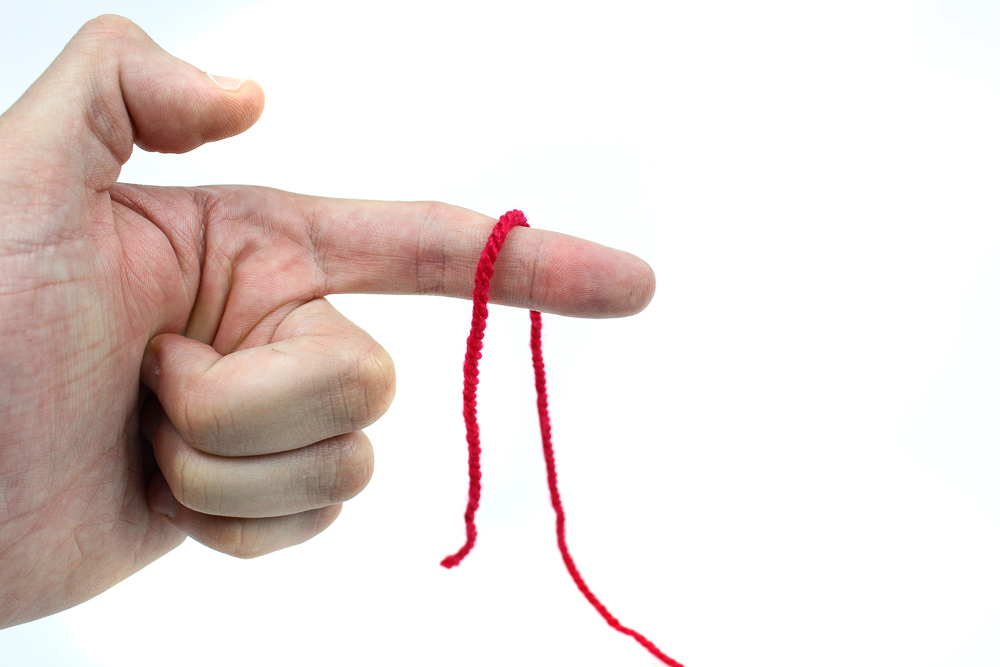
With the working yarn, pull it around your finger and back over, creating an “X” shape

With your hook, insert underneath the first strand, yarning over (going above) the working chain and pull through underneath the first strand.
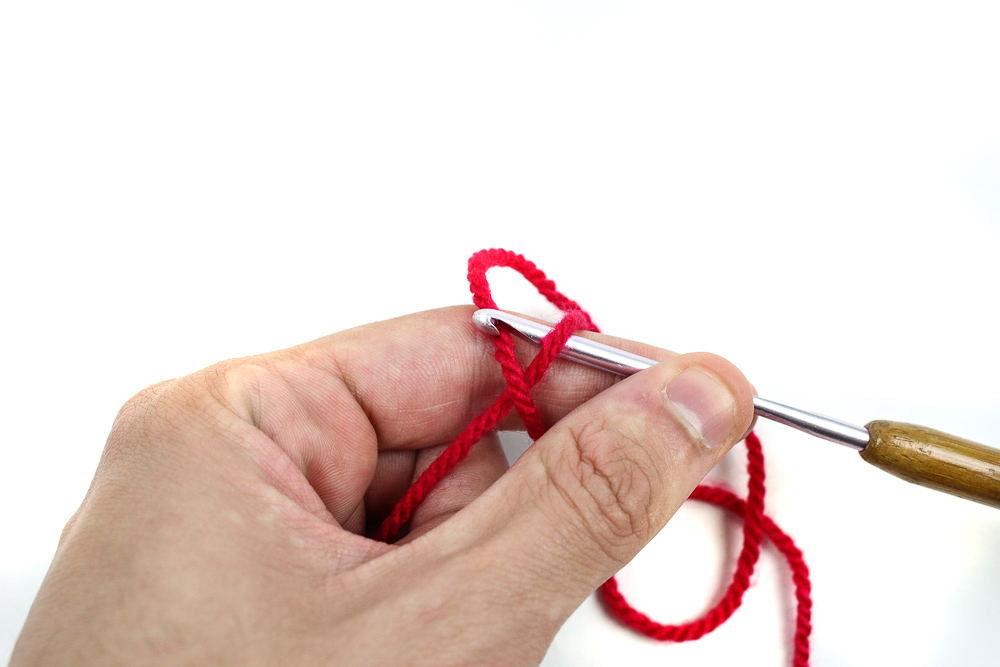
Pull it through and hold it tightly, you will be left with a loop.

From here, chain 1.
(To learn how to chain, head here)
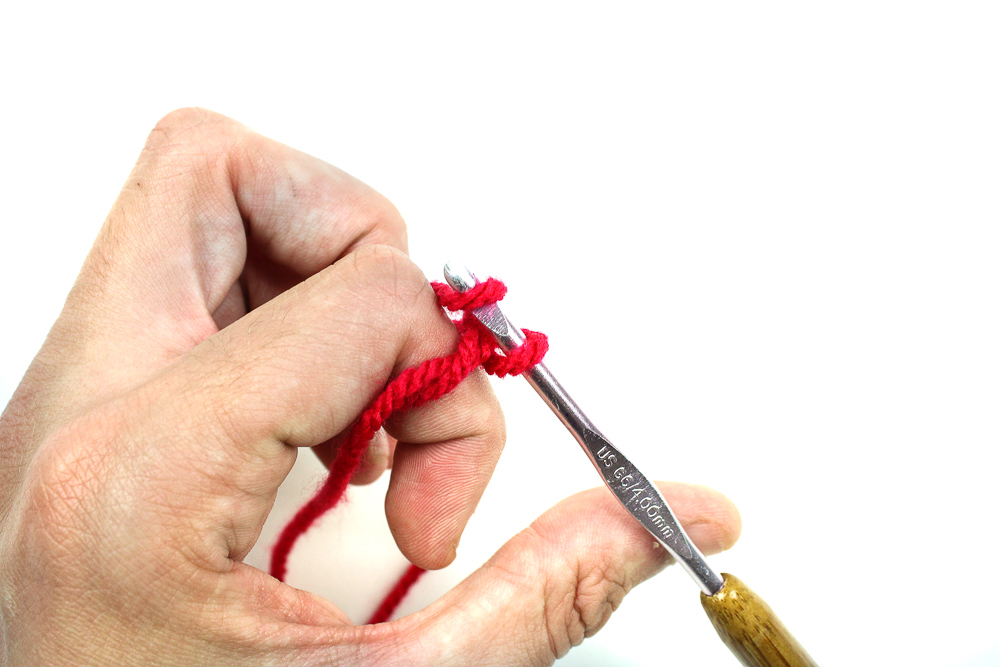
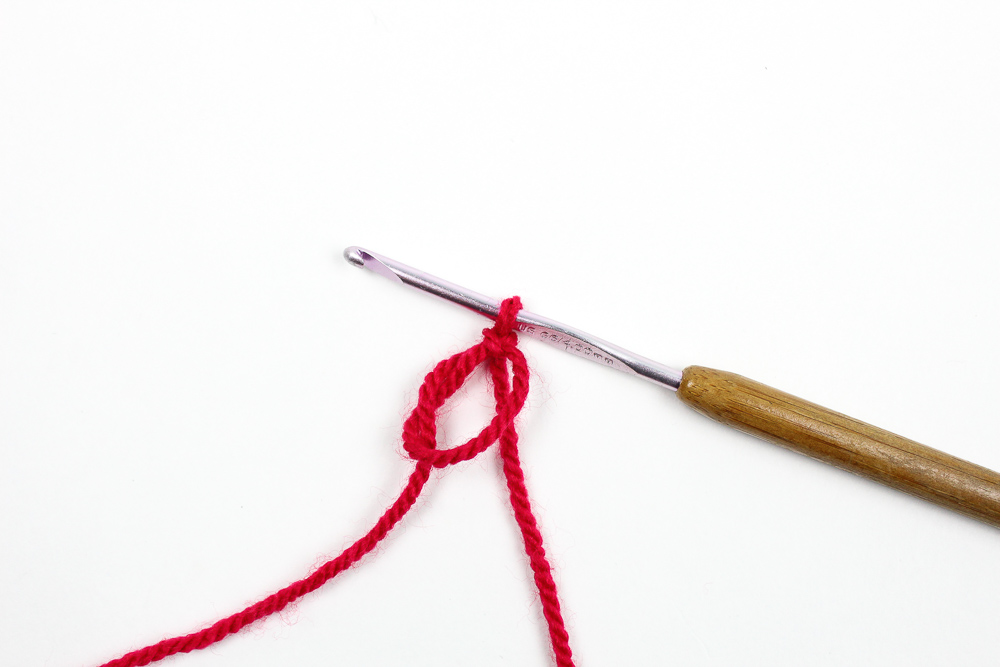
With your tail, pull it out of the loop and out of the way. Ignore the tail from now on!

With your working yarn, you will be working into the circle like you would a normal stitch when working into the chain.
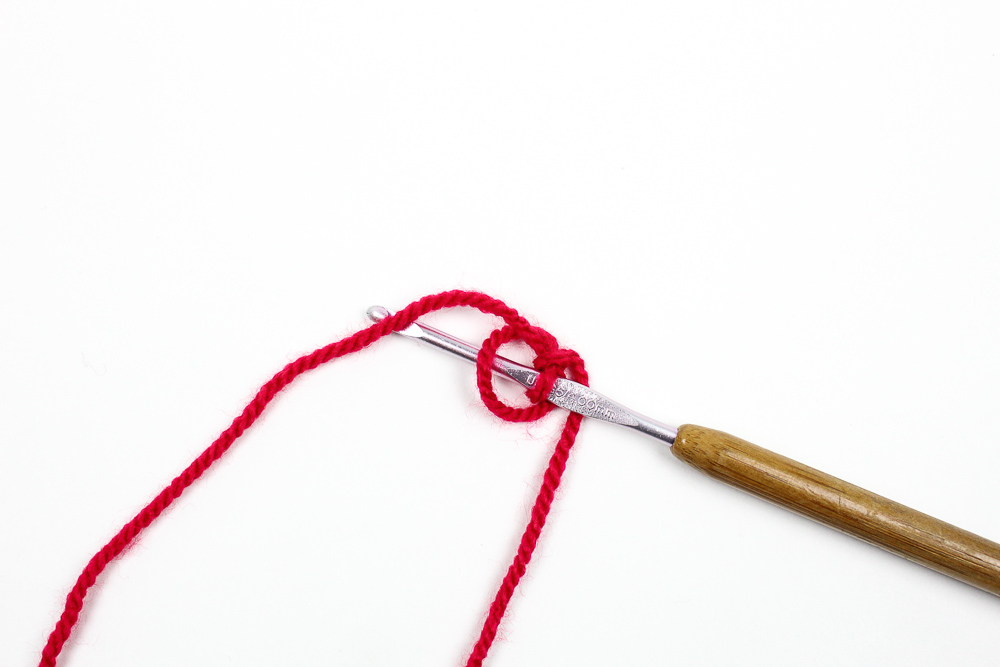
Yarn over and single crochet through the loop.
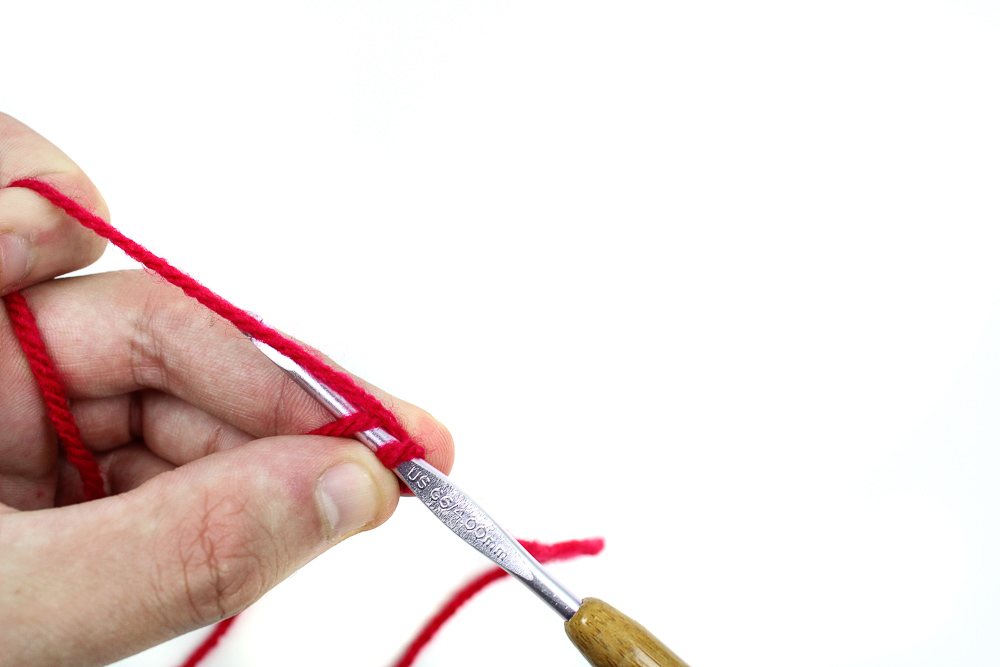
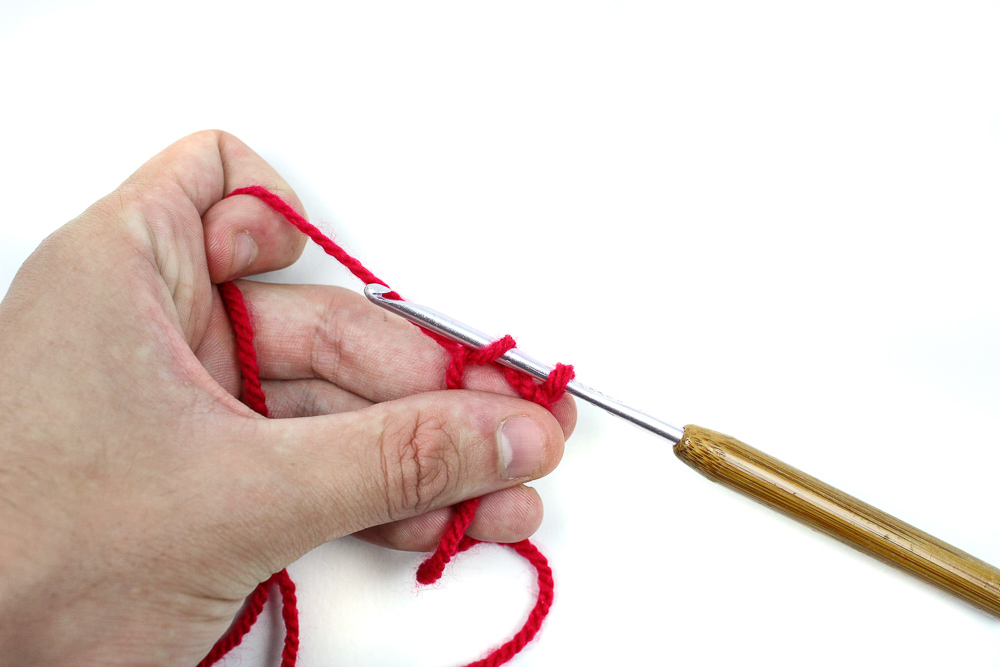
Here’s how your first single crochet will look!
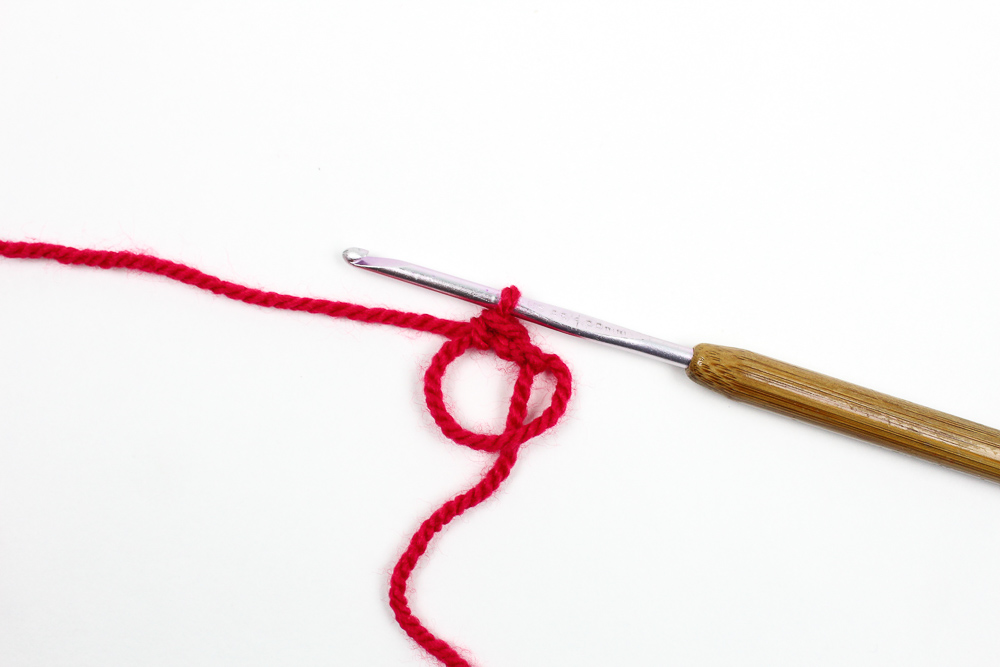
Repeat this same step 5 more times (for a total of 6 Single Crochets)

Now for the “Magic” Part! Holding onto your crescent moon looking project, pull your tail and cinch up your work! It will pull inward to became a circle.
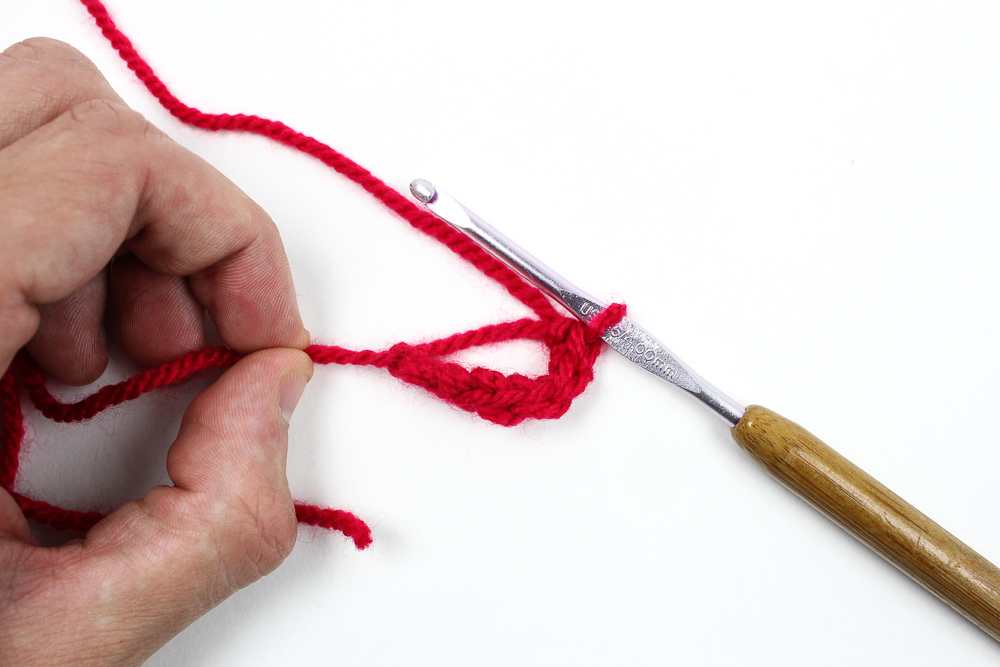

I hope this has been so helpful in getting your feet off the ground when it comes to the magic ring and crochet! If you think a video would suit your learning style, please let me know down in the comments below!
Enjoy your new path as a Yarn Punk!
Looking for projects and ways to expand your creativity with the magic ring? Learn how to create a basic ball by clicking the image below!


Thank you Vincent. Very helpful and much appreciated.