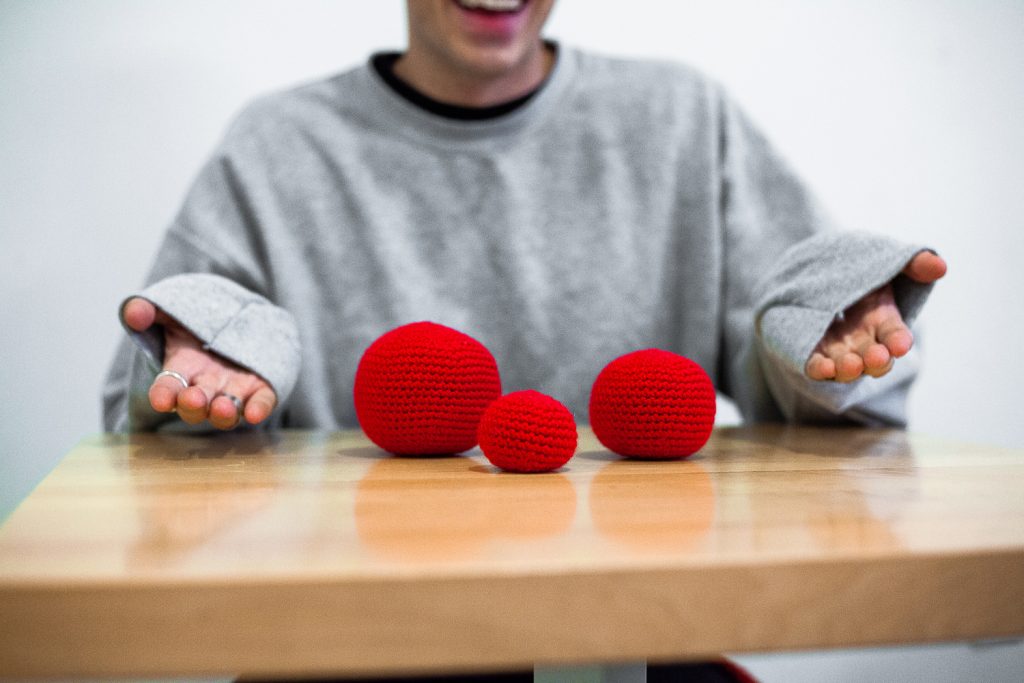
A classic piece, the ball.
Time for a crochet lesson that if you are going to pursue amigurumi, will be AMAZING practice for you! We are going to be learning how to create a ball! Most amigurumi that is created is worked in the round, which means you will be working in circular shapes. Some more ovular, a circle is the shape you will be working with, unless you’re willing to work flat and do a lot more sewing! Which a whole other thing, so lets get to focusing on making our first balls!
Before we get started, we will be needing some basic materials to have everything you need to finish this project, and luckily, you can find everything at JOANN! Down below you will be able to find them all if you want them shipped or in store!
You can find all my FREE and full YouTube channel HERE! Be sure to subscribe to stay up to date and be alerted!
Skill Level: Beginner
So, what will you need to get started?
Worsted weight yarn works the best in my option and my go-to is Lion Brand Yarn!
A crochet hook (my go to is a 4mm)
Scissors
Polyfill
Darning needle
Dimensions (Diameter)
Small – 1.5″ inches
Medium – 3″ inches
Large – 4.5″ inches

Abbreviations:
Ch – chain
Sc – Single Crochet
Inc – Increase
Dec – Decrease
Sl st – Slip stitch
FO -Finish Off
Let’s Begin!
First, we will be beginning with our Magic Ring of 6 stitches (If you don’t know how to get started with that, you can check out my photo tutorial HERE!)

Since we are working in the round, this means you will not have to join anything
Next, you will be doing an increase. On a pattern you might see Inc or INC, which will mean increase. This will mean that you will be putting two of the same stitches into the working stitch! What this does is putting an extra stitch, being a +1 stitch.
So from here, we will be doing an Increase into all 6 stitches, and since we’re adding a stitch into each working stitch, we will end up with 12 stitches!
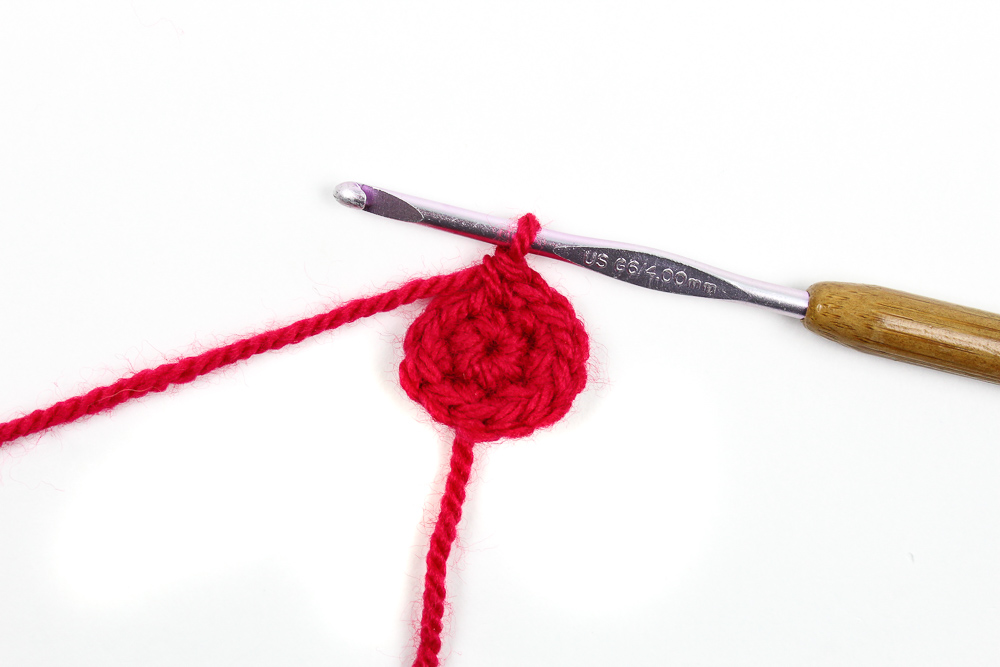
From here, it’ll be easy to lose your place, so be sure to grab some stitch markers!

For the next few rounds, we will be increasing to widen out our circle!
So what this will look like on our pattern is “Rnd 2: *Sc, Inc. repeat from * around (18)” Down below is explained:
Insert a Sc (Single Crochet) into your first stitch and then do a single crochet increase into the next. If you count, you should have 3 stitches. Repeat this same process all the way around until you reach your stitch marker!
Down below, follow the next few rounds just as you did. Doing the amount of Single Crochets in each stitch, and then following it up with an inc. Let’s do one more round together!
Sc 3: *Sc 2, Inc. Repeat from * around (24)
So, now in the first two stitches, you will be hooking a single crochet into each one and in the next stitch (the 3rd) you will do an increase, two single crochets into the stitch.
I think you’ve probably got it down now! Down below, follow each step until you reach the size you desire!
Small:
Rnd 4: *Sc 3, Inc. Repeat from * around (30)
Medium:
Rnd 5: *Sc 4, Inc. Repeat from * around (36)
Rnd 6: *Sc 5, Inc. Repeat from * around (42)
Large:
Rnd 6: *Sc 6, Inc. Repeat from * around (48)
Rnd 7: *Sc 7, Inc. Repeat from * around (54)
Okay! Now that you have your size, time for the best part of this project, where you don’t have to count anymore! For the next few rounds, you will be doing a single crochet into each stitch around. What this does is beginning to create the “dome” shape!
Small:
Rnd 5 – 11: Sc around (30)
Medium:
Rnd 7 – 13: Sc around (42)
Large:
Rnd 8 – 16: Sc around (54)
Your ball will start to look like it’s taking it’s shape! Now it’s time to start closing it up. To accomplish this, we will now be learning how to do a decrease! To decrease, you will be doing one stitch into two to decrease the number of stitches. Let’s go over how to and then you can continue your project.
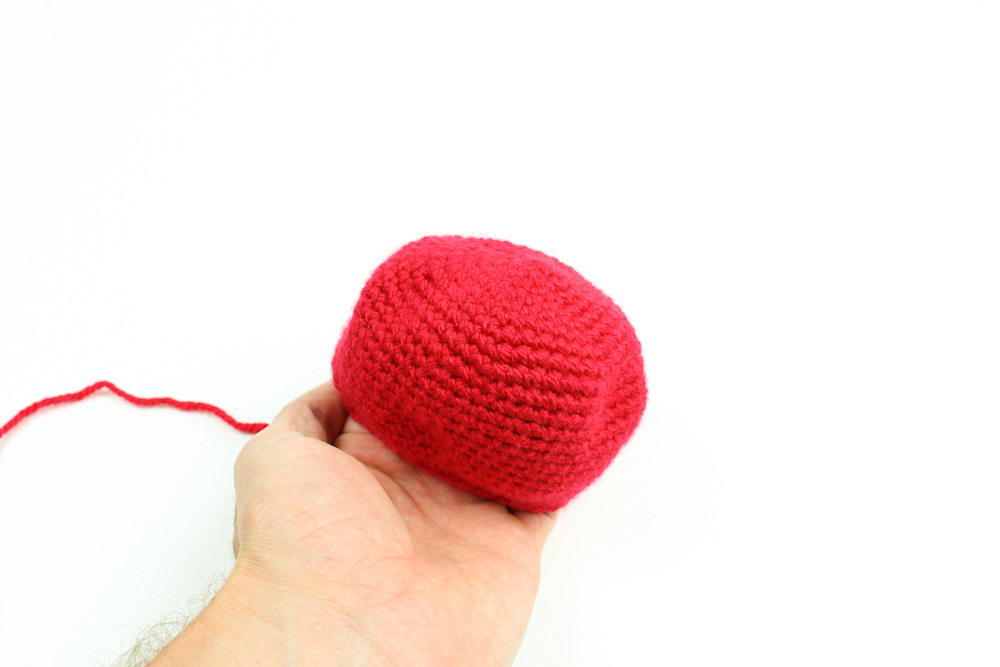
Assuming we’re working on the small ball
How this will look on a pattern: Rnd 12: *Sc 3, dec. Repeat from * around (24)
So, now the new element is the “dec” which is an abbreviation for decrease. You will follow the beginning of the pattern like normal with 3 single crochets in the first 3 stitches. In the next TWO stitches, you will be working a decrease
To begin, insert your hook into the next stitch into the first stitch.

Yarn over and pull through
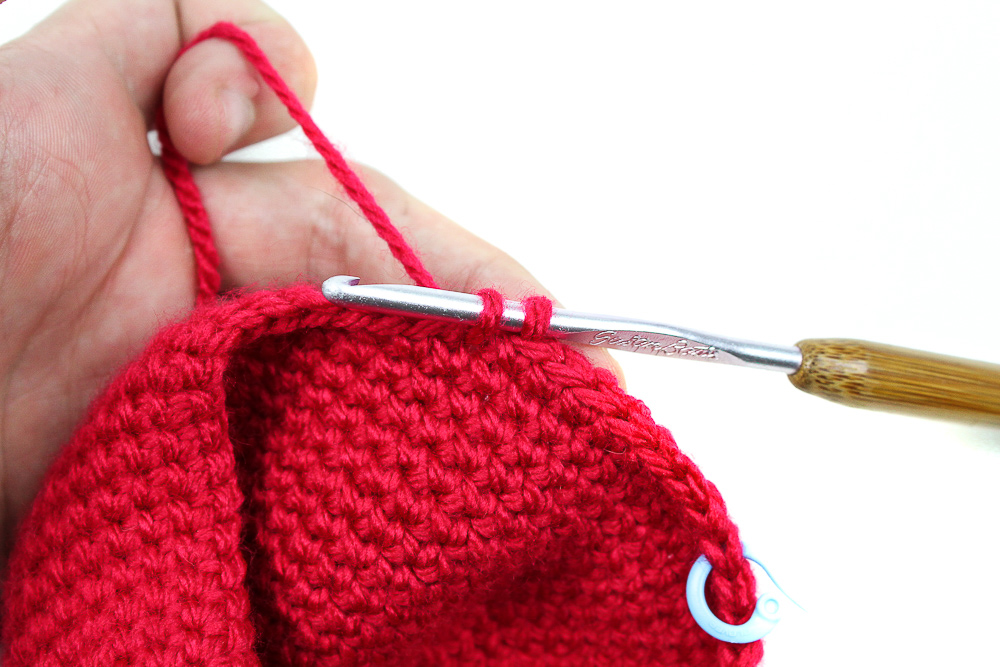
Now instead of doing a normal single crochet, you will insert your hook into next stitch, yarn over, and pull through again. You will be left with three loops.
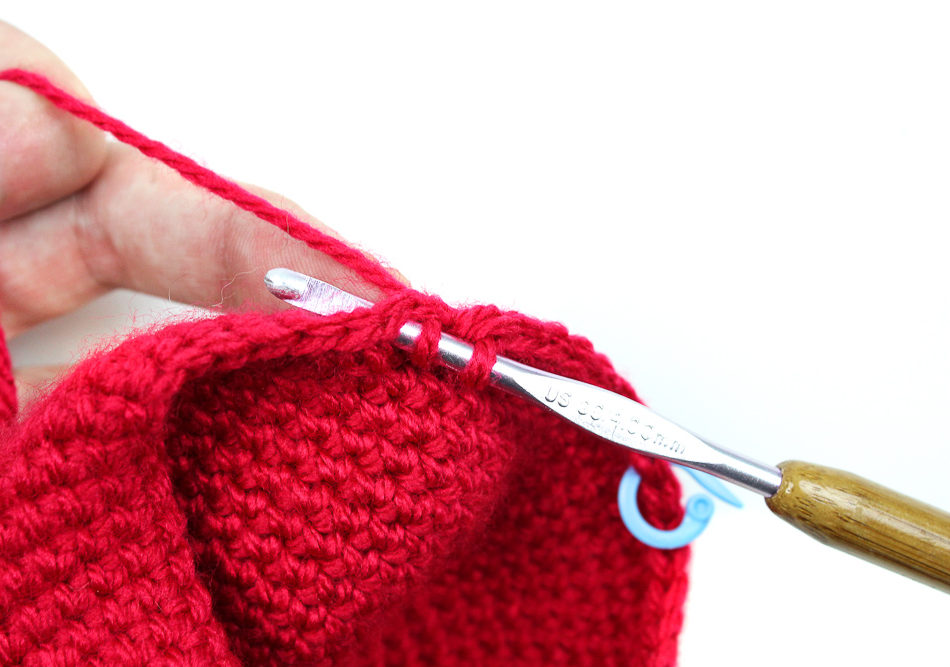
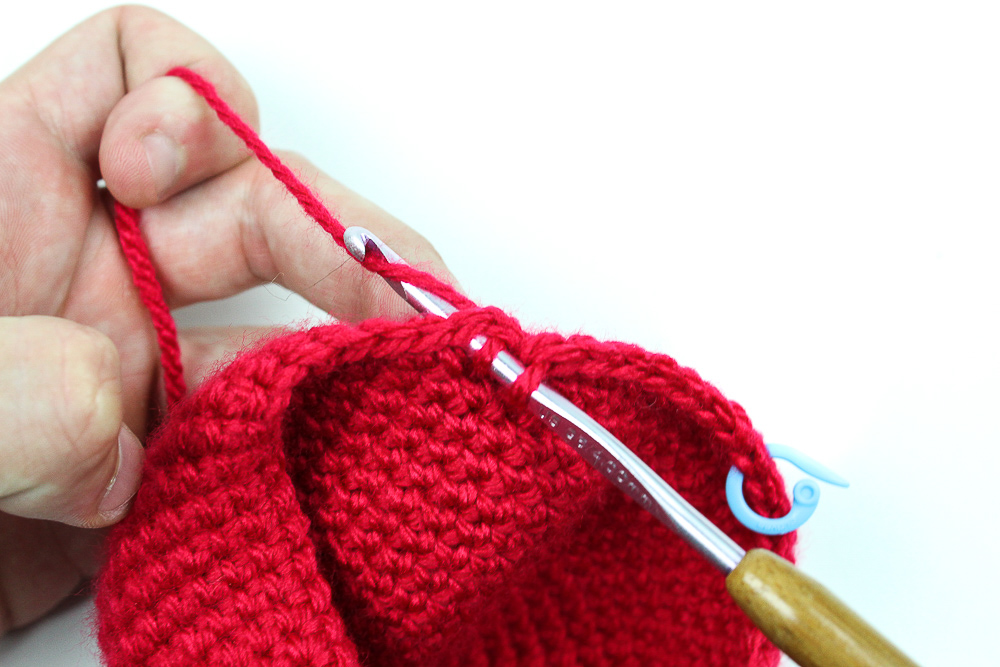
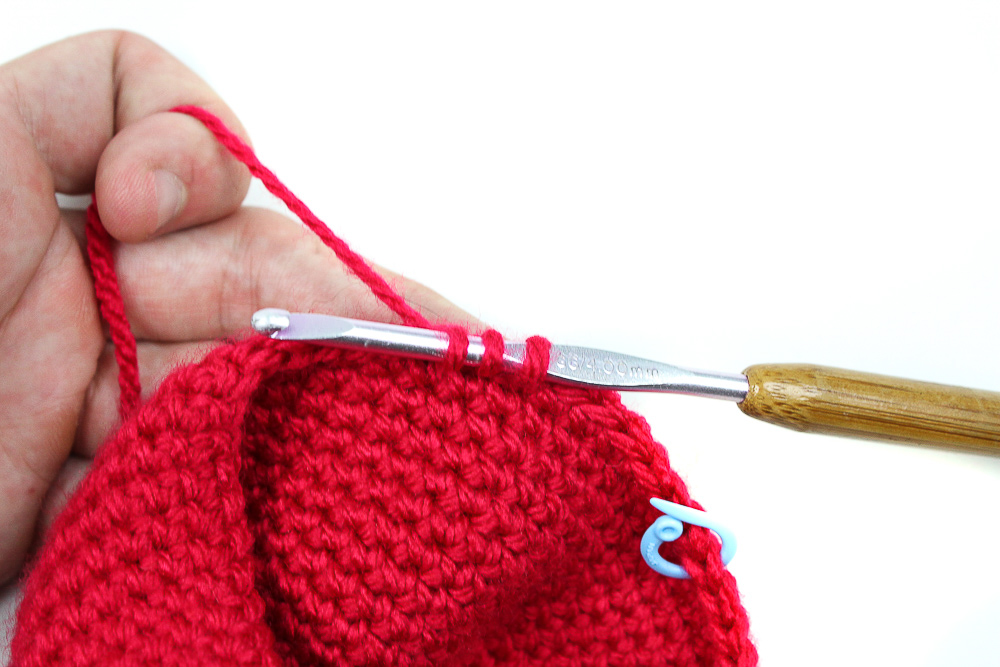
Yarn over and then pull through all THREE loops!
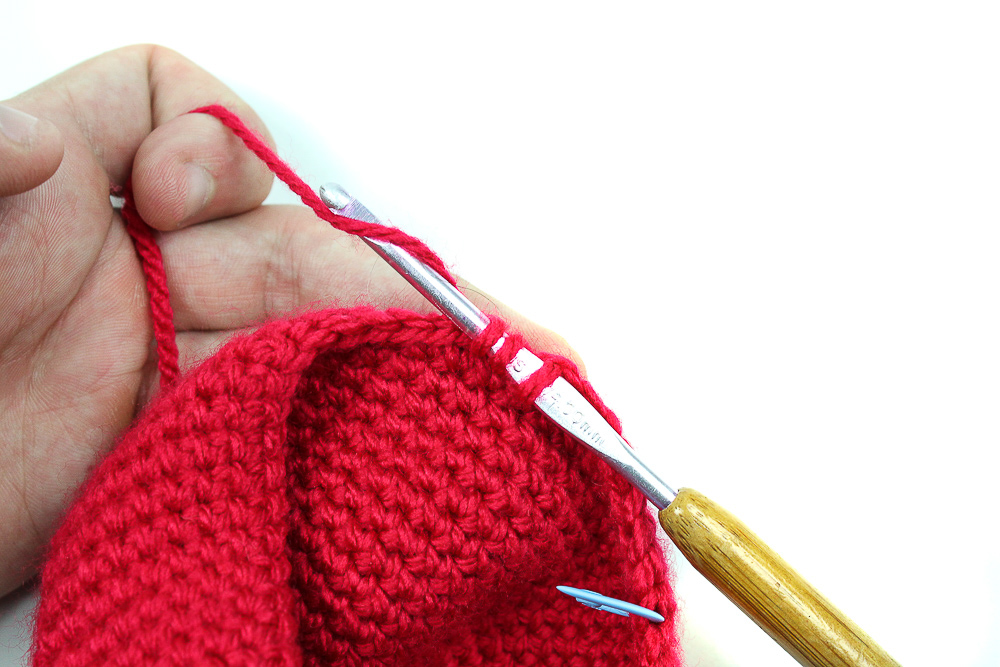
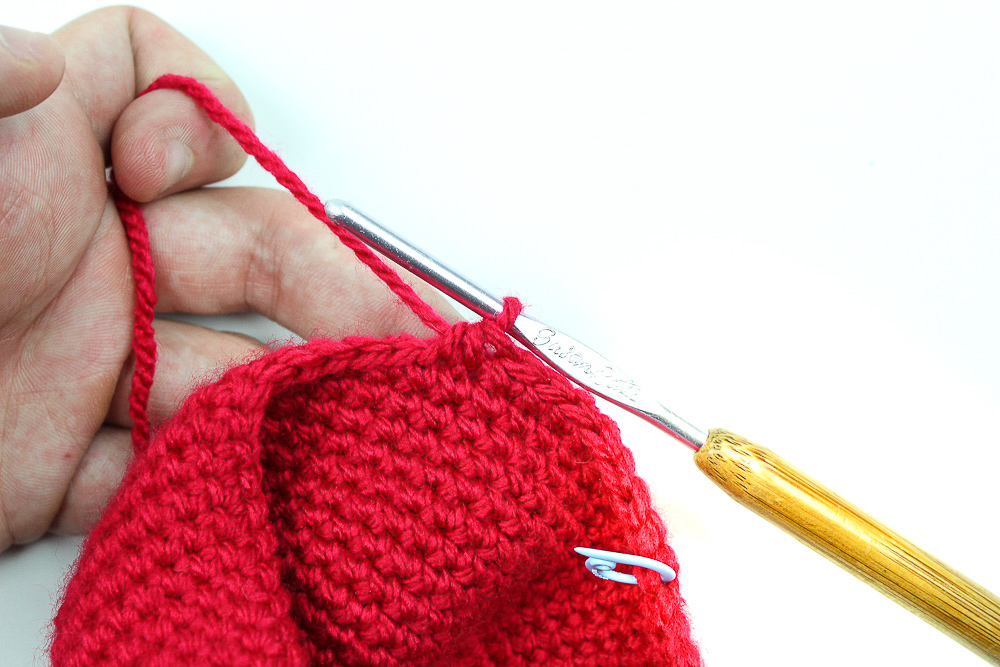
And there’s your decrease! Want to learn how to make it look even cleaner and different method? Check out my Invisible Decrease tutorial here!
So now you’ll be following the same steps through the rest of the round! Sc into the next X amount of stitches, and then a decrease following. Your last decrease stitch will be the stitch that your stitch marker is in!
Before you continue, sure to head to this post HERE to learn about which side is the correct side to be working with!
Here’s how your patterns will continue to flow:
Small:
Rnd 12: *Sc 3, Dec. Repeat from * around (24)
Begin stuffing your ball now as you start decreasing – head HERE to learn more about stuffing.
Rnd 13: *Sc 2, Dec. Repeat from * around (18)
Rnd 14: *Sc, Dec. Repeat from * around (12)
Rnd 15: *Dec, repeat from * around (6)
If you want to learn how to close your project in a clean way, head HERE for the tutorial!
Medium:
Rnd 14: *Sc 5, Dec. Repeat from * around (36)
Begin filling your ball with polyfil – if you’re having troubles with stuffing it firmly and evenly, check out this post on my tips for stuffing a toy!
Rnd 15: *Sc 4, Dec. Repeat from * around (30)
Rnd 16: *Sc 3, Dec. Repeat from * around (24)
Rnd 15: *Sc 2, Dec. Repeat from * around (18)
Rnd 16: *Sc, Dec. Repeat from * around (12)
Rnd 17: *Dec, repeat from * around (6)
If you want to learn how to close your project in a clean way, head HERE for the tutorial!
Large:
Rnd 17: *Sc 7, Dec. Repeat from * around (48)
Rnd 18: *Sc 6, Dec. Repeat from * around (42)
Begin stuffing your ball now as you start decreasing – head HERE to learn more about stuffing.
Rnd 19: *Sc 5, Dec. Repeat from * around (36)
Rnd 20: *Sc 4, Dec. Repeat from * around (30)
Rnd 21: *Sc 3, Dec. Repeat from * around (24)
Rnd 22: *Sc 2, Dec. Repeat from * around (18)
Rnd 23: *Sc, Dec. Repeat from * around (12)
Rnd 24: *Dec, repeat from * around (6)
If you want to learn how to close your project in a clean way, head HERE for the tutorial!
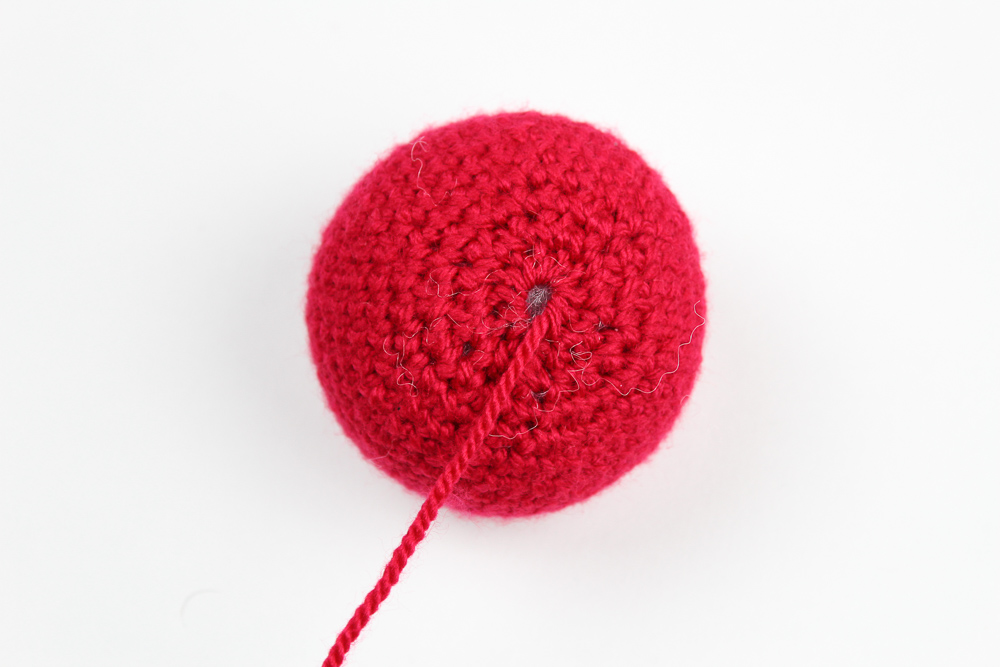
And there you have it, your very own ball to play with! Perfect for so many different things – what will you do with yours? Let me know down below!
You may not sell my patterns or claim them as your and make items to sell(i.e. on Etsy, at craft fairs) from my patterns but I ask that you link back to my blog and provide credit for the pattern. You are welcome to share my patterns on social media so long as you link back directly to my blog post(providing the link). No copy & paste of my patterns will be allowed under any circumstances.
Be sure to tag @knot.bad and @yarnpunk on your socials and use the hashtag #yarnpunk!


