******This pattern was made as a KIT through Lion Brand Yarn, which can be found HERE. You can purchase the Ad-Free, Printer Friendly Version from Etsy HERE and from Ravelry Here! You can order the yarn used to create this project through Lion Brand Yarn HERE! Don’t forget those gorgeous Furls hooks here! You will see the one I use in the pictures below.
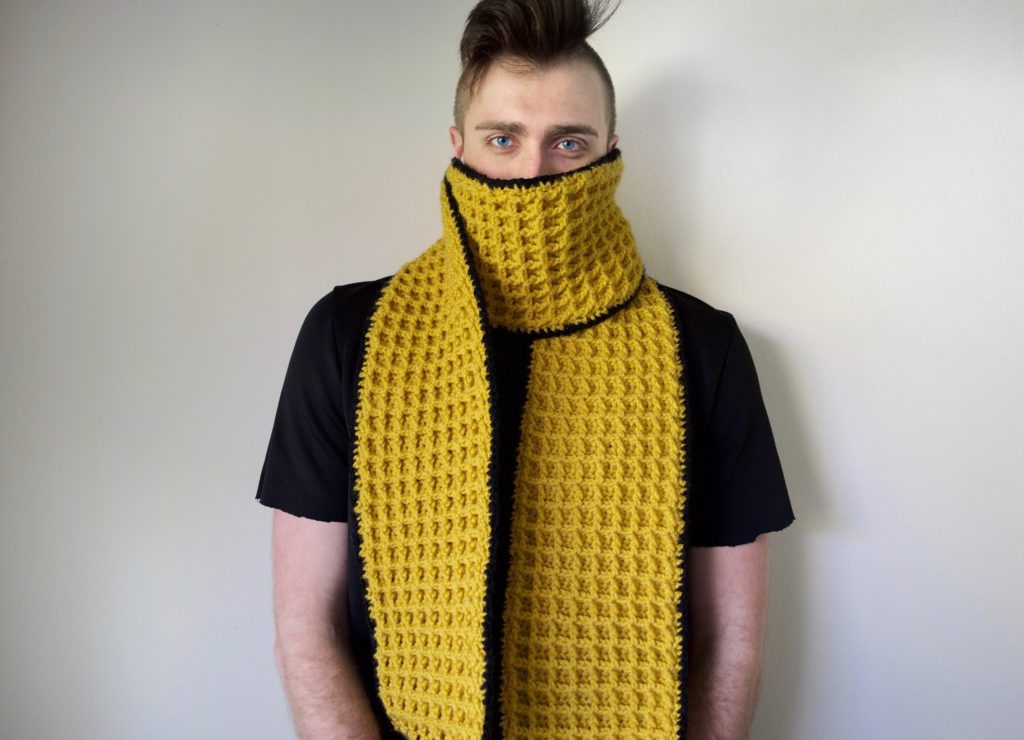
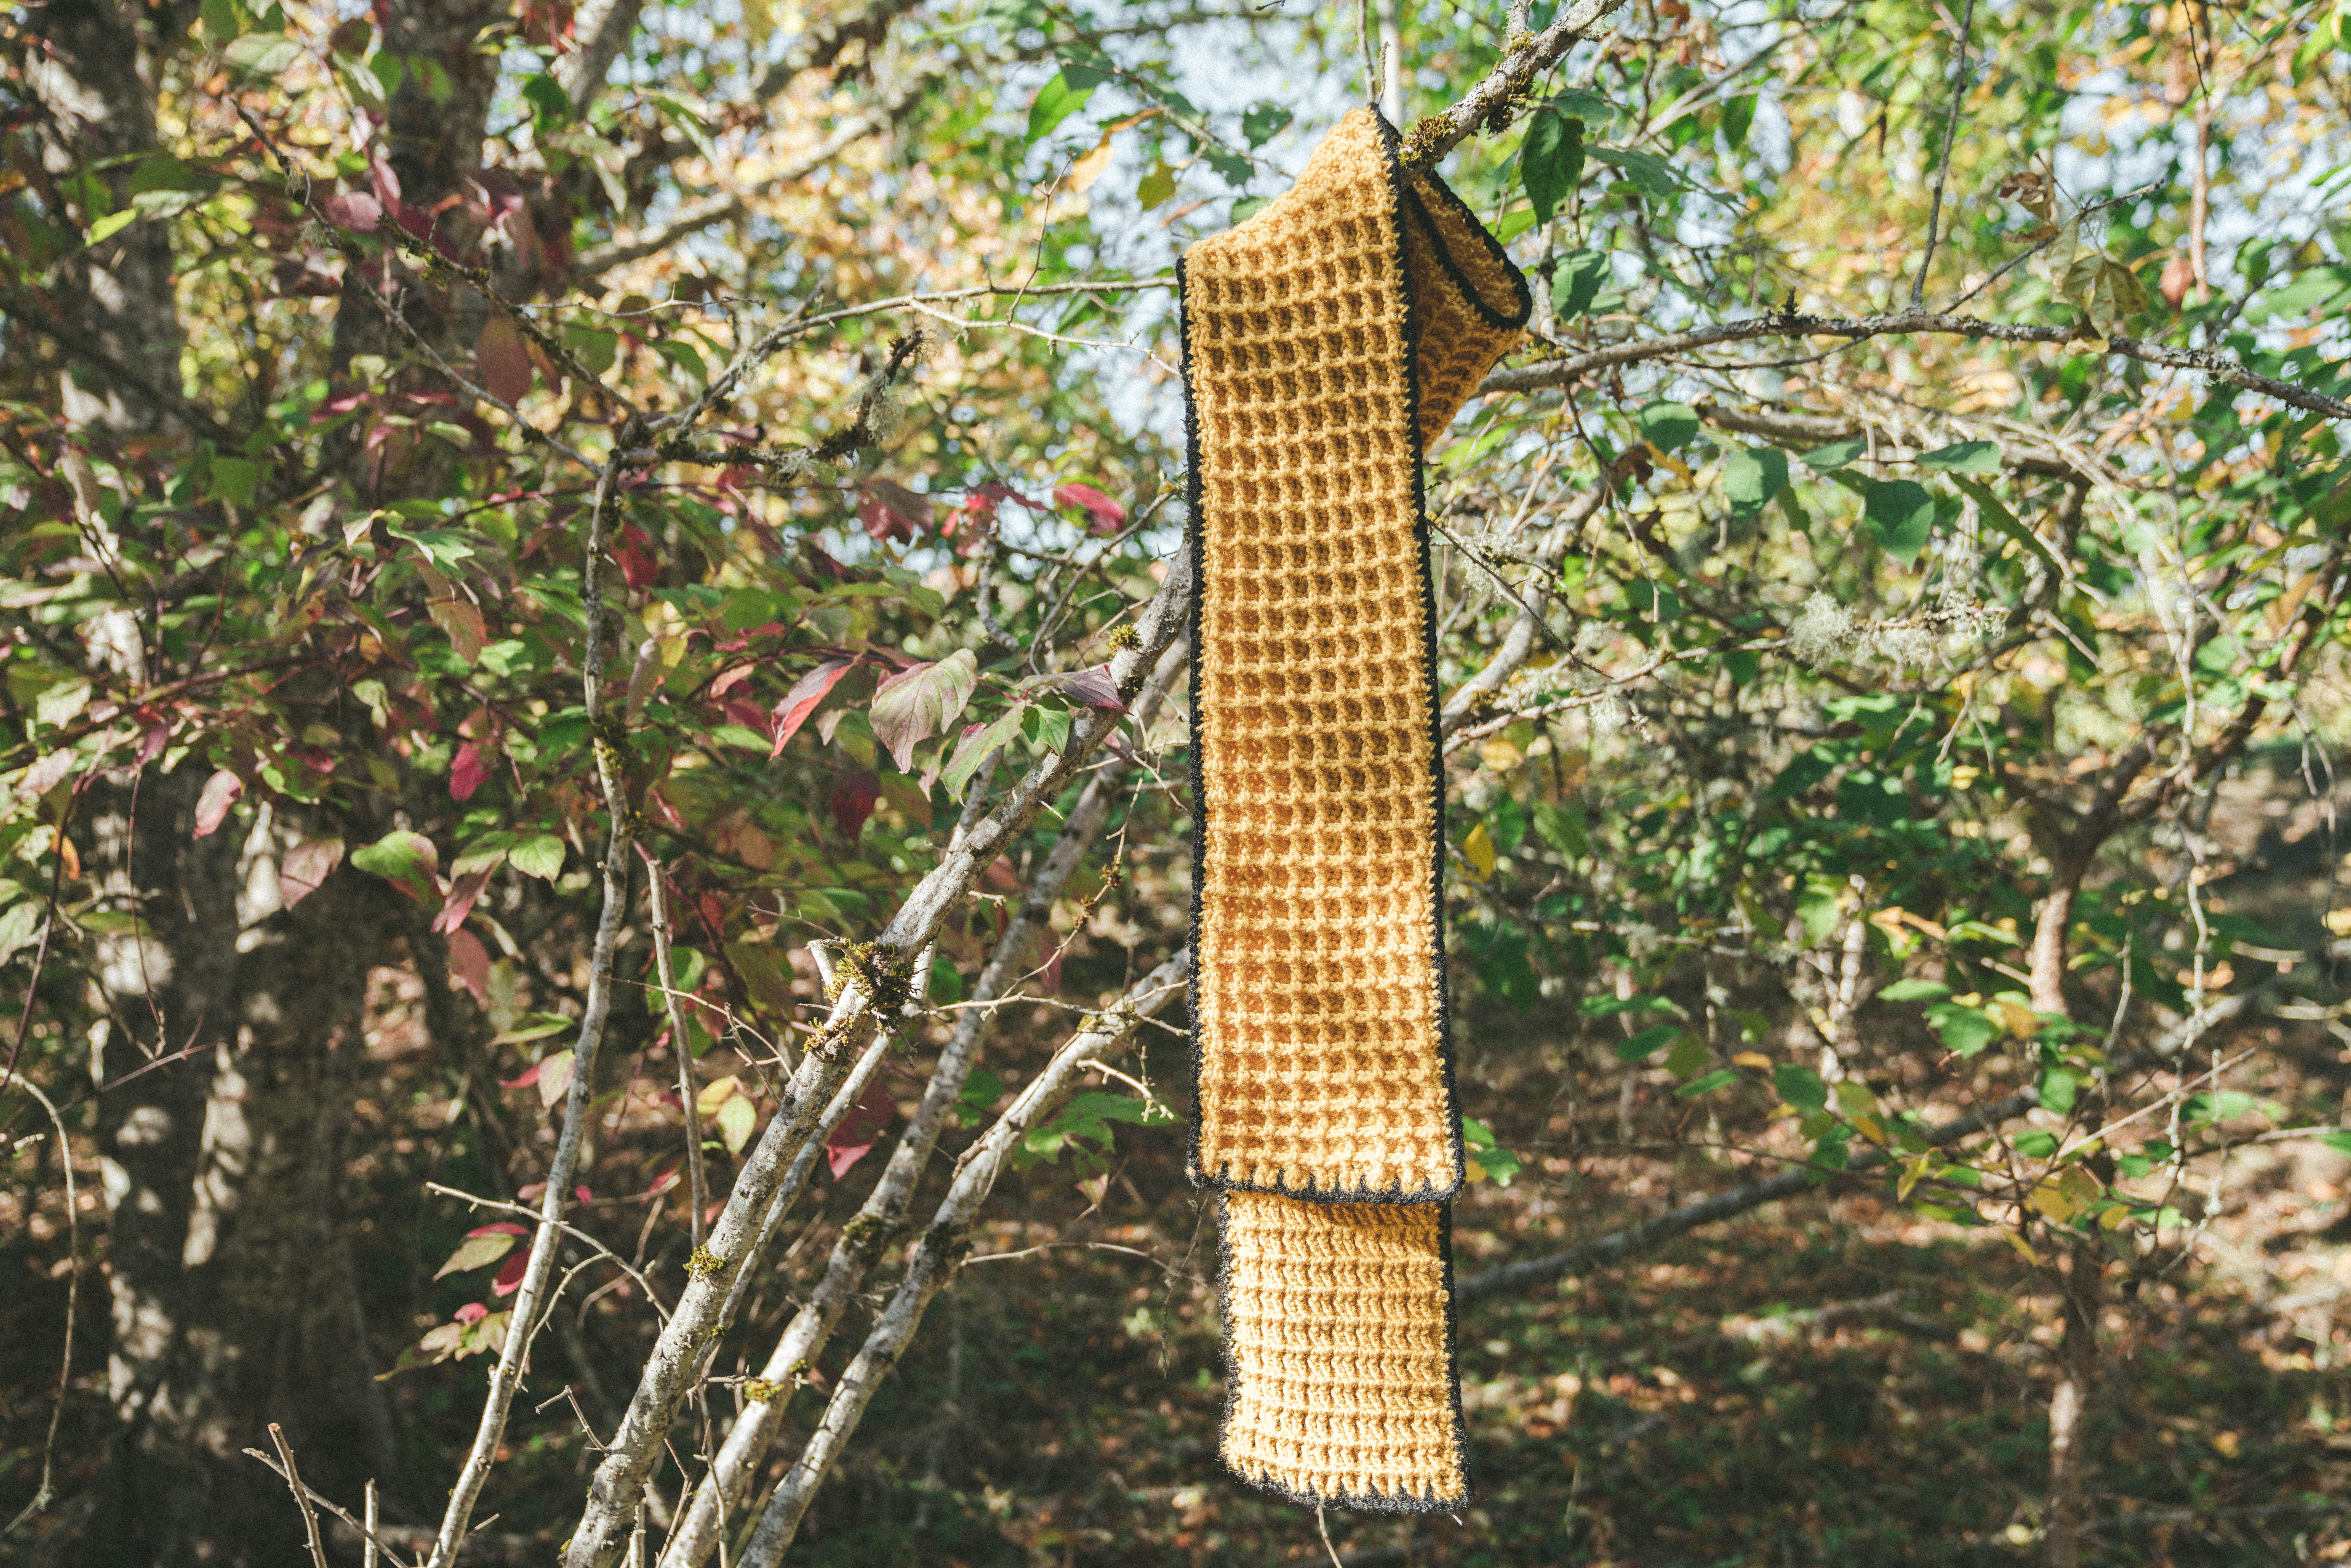
 Have you ever made a project not knowing what it was going to be, but just wanted to play with a certain stitch? I was on Pinterest and I saw the Waffle Stitch and was smitten by it at first glance. I jumped into it, hoping I could figure out something to do with it! With the yellow color I chose, it became pretty obvious would it looked like to me; a honeycomb! With bee’s having a lot of attention for their endangerment, here is a great project to remind people to SAVE THE BEES. Down below, you can find the free pattern to this fun scarf! The waffle stitch was a blast for me to do and I think you’ll enjoy it as well. If you wanted to also get more creative with it, you could even do the border in a burnt orange color, call it syrup, and REALLY make it a waffle scarf! Just an idea 😉
The Honeycomb Scarf

Skill Level: Easy
Materials:
4 skeins in Vanna’s Choice (Mustard)
1 Skein in Vanna’s Choice (Black)
A 6.0mm hook
Scissors
Darning needle
Gauge: 12 sts x 7 rows = 4”x4” square in Dc
Dimensions:
Width – 8.5″ inches
Length – 83″ inches
Abbreviations:
Ch – Chain
Dc – Double Crochet
Fpdc – front post double crochet
Rep – Repeat
Sl st – Slip Stitch

Pattern
Ch 29
Row 1: Dc into the 3rd ch from the hook, then work a dc in each ch across. (27)
Row 2: Ch 2, turn. Work a dc in the very first st. *In the next st, work a fpdc, then a dc in the next two stitches. Repeat from * across until last two stitches. Fpdc into second to last stitch, and then dc into last.
Row 3: Ch 2, turn. Work a dc in the very first st. *Work a dc in the next stitch, then a fpdc in each of the next two sts. Rpt from * to last two sts, then work a dc in each of the last two sts.
**Repeat Row 2 and 3 until all 4 skeins are used (Mine reached __ length) or until your desired length!
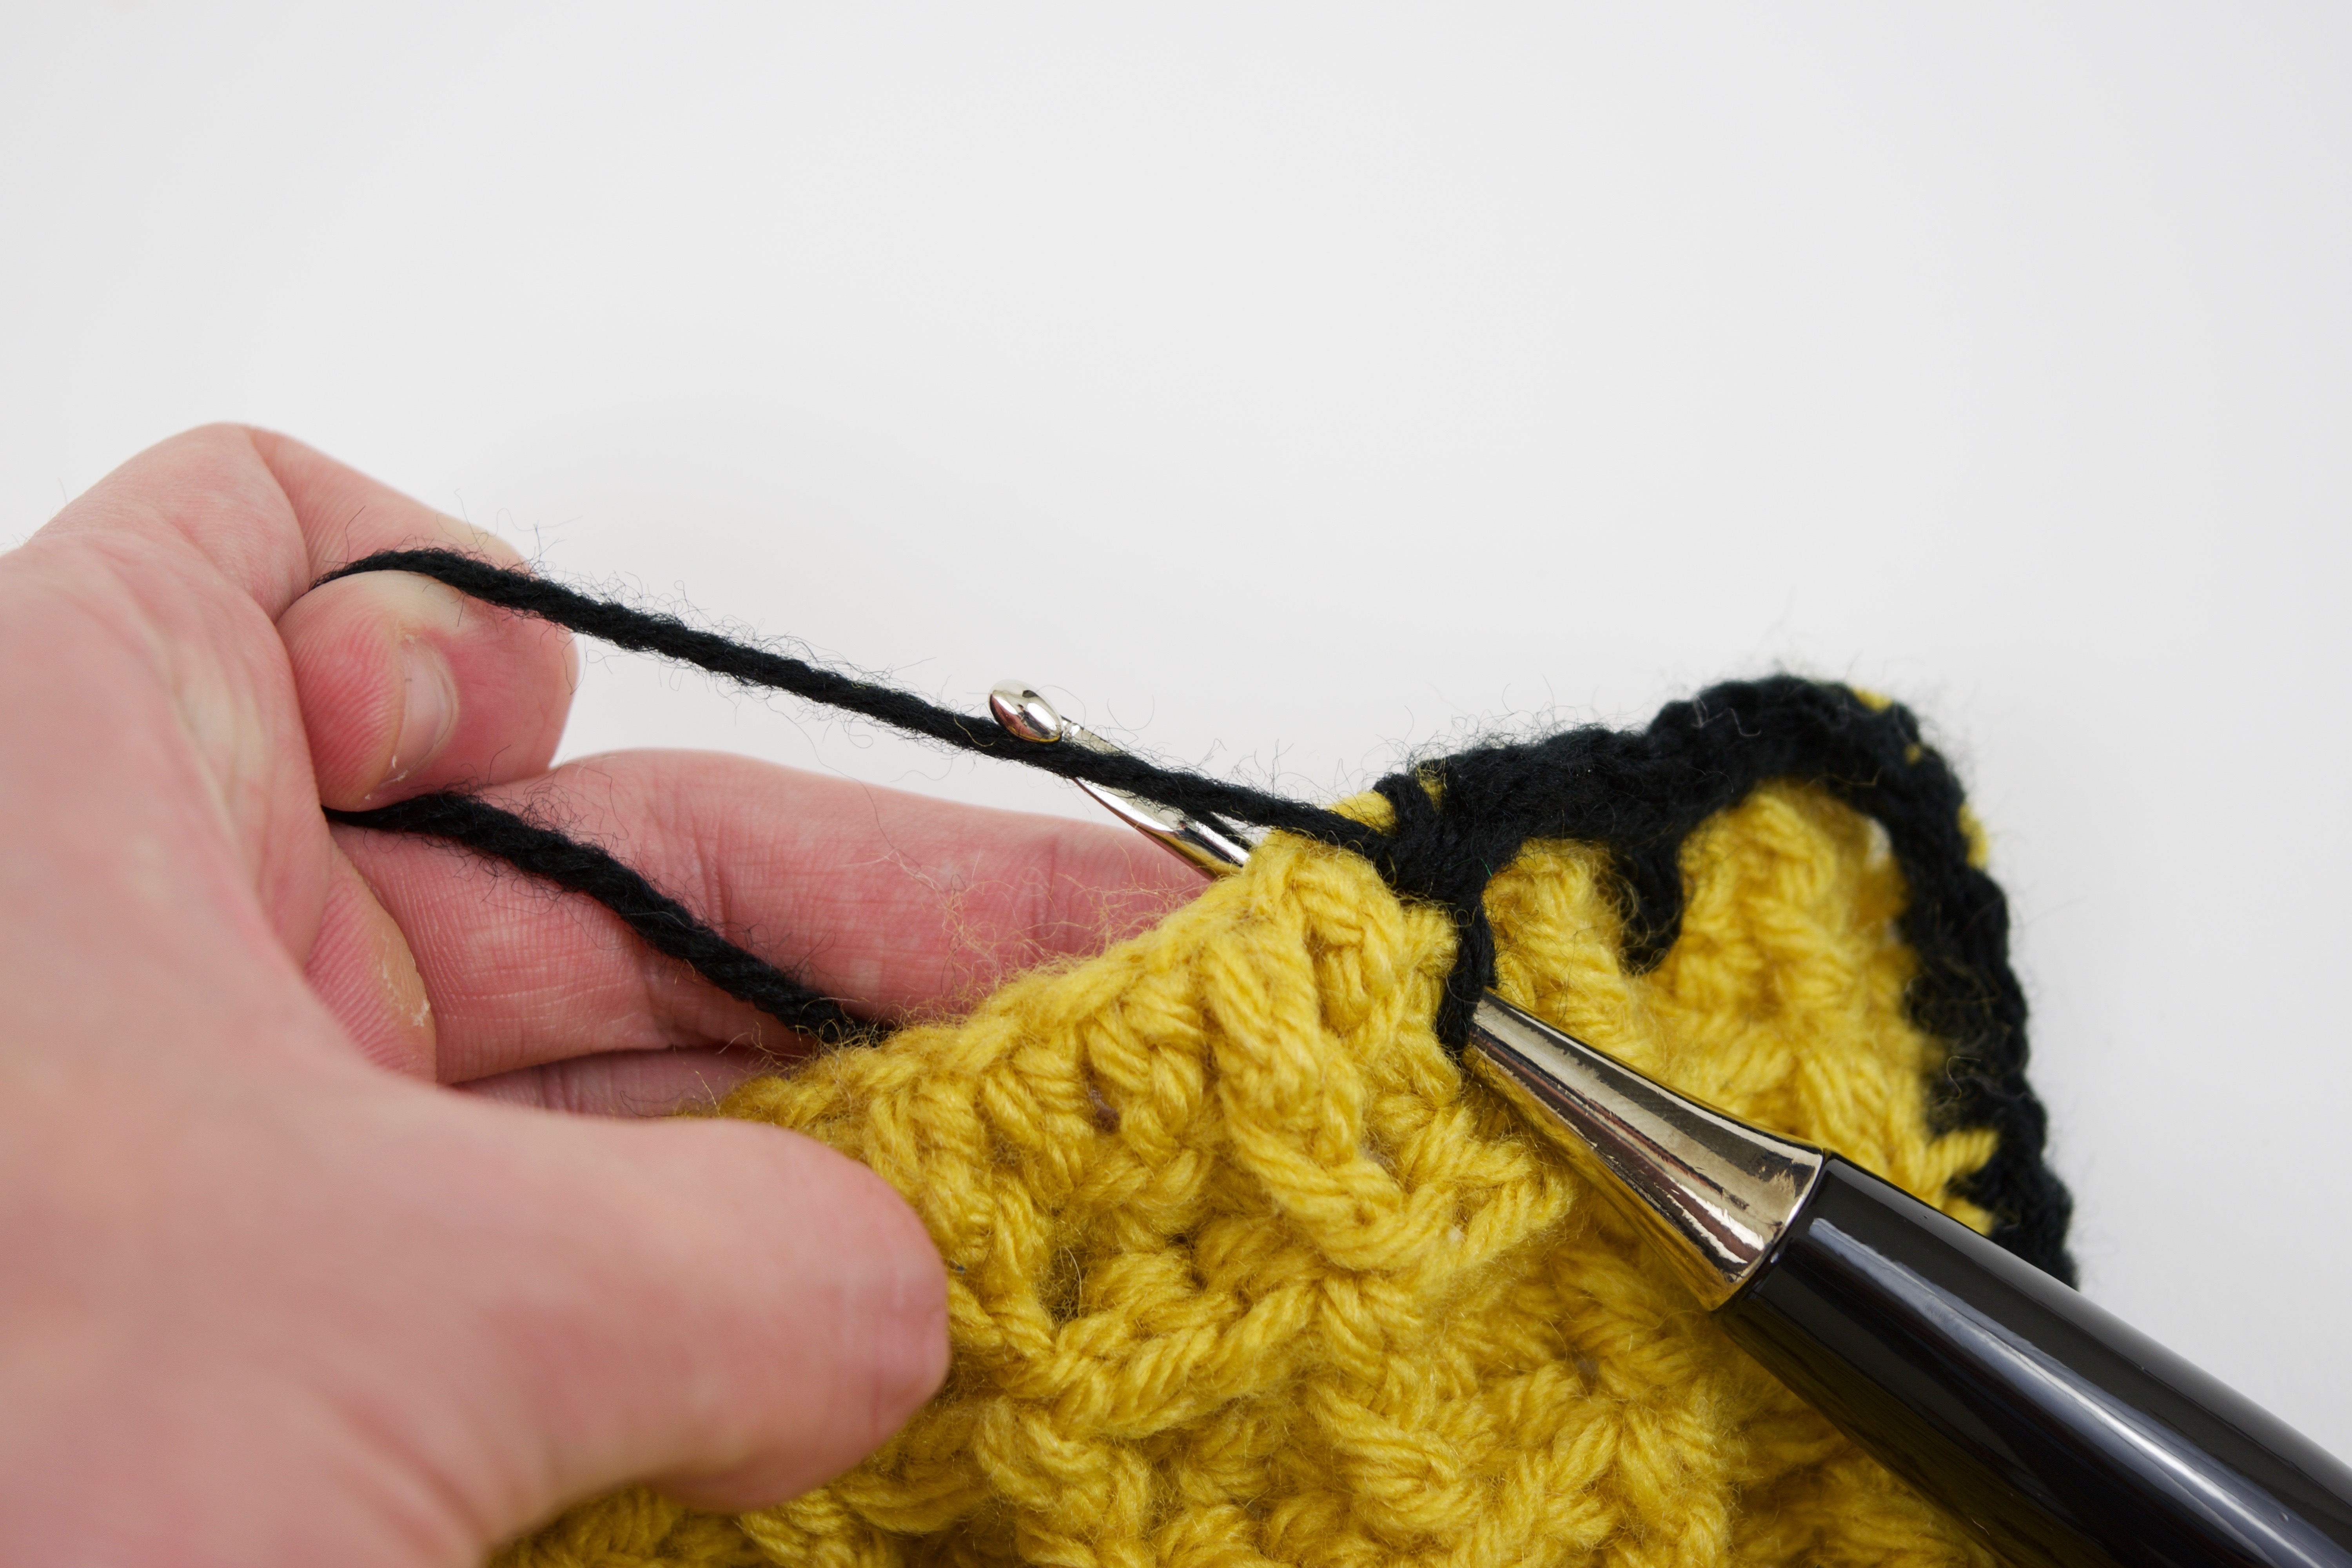
Row 4: Attach the black colored yarn. Sc into each stitch around the entirety of the scarf. On the two ends, insert your hook into the “Squares”, seen below:

There will be 3 stitches in between each long one!


Sl st back into the first stitch, finish off and weave in. Now you’re done! I hope you liked this playing around with this stitch as much as I did! Bee’s are important and don’t forget to remind people 🙂
You may not sell my patterns or claim them as your own. You may make items to sell (i.e. on Etsy, at craft fairs) from my patterns but I ask that you link back to my blog and provide credit for the pattern. You are welcome to share my patterns on social media so long as you link back directly to my blog post (providing the link). No copy & paste of my patterns will be allowed under any circumstances.


[…] and to keep you warm on those chilly spring mornings, the free pattern to this piece can be found here on my […]