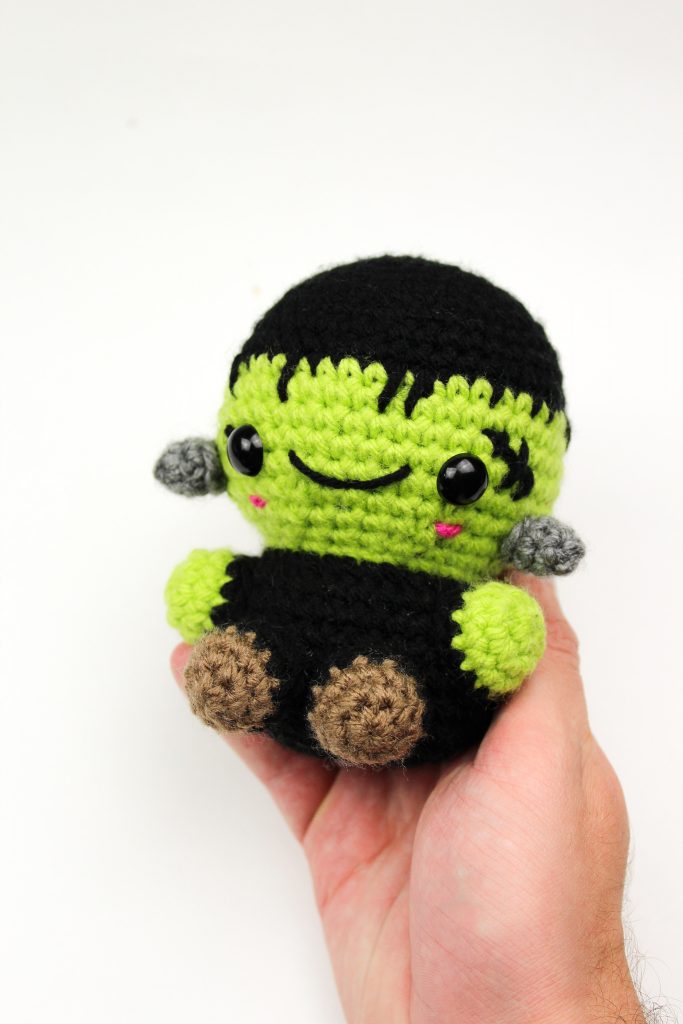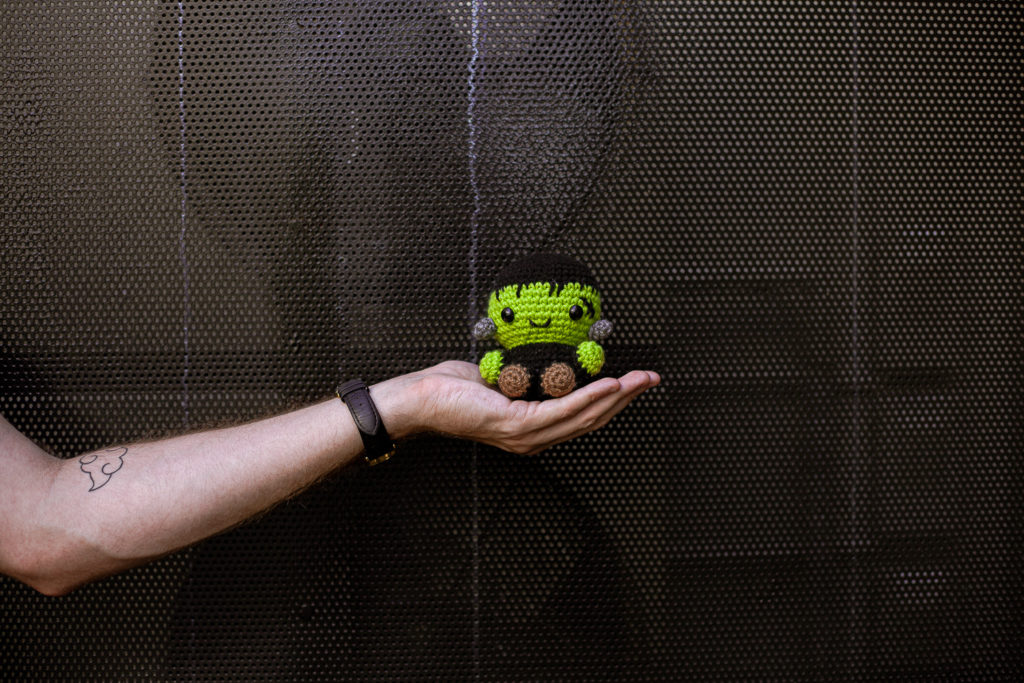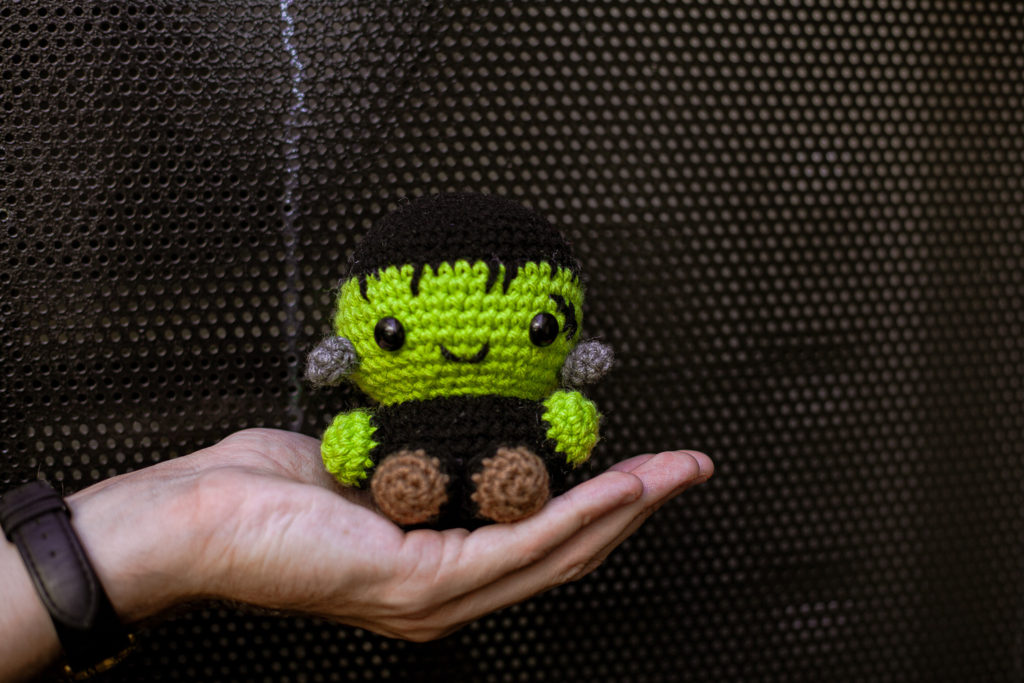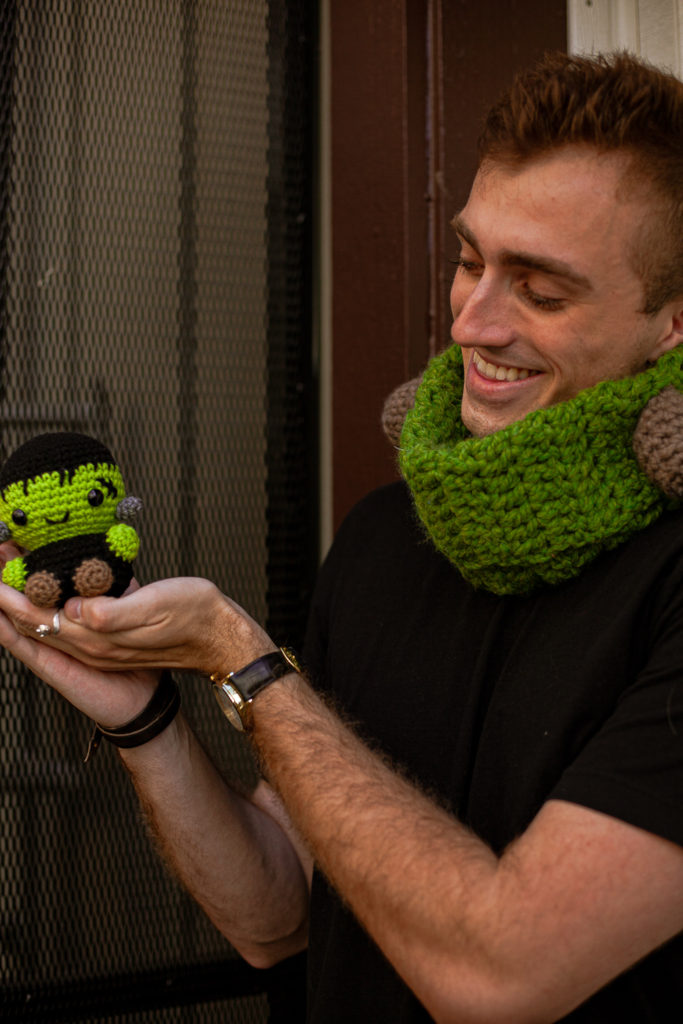

Halloween is just about here and the monsters are out to play! As a result, many think they have to be scary. But that doesn’t hold true in this case with this amount of cuteness!
This easy and beginner friendly Frankensteins Monster amigurumi makes for a perfect toy during the fall. The horror theme may not up your ally, but I think most can get behind kawaii!
Down below, you can make your own Frankenstein with this free crochet pattern to create a doll and toy of your own! Perfect for gift giving this season as well.
Materials:
Lion Brand Basic Stitch! (Any worsted weight yarn will do) In grene, black, brown, and grey
(Will need other colors if you choose to embroider!)
4 mm Hook
Scissors
Polyfill
12 mm safety eyes (optional)

Abbreviations:
Ch – chain
Sc – Single Crochet
Sl st – slip stitch
FLO – Front Loop Only
FO – Finish off
Difficulty
Beginner
Dimensions
Height – 5.5″ inches

Let’s Begin!
Head/Body:
(Begin in black)
Rnd 1: 6 Single crochet into Magic Ring (6)
Rnd 2: [Inc] x 6 (12)
Rnd 3: [Sc, Inc] around (18)
Rnd 4: [Sc 2, Inc] around (24)
Rnd 5: [Sc 3, Inc] around (30)
Rnd 6: [Sc 4, Inc] around (36)
Rnd 7: [Sc 5, Inc] around (42)
Rnd 8-9: Sc around
Rnd: 10-14: Switch to Green, Sc around (42) *Place eyes in row 14, 8 stitches apart*
(This is where the eyes are in the picture above; They can always be placed where you feel they will look best!)
*Begin stuffing head firmly*
Rnd 15: [Sc 5, Dec] around (36)
Rnd 16: [Sc 4, Dec] around (30)
Rnd 17: [Sc 3, Dec] around (24)
Rnd 18: [Sc 2, Dec] around (18)
Rnd 19: Switch back to black [Inc] around in Front Loop only (36) Begin stuffing head firmly
Rnd 20-24: Sc around (36)
Rnd 25: [Sc 4, Dec] around (30)
Rnd 26: [Sc 3, Dec] around (24)
Rnd 27: [Sc 2, Dec] around (18)
*Be sure you’ve been stuffing! Don’t fill the body as firmly as the head. Allow to bottom of your doll to have a little squish to sit!**
Rnd 28: [Sc, Dec] around (12)
I typically stop here and close my work, here’s my tutorial on why!
Rnd 29: [Dec] around (6)
Finish off and leave tail to close hole
Arms (Make 2)
(Begin in Green)
Rnd 1: 6 Single crochet into Magic Ring (6)
Rnd 2: [Inc] x 6 (12)
Rnd 3: Sc around (12)
Rnd 4: Switch to black and continue, Sc around (12)
Finish off and leave long enough tail to attach
Legs (Make 2)
(Begin in brown)
Rnd 1: Magic Ring 6 (6)
Rnd 2: [Inc] x 6 (12)
Rnd 3: Sc around (12)
Rnd 4-5: Switch to black, Sc around (12)
Finish off and leave long enough tail to attach
Screws (Make 2)
(Begin in Grey)
Rnd 1: Magic Ring 5 (5)
Rnd 2-3: Sc around (5)
Finish off and leave long enough tail to attach
Assembly:
- Sew on limbs
- embroider the “hair”

If you have ANY questions, please do not hesitate to contact me! You can reach me via Etsy at Knot Bad Crochet or Instagram @knot.bad Please do not claim this pattern as your own; You may sell or gift your creations, all I ask is that you link my shop if you do decide to sell! And if you decide to post it on Instagram, please tag me! I would love to see how it turns out! 🙂 Happy Crafting!


