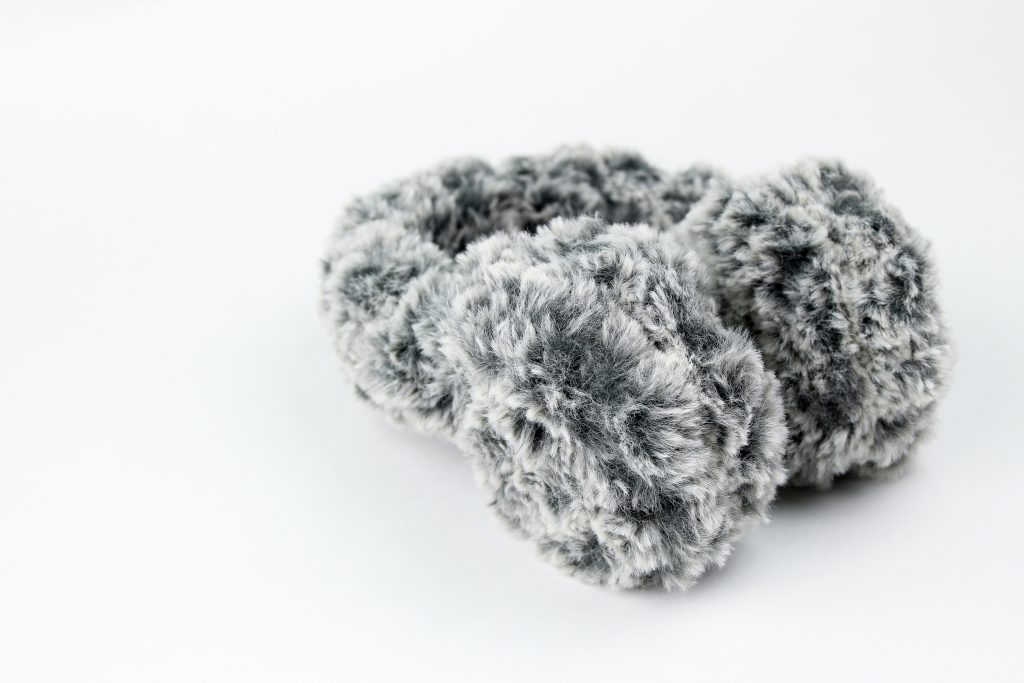
By this time, most of our wardrobes should be just about set – with our scarves, sweaters, mittens, etc. But what happens when that huge wind chill and starts hitting all those extra appendages you have sticking out of your face? Sure you can put your nose into your scarf, but lets not forget our ears!
So whats the solution?
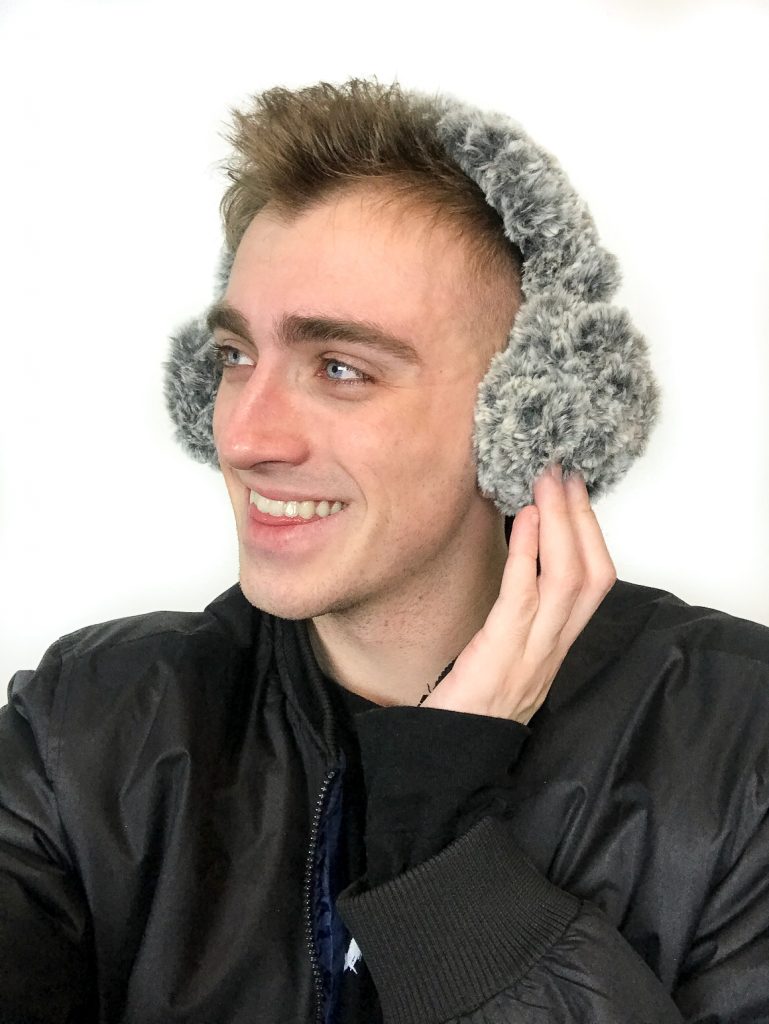
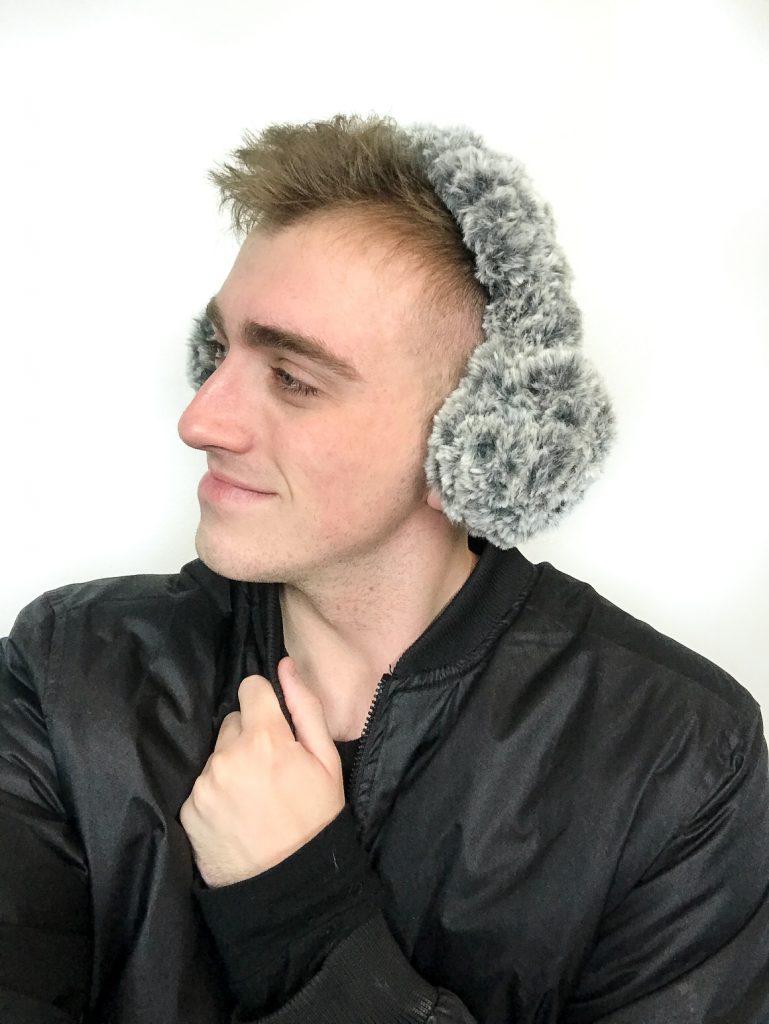
These fun earmuffs of course! Which I think will go with just about anything, and a great way to keep your ears safe from the harsh cold – and of course, you can still have your earphones plugged in underneath! I am teaming up with JOANN to bring you this cute accessory and making it is going to be so simple – walk into any JOANN for the inexpensive materials for this project!
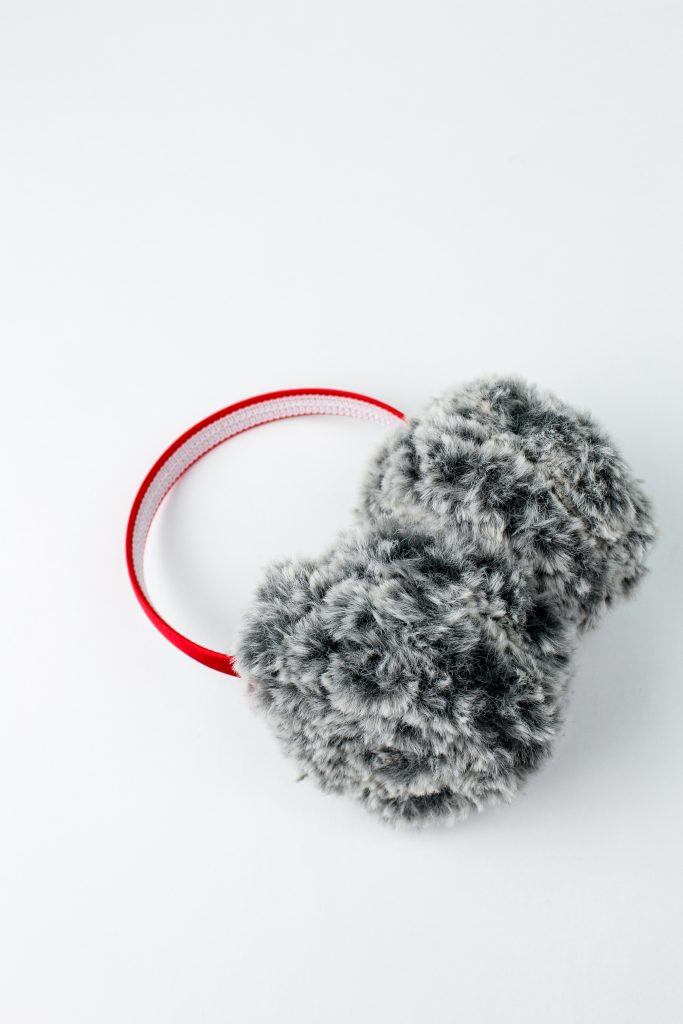
This project works up so quickly and it uses Lion Brand’s Thick and Quick Go For Faux which has this beautiful fur look (of course no animals were harmed!) JOANN even has the side materials you’ll be needing such as a color assortment of headbands and even a hot glue gun if you don’t have one! The color choices are yours and JOANN has so many different options on personalizing your own headband! You can find the free pattern down below.
All editorial content and projects are intellectual property of Vincent Green-Hite, designer of Knot Bad. This post was sponsored by JOANN Stores but all ideas and opinions are my own.
So here’s what you’ll need:
Lion Brand Thick and Quick Go for Faux (1 Skein)
Lion Brand Basic Stitch in similar color to Go for Faux (You will just be using a little bit to sew the ear muffs together, and I chose a white!)
Skill Level: Easy
Gauge:
Not needed for this project
Abbreviations:
Ch – chain
Sc – Single Crochet
Inc – Increase
Sl st – Slip stitch
FO -Finish Off
Don’t forget to Pin for later!
Lets’ Begin!
Creating the headband, this part is optional if you don’t want to keep it too thin! (using a 10mm)
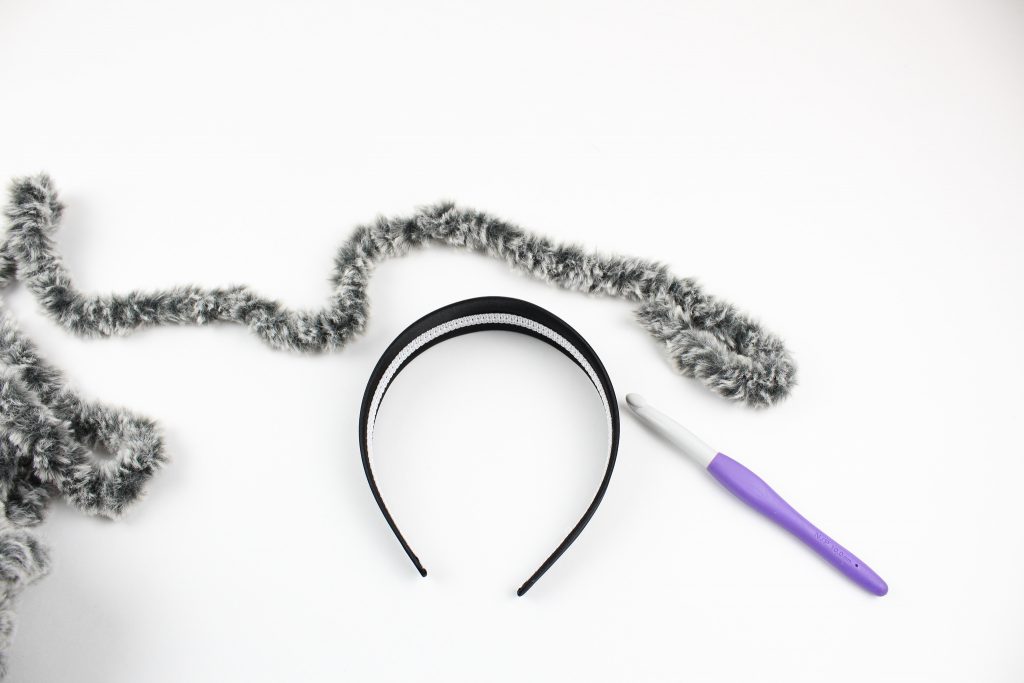
With your yarn, create a slip knot on your hook.
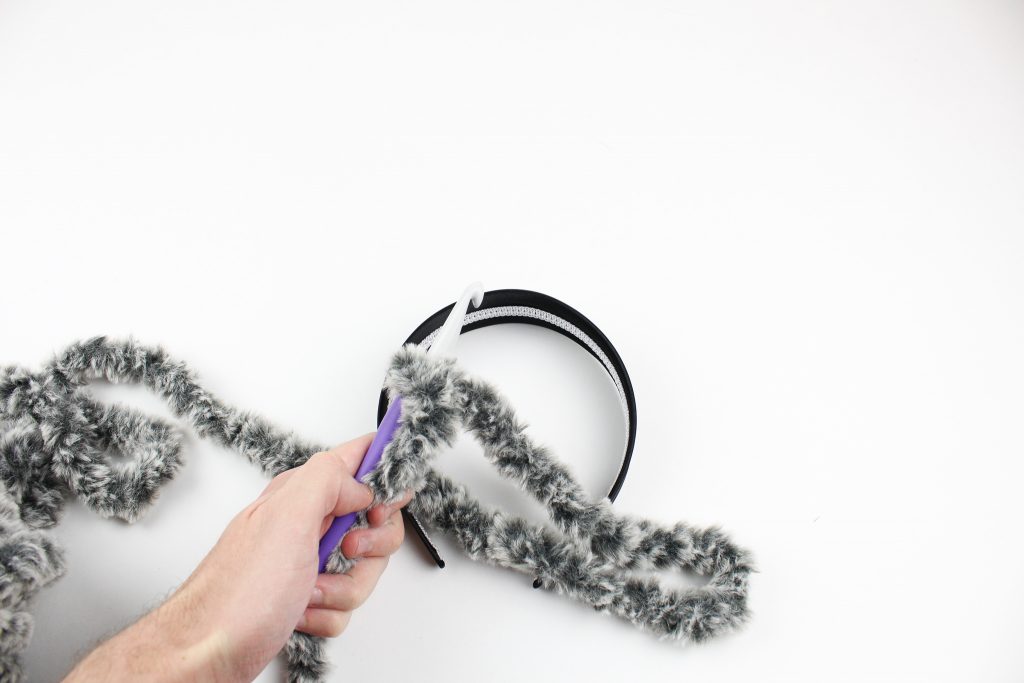
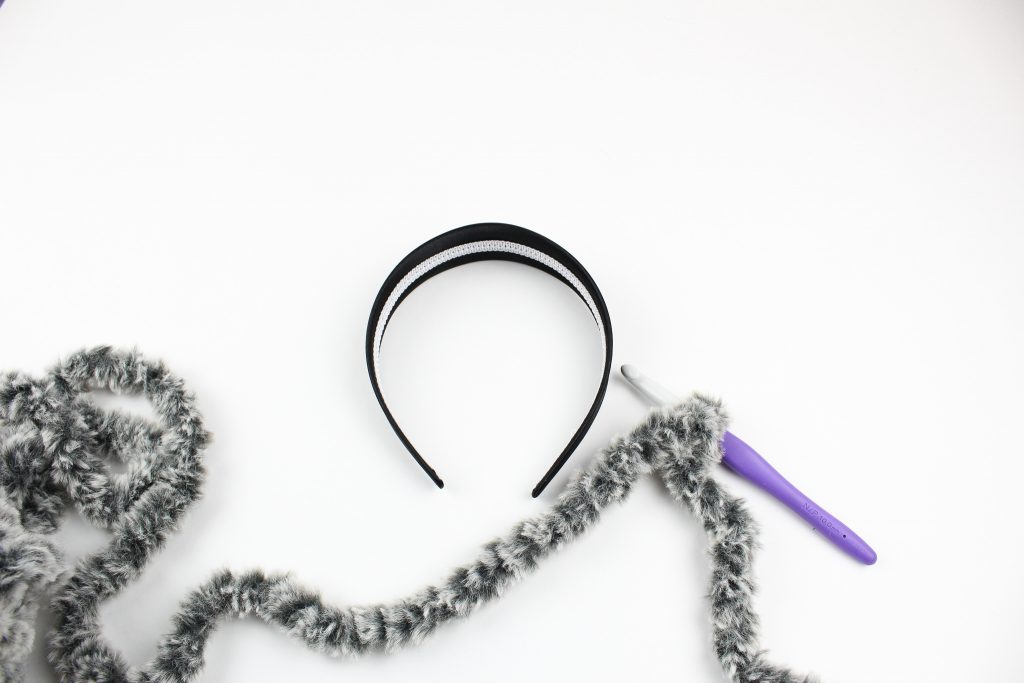
Lining up with your headband, grab the yarn from behind and pull it through as a slip stitch. (Leave a little empty space on the bottom for the ear parts to go!)
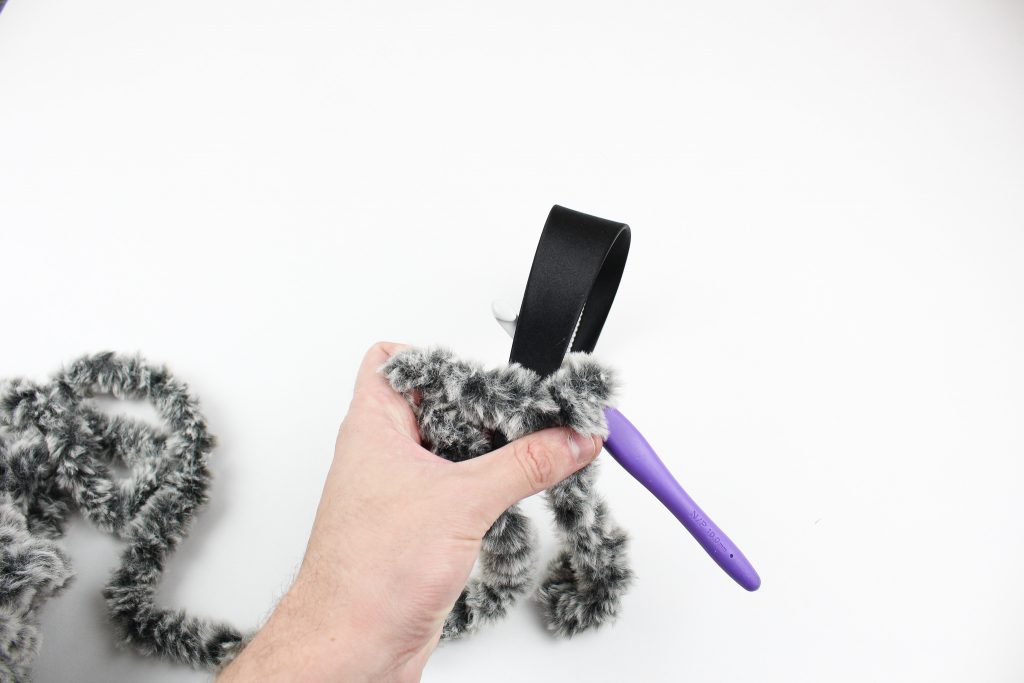
Once that is grabbed, pull your yarn through the front and do another slip stitch.
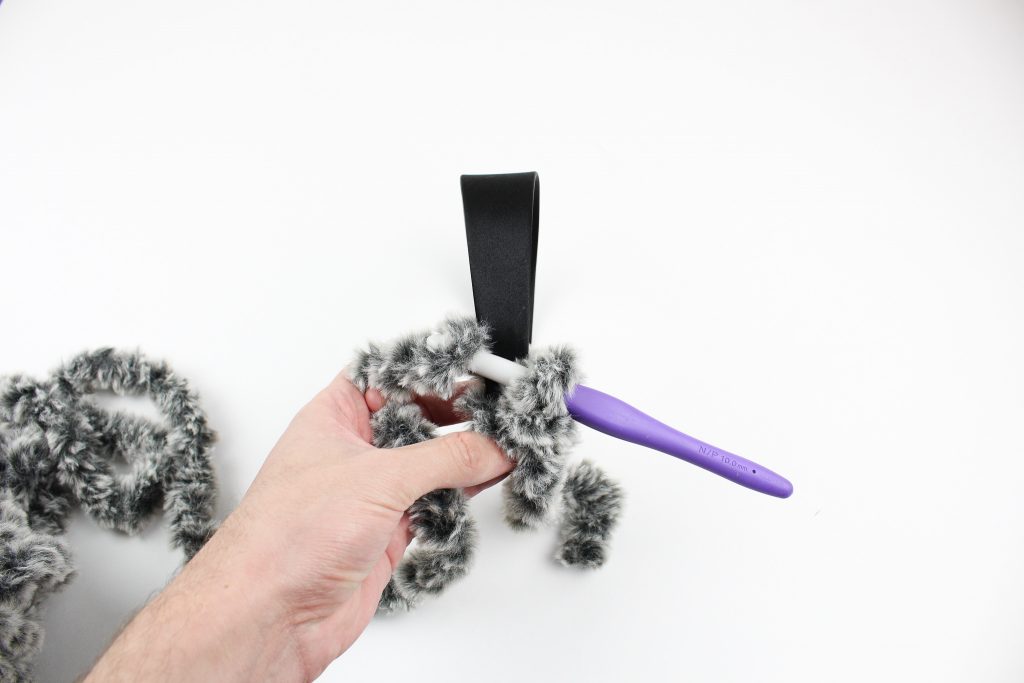
Once again, pull through the back. You will be alternating all the way up your headband!
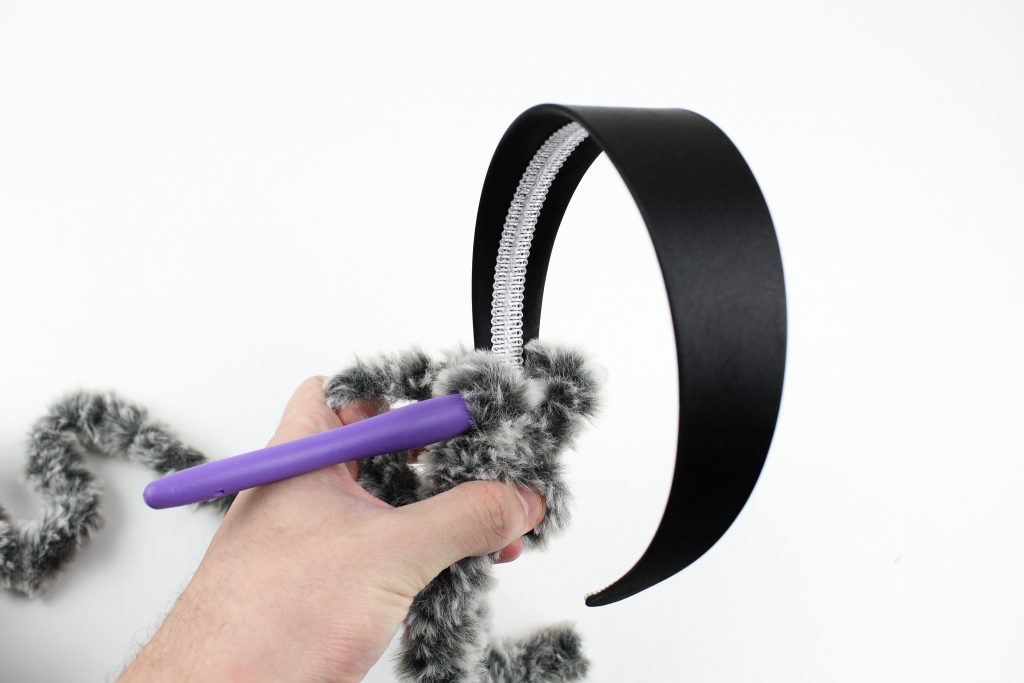
Of course, you can leave this alone if you would like, but to attach the yarn, here is how!
Let’s Begin! (Make a total of 4, using a 12mm)
Rnd 1: 6 Sc into the Magic Ring (6)
Rnd 2: *Inc* around (12)
Finish off
Create 3 more using this same process!
Time to sew two of your circles together!
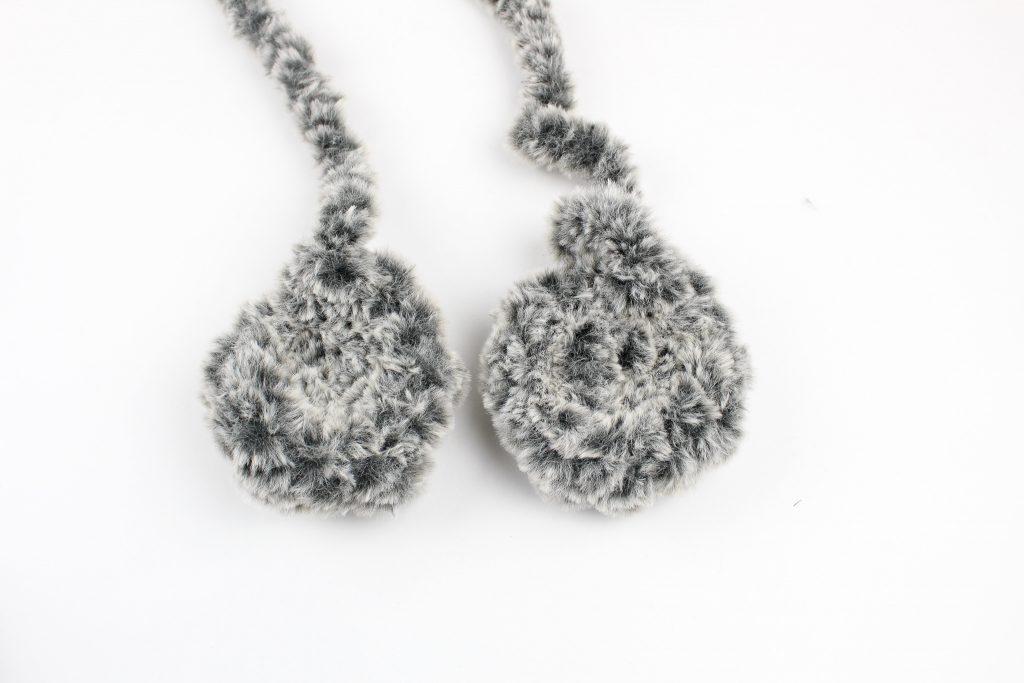
Laying on top of one another, you will use yarn from a worsted weight to now sew them together! Create a knot with it first using your darning needle:
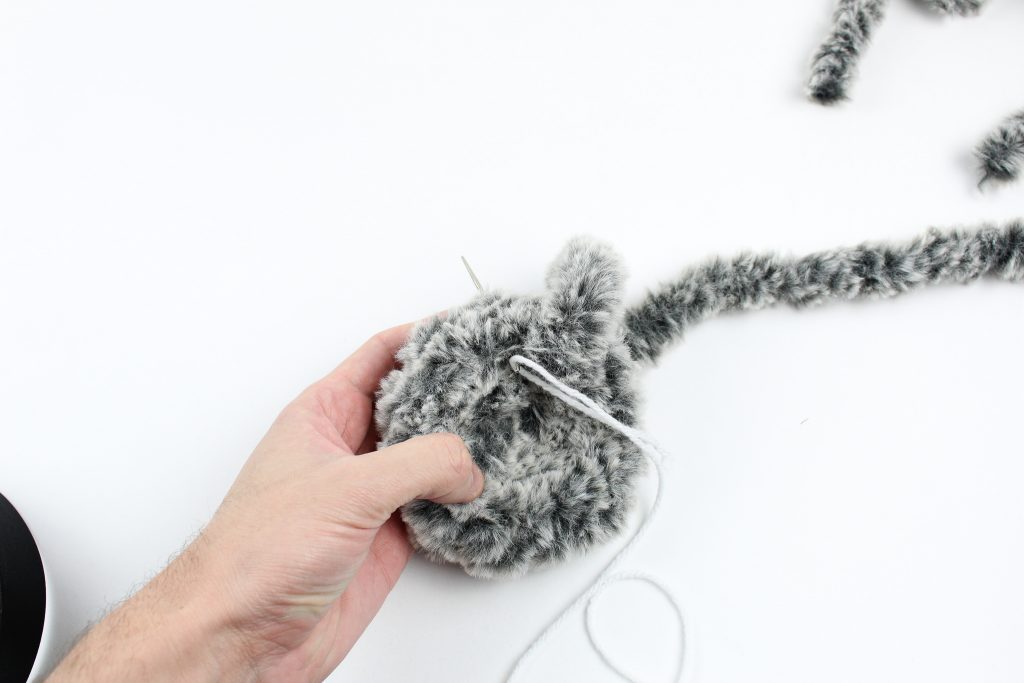
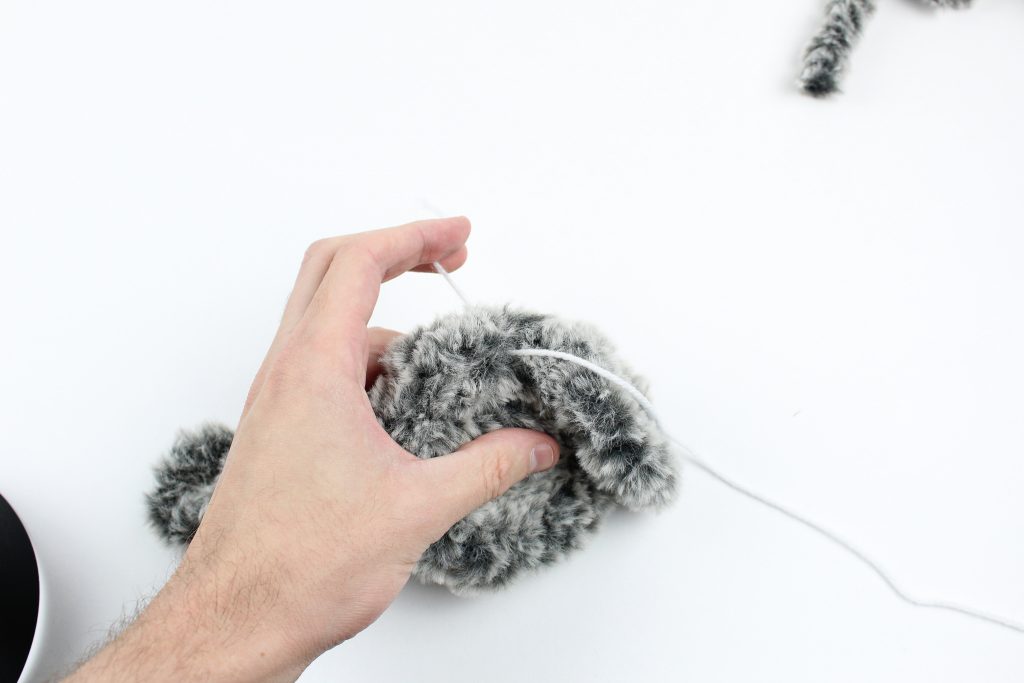
Now grab your other end and sew the circles shut, stopping at the last stitch.
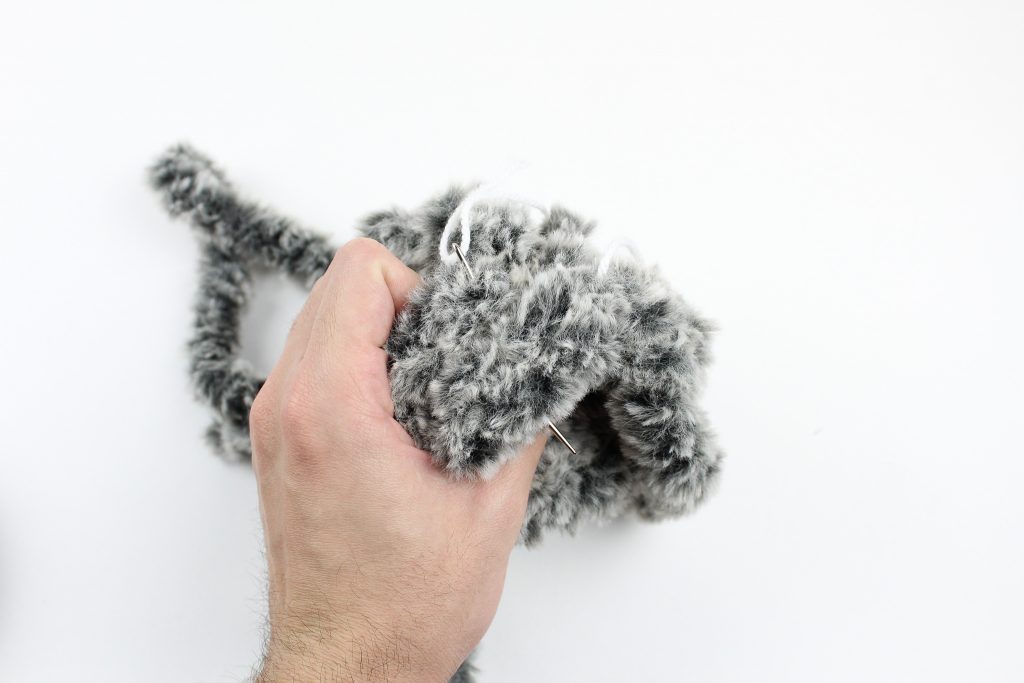
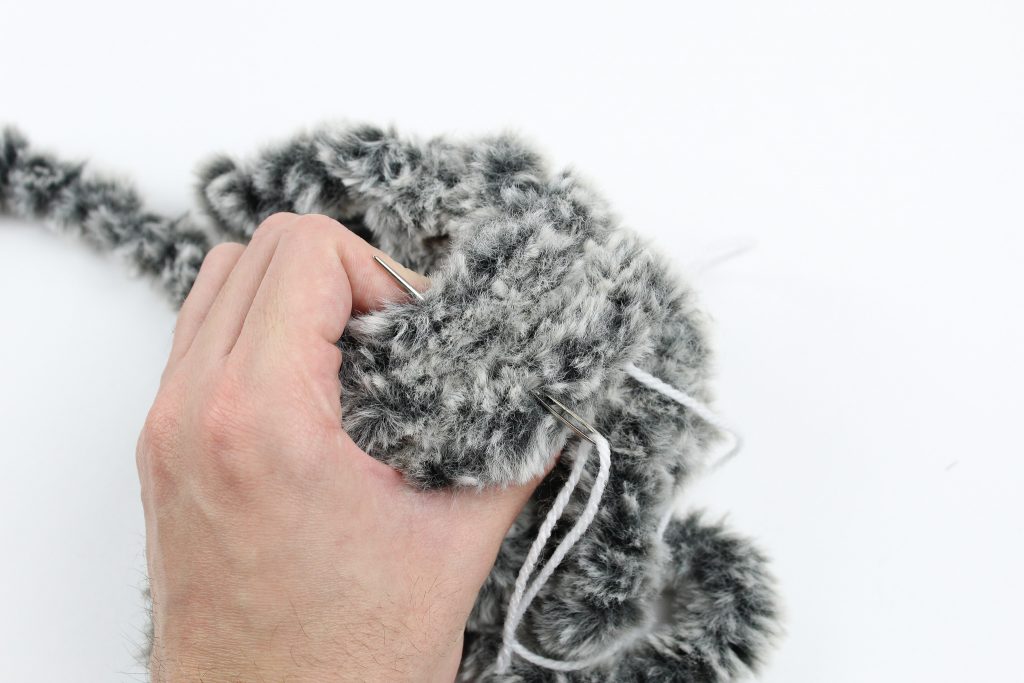
Finish off and weave in, stopping before your last stitch.
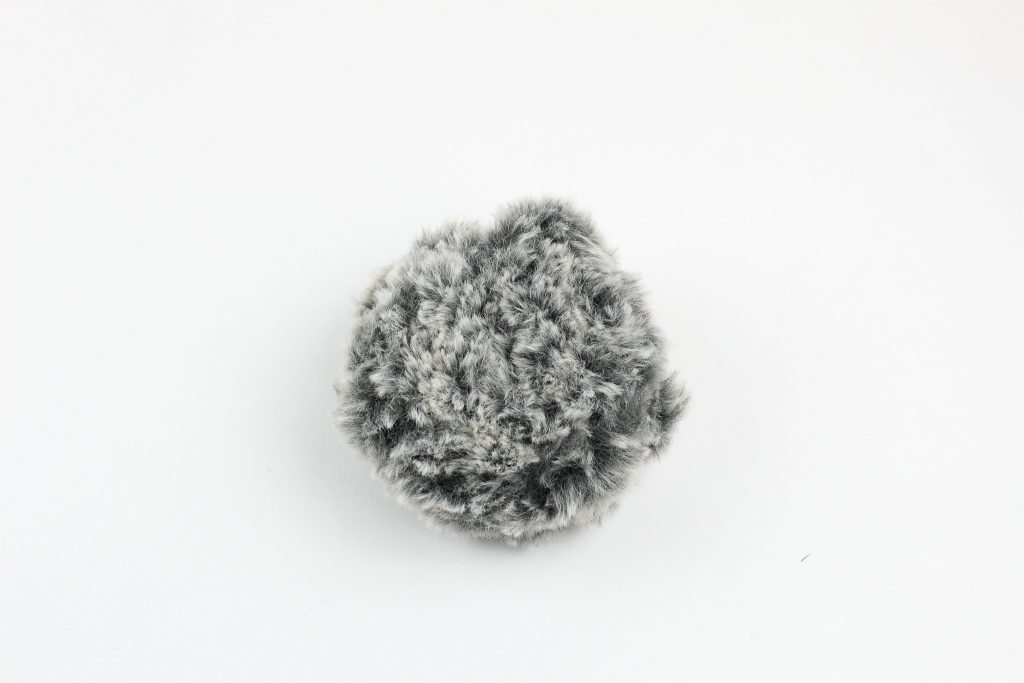
With the opening, you can now insert your headband!
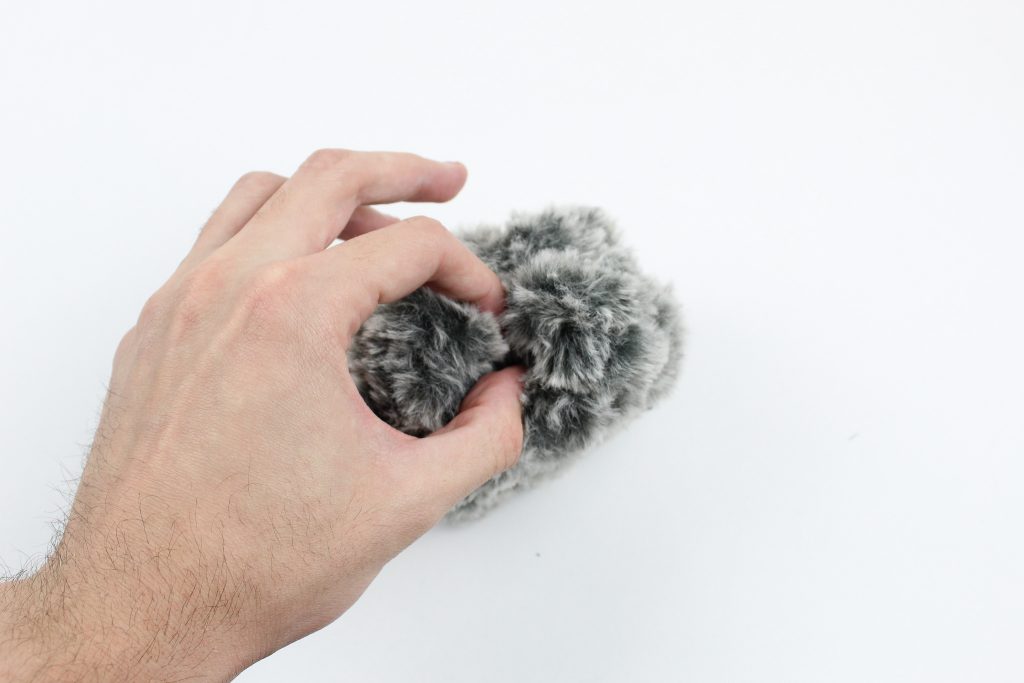
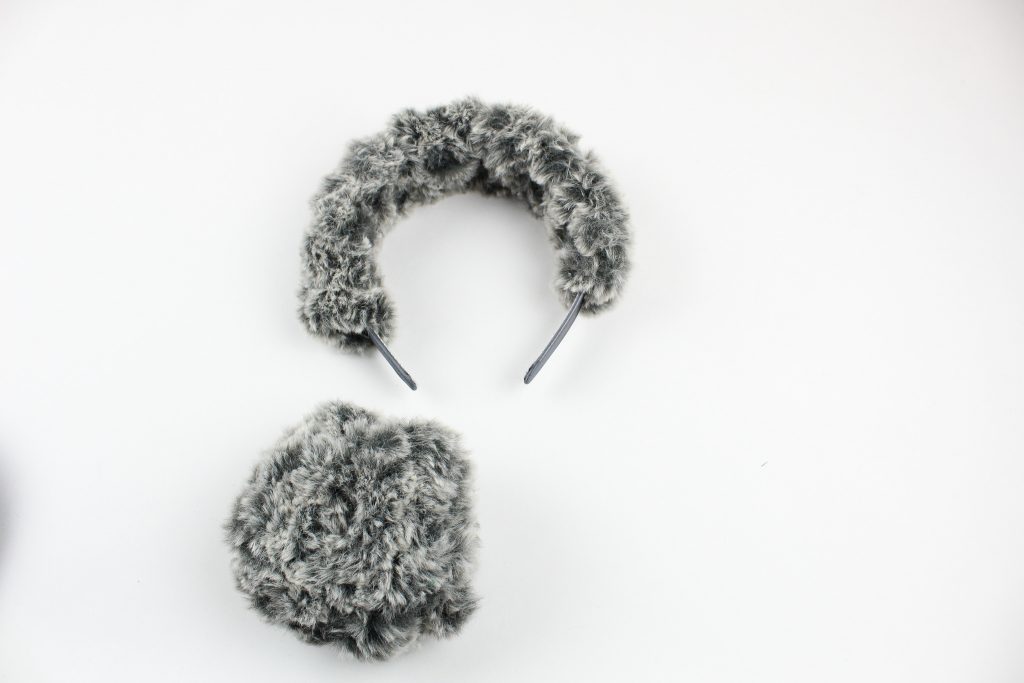
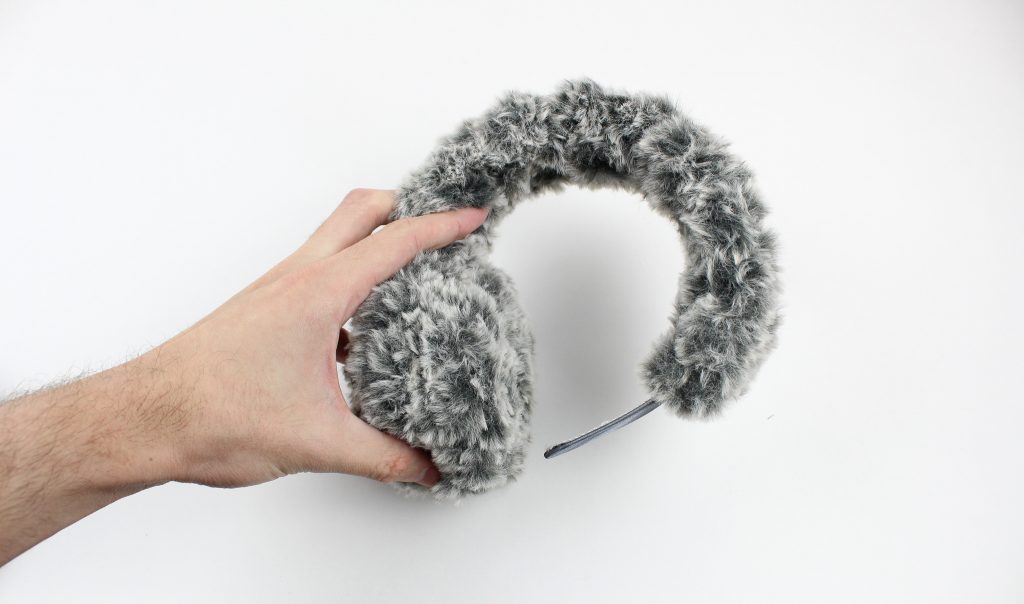
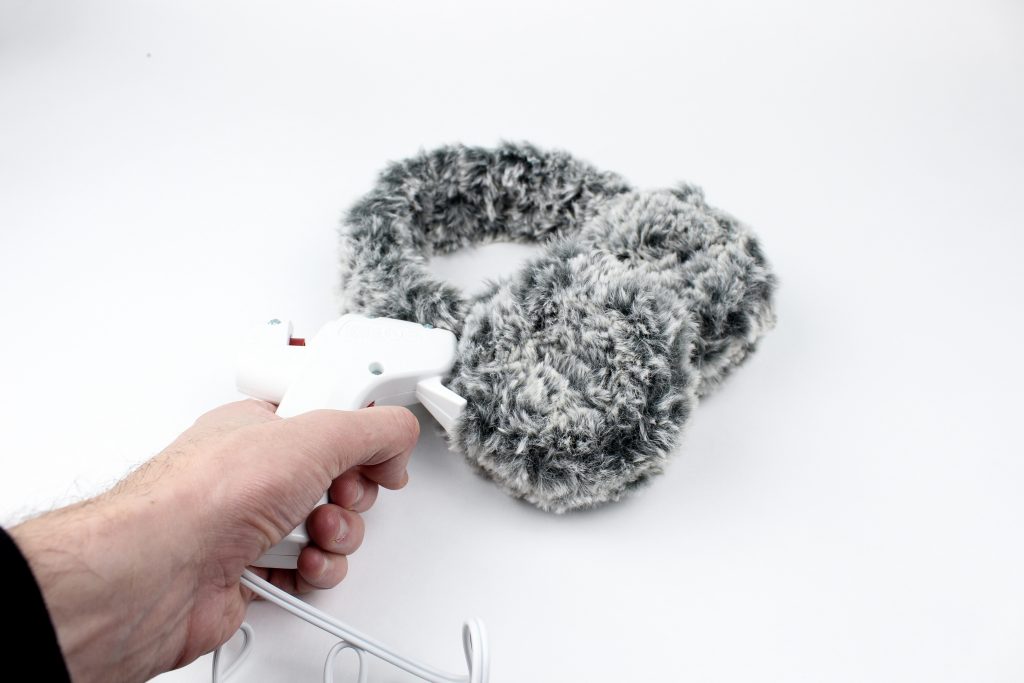
On the insides that are connected to the headband, you can now super glue it in place putting it all around the hole!
Please do not claim this pattern as your own. If you wish to share this pattern, you may link to this pattern but please do not reprint it on your site. You may keep a copy for your own personal use but please DO NOT sell the pattern or distribute it.
You may sell products made from this pattern but please clearly credit the design to Knot Bad and link it my website knotbadami.com
Make sure to post it! Please feel free to tag me and show me how yours turned out!


What a great, unique pattern. Thank you!
Carmen