** You can purchase the Ad-free, printer friendly, PDF by clicking HERE! Also, if you want all the yarn and pattern together, Lion Brand Yarn is selling this project as a Kit over on their site, which you can check out HERE, along with 35% off until 11/28 with the code 35KITS Down below in the Materials, you can find the yarn’s used and order them from their site as well.
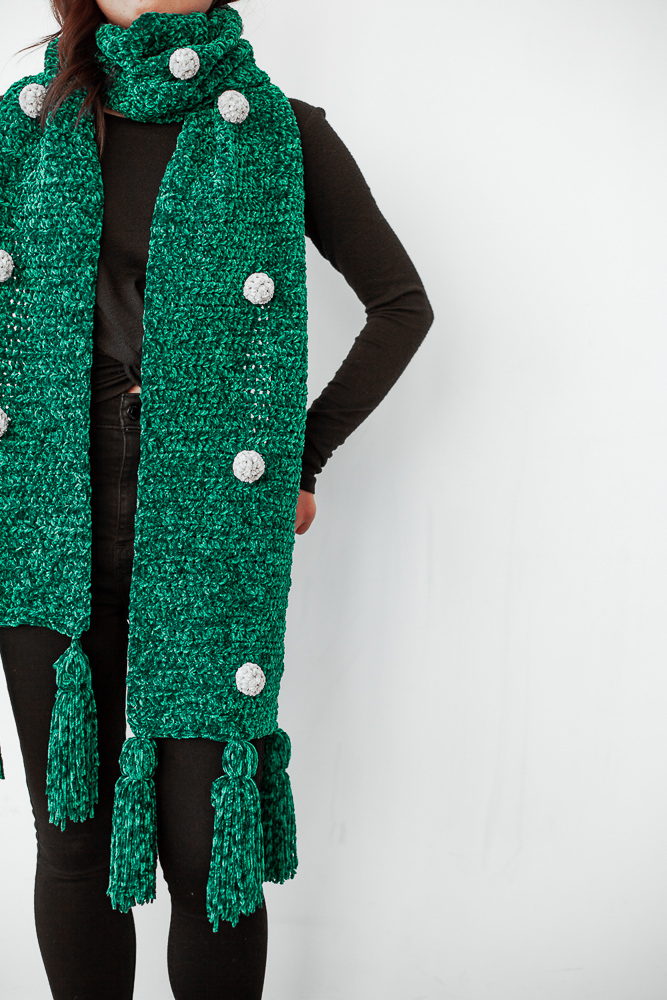
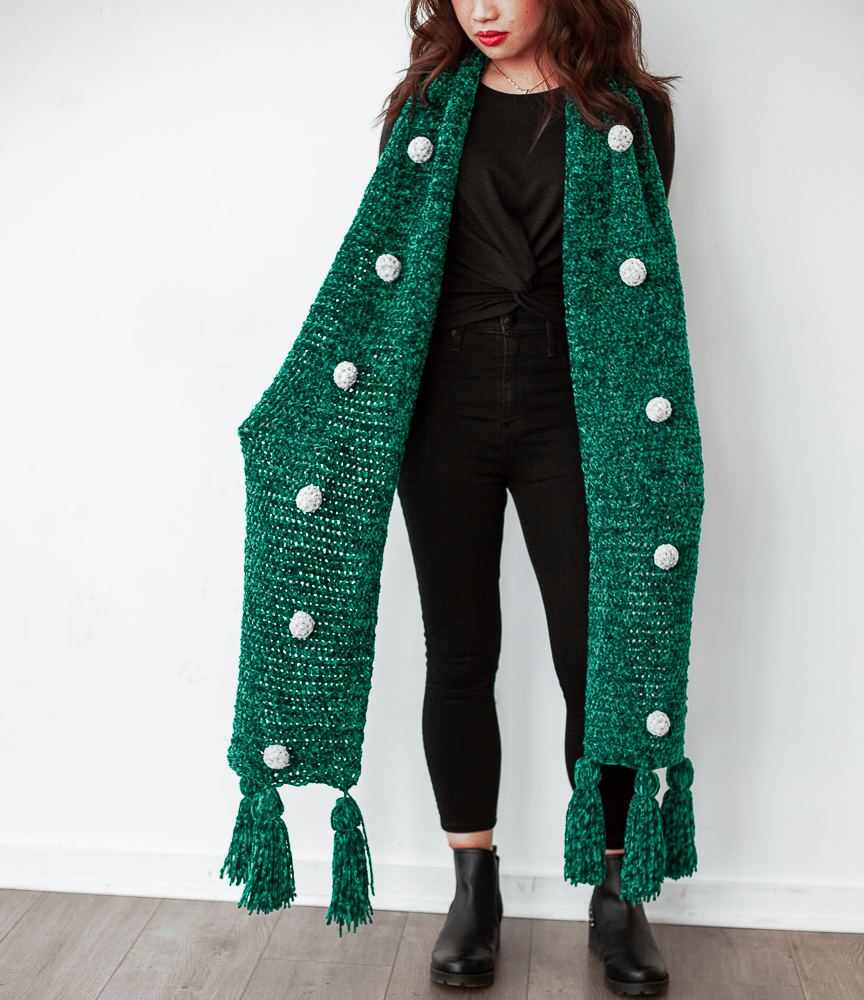
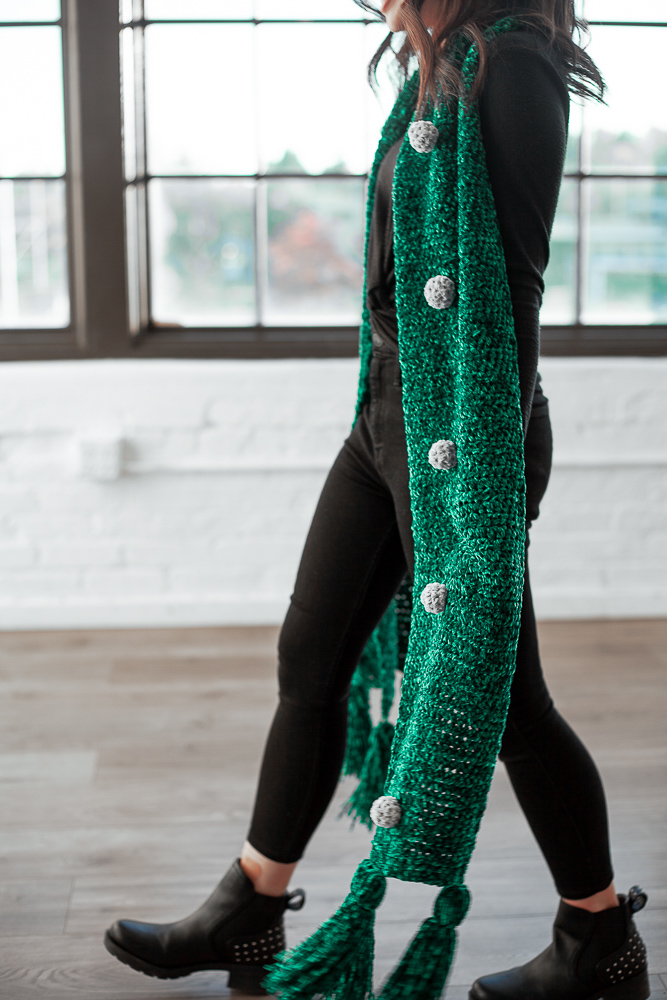
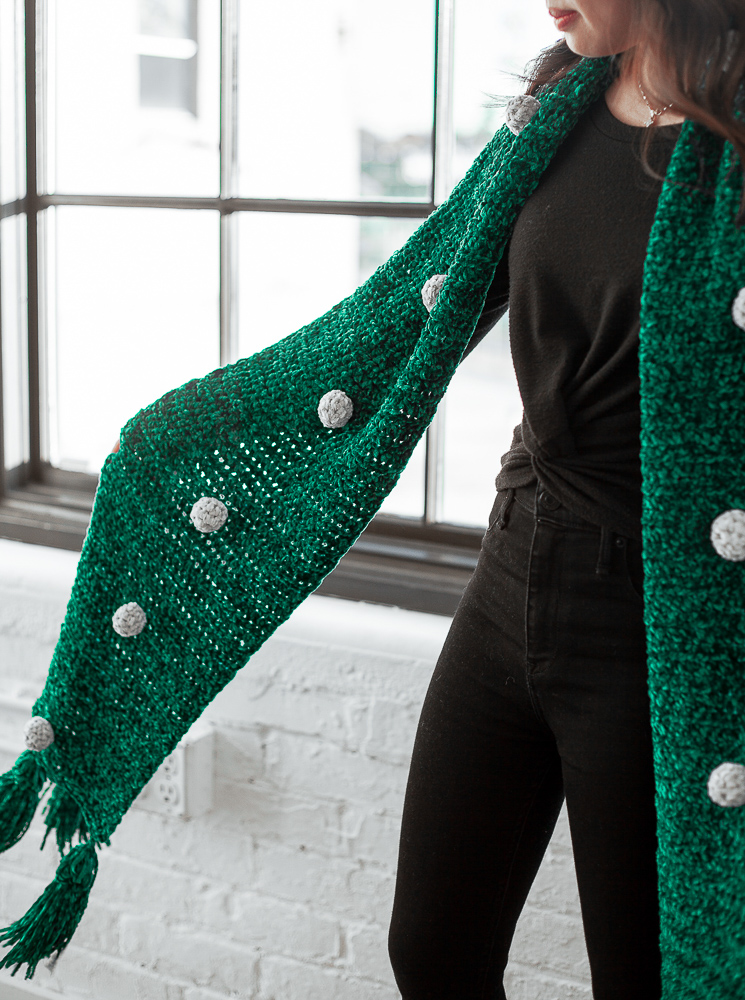
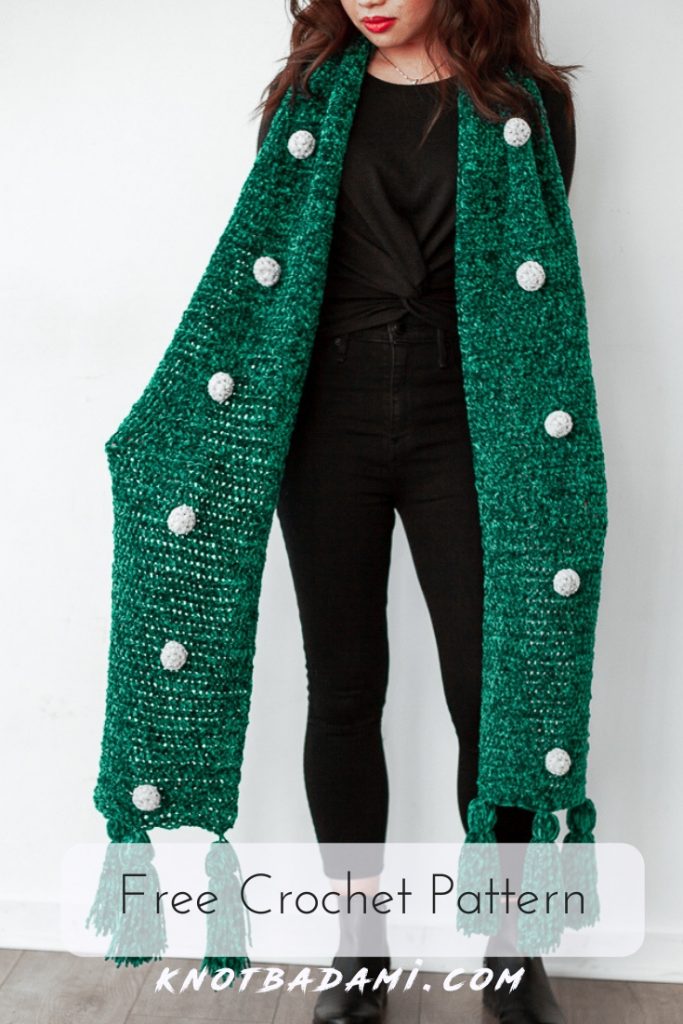
It can be difficult to find a yarn that hits your neck just right, but Lion Brand has the softest yarn on the skin, and that’s their Vel-luxe yarn! This scarf is perfect for the winter months with its gorgeous drape. Instead of making bobbles, the balls will be made separately, which gives it even more of a dramatic look! And of course, the following touch are the tassels, and a step by step photo tutorial can be found below to make your own!
So here is the Chaos Emerald Scarf! (The name is a reference to the popular Sonic franchise) This scarf is a fun one to make and a great project to mindlessly create while you watch your favorite shows or movies! With the intent to wrap all around you, this is sure to be a stand out piece in anyone’s wardrobe and to grab all the public eyes. and just look at that sheen! Be sure to grab the Kit HERE and the PDF HERE!
All editorial content and projects are intellectual property of Vincent Green-Hite, designer of Knot Bad. This post was sponsored by Lion Brand Yarn but all ideas and opinions are my own.
Skill Level: Easy
Materials:
Dimensions:
Width: 9.5” inches
Length: 87” inches (without tassels)
Abbreviations:
ch(s) = chain(s)
hdc = half double crochet
sc = single crochet
inc = increas(e)(s)(ing)
sc2tog = single crochet 2 together
Gauge:
13 stitches x 9 rows = 4 inches
Notes:
- This scarf is made in different sections – you will create the main body of the scarf first (which is great for watching your favorite series!) and then creating the ball and tassels separately. You will be sewing it all together at the end for the final product!
- The bobbles are made in the round.
- For photos with step by step instructions, the description will be ABOVE the picture.
- I will be using the term “bobbles” for the balls on the scarf, please do not mistake this for the bobble stitch!
Don’t Forget to Pin for Later!
Let’s Begin!
Main Body
Ch 31
In second chain from hook, hdc. Hdc across (30)
Row 2 – 176: Ch 1, turn. Hdc across (30)
Finish off.
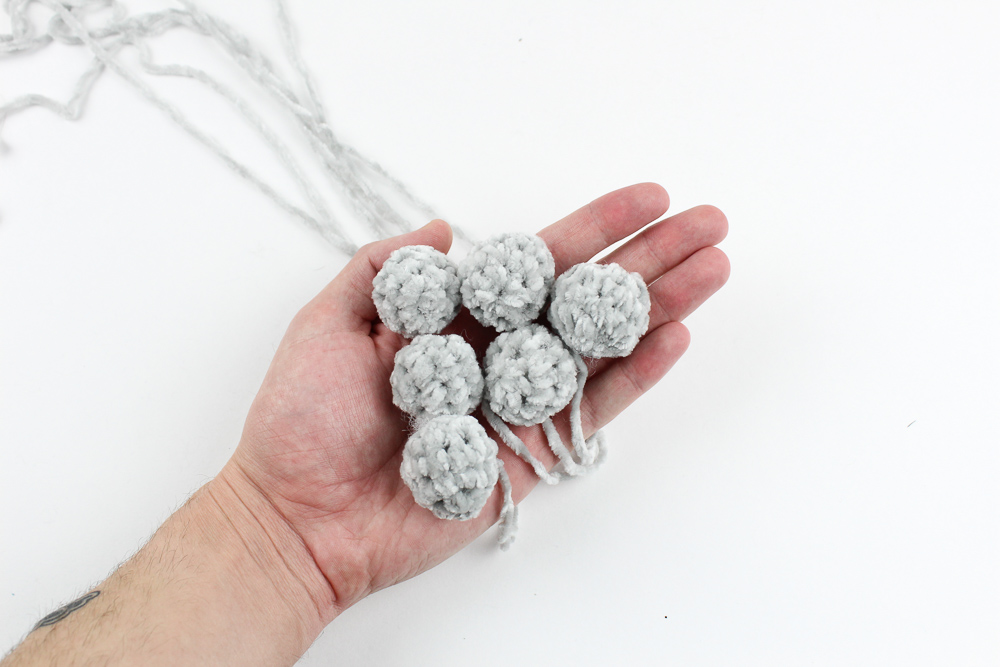
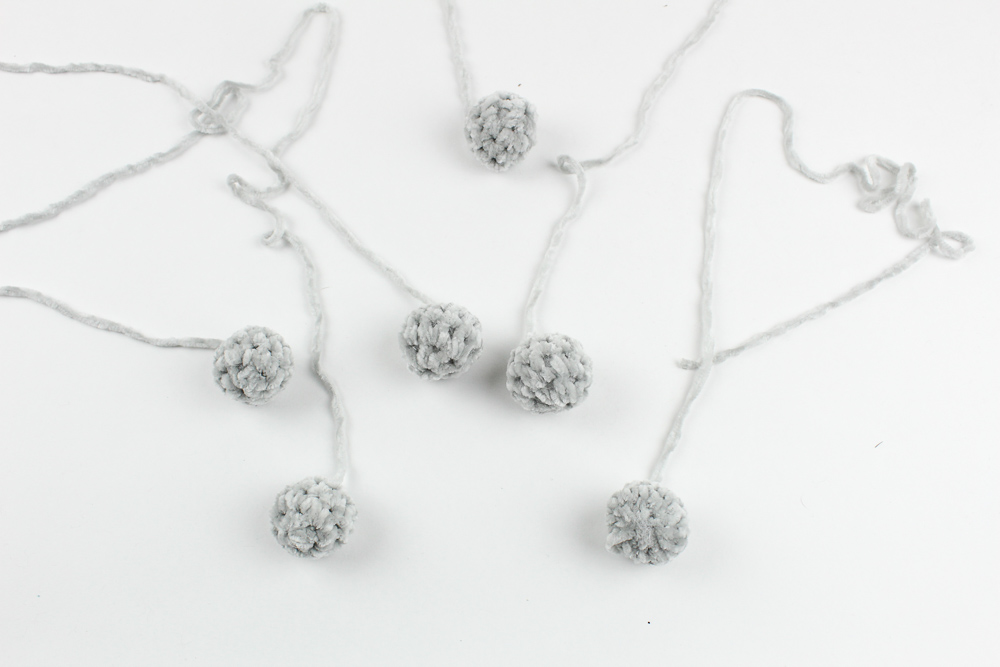
Bobbles: (Make 13)
Rnd 1: 6 Single Crochet into the Magic Ring (6)
Rnd 2: *Inc* around (12)
Rnd 3 – 4: Sc around (12)
Finishing off (Down below is how to close them!)
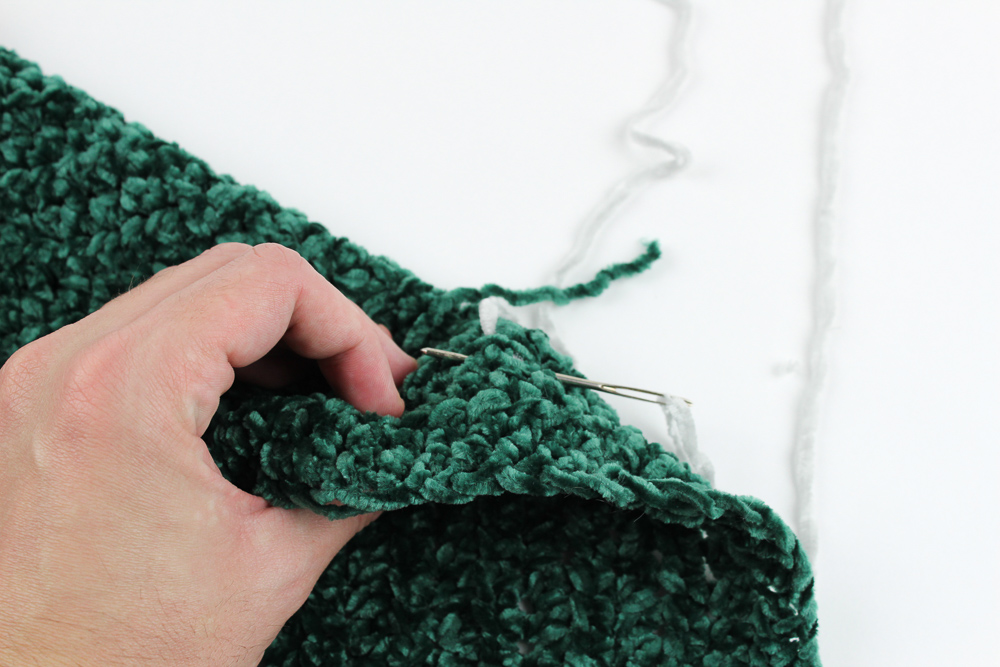
When you finish Round 4, attach your needle to your tail (Be sure your tail has already been finished off from the skein!)
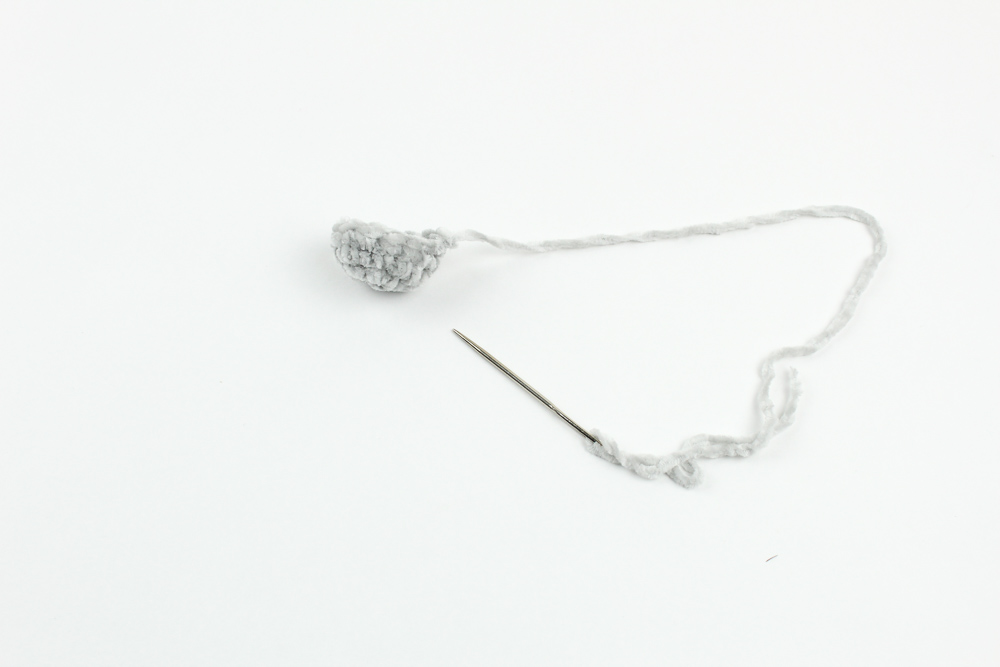
With your needle, insert through the first two front loops at the same time, and then pull snug!

Continue that same process all the way around 6 times – after the third time, begin stuffing firmly with polyfill!
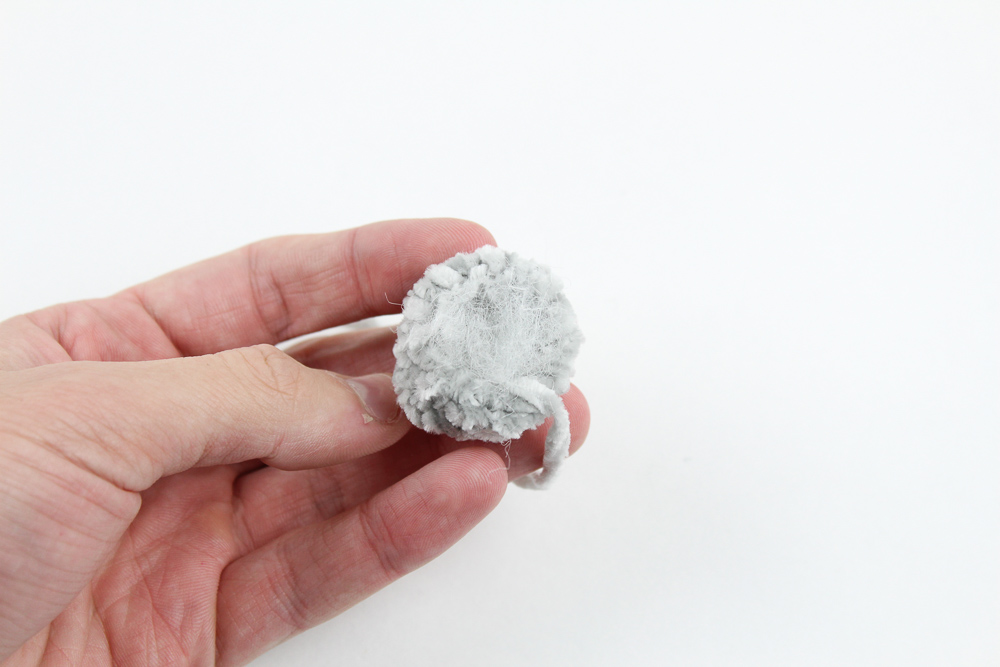
And now you can finish off, leaving a tail for sewing!
Creating the tassels: (Make 6)
Using your emerald yarn and a skein of Vel-luxe yarn, take your yarn and wrap it around 35 times.


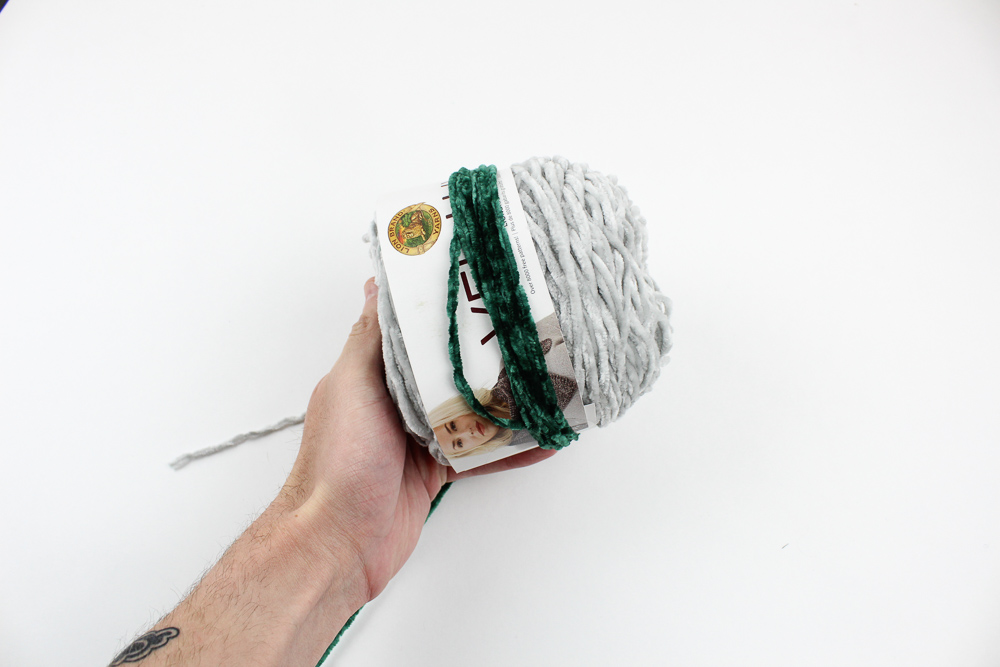
Once you’ve wrapped 35 times, take a strand of yarn and tie a knot to hold your yarn in place:
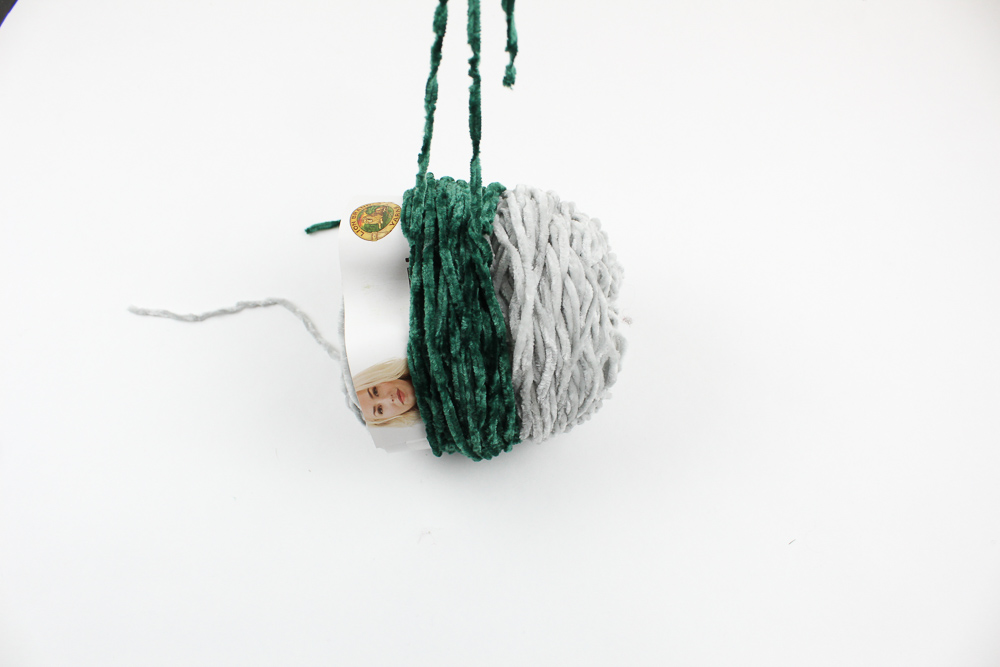
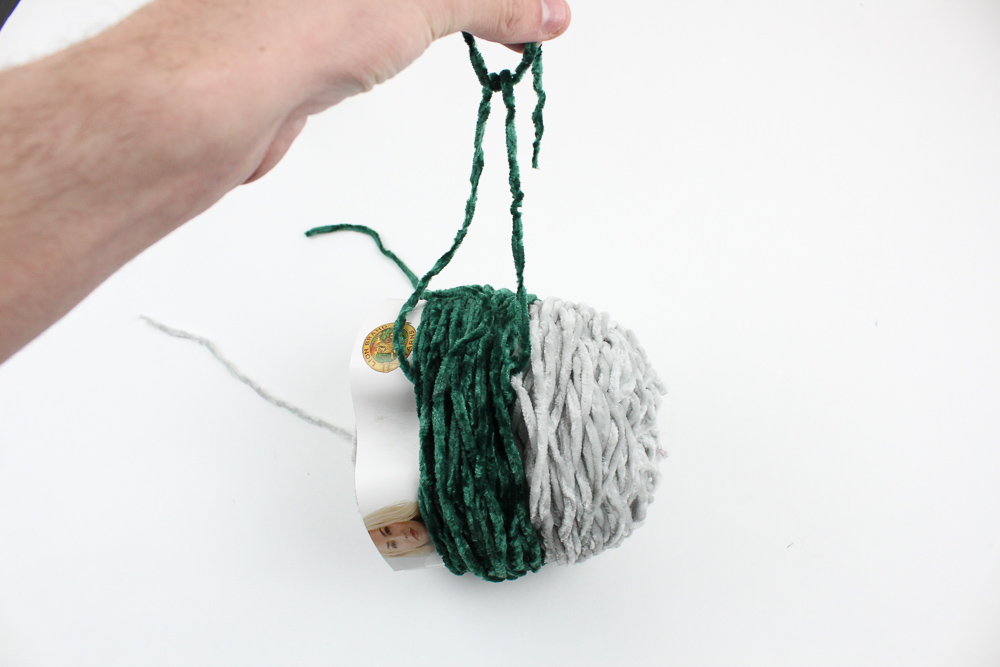
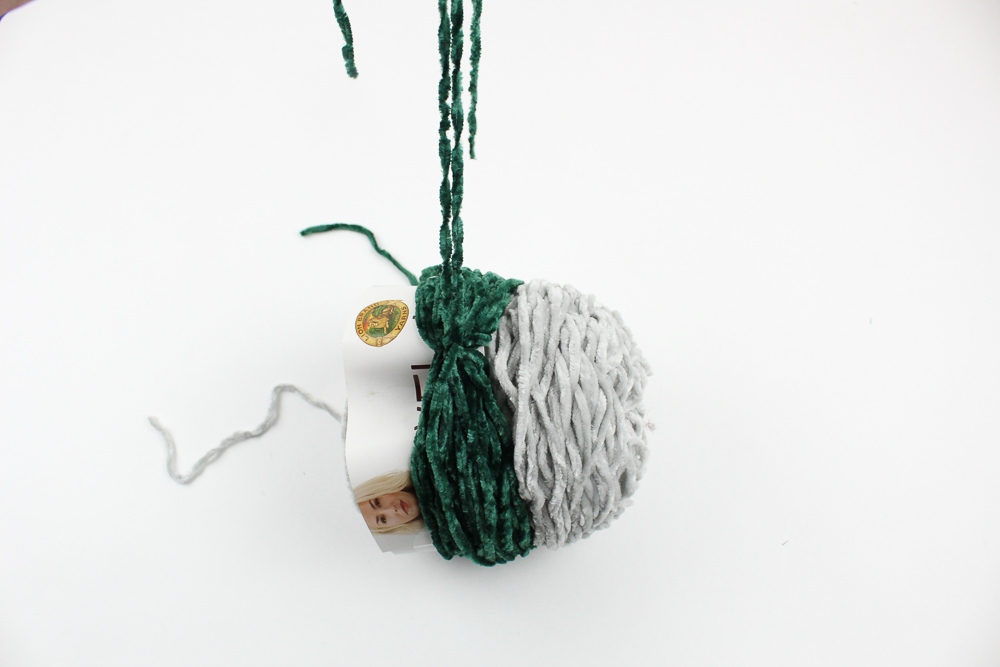
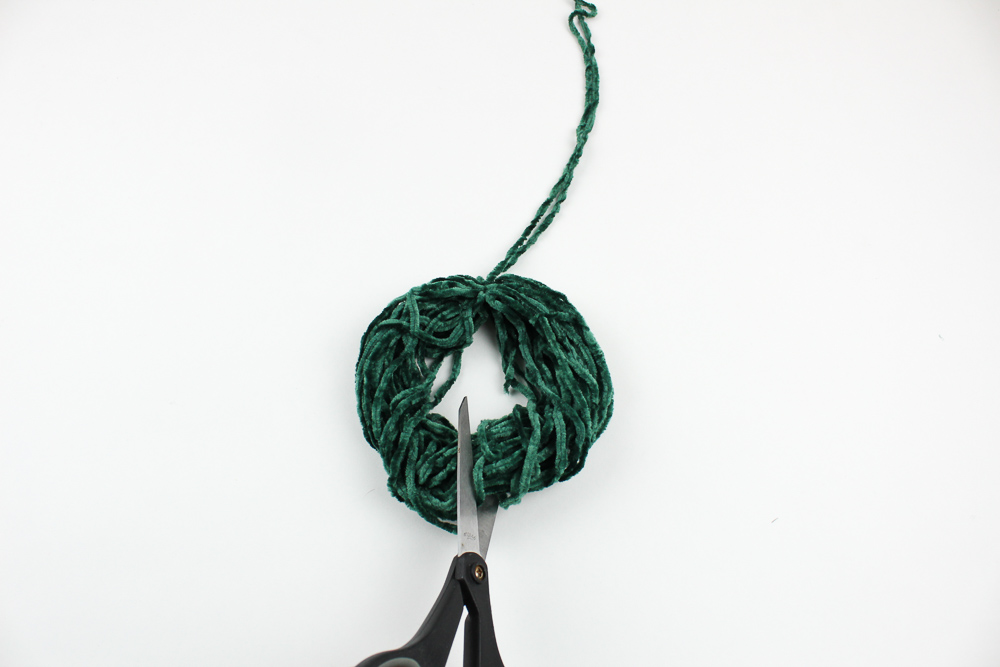
Now that it’s secure (it doesn’t hurt to knot it twice!) take it off and cut the bottom through the center!


Taking another strand, lay it underneath the tassel and pull it tight to create the bobble up top:
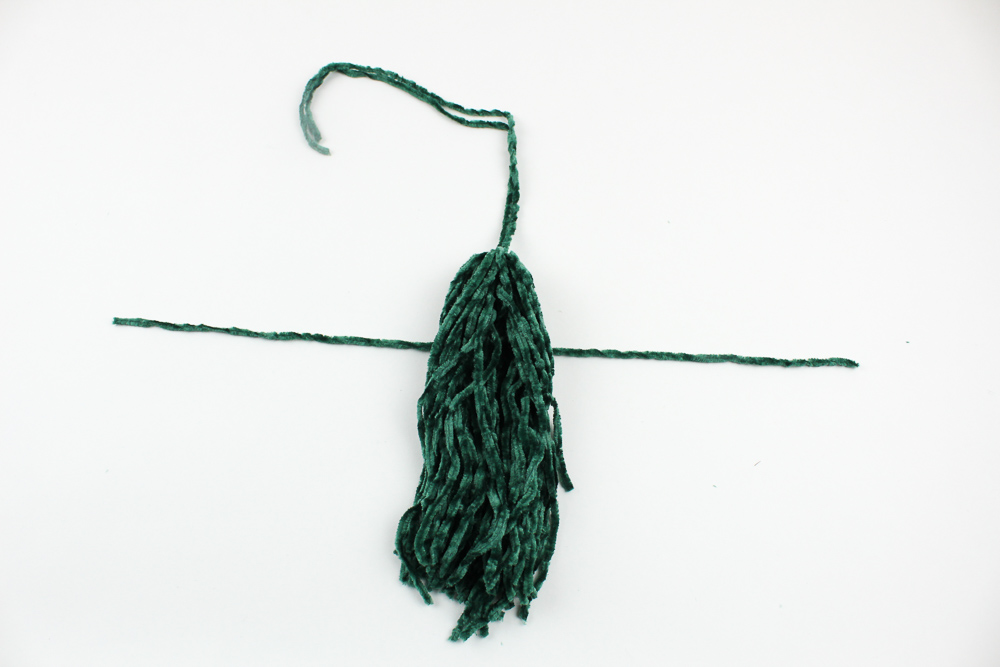
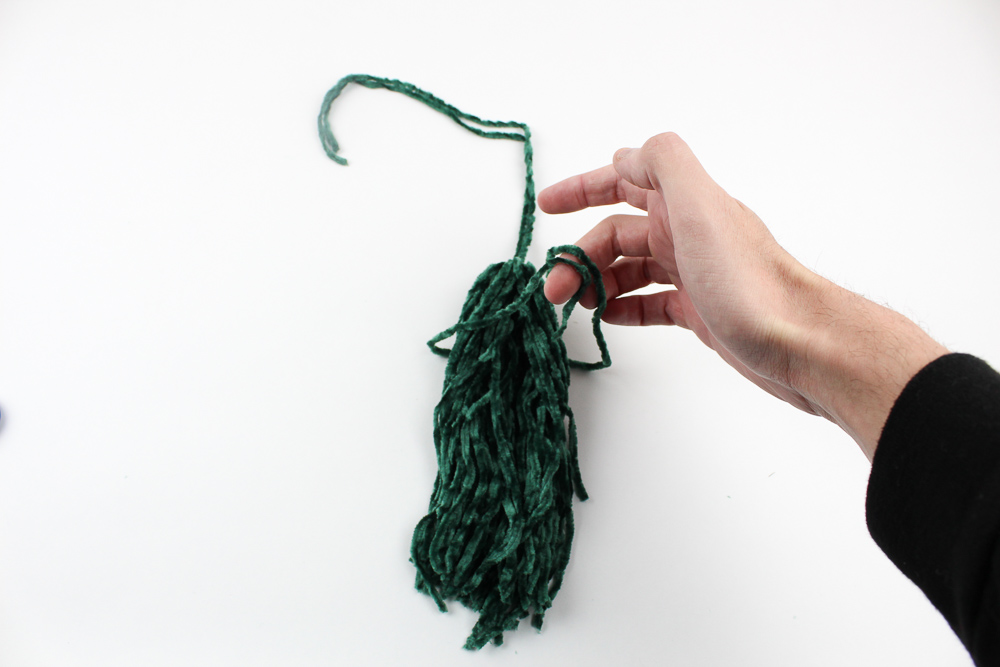
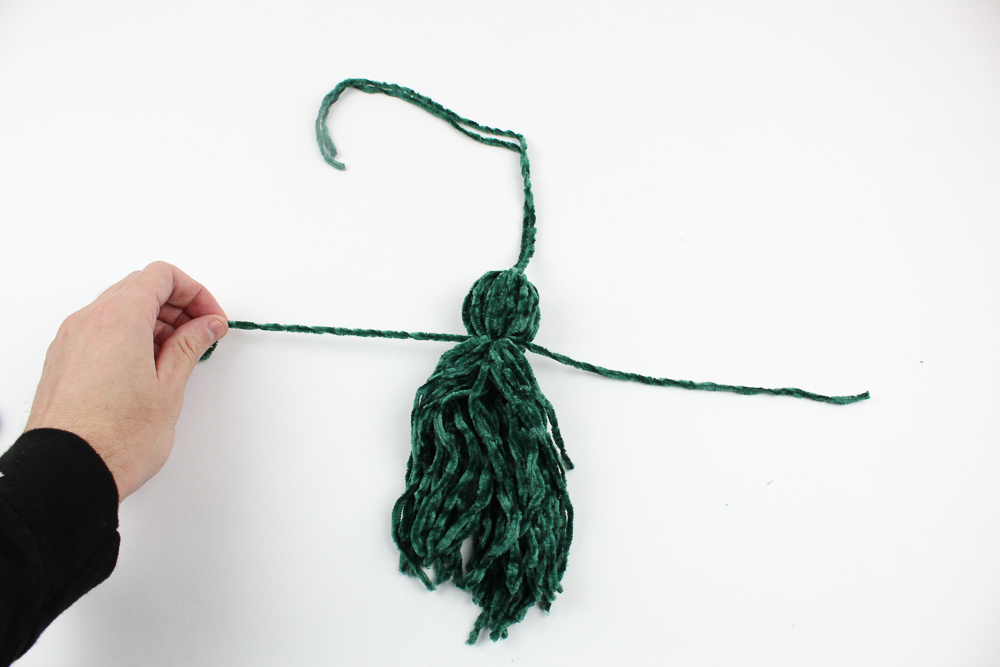
With the top two strands, you will use that to sew on the tassels like so:
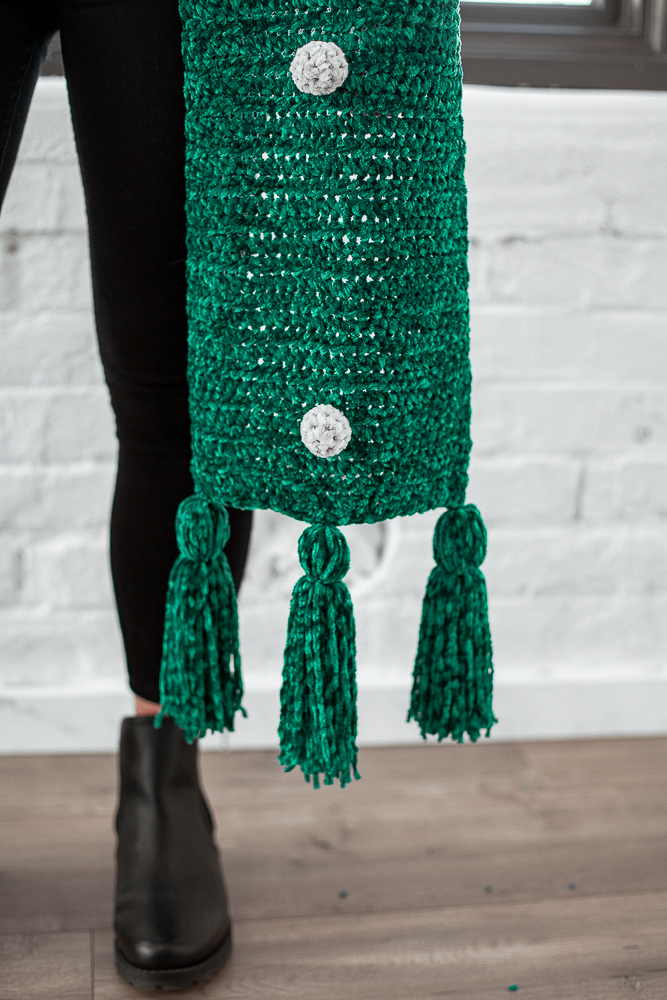
Assembling it all together!
Now that we have:
- The main body
- The bobbles
- The tassels
It is time to bring it all together! You can choose the bobbles or the tassels to attach first, but down below you will see how to attach the bobbles!
Attaching the bobbles:
You will be using the tail to sew in!
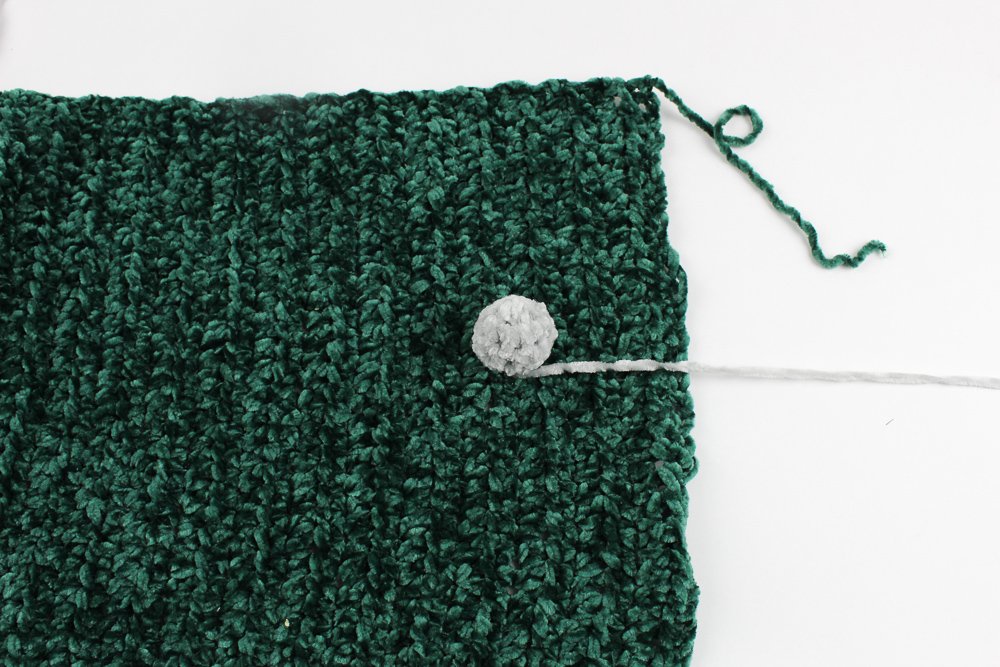
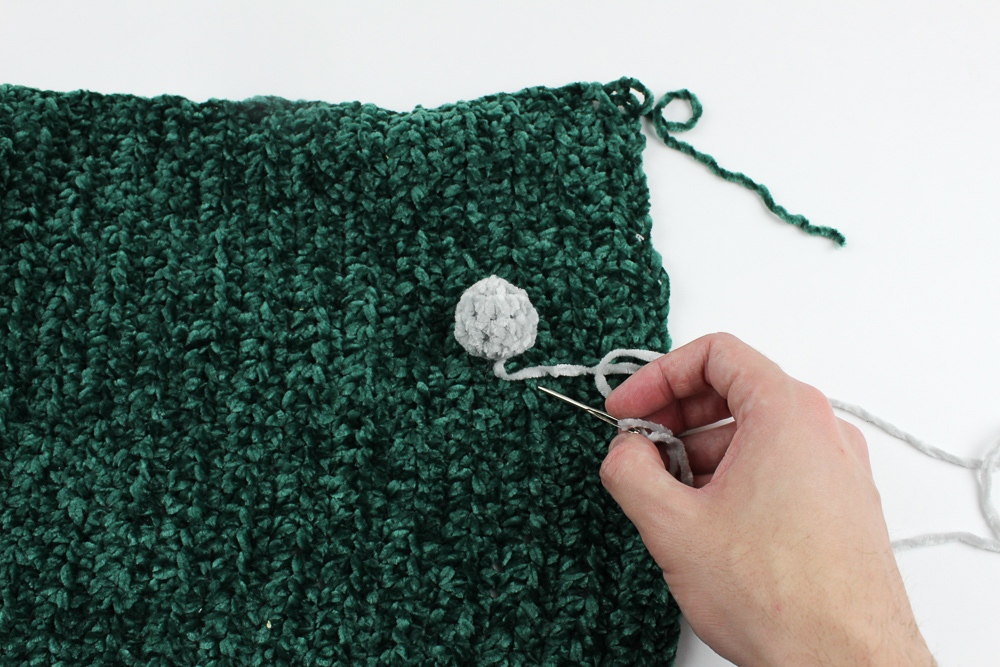
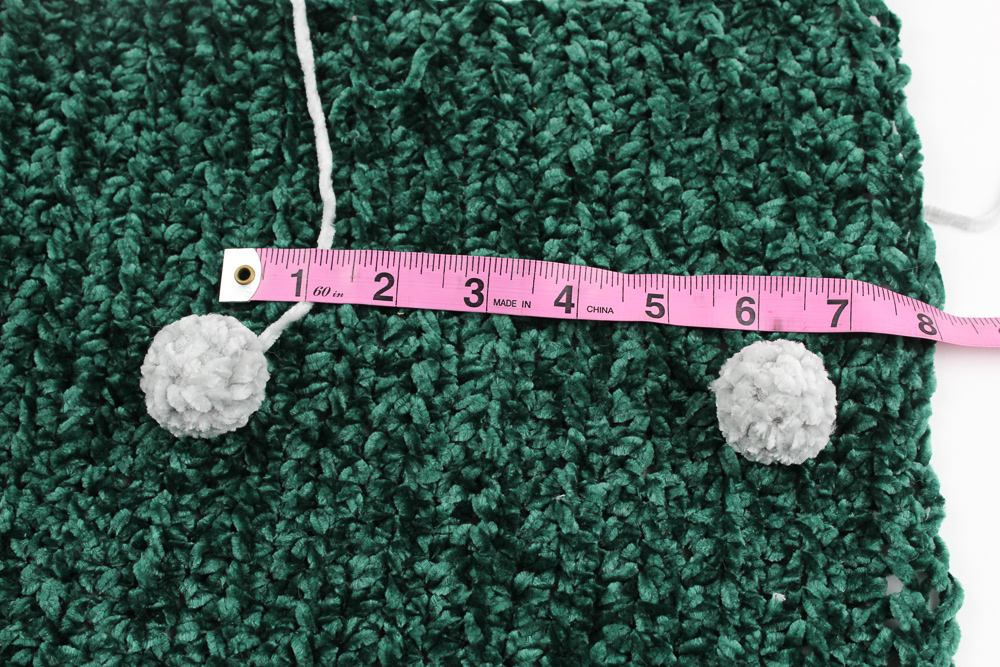
Between each stitch, you can choose your desired length – for mine, I kept each bobble 6 inches apart.
Please do not claim this pattern as your own. If you wish to share this pattern, you may link to this pattern but please do not reprint it on your site. You may keep a copy for your own personal use but please DO NOT sell the pattern or distribute it.
You may sell products made from this pattern but please clearly credit the design to Knot Bad and link it my website knotbadami.com
Make sure to post it! Please feel free to tag me (@knot.bad) and use the hashtag #yarnpunk to show me how yours turned out! 🙂
