THIS PATTERN IS UNDER YARN CONSTRUCTION AND IS NOT 100% ACCURATE.
This blog post is going to start begin as something different.. I am going to be doing a public tester pattern for this piece! Here is why – I personally find this creation of mine to be sort of… ugly. I actually wasn’t going to even do anything with it but I decided to one day show it to my chat over on my Twitch Stream and my viewers LOVED it. You could say I am a bit stunned by the reaction to it. I did take the notes when making this and I surprisingly didn’t throw them away!
So until explicitly stated, this pattern is “under construction” I hope some of my readers will take a shot at this pattern and let me know how it goes! If you’re like me and don’t necessarily love it, feel free to check out my other free patterns HERE and you can head to my shops for my paid patterns!
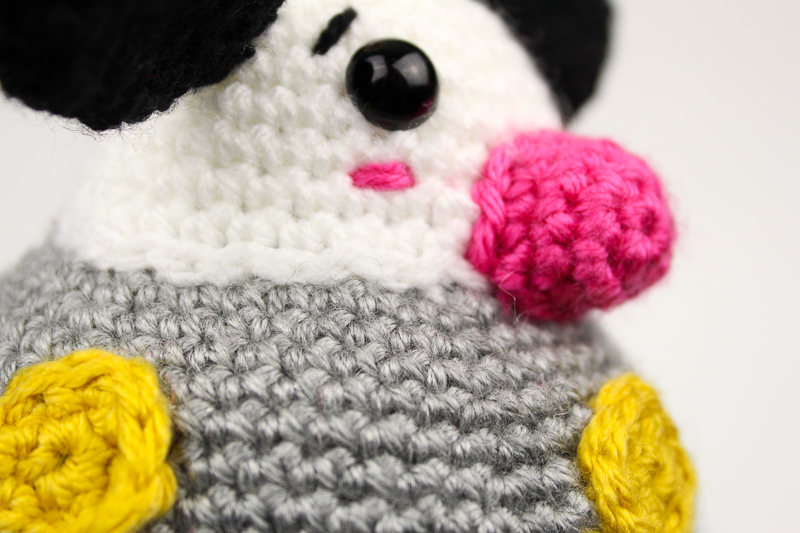
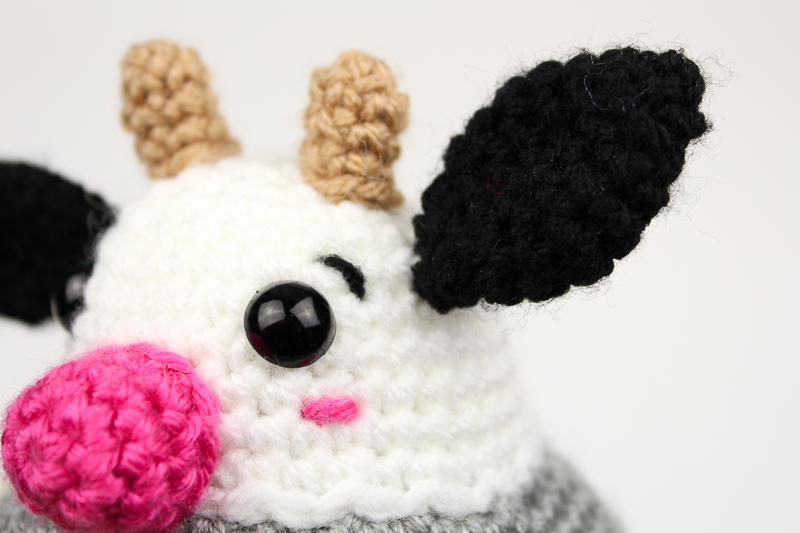
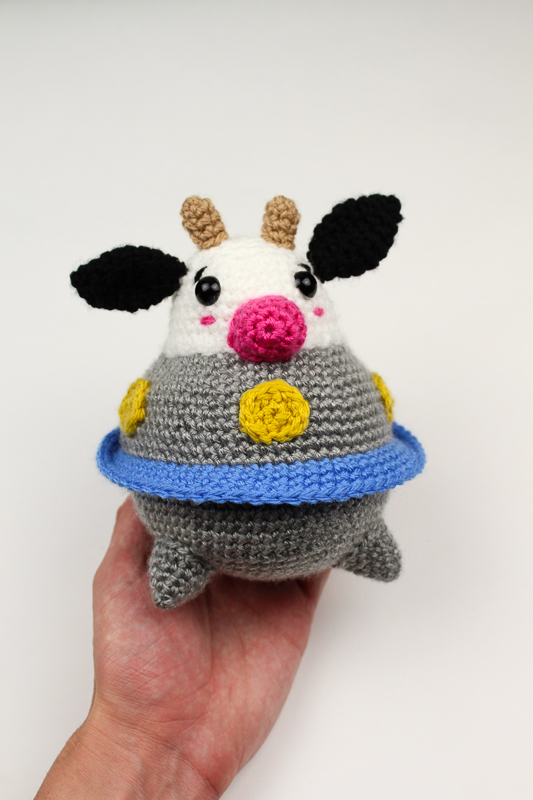
So please, let me explain the concept to you. We all know that cows get abducted, right? It’s a pretty classic trope. But, what if the tables turned and it was the cows who were doing the abducting? I was trying create what that looked like but it didn’t turn out the way I thought it would. Be here is my UFO Cow ready to do some abducting!
For those of you that want to help me make sure this pattern is no longer under construction, please message via email (knotbadcrochet@gmail.com) or message me on Instagram at @knot.bad!
So here’s what you’ll need:
All the yarns can be substituted with any worsted weight yarn*
1 Skein in Lion Brand’s Basic Stitch Anti-Pilling (In Silver Heather)
1 Skein in Lion Brand’s Basic Stitch Premium (In White)
1 Skein in Lion Brand’s Basic Stitch Premium (In Black)
1 Skein in Lion Brand’s Basic Stitch Premium (In Raspberry)
1 Skein in Lion Brand’s Basic Stitch Premium (In Goldmine)
1 Skein in Lion Brand’s Basic Stitch Anti-Pilling (In Hot Pink)
1 Skein in Lion Brand’s Basic Stitch Anti-Pilling (In Mustard)
1 Skein in Lion Brand’s Basic Stitch Premium (In Coastal)
Dimensions
Height: 6″ inches
Width: 5″ inches
Skill Level: Intermediate
Abbreviations: (This is written in US terms)
Ch – chain
Sl st – Slip Stitch
Sc – Single Crochet
Inc – Increase
FLO – Front Loop Only
* *- Repeat
FO -Finish Off
Notes:
- This pattern is worked in the round and not joined.
- You can choose any color combo you wish – Any worsted weight yarn will work!
- You can find helpful tutorials throughout, but if you would like to find some of my tips and tricks you can head HERE!
- The photo tutorial for each step will be found UNDER the written step – You can find all assembly photos at the end!

Let’s Get Started!
Top Half of UFO
Rnd 1: 6 Single crochet into Magic Ring (6)
Rnd 2: *Inc* around (12)
Rnd 3: *Sc, Inc* around (18)
Rnd 4: *Sc 2, Inc* around (24)
Rnd 5: *Sc 3, Inc* around (30)
Rnd 6: *Sc 4, Inc* around (36)
Rnd 7: *Sc 5, Inc* around (42)
Rnd 8: *Sc 6, Inc* around (48)
Rnd 9: *Sc 7, Inc* around (54)
Rnd 10: *Sc 8, Inc* around (60)
Rnd 11: *Sc 9, Inc* around (66)
Rnd 12 – 15: Sc around (66)
Switch to blue (Coastal)
Rnd 16: In FLO, sc across (6)
17 – 19: Sc around (66)
Finish off.
Bottom Half
Rnd 1: 6 Single crochet into Magic Ring (6)
Rnd 2: *Inc* around (12)
Rnd 3: *Sc, Inc* around (18)
Rnd 4: *Sc 2, Inc* around (24)
Rnd 5: *Sc 3, Inc* around (30)
Rnd 6: *Sc 4, Inc* around (36)
Rnd 7: *Sc 5, Inc* around (42)
Rnd 8: *Sc 6, Inc* around (48)
Rnd 9: *Sc 7, Inc* around (54)
Rnd 10: *Sc 8, Inc* around (60)
Rnd 11: *Sc 9, Inc* around (66)
12 – 17: Sc around (66)
Finish off and leave tail for sewing.
UFO feet/stands – Make 3
Rnd 1: 5 Single crochet into Magic Ring (5)
Rnd 2: Sc around (5)
Rnd 3: *Inc* around (10)
Rnd 4: Sc around (10)
Rnd 5: *Sc, Inc* around (15)
Rnd 6: Sc around (15)
Finish off and leave tail for sewing
UFO lights – Make 4
Rnd 1: 5 Single crochet into Magic Ring (5)
Rnd 2: *Inc* around (10)
Finish off and leave tail for sewing
Cow Head
Rnd 1: 6 Single crochet into Magic Ring (6)
Rnd 2: *Inc* around (12)
Rnd 3: *Sc, Inc* around (18)
Rnd 4: *Sc 2, Inc* around (24)
Rnd 5: *Sc 3, Inc* around (30)
Rnd 6 – 10: Sc around (30)
Insert your safety between rounds 7 and 8 with 7 stitches apart.
Nose
Rnd 1: 6 Single crochet into Magic Ring (6)
Rnd 2: *Inc* around (12)
Rnd 3 – 4: Sc around around (12)
Finish off and leave tail for sewing
Ears – Make 2
Rnd 1: 5 Single crochet into Magic Ring (5)
Rnd 2: Sc around (5)
Rnd 3: *Inc* around (10)
Rnd 4: Sc around (10)
Rnd 5: *Sc, Inc* around (15)
Rnd 6: Sc around (15)
Rnd 7: *Sc, Dec* around (10)
Rnd 8: Sc around (10)
Rnd 9: Dec around (5)
Close hole shut (learn how to here!)
Finish off and leave tail for sewing
Horns – Make 2
Rnd 1: 6 Single crochet into Magic Ring (6)
Rnd 2 – 4: Sc around 6)
Stuff firmly when sewing on!
Leave tail for sewing
Time to Assemble!
First, we’re going to attaching the top and bottom half of the UFO together! Working in those leftover back loops, you’ll be sewing it into place (Be sure to stuff firmly!)

Now lets sew on the the UFO stands to the bottom of the UFO! They will be in a triangle shape.

Just sewing on all the smaller pieces now! It’s best to get the head sewn on first and attach everything else after. Be sure to stuff the head when sewing on!

Adding on the nose and ears!


Add on your embroidered blush and the lights on the UFO and then you’re done!

And there you have it, the UFO Cow! If you have any ideas or recommendations, please feel free to contact me! Find me easiest through Instagram, @knot.bad
Please do not claim this pattern as your own. If you wish to share this pattern, you may link to this pattern but please do not reprint it on your site. You may keep a copy for your own personal use but please DO NOT sell the pattern or distribute it.
You may sell products made from this pattern but please clearly credit the design to Knot Bad and link it my website knotbadami.com
Make sure to post it! Please feel free to tag me and show me how yours turned out!


I love it! it is.’utterly’ fantastic! I knew where you were going with.it as soon as I saw it! lol! Glad you shared it!