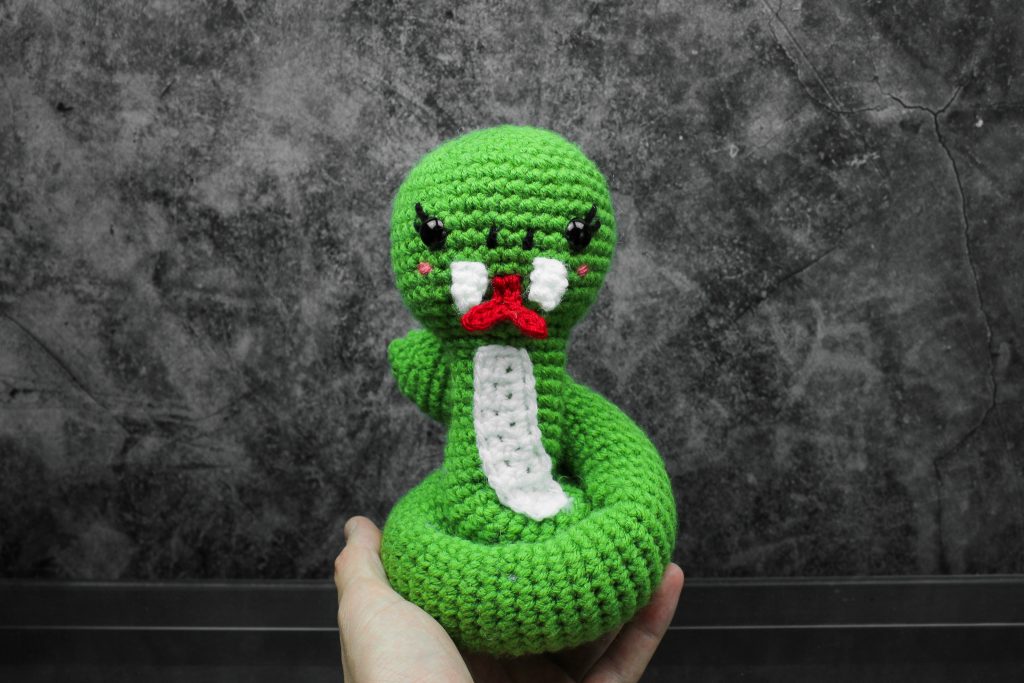
Snakes seem to get a lot of bad press and most of the time, I don’t think its justified. It’s one thing to have a phobia, I understand, but that doesn’t mean hate needs to be spread! Snakes are just trying to live and exist like the rest of us and I quite personally think they can be so cute!
They are so interesting and there are a few crochet artists who actually have their own pet snakes! And now, you can be one of the them by creating your own free crochet snake amigurumi from my pattern below!
Do you have a pet snake yourself? Let me know down below!
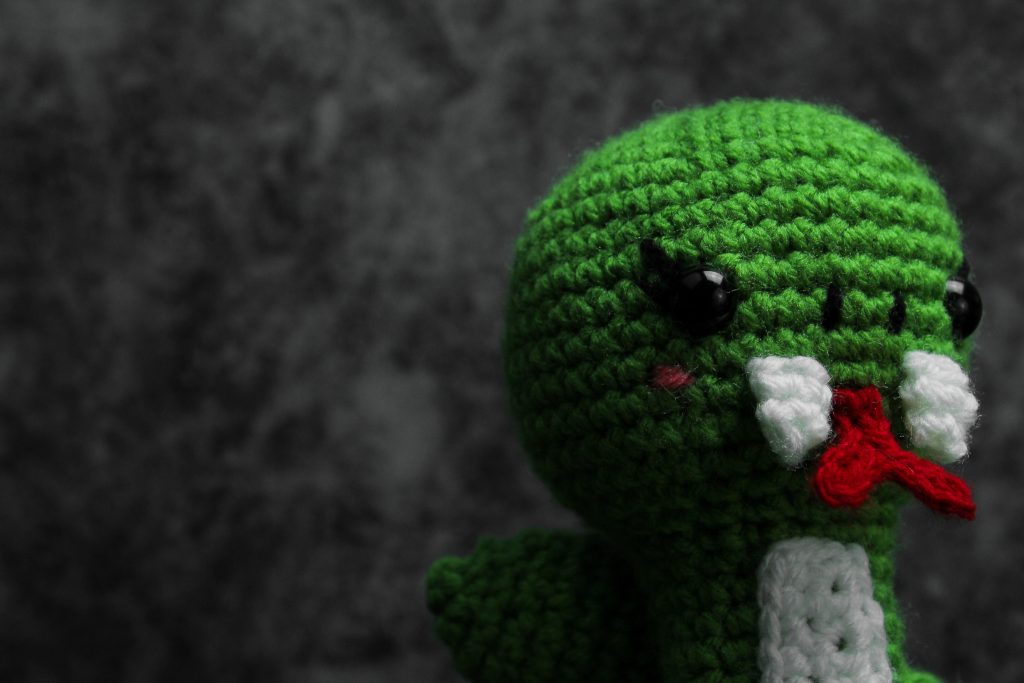
So here’s what you’ll need:
1 Skein in Big Twist Soft (Avocado)
1 Skein in Lion Brand’s Basic Stitch Premium (In Raspberry)
1 Skein in Lion Brand’s Basic Stitch Premium (In Black)
1 Skein in Lion Brand’s Basic Stitch Premium (In White)
- Any worsted weight yarn will work!
Dimensions
Height: 7″ inches
Width: 4″ inches
Skill Level: Intermediate

Gauge:
Isn’t needed for this project
Abbreviations:
Ch – chain
Sl st – Slip Stitch
Sc – Single Crochet
FLO – Front Loop Only
FO – Finish Off
* – Repeat

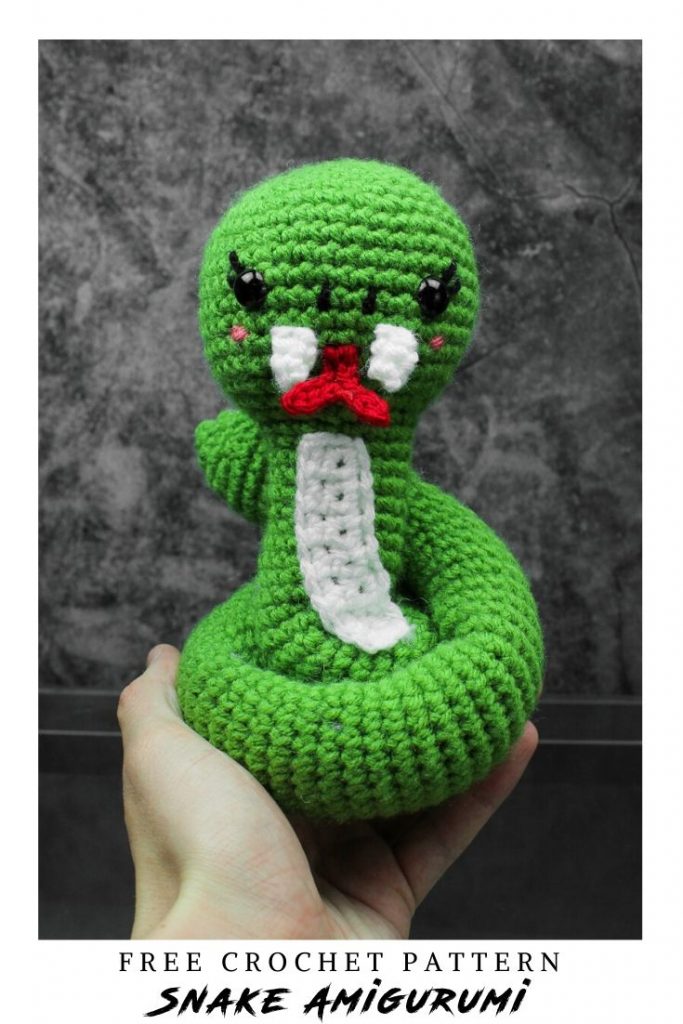
Let’s Begin!
Rnd 1: 6 Single crochet into Magic Ring (6)
Rnd 2: *Inc* around (12)
Rnd 3: *Sc, Inc* around (18)
Rnd 4: *Sc 2, Inc* around (24)
Rnd 5: *Sc 3, Inc* around (30)
Rnd 6: *Sc 4, Inc* around (36)
Rnd 7: *Sc 5, Inc* around (42)
Rnd 8-14: Sc around (42)
Rnd 15: *Sc 5, Dec* around (36)
Rnd 16: *Sc 4, Dec* around (30)
Insert your safety eyes in Row 11 with 8 stitches apart! This may be an easier time to put in your eyelashes too if you wanted to do those!
At this point, you will want to begin stuffing the head firmly!
Rnd 17: *Sc 3, Dec* around (24)
Rnd 18: *Sc 2, Dec* around (18)
Rnd 19: Sc around in the FLO (18)
Rnd 20 – 101: Sc around (18)
Rnd 102: *Sc 1, Dec* around (12)
Rnd 103: Sc around (12)
Rnd 28: *Dec* around (6)
Finish off and sew hole closed (Here’s my tutorial on how!)
Belly:
Ch 3
Row 1: Sc into second chain from hook. Sc across (2)
Row 2 – 15: Ch 1, turn. Sc across (2)
Finish off and leave tail for sewing
Tongue:
Ch 7
In second chain from hook, sl st. Sl st into next 2 stitches. Ch 4, sl st into first chain from hook and sl st back to chain. Instead of going into the same one you cahined from, sl st into the next stitch and sl st into the next 2 stitches, equallying 3 stitches.
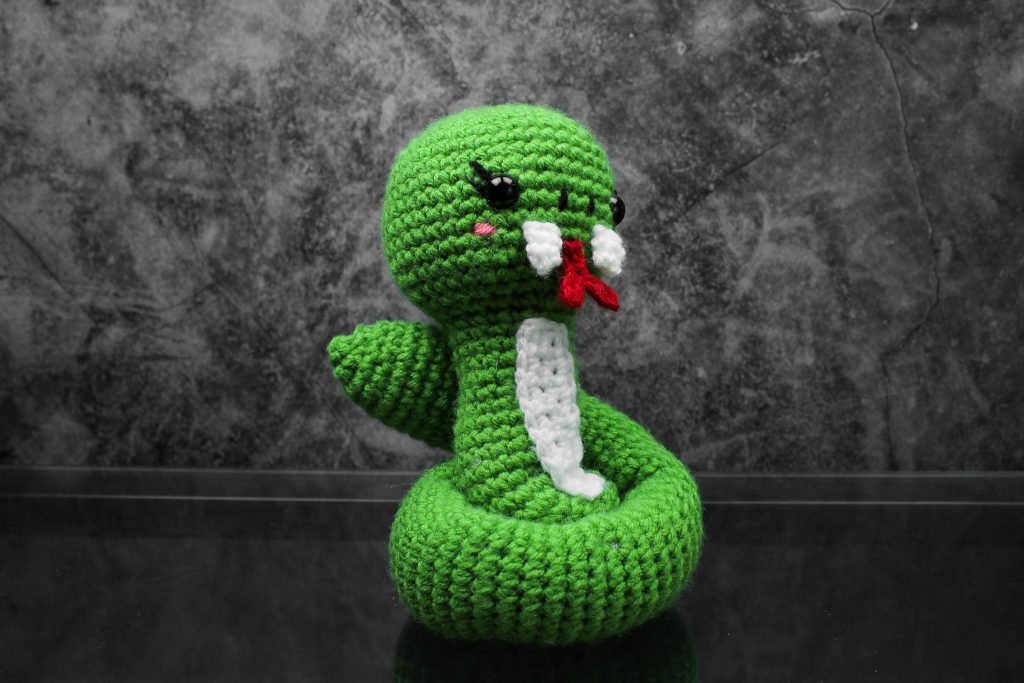
Teeth: (Make 2)
In white, Sc 3 into Magic Ring.
Rnd 1: Sc around (3)
Rnd 2: Inc, sc, inc (5)
Finish off and leave tail for sewing
Assembly
It’s not too much, just putting the tail together, sewing on the face, and embroidering the small details! Here is how the tail will look – you’ll be seaming through with your own newly attached yarn!


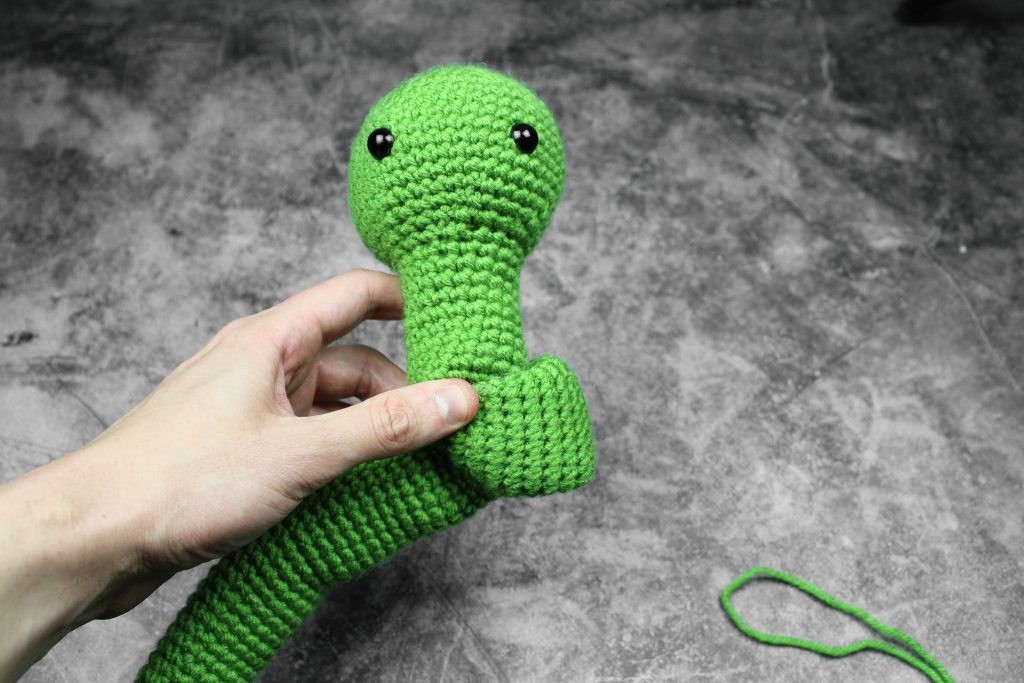
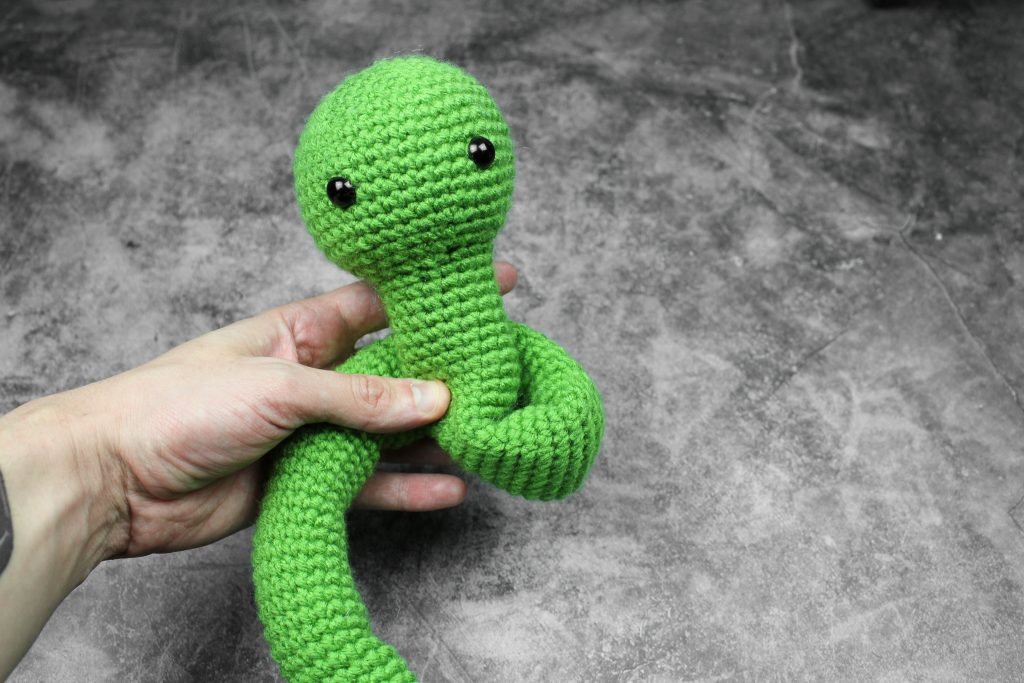
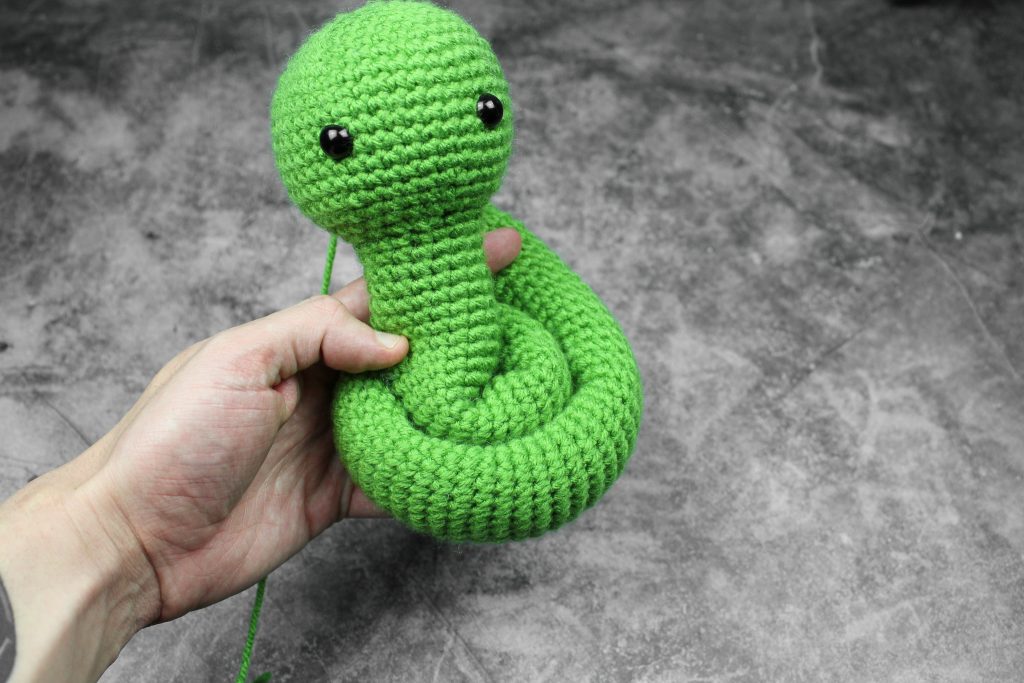

Use Pins to hold it all in place and take a new piece of yarn and attach it to the back of the tail. Seam through your body and tail to hold it in place!

And now just sew on the face and add all your own little facial details!

Please do not claim this pattern as your own. If you wish to share this pattern, you may link to this pattern but please do not reprint it on your site. You may keep a copy for your own personal use but please DO NOT sell the pattern or distribute it.
You may sell products made from this pattern but please clearly credit the design to Knot Bad and link it my website knotbadami.com
Make sure to post it! Please feel free to tag me and show me how yours turned out!


I have snakes as pets! I am loving the new amigurumi the snake and the axolotl. Vincent, I think they are amazing 😊