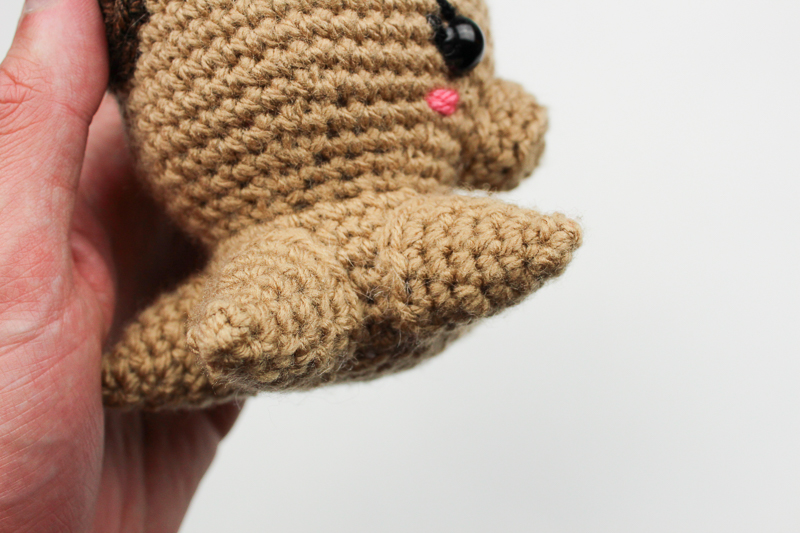
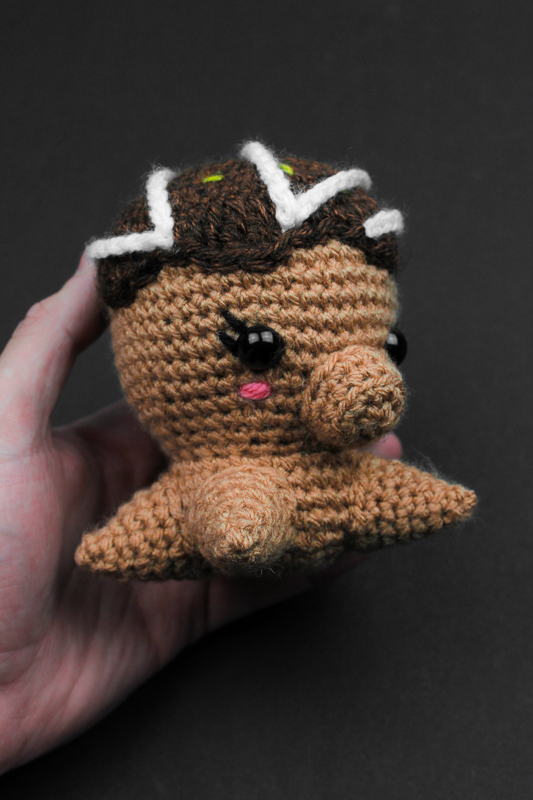
So many people are quick to say ew when it comes to seafood – but what if it was cute enough to eat? I think one of the best foods that have to do anything with fish are Tokoyaki Balls! And this cute little octopus here is already getting ready to look good for the meal!
Don’t know what Tokoyaki is? Written from Tokyo Treat, “Takoyaki originated in Osaka in the 1930’s and today is still famous for being Osakan cuisine! The “tako” (蛸) in takoyaki meaning octopus and yaki (焼) meaning baked. It’s a ball shaped snack made of wheat based batter, and can contain various different fillings and toppings.”
The doll see above has the sauce and mayonnaise dripping down! Here is an image of what the actual treat looks like

Down below, you will find the free pattern to this Octotaki! This easy and beginner free patterns works up quickly and a cute classic on a japnese dish. I really hope you enjoy making it!
Please do not claim this pattern as your own. If you wish to share this pattern, you may link to this pattern but please do not reprint it on your site. You may keep a copy for your own personal use but please DO NOT sell the pattern or distribute it.
You may sell products made from this pattern but please clearly credit the design to Knot Bad and link it my website knotbadami.com
Make sure to post it! Please feel free to tag me and show me how yours turned out!

So here’s what you’ll need:
1 Skein in Lion Brand’s Basic Stitch Premium (In Goldmine)
1 Skein in Lion Brand’s Basic Stitch Premium (In White)
1 Skein in Lion Brand’s Basic Stitch Anti Pilling (In Grass)
1 Skein in Lion Brand’s Heartland (Sequioa)
- Any worsted weight yarn will work for all these colors!
4mm Hook
Dimensions
Height: 4″ inches
Width: 3″ inches
Skill Level: Easy

Abbreviations:
Ch – chain
Sl st – Slip Stitch
Sc – Single Crochet
Dc – Double Crochet
Tc – Triple Crochet
FLO – Front Loop Only
BLO – Back loop only
* *- Repeat
FO -Finish Off
Gauge:
Isn’t needed for this project


Let’s Begin!
Rnd 1: 6 Single crochet into Magic Ring (6)
Rnd 2: *Inc* around (12)
Rnd 3: *Sc, Inc* around (18)
Rnd 4: *Sc 2, Inc* around (24)
Rnd 5: *Sc 3, Inc* around (30)
Rnd 6: *Sc 4, Inc* around (36)
Rnd 7: *Sc 5, Inc* around (42)
Rnd 8: *Sc 6, Inc* around (48)
Rnd 9 – 16: Sc around (48)
Insert safety eyes into Rnd 13 with 8 stitches apart
Rnd 17: *Sc 6, Dec* around (42)
Rnd 18: *Sc 5, Dec* around (36)
Rnd 19: *Sc 4, Dec* around (30)
At this point, you will want to begin stuffing the head firmly! If you want to learn more on stuffing, head to this post here!
Rnd 17: *Sc 3, Dec* around (24)
Rnd 18: *Sc 2, Dec* around (18)
Rnd 19: *Inc* around in the FLO (36)
Rnd 20 – 22: Sc around (36)
Rnd 23: *Sc 4, Dec* around (30)
Rnd 24: *Sc 3, Dec* around (24)
At this point, you will want to begin stuffing the body, but not too rock hard!
Rnd 25: *Sc 2, Dec* around (18)
If you want to learn how to close your work, head to my tutorial here!
Tentacles (Make 5)
Rnd 1: 4 Single crochet into Magic Ring (5)
Rnd 2: Sc around (5)
Rnd 3: *Inc* around (10)
Rnd 4: Sc around (10)
Rnd 5: *Sc, Inc* around (15)
Rnd 6: Sc around (15)
Finish off and leave tail for sewing
Sewing each one on!


Melting Sauce on Head
Rnd 1: 6 Single crochet into Magic Ring (6)
Rnd 2: *Inc* around (12)
Rnd 3: *Sc, Inc* around (18)
Rnd 4: *Sc 2, Inc* around (24)
Rnd 5: *Sc 3, Inc* around (30)
Rnd 6: *Sc 4, Inc* around (36)
Rnd 7: *Sc 5, Inc* around (42)
Rnd 8: *Sc 6, Inc* around (48)
Rnd 9 – 11: Sc around (48)
Rnd 12: In first stitch, *sc. In next, hdc. Following that, perform a dc, tc, tc, dc, hdc, sc. Repeat from * 6 times, or until your last stitch!
(a closer example is on the photo below the Frosting Section!)
Frosting
Ch 94
Finish of leave tail.
With your long chain, you will be sewing it onto the head in a zig zag! Instead of sewing all of it on stitch by stitch, you can just sew on the points before it turns, just so it’s more easy flowing!


Assembly:
The first thing to add is the sauce on the head! Just following along the edge with your darning needle. Add the toppings! The frosting should be in a zig zag shape and add the small green specs for the even more detail! Sewing on your tentacles/arms and you’re just about done! The last thing to embroider on is going to be the face, and you can do this however you want – here is a photo of mine, i love how the eyelashes look!

All Done!


