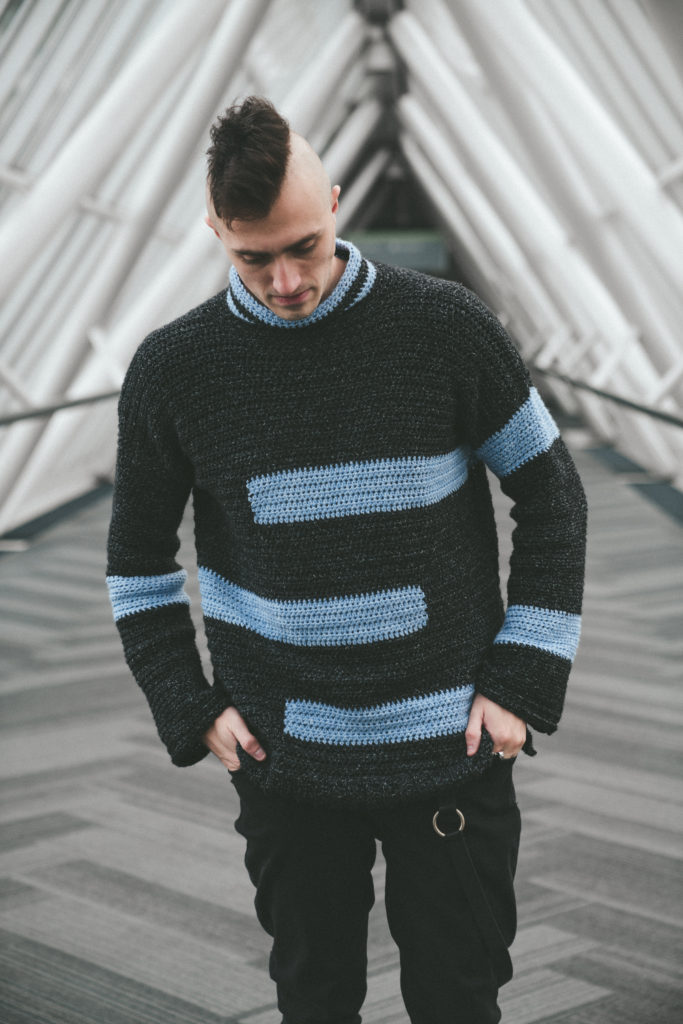
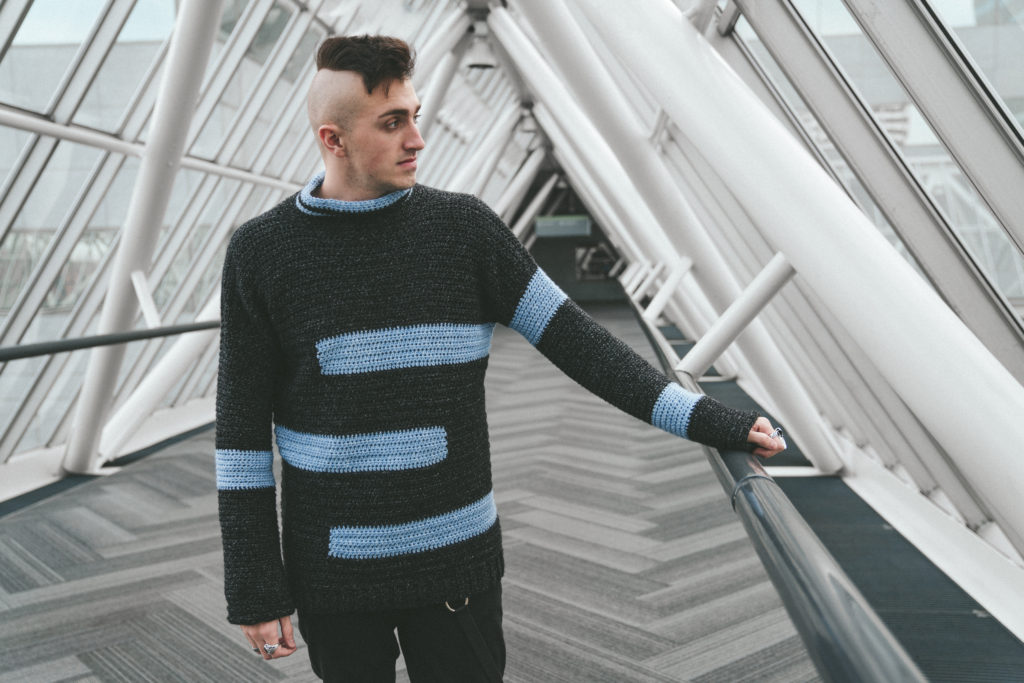
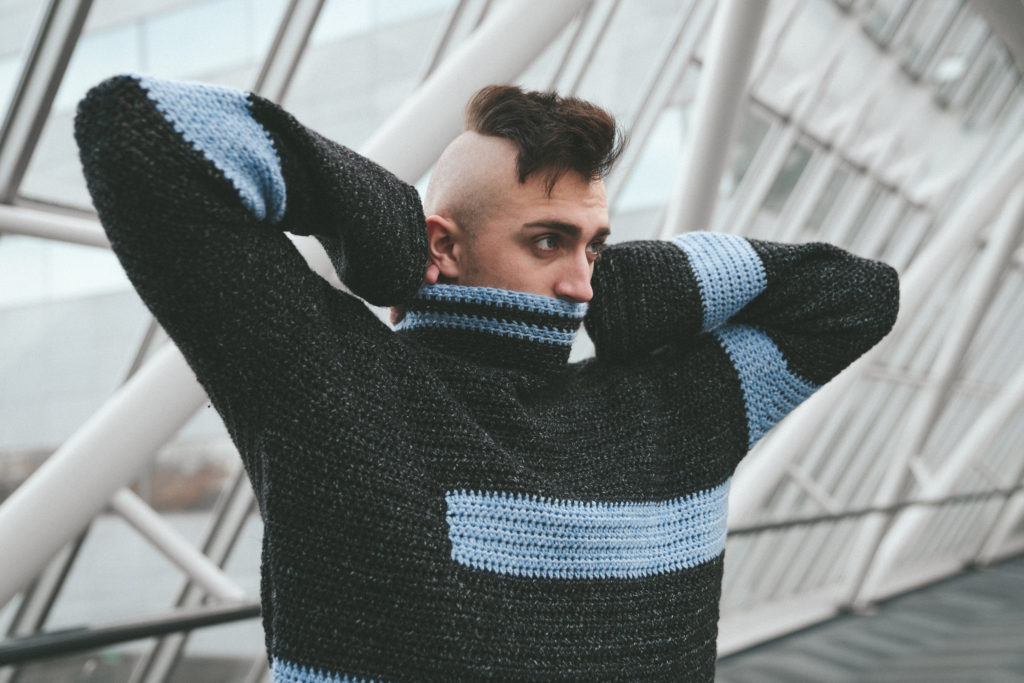
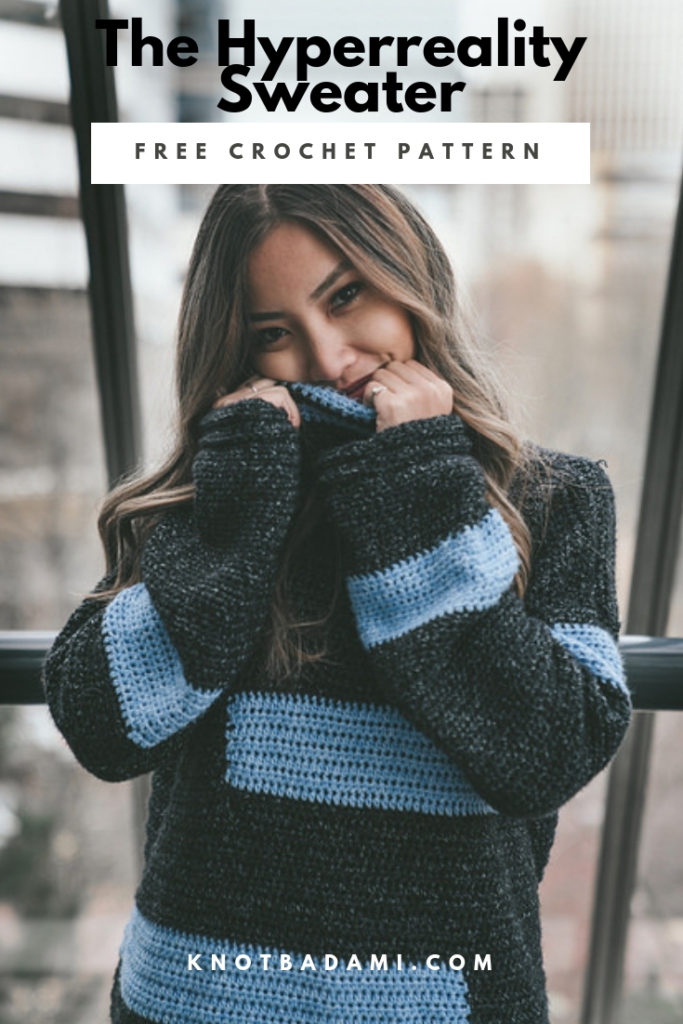
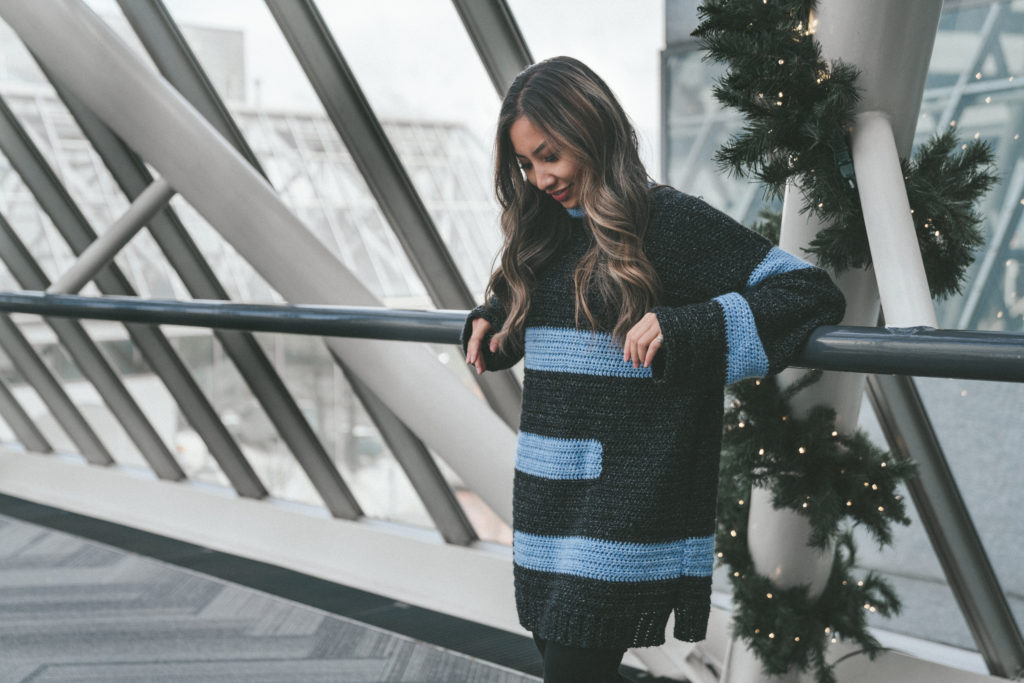
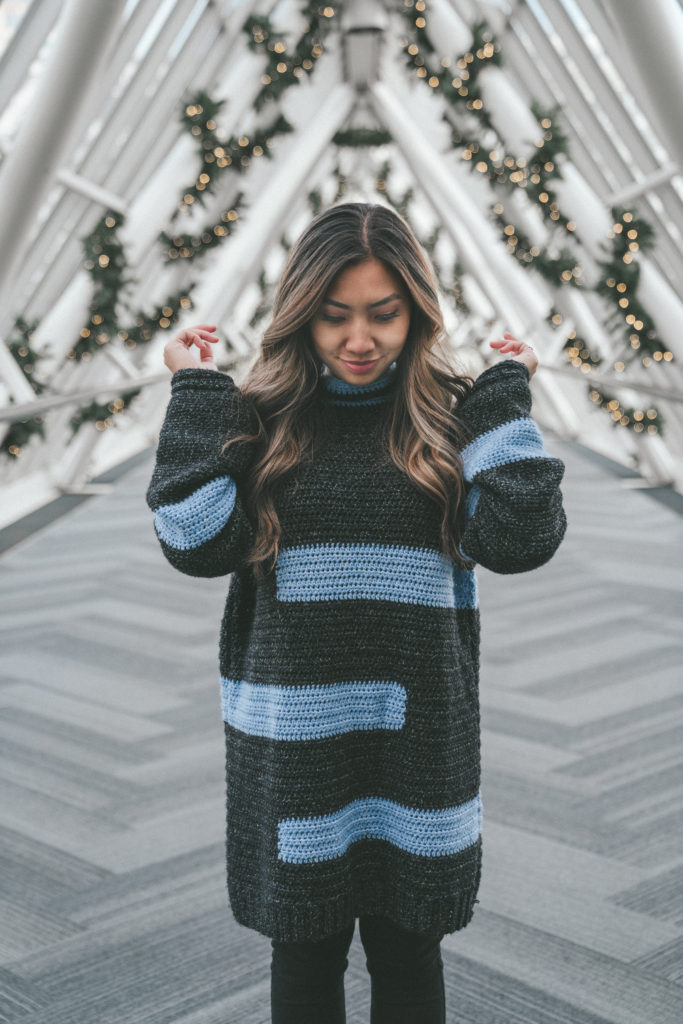
With a few video games on the horizon that I’m really looking forward to, I decided to use my gaming history and I took inspiration from Tron and Mega Man! The lines don’t sync up which gives it a quirky look; the stripes don’t fully complete around but the do match up with those on the arms! Perfect to grab anyone’s attention. We may or may not be living in a simulation, but here’s a fun ode to one!
Skill Level: Intermediate
Materials:
Worked in Lion Brand Yarn Jeans
6mm Hook
Darning Needle
Scissors
Measuring Tape
Abbreviations:
Ch – Chain
Sl S t- Slip Stitch
FLO – Front Loop Only
BLO – Back Loop Only
Hdc – Half Double Crochet
Inc – Increase
Gauge: 13 stiches by 12 rows = 4”x4” in hdc
Be sure to Pin this pattern for later!
Sizes: S, M, L, XL
Dimensions (Blocked):
- Chest: 41 (45, 49, 53)”
- Length: 24.5 (26, 27.5, 29)”
Armhole Depth: (6, 6.5, 7, 7.5”)
Sleeve Length: (21.5, 22, 23, 23.5)”
Pattern Notes:
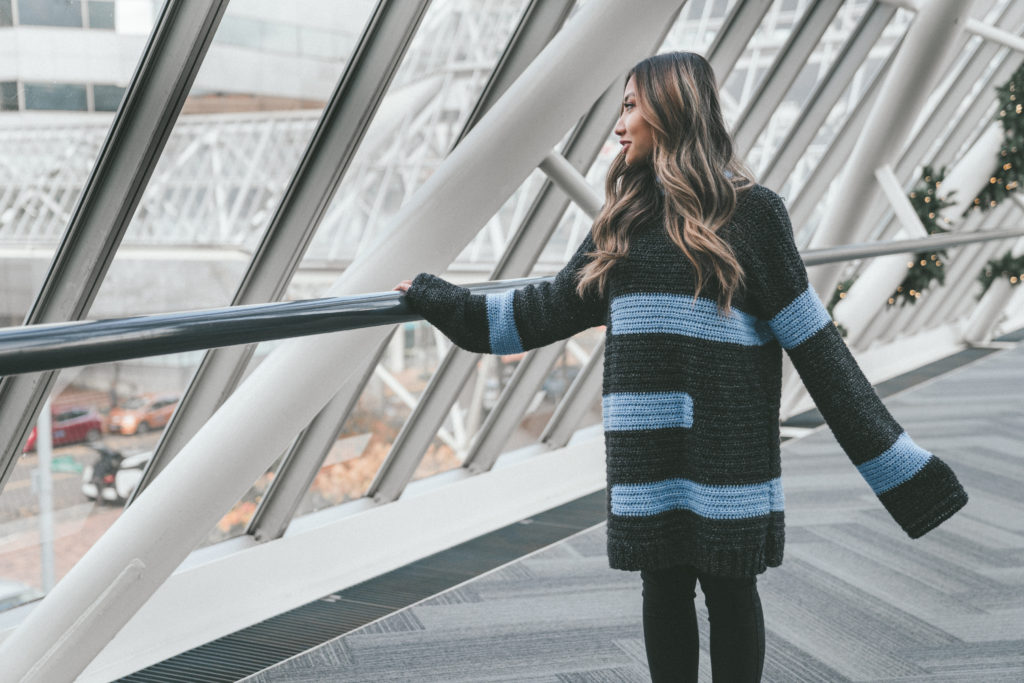
- This sweater is meant to fit a little baggy; Male model is 6’2” tall with a 49” chest and wearing the size Large. The female model is 5’1 but wearing the size large as well. If you would like a more form fitting sweater, please size down. However, this sweater is intended to be worn very baggy like. When there is one number, that applies for all sizes.
- Sizing of this pattern will be in a small, with the rest of the sizes M, L, and XL in the parenthesis. For example, (30, 40,50,60)” whereas ch 30 for small, 40 for medium, 50 for large, and 60 for extra-large.
- This pattern is worked by creating two panels and working in a circle for the collar and the sleeves.
- When switching colors, switch over on the last stitch.
- Photo tutorial will be found BELOW the applicable directions.
Let’s Get Started, beginning with the brim!
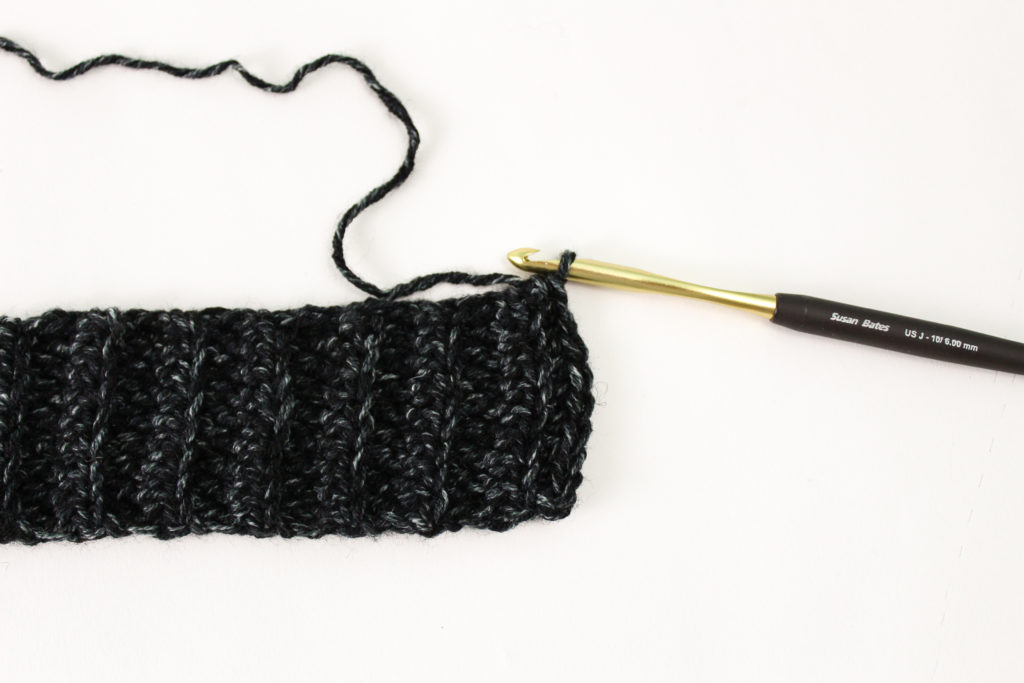
Ch 10
Row 1: Hdc into second chain from hook in the BLO, Hdc across in BLO (9)
For size S
Row 2 – 52: Ch 1, turn. Hdc in BLO across (9)
For size M
Row 2 – 57: Ch 1, turn. Hdc in BLO across (9)
For Size L
Row 2-60: Ch 1, turn. Hdc in BLO across (9)
For size XL
Row 2 – 66 : Ch 1, turn. Hdc in BLO across (9)
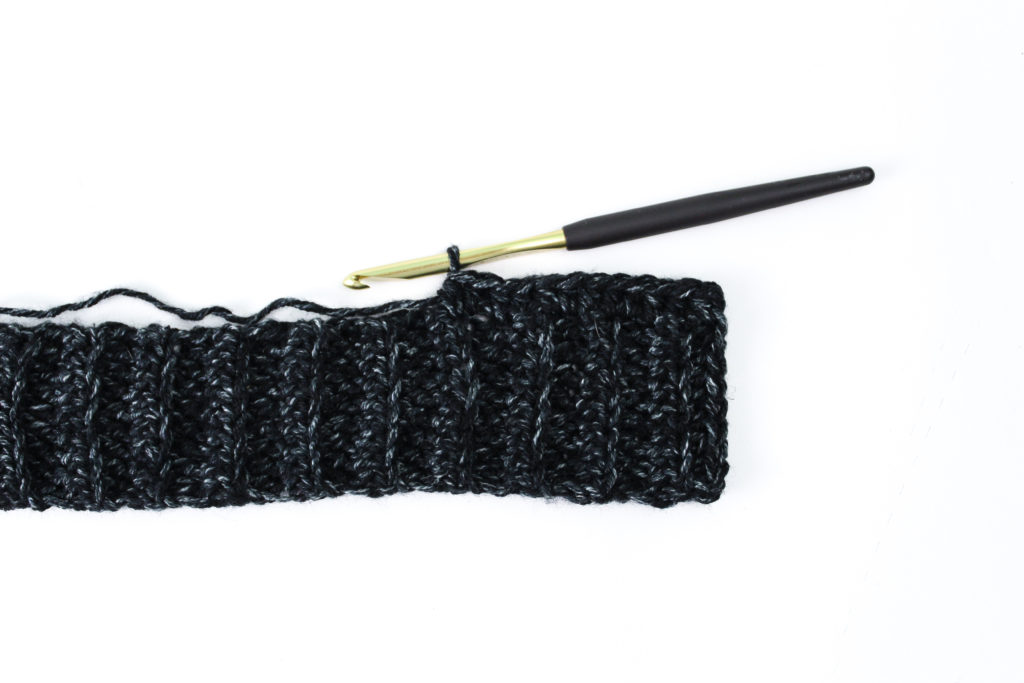
You will now be working along the brim
Row 58: Ch 1. Hdc into first stitch. Hdc into next, Hdc Inc into 3rd. *Hdc, Hdc, Hdc Inc, rep from * For Small, Hdc into last stitch. For Medium, Hdc into last stitch instead of Inc. For XL,
Hdc into last stitch instead of Inc. (69, 75, 80, 87)
Note: When working across the brim, you will be inserting one HDC into each row. Every 3rd row will be an Inc!
Row 59-64: Ch 1, turn. Hdc across. (69, 75, 80, 87)
Switch to Color B
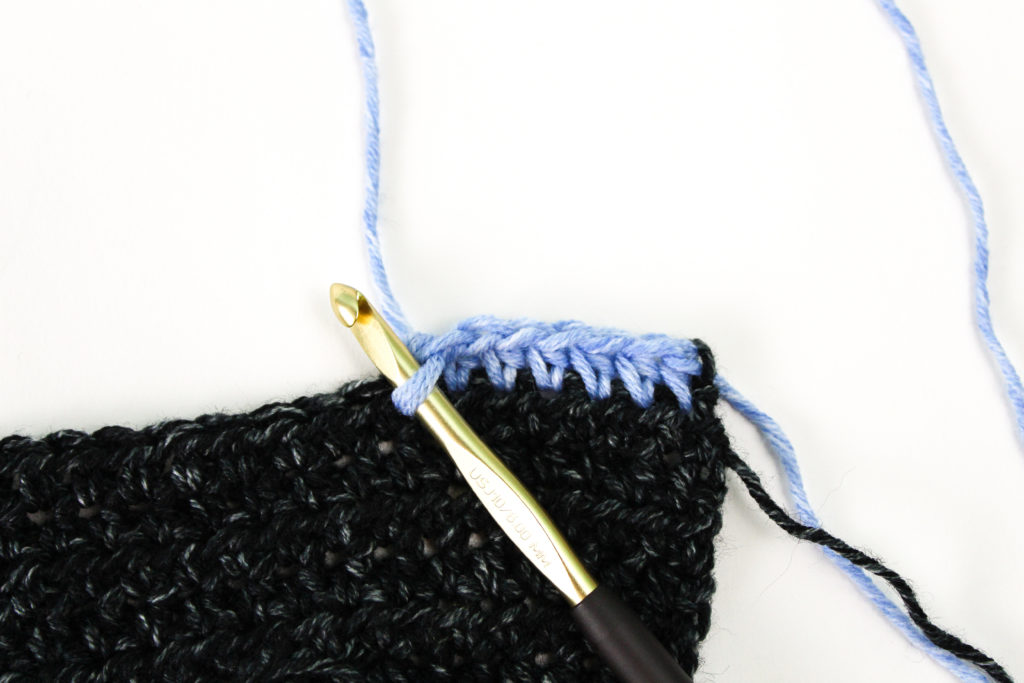
Row 65: Hdc (49, 52, 55, 59) sts across, Switch to Color A, Hdc the remaining (20, 23, 25, 28) sts (69, 75, 80, 87)
Row 66: Ch 1, turn. Hdc (20, 23, 25, 28) sts across. Switch to Color B, Hdc (49, 52, 55, 59) sts across. (69, 75, 80, 87)
67-71: Repeat Rows 65 and 66.
Switch to Color A
Row 71-81: Ch 1, turn. Hdc across. (69, 75, 80, 87)
Switch to Color B
Row 82: Hdc (49, 52, 55, 59) sts across, Switch to Color A, Hdc the remaining (20, 23, 25, 28) sts (69, 75, 80, 87)
Row 83: Ch 1, turn. Hdc (20, 23, 25, 28) sts across. Switch to Color B, Hdc (49, 52, 55, 59) sts across. (69, 75, 80, 87)
84-88: Repeat Rows 82 and 83.
Switch to Color A
Row 89-99: Ch 1, turn. Hdc across. (69, 75, 80, 87)
Switch to Color B
Row 100: Hdc (49, 52, 55, 59) sts across, Switch to Color A, Hdc the remaining (20, 23, 25, 28) sts (69, 75, 80, 87)
Row 101: Ch 1, turn. Hdc (20, 23, 25, 28) sts across. Switch to Color B, Hdc (49, 52, 55, 59) sts across. (69, 75, 80, 87)
102-106: Repeat Rows 100 and 101.
Switch to Color A
Row 107-126: For small, stop at row 120. For Medium, stop at row 123. For Large, stop at row 126. For XL, stop at row 129. Follow the next few steps in the same order. Ch 1, turn. Hdc across. (69, 75, 80, 87)
Row x: Ch 1, turn. Hdc for (26, 28, 30, 32)stitches across. We are now creating the shoulders!
Row x: Ch 1, turn. Hdc across (26, 28, 30, 32)
Row x: Ch 1, turn. Hdc across (26, 28, 30, 32)
Finish off
You’ll be doing the same thing on the other side to create this:
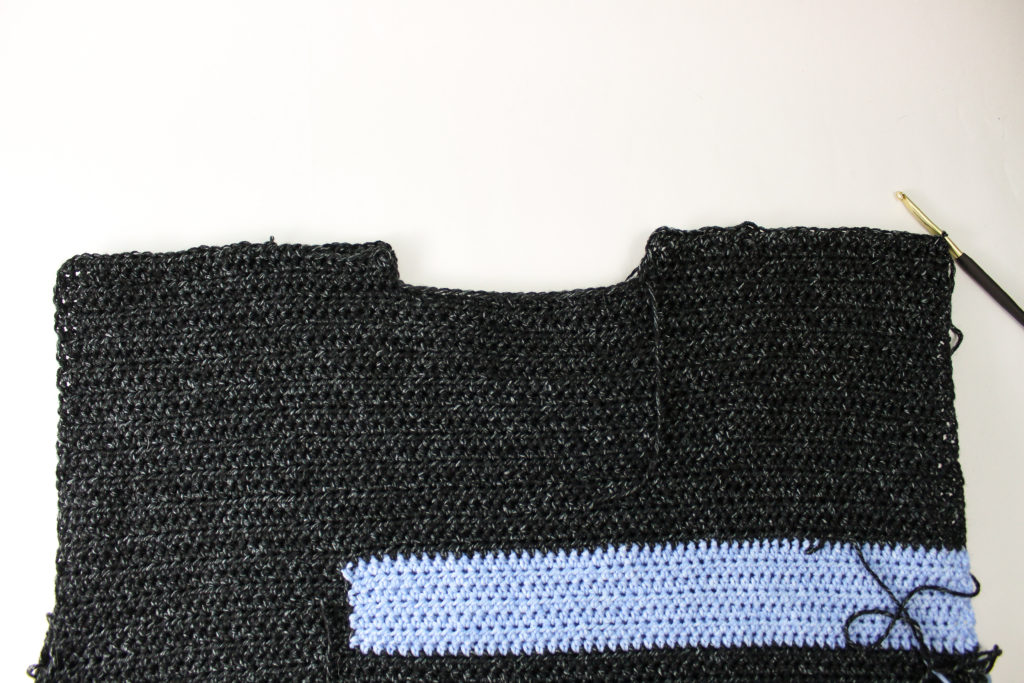
You’ll be left with (17, 19, 20, 23) stitches in between the shoulders for the neck.
On the other end of your panel, pull up a loop and ch 1.
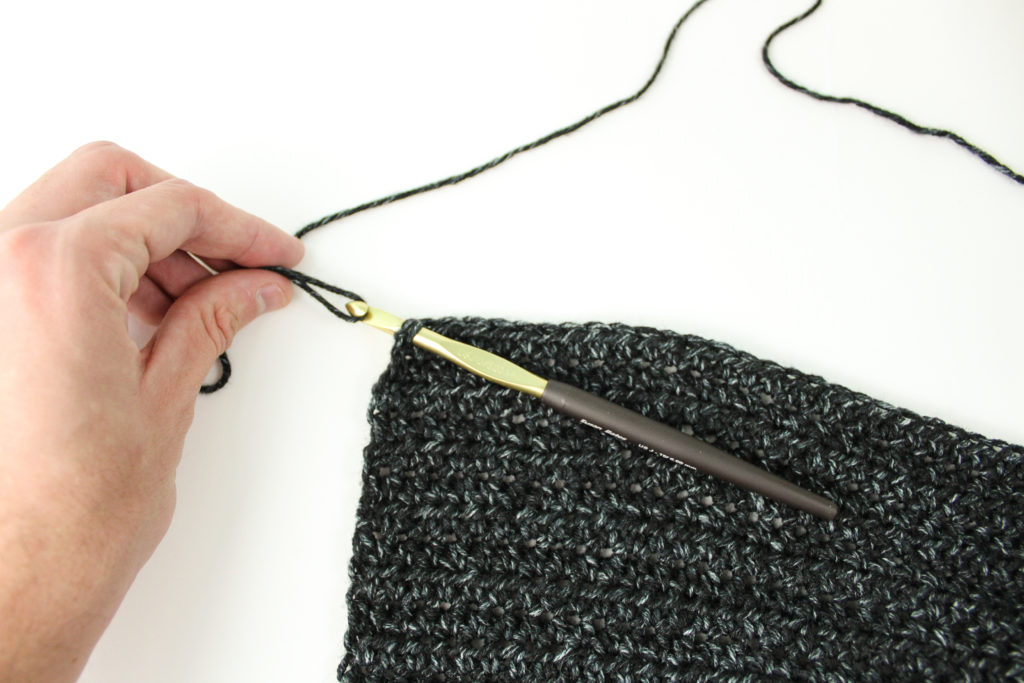
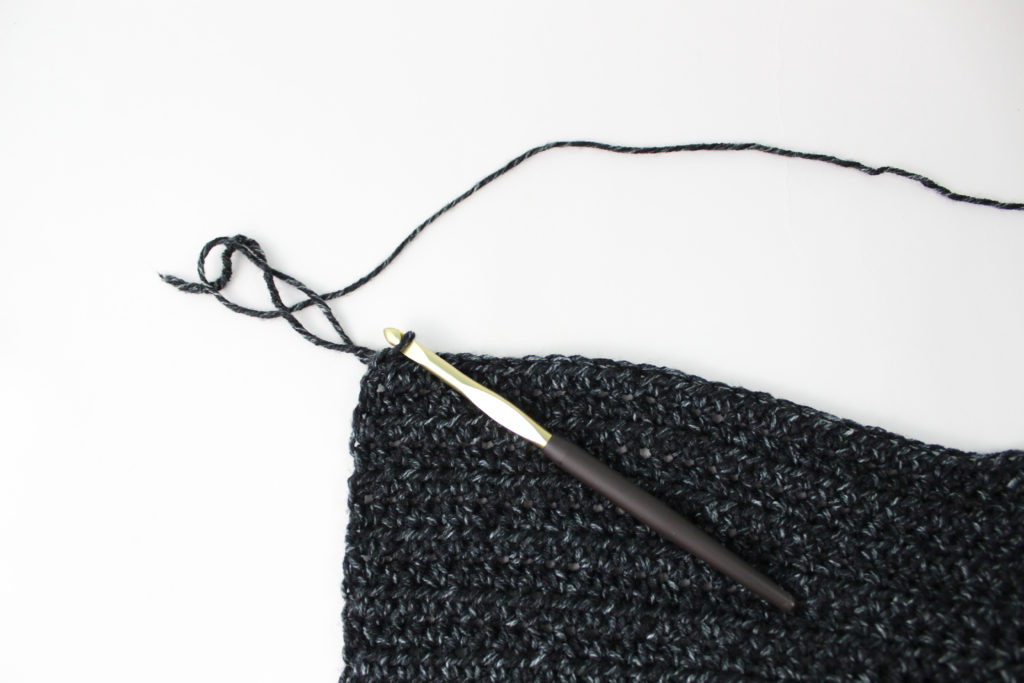
Row 1: Hdc into the first stitch and then hdc across the next (25, 27, 29, 31) stitches. (26, 28, 30, 32)
Row 2: Ch 1, turn. Hdc across (26, 28, 30, 32)
Row 3: Ch 1, turn. Hdc across (26, 28, 30, 32)
Your front panel is now complete! Rework that same process to create your next panel and then we will continue with the collar and the sleeves!
The next step is to now attach both panels by seaming up the sides, starting at the bottom, begin above the bottom brim with your darning needle.
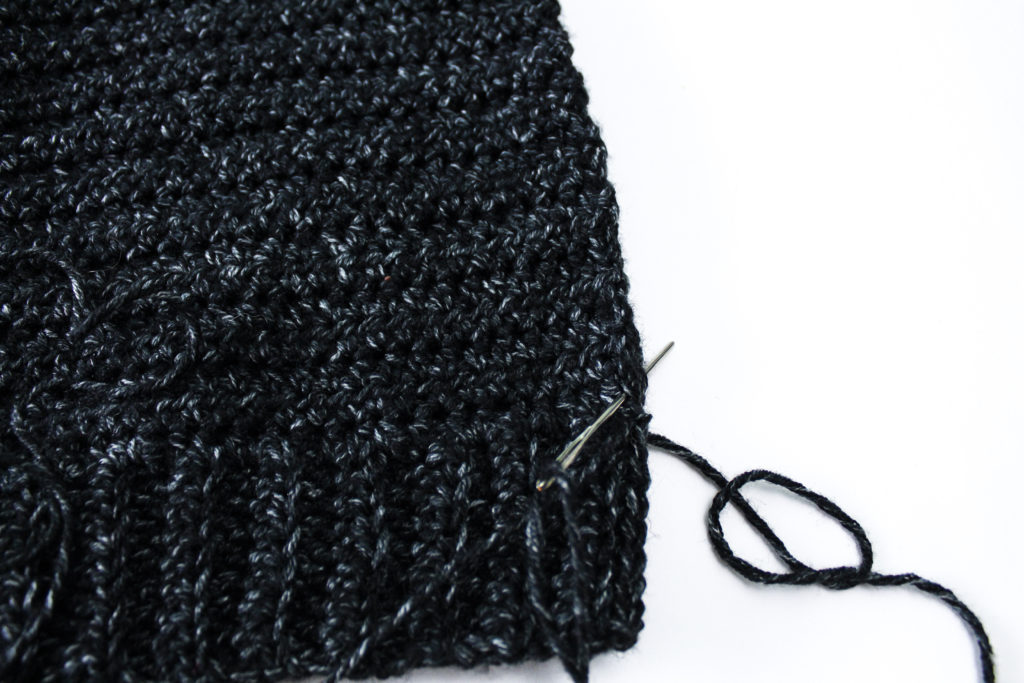
Be sure that both panels are lined up so the colored stripes are connecting! You WONT be connect the brim together.
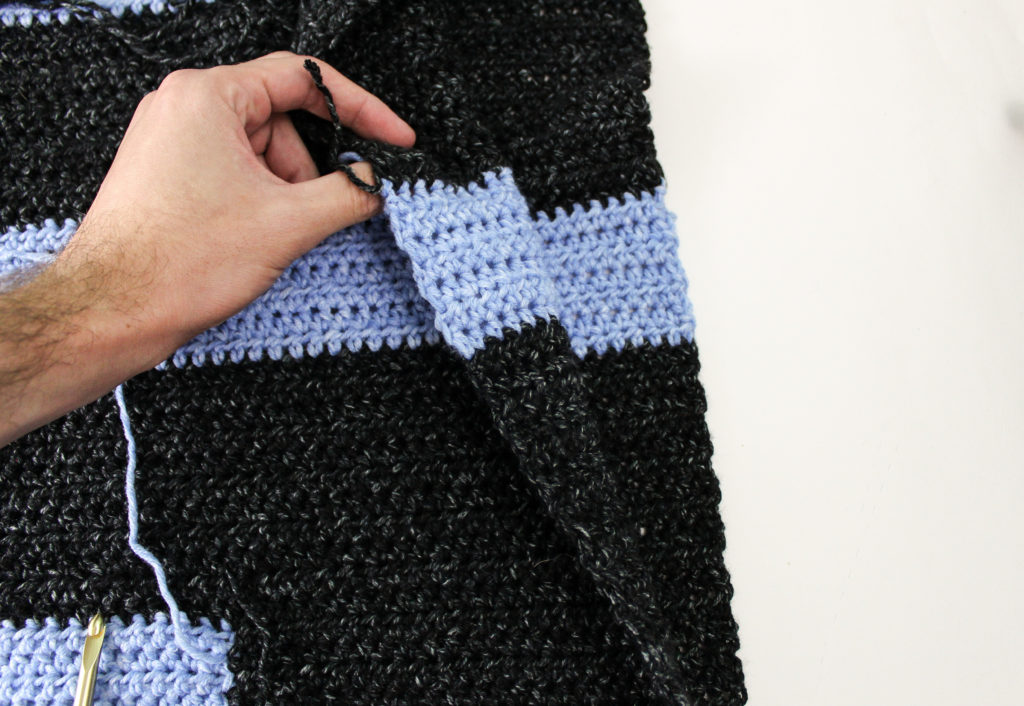
When coming to your Color B, make sure you are switch your colors when seaming up to match.
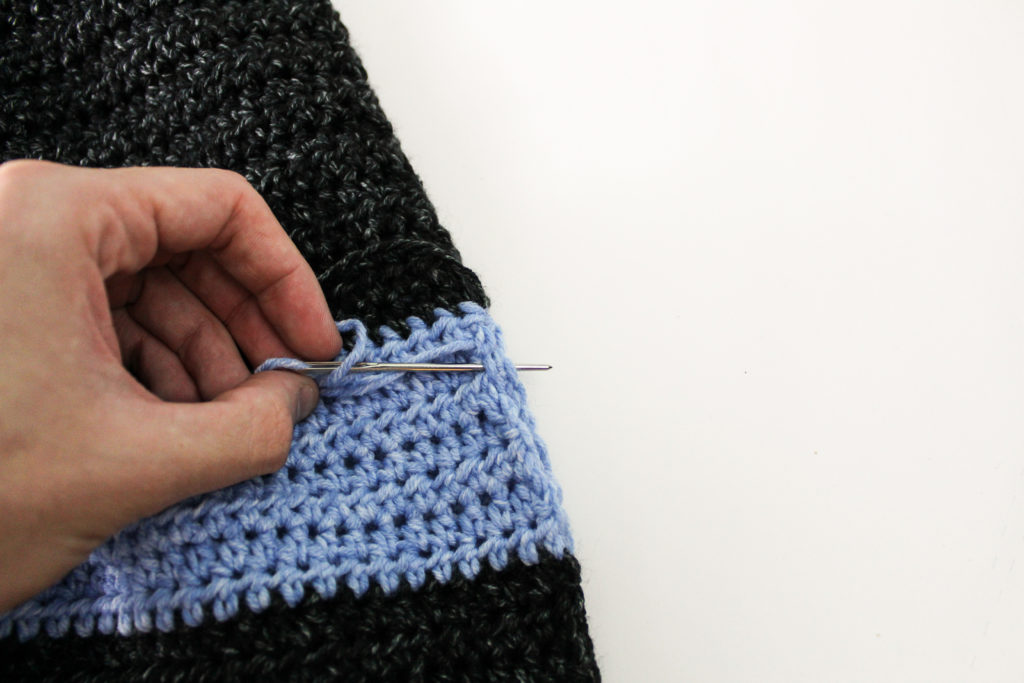
Seaming upward, you will want to make sure you have this many rows for the sleeves depending on your size:
Small – 20 Rows (40 stitches in the round)
Medium – 21 Rows (42 stitches in the round)
Large – 22 Rows (44 stitches in the round)
Extra Large – 24 Rows (46 stitches in the round)
Shoulder
When seaming together the shoulder, you will be slip stitching them together:
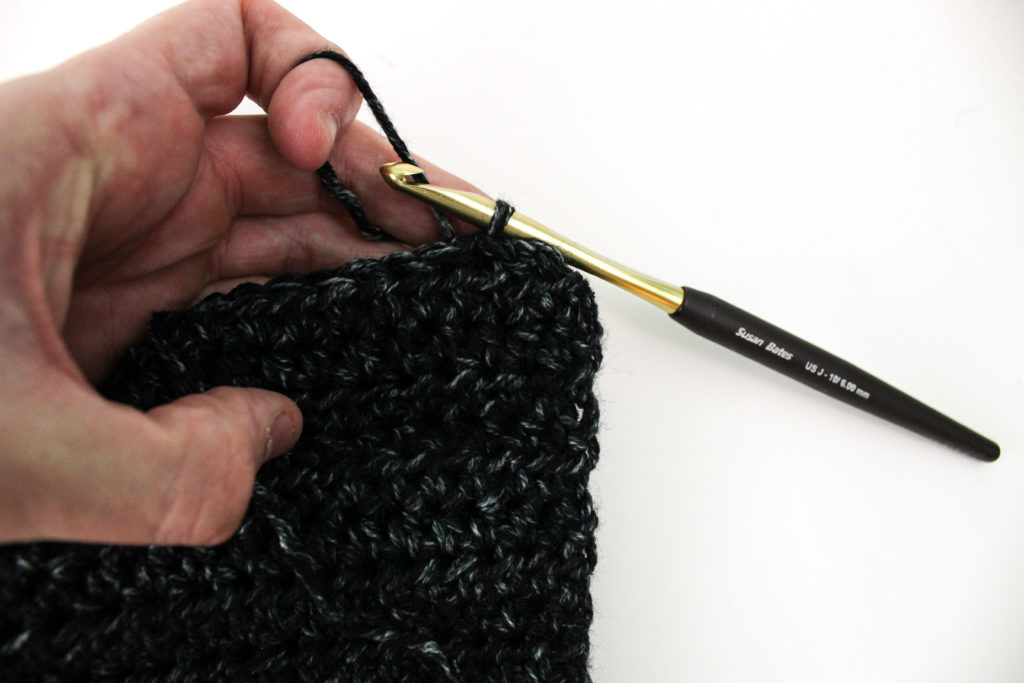
Creating the collar/neckline:
Pull up your yarn and chain 1. Hdc into first stitch and hdc across and around the shoulders. Sl st to join your round.
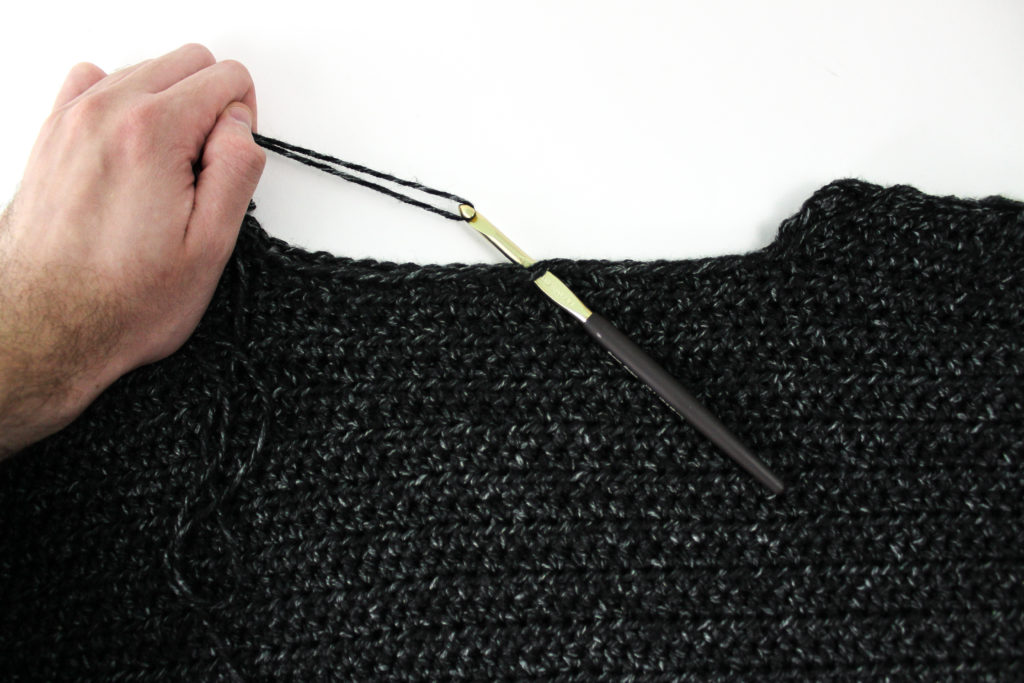
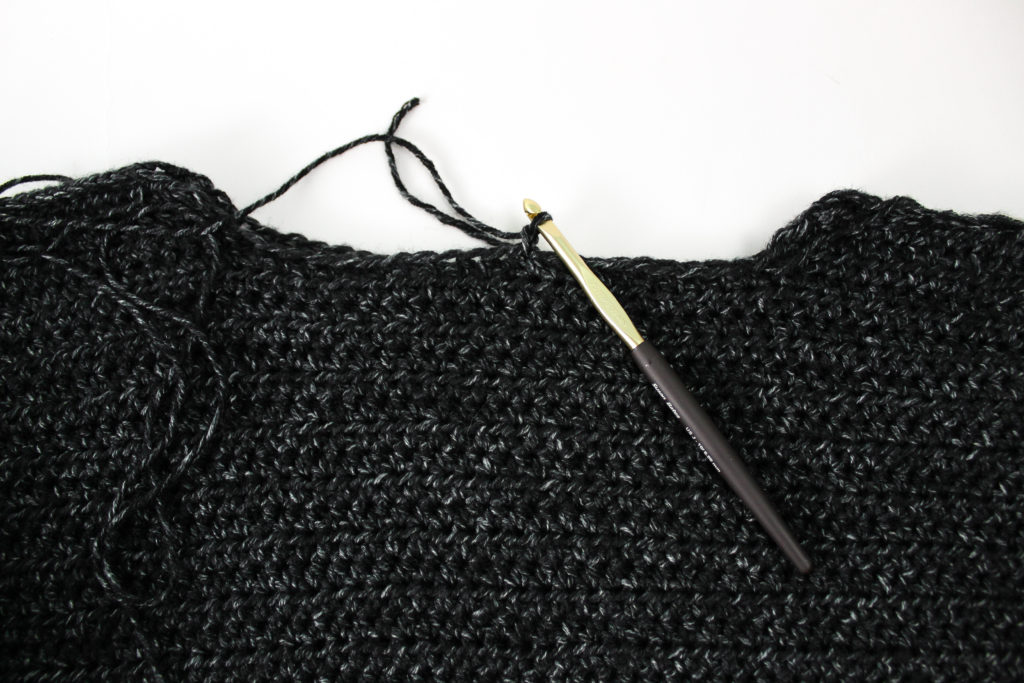
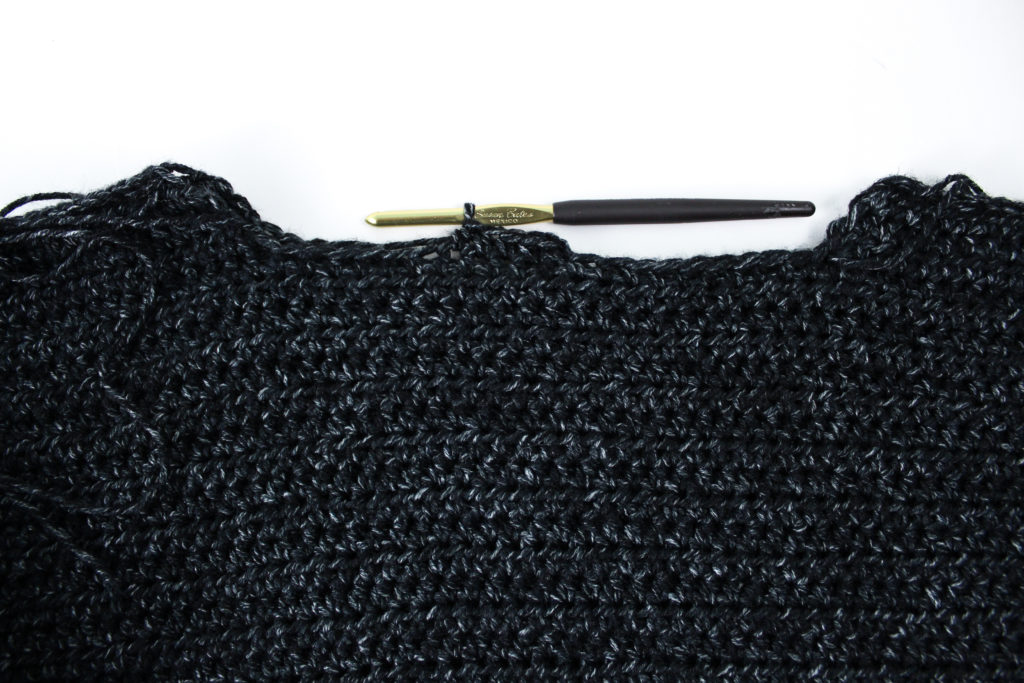
Rnd 2-3: Ch 1. Hdc around, sl st to join.
Switch to Color B
Rnd 4-5: Ch 1. Hdc around, sl st to join.
Switch to Color A
Rnd 6-7: Ch 1. Hdc around, sl st to join.
Switch to Color B
Rnd 8-9: Ch 1. Hdc around, sl st to join.
Finish off.
Creating the Sleeves:
At this point, you will already have your hole for where you sleeve will be. Here, again, is how many stitches you will have in the round.
Small – 40 stitches in the round
Medium – 42 stitches in the round
Large – 44 stitches in the round
Extra Large – 46 stitches in the round
Left arm
With the arm holes you have created on the side of your sweater, pull up a loop and ch 1. Hdc around in each stitch. Sl st to join.
Rnd 2: Ch 1. Hdc around, sl st to join.
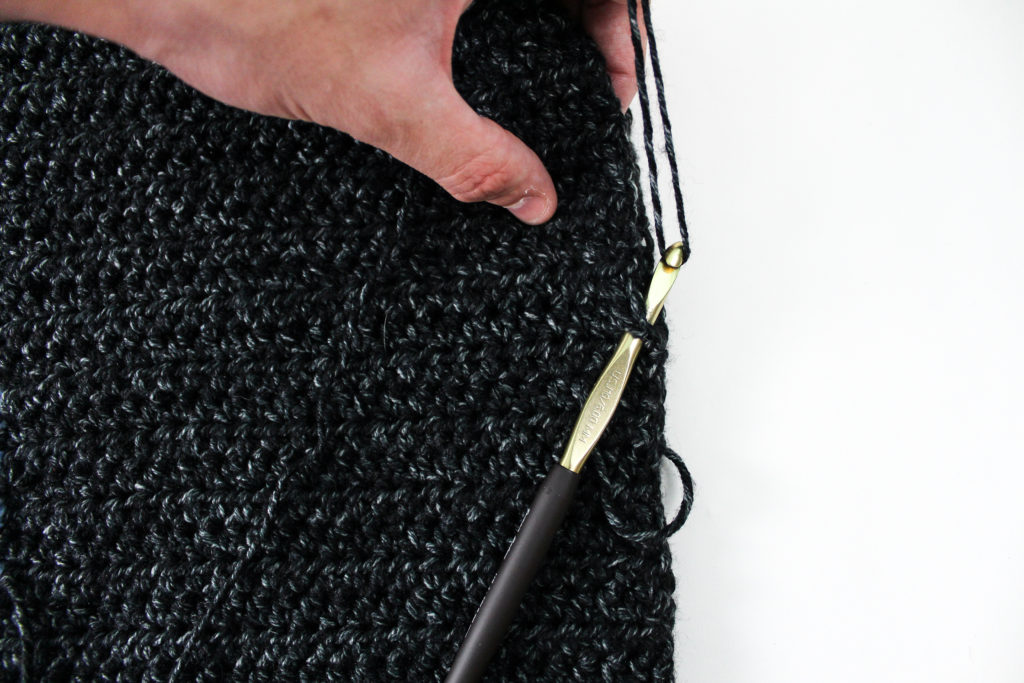
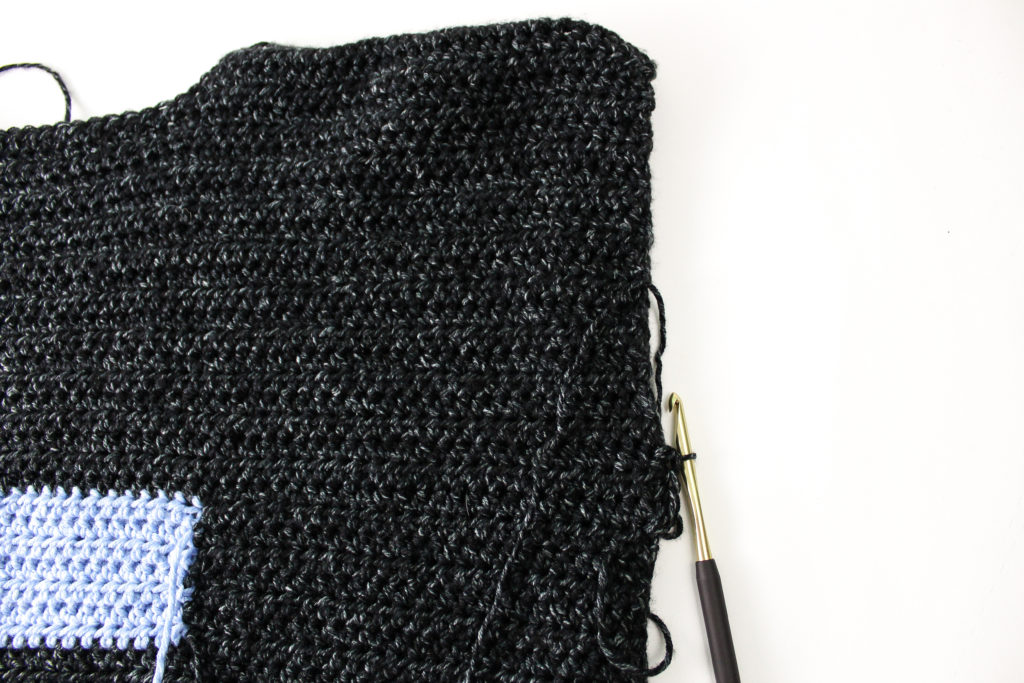
Switch to Color B
Rnd 3-9: Ch 1. Hdc around, sl st to join.
Switch to Color A
For size S
Rnd 10-29: Ch 1. Hdc around, sl st to join.
For Size M
Rnd 10-31: Ch 1. Hdc around, sl st to join.
For size L
Rnd 10-35: Ch 1. Hdc around, sl st to join.
For size XL
Rnd 10-37: Ch 1. Hdc around, sl st to join.
Switch to Color B
Rnd 36-42: Ch 1. Hdc around, sl st to join.
Switch to Color A
Below, follow the same amount of RND’s
Rnd 43-50: Ch 1. Hdc around, sl st to join.
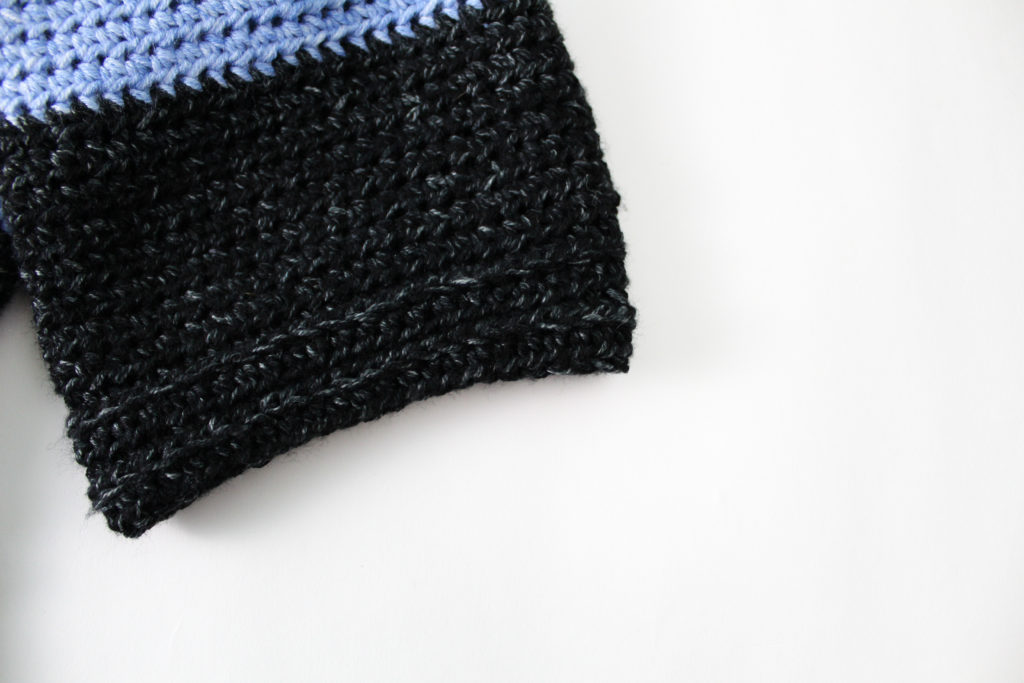
Rnd 51: Ch 1. Hdc around in BLO. Sl st to join.
Rnd 52: Ch 1. Hdc around in FLO. Sl st to join.
Rnd 53: Ch 1. Hdc around in BLO. Sl st to join.
Rnd 54: Ch 1. Hdc around in FLO. Sl st to join.
Finish off
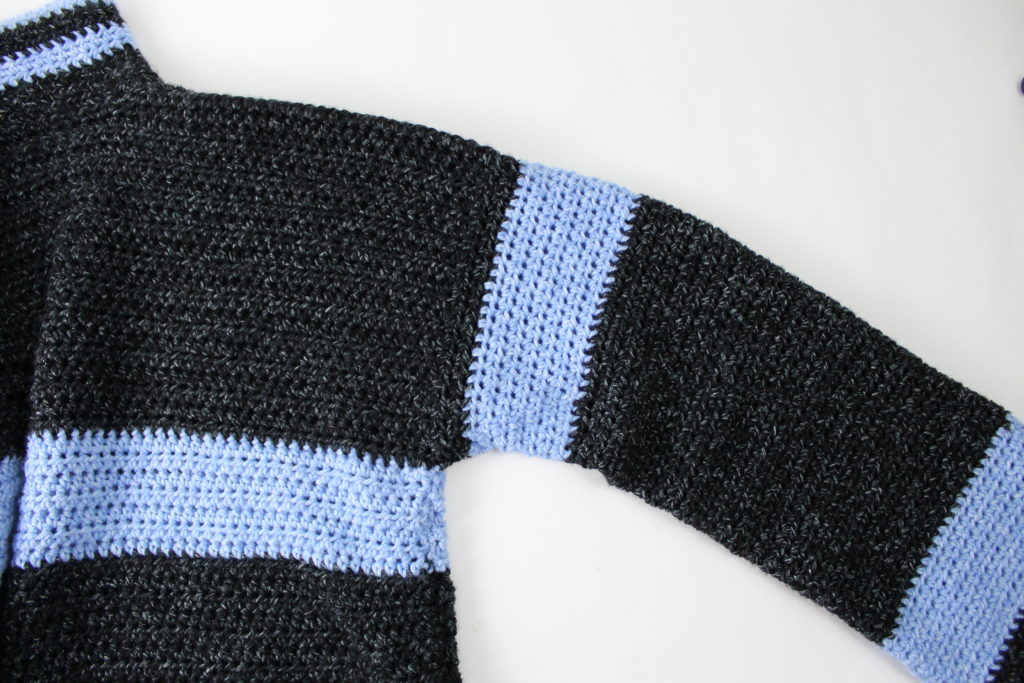
Right Arm:
With the arm holes you have created on the side of your sweater, pull up a loop and ch 1. Hdc around in each stitch. Sl st to join.
Rnd 2-21: Ch 1. Hdc around, sl st to join.
Switch to Color B
Rnd 22-28: Ch 1. Hdc around, sl st to join
Switch to Color A
For size S
Rnd 29-43: Ch 1. Hdc around, sl st to join
For Size M
Rnd 29-45: Ch 1. Hdc around, sl st to join
For size L
Rnd 29-50: Ch 1. Hdc around, sl st to join
For Size XL
Rnd 29-52: Ch 1. Hdc around, sl st to join
Below, follow the same amount of RND’s
Rnd x: Ch 1. Hdc around in BLO. Sl st to join.
Rnd x: Ch 1. Hdc around in FLO. Sl st to join.
Rnd x: Ch 1. Hdc around in BLO. Sl st to join.
Rnd x: Ch 1. Hdc around in FLO. Sl st to join.
Finish off
You may not sell my patterns or claim them as your own. You may make items to sell(i.e. on Etsy, at craft fairs) from my patterns but I ask that you link back to my blog and provide credit for the pattern. You are welcome to share my patterns on social media so long as you link back directly to my blog post(providing the link). No copy & paste of my patterns will be allowed under any circumstances.
Be sure to tag @knot.bad and @yarnpunk on your socials and use the hashtag #yarnpunk!


Nice! My sons would love this!
Thank you so much for sharing this pattern – love your sweater and colour choices!!