
Today we have a guest on the blog – please welcome Ellie to the blog! A self proclaimed Yarn Punk and yarn Enthusiast! Today she brings you her Heart to Heart beanie; a perfect addition to your winter wardrobe with a little heart included! Made, I hope you all enjoy!
Meet Ellie:
Hello! I am Ellie and I am passionate about inspiring others to find their creative niche. I want everyone to have fun, both creating their makes and then taking them outside! I recently ended a year of #Vanlife with my husband. During our year of travel I discovered more about crochet than the last ten years combined. I am a self-taught crocheter and am always hungry to learn more. I decided to start a blog to share what I have learned and more fully join this creative community. When I am not crocheting, I am mountain biking, rock climbing, mountaineering, hiking, backpacking, paddling, and generally spending time outdoors in my local community. I want to bring an outdoorsy vibe to the crochet world and hope you love my patterns! You can find me at my blog hookyarncarabiner.com, on Instagram @hookyarncarabiner, and on Pinterest @
DESCRIPTION
The Heart to Heart Beanie is a lightweight beanie with a beautiful heart
detail on each side made with specifically placed bobble stitches. The
natural fibers with keep you warm and dry, while not overheating you.
Natural fibers and hand dyed yarn is so yummy!
MATERIALS
● Whidbey Isle Yarns Hand Dyed Washable Merino (Weight: 3/Dk –
250 yds) I took advantage of a lovely skein of hand dyed, blue yarn I
had, but any natural fiber DK/sport/lightweight yarn will work perfectly
for the Heart to Heart Beanie!
● Size I (5.5 mm) crochet hook
● Stitch marker (I often use a safety pin, but these are so cute!)
ABBREVIATIONS
● ch: chain
● st: stitch
● sl st: slip stitch
● sc: single crochet
● flo: front loops only (tutorial)
● hdc: half-double crochet
● b: bobble stitch 1. Yarn Over (YO), insert hook in next stitch, YO, pull
up a loop, YO, pull through two loops. 2. (YO, insert hook in same
stitch, YO, pull up a loop, YO, pull through two loops) two times 3.
YO, and draw through all loops on hook (tutorial)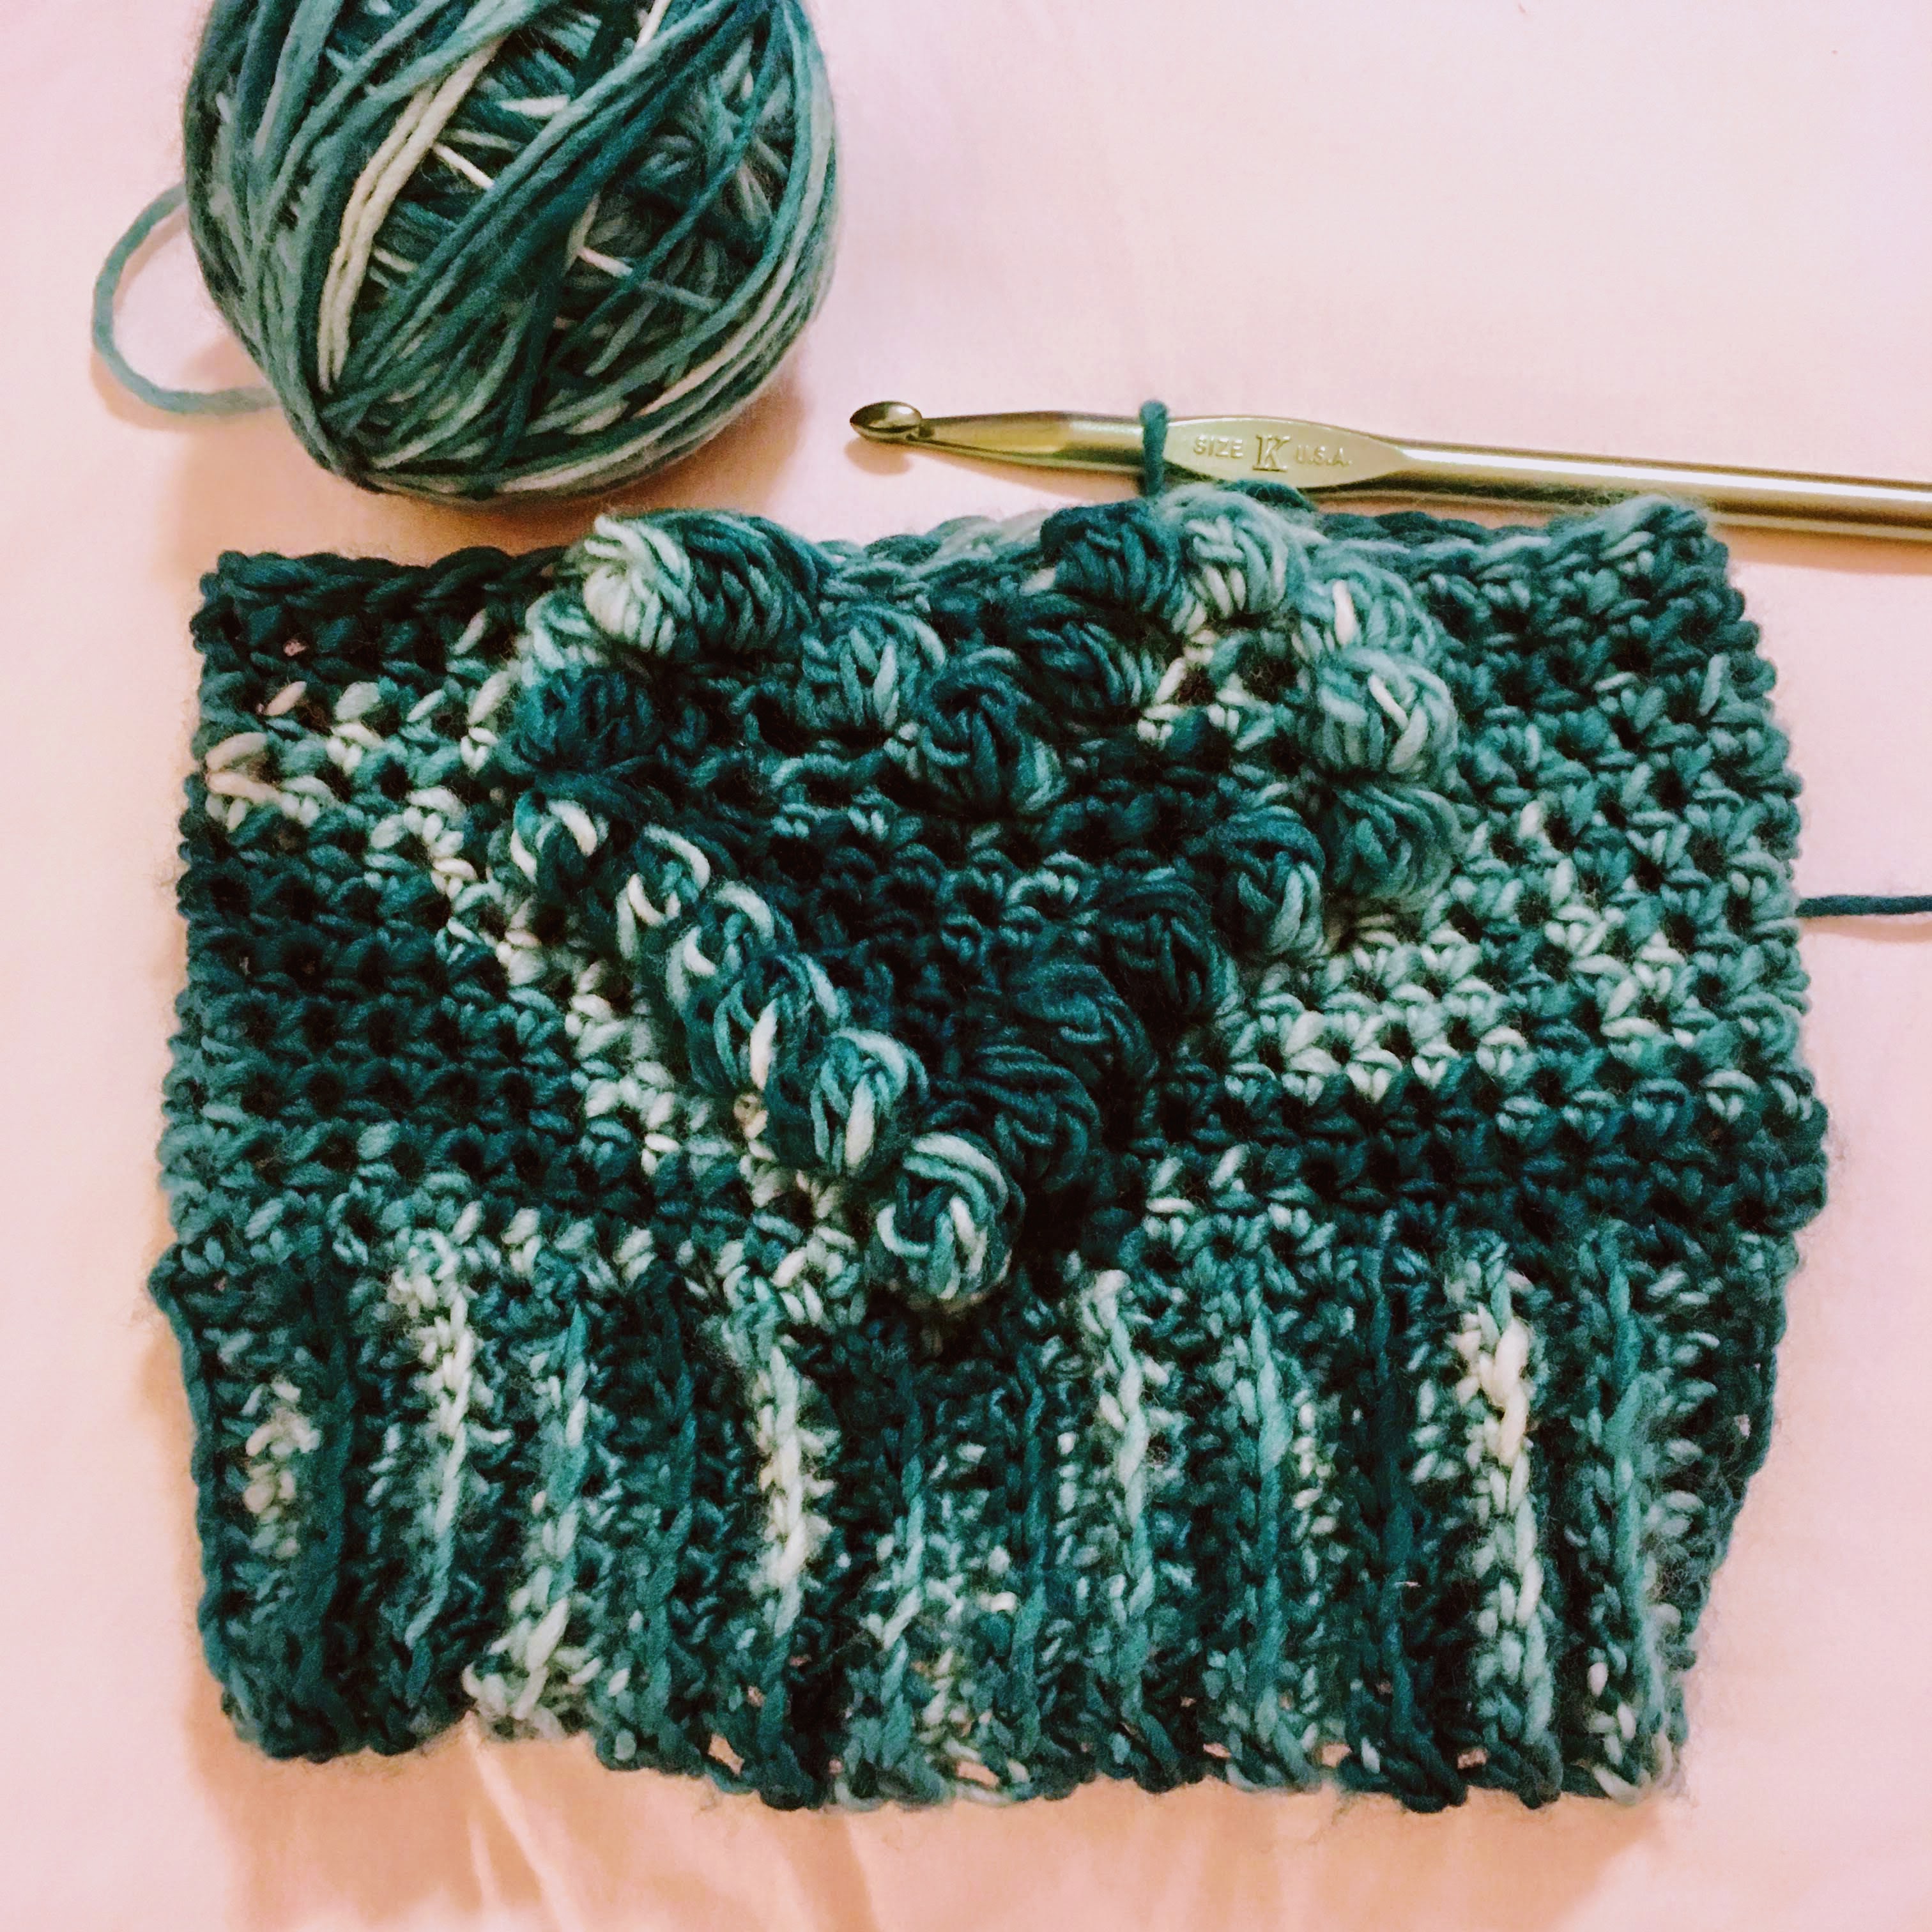
Let’s Get Started!
DIRECTIONS
BRIM
This piece is worked flat. Once finished, check the brim against your own
head. The fit should be snug, as the natural fiber has a lot of stretch.
ch 10
Size Adult Small (~130 yards):
● Row 1: ch 1. sc across. (10)
● Row 2-50: ch 1. sc in flo across. (10)
Sc the two ends of the brim together. Do not fasten off.
Size Adult Medium (~150 yards):
● Row 1: ch 1. sc across. (10)
● Row 2-60: ch 1. sc in flo across. (10)
Sc the two ends of the brim together. Do not fasten off.
Size Adult Large (~200 yards):
● Row 1: ch 1. sc across. (10)
● Row 2-70: ch 1. sc in flo across. (10)
Sc the two ends of the brim together. Do not fasten off.
You will now turn and work across the top side of your brim and finish the
main part of the beanie. Because bobble stitches form away from you, on
the wrong side of your piece, make sure your seam is on the inside of the
beanie as you crochet around the brim.

Kitty stitch marker came with the yarn. Stitch markers are for crocheters
too!
MAIN BEANIE
Sizes are listed in the parenthesis in order from small, medium, large. The
piece is worked in the round, joining each row with a sl st to the first st.
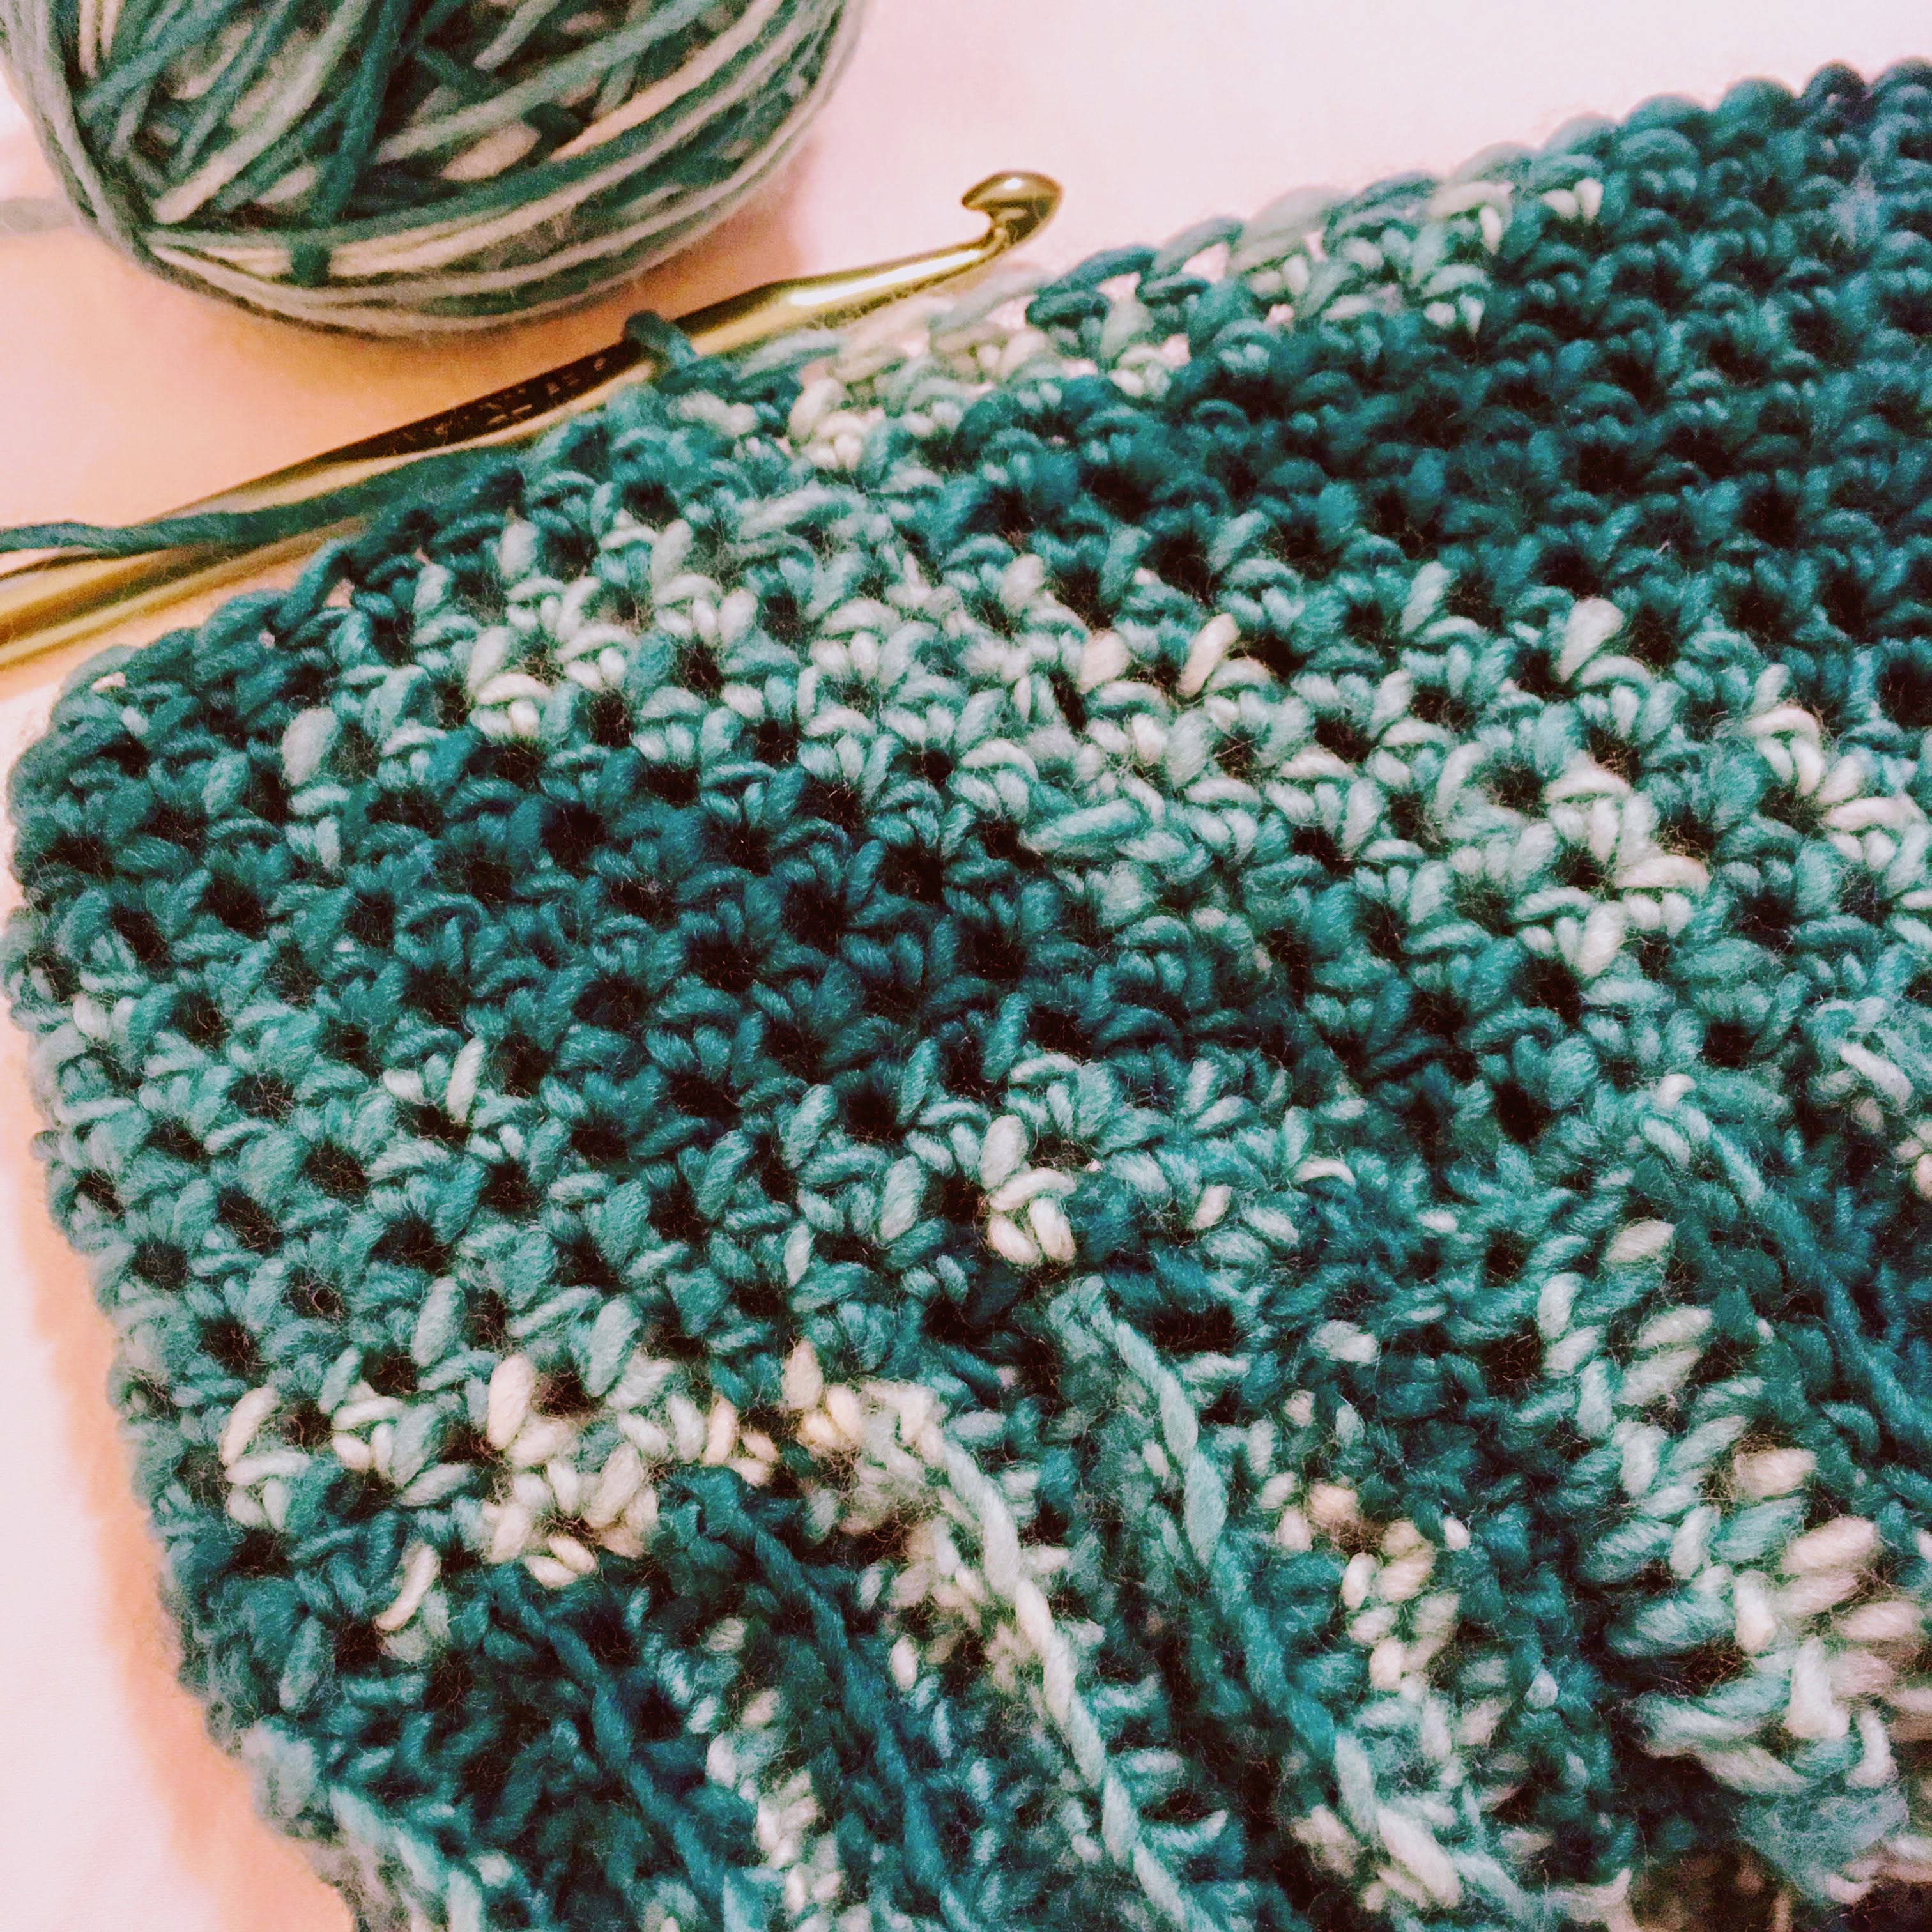
● Row 1: ch 1. hdc around, sl st to first st. (One stitch for each row from
the brim) (50, 60, 70)
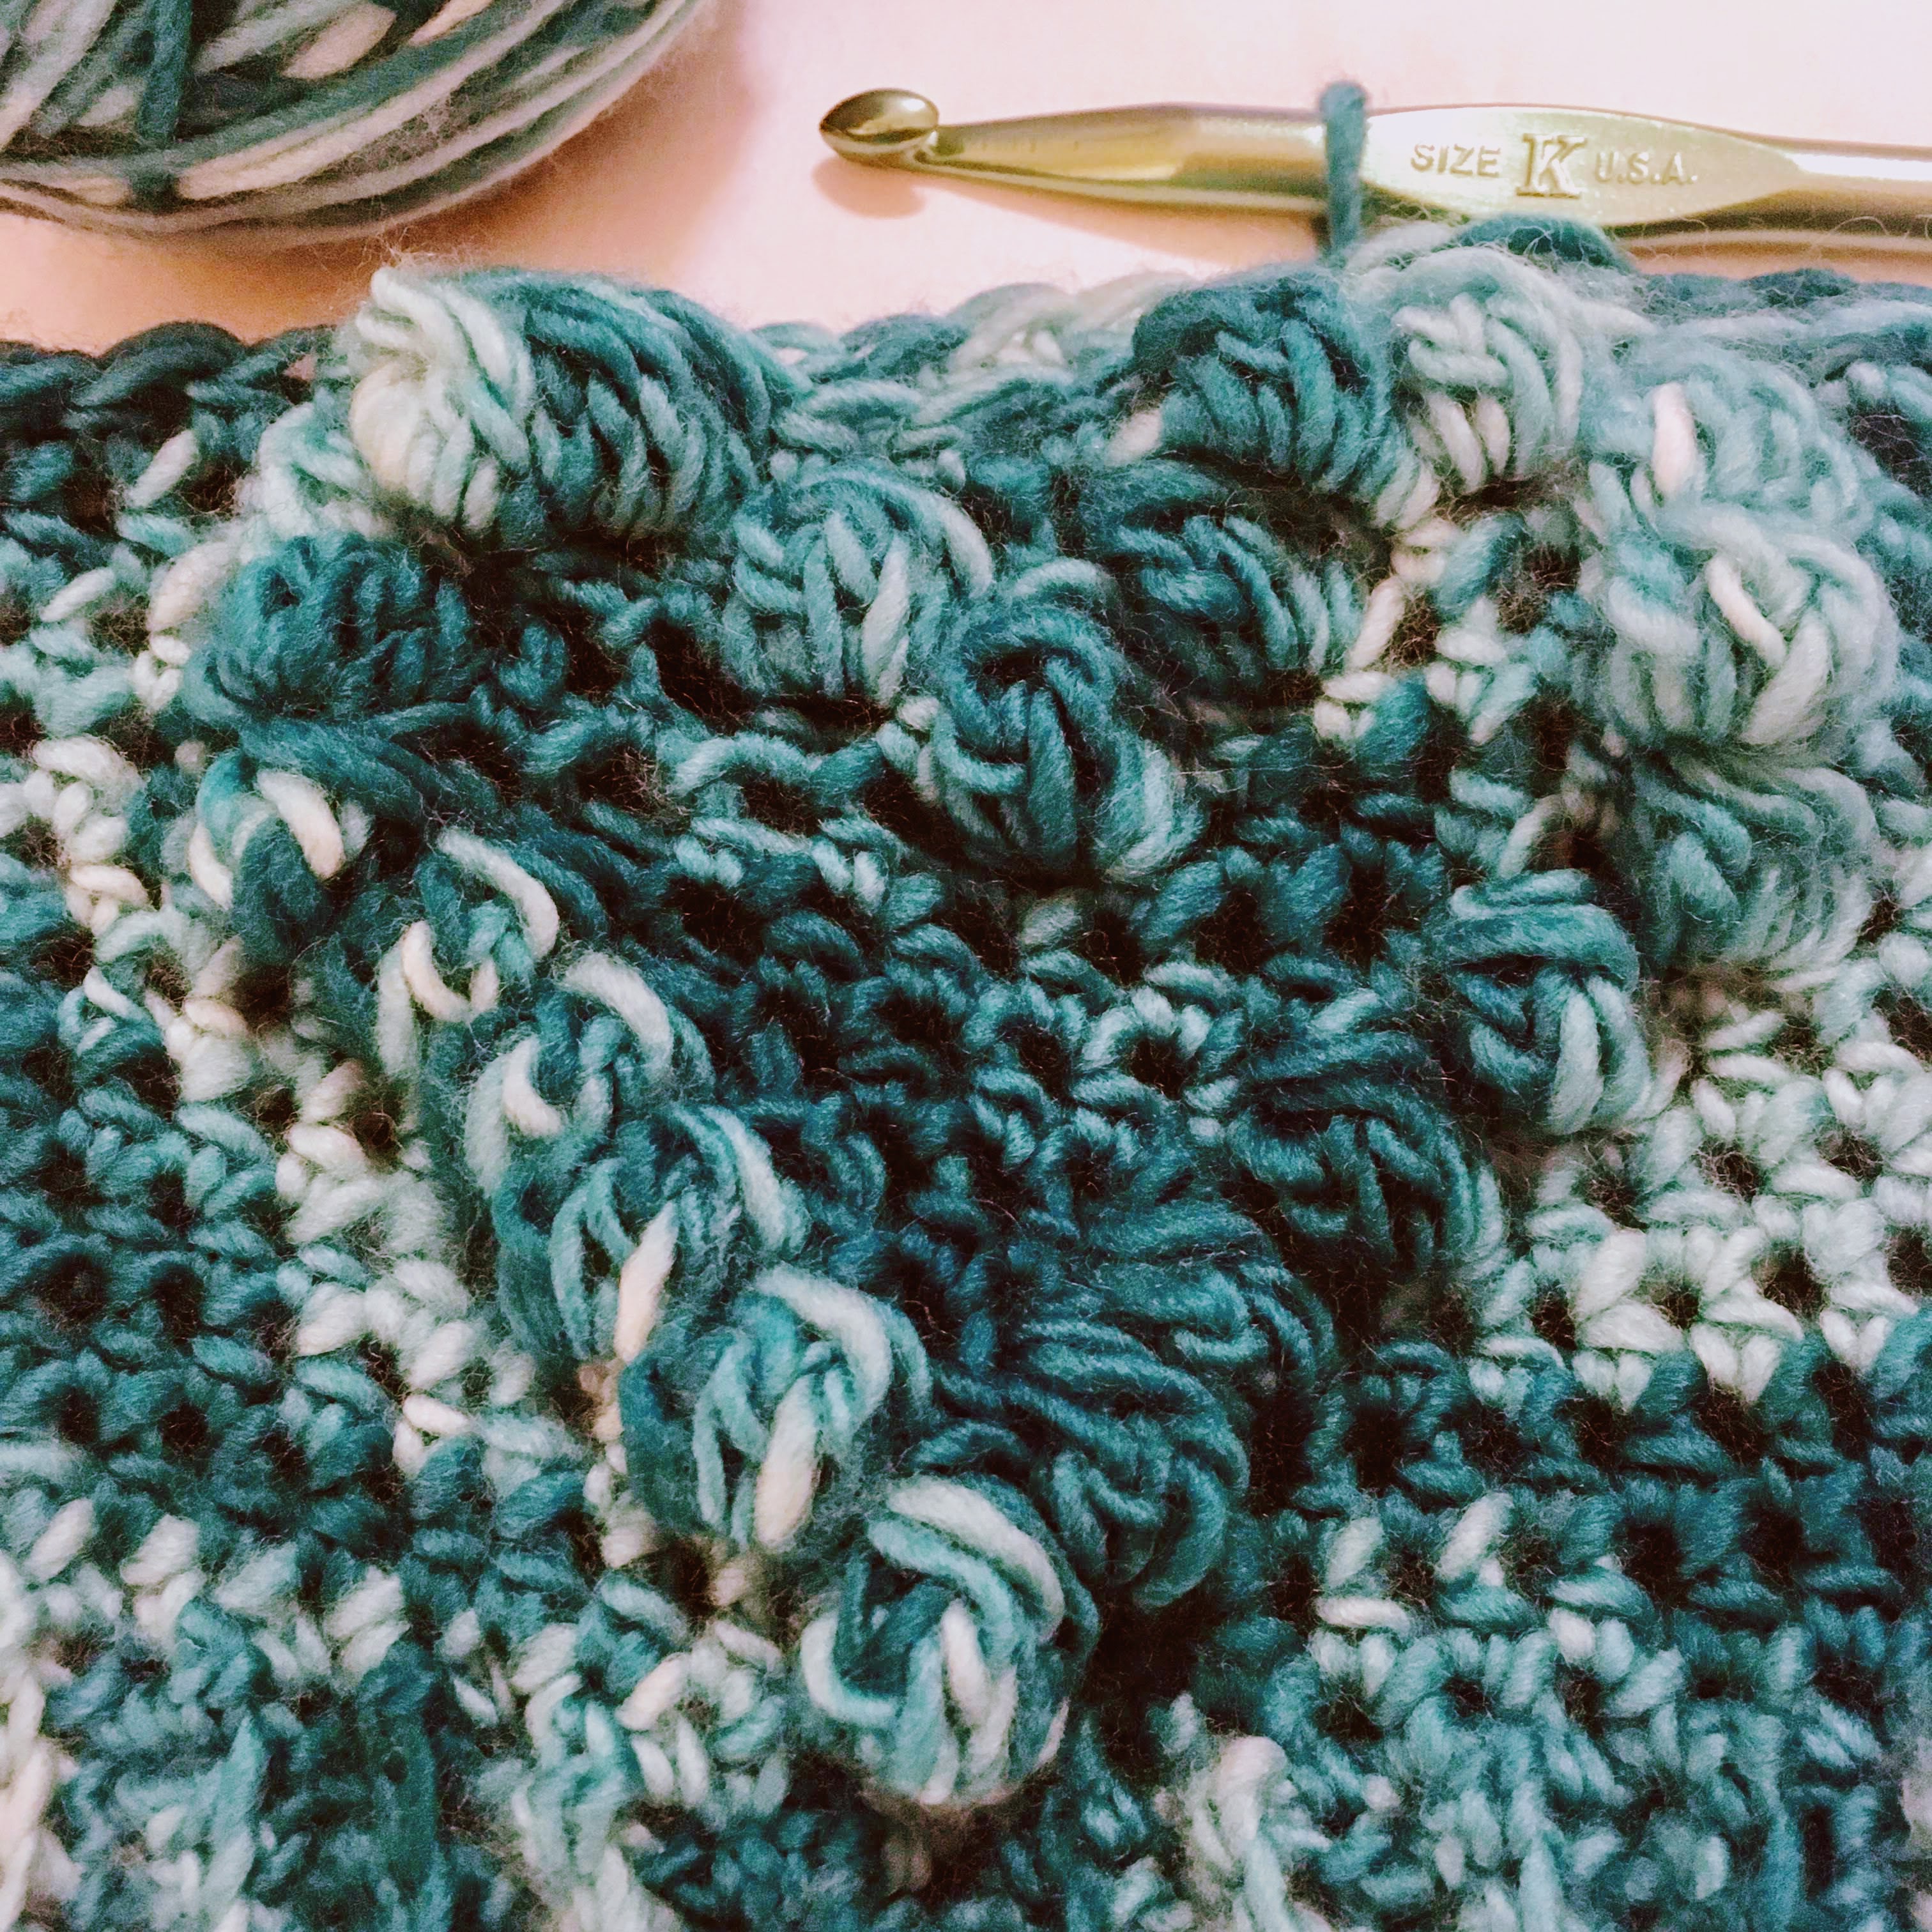
We will now be crocheting a heart shape made of bobble stitches on either
side of the hat. Refer to the stitch graphs below for help with the heart
shape.
● Row 2: ch 1. hdc in next (12, 14, 17) st. b in next st. hdc in next (24,
30, 34) st. b in next st. hdc in next (12, 14, 17) st, sl st to first st. (50,
60, 70)
● Row 3: ch 1. hdc in next (11, 13, 16) st. b in next st. hdc in next st, b
in next st, hdc in next (22, 28, 32) st. b in next st. hdc in next st, b in
next st, hdc in next (11, 13, 16) st, sl st to first st. (50, 60, 70)
● Row 4: ch 1. hdc in next (10, 12, 15) st. b in next st. hdc in next 3 st,
b in next st, hdc in next (20, 26, 30) st. b in next st. hdc in next 3 st, b
in next st, hdc in next (10, 12, 15) st, sl st to first st. (50, 60, 70)
● Row 5: ch 1. hdc in next (9, 11, 14) st. b in next st. hdc in next 5 st, b
in next st, hdc in next (18, 24, 28) st. b in next st. hdc in next 5 st, b in
next st, hdc in next (9, 11, 14) st, sl st to first st. (50, 60, 70)
● Row 6: ch 1. hdc in next (8, 10, 13) st. b in next st. hdc in next 7 st, b
in next st, hdc in next (16, 22, 26) st. b in next st. hdc in next 7 st, b in
next st, hdc in next (8, 10, 13) st, sl st to first st. (50, 60, 70)
● Row 7: ch 1. hdc in next (7, 9, 12) st. b in next st. hdc in next 7 st, b in
next st, hdc in next (14, 20, 24) st. b in next st. hdc in next 7 st, b in
next st, hdc in next (7, 9, 12) st, sl st to first st. (50, 60, 70)
● Row 8: ch 1. hdc in next (7, 9, 12) st. b in next st, hdc in next 4 st, b in
next st, hdc in next 4 st, b in next st. hdc in next (14, 20, 24) st. b in
next st, hdc in next 4 st, b in next st, hdc in next 4 st, b in next st. hdc
in next (7, 9, 12) st, sl st to first st. (50, 60, 70)
● Row 9: ch 1. hdc in next (7, 9, 12) st. b in next st, hdc in next 3 st, b in
next st, hdc in next st, b in next st, hdc in next 3 st, b in next st. hdc in
next (14, 20, 24) st. b in next st, hdc in next 3 st, b in next st, hdc in
next st, b in next st, hdc in next 3 st, b in next st. hdc in next (7, 9, 12)
st, sl st to first st. (50, 60, 70)
● Row 10: ch 1. hdc in next (8, 10, 13) st. b in next 3 st, hdc in next 3
st, b in next 3 st. hdc in next (16, 22, 26) st. b in next 3 st, hdc in next
3 st, b in next 3 st. hdc in next (8, 10, 13) st, sl st to first st. (50, 60,
70)
● Row 11: ch 1. hdc around, sl st to first st. (50, 60, 70)
Size Adult Small: Repeat row 11 five times. Fasten off and leave long tail.
Size Adult Medium: Repeat row 11 seven times. Fasten off and leave long
tail.
Heart Graph: Size Adult Medium
Size Adult Large: Repeat row 11 nine times. Fasten off and leave long tail.
ASSEMBLY
Take the long yarn tail and use your hook or a yarn needle to weave it
around the opening of the beanie, then cinch it tightly closed. Reinforce the
closure with a few knots and weave the end in on the inside.
Your Heart to Heart Beanie is now finished! Take it outside and stay
warm and dry while spreading the love around.

COPYRIGHT NOTICE: You may sell any product made with this pattern,
however you may not distribute this pattern as your own work in any way.
Have questions? Email me at Ellie@hookyarncarabiner.com or contact me
on Instagram @hookyarncarabiner. I also use the hashtag
#hookyarncarabiner on Instagram, and you can check out my blog,
Hookyarncarabiner.com, for free patterns and more!
Thank you for purchasing this pattern! Your contribution helps me continue
to create patterns and share them with our community.

