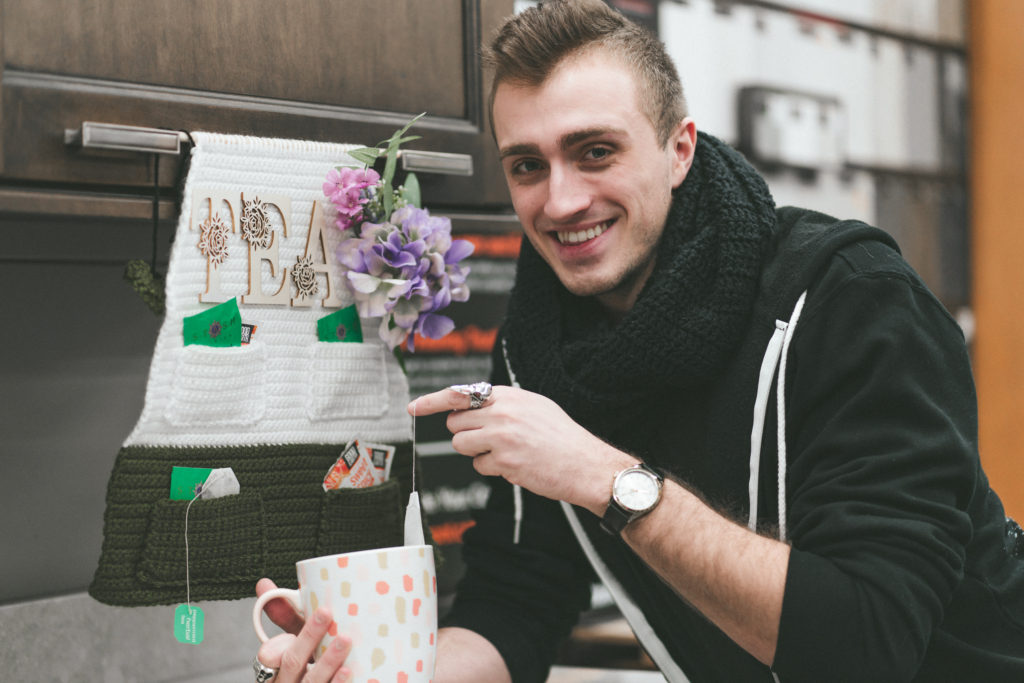
We all have our favorite drinks outside of water; whether that be coffee, juice, milk, etc., but something that has been making a wonderful impact on my life is tea! Tea comes in so many different varieties and has so many different types of benefits; it seems like there is a tea for any type of mood out there! I was wandering the isles of JOANN and I noticed they have so many different options for organizing things, so I thought of this project idea for my Tea Wall Hanging!
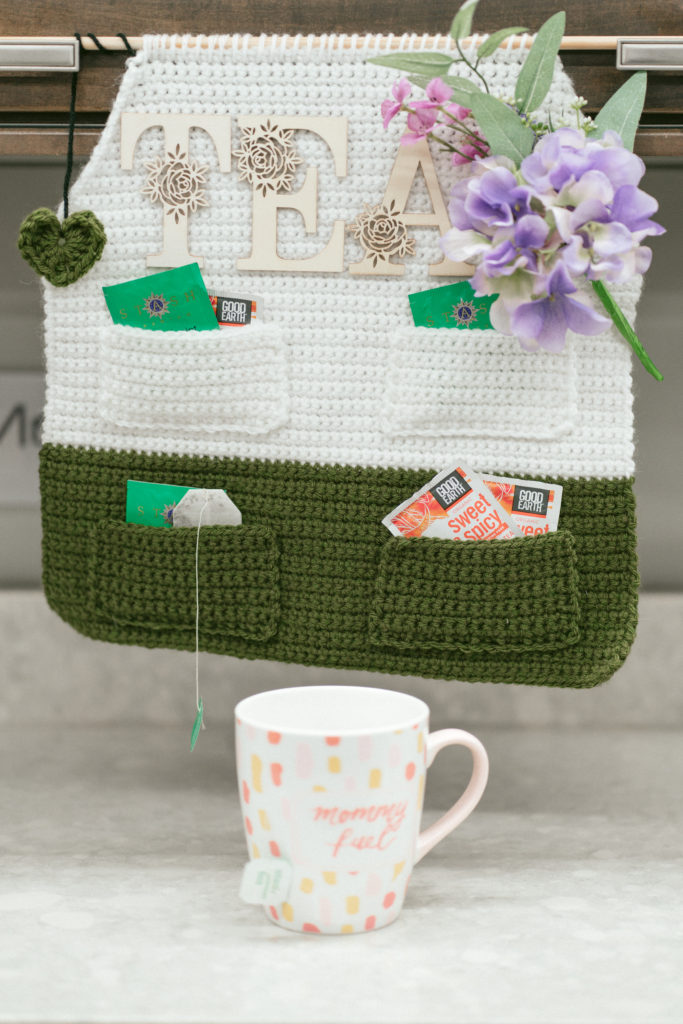
If you’re anything like me, it can be difficult to keep all your tea organized;it always just seems to end up in a drawer jumbled around. But how fun would it be if you could see it on your wall and pick your favorites? Well that’s where this project comes in! This Tea Wall Hanging is a great addition to any room, to show off your love for tea! With this idea in mind, I made my way over to JOANN to get my materials.
All editorial content and projects are intellectual property of Vincent Green-Hite, designer of Knot Bad. This post was sponsored by JOANN Stores but all ideas and opinions are my own.
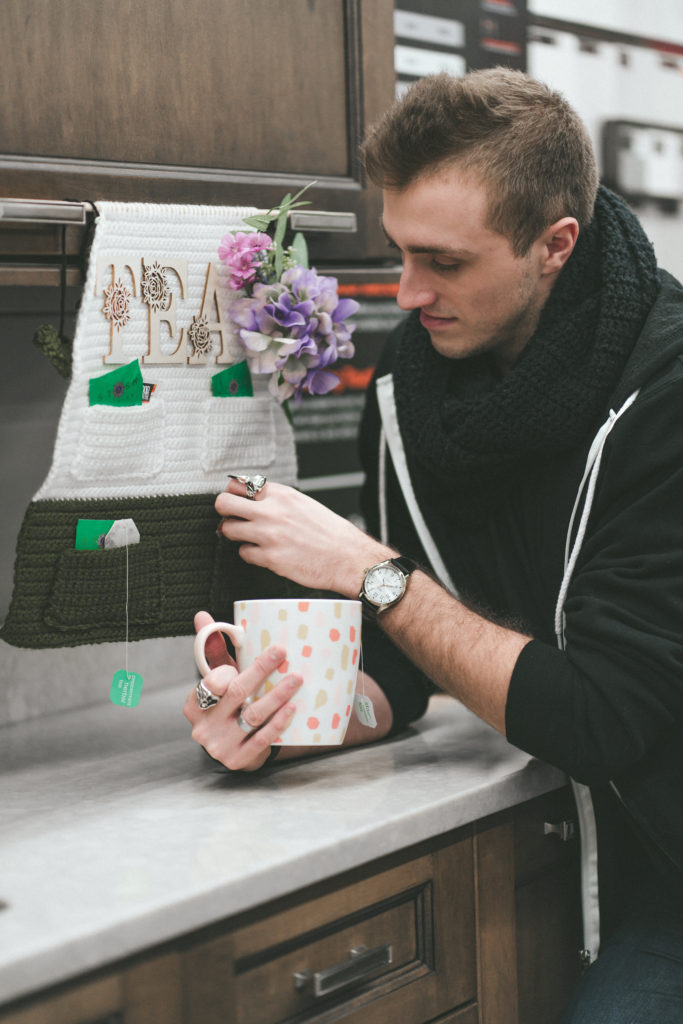
Lets Begin!
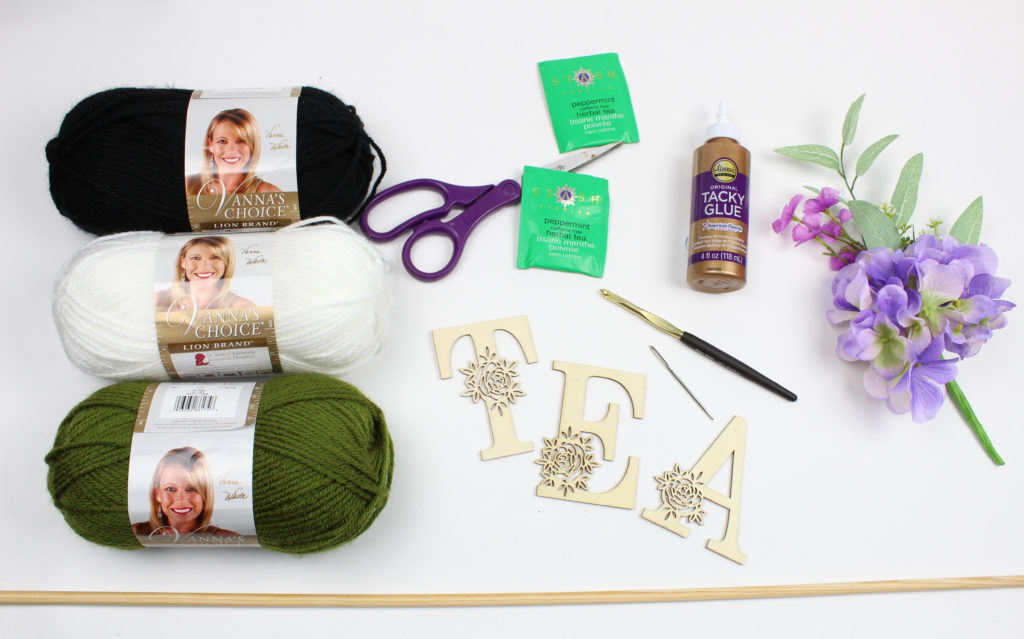
Materials:
1 Skein in White
1 Skein in Green
1 skein in Black
Dowel Rod (20″ inches)
Lettering(Variations can be found in stores!)
Tea Bags to fill the pockets with!
Gauge: 15 stitches x 18 rows = 4×4” in sc
Skill Level: Easy
Dimensions:
Height – 15″ inches
Width – 15″ inches
Abbreviations:
Ch – chain
Sc – single crochet
Inc – Increase (2 Sc in next stitch)
Dec – decrease (Sc 2 together)
Let’s Begin!
Starting in white from the top
Begin by chaining 37
Row 1: In second chain from hook, sc. Sc across (36)
Row 2: Ch 1, turn. Inc into first stitch, sc across entire row, inc into last stitch (38)
Row 3: Ch 1 turn. Sc across (38)
Row 4 – 21: Repeat rows 2 and 3
On row 21, you will be left with (56) stitches
Row 22 – 48: Continuing in white, Ch 1, turn. Sc across (56)
Switch to Green
Row 49 – 70: Ch 1, turn. Sc across (56)
Finish off
Pockets
You will create two in white and two in green!
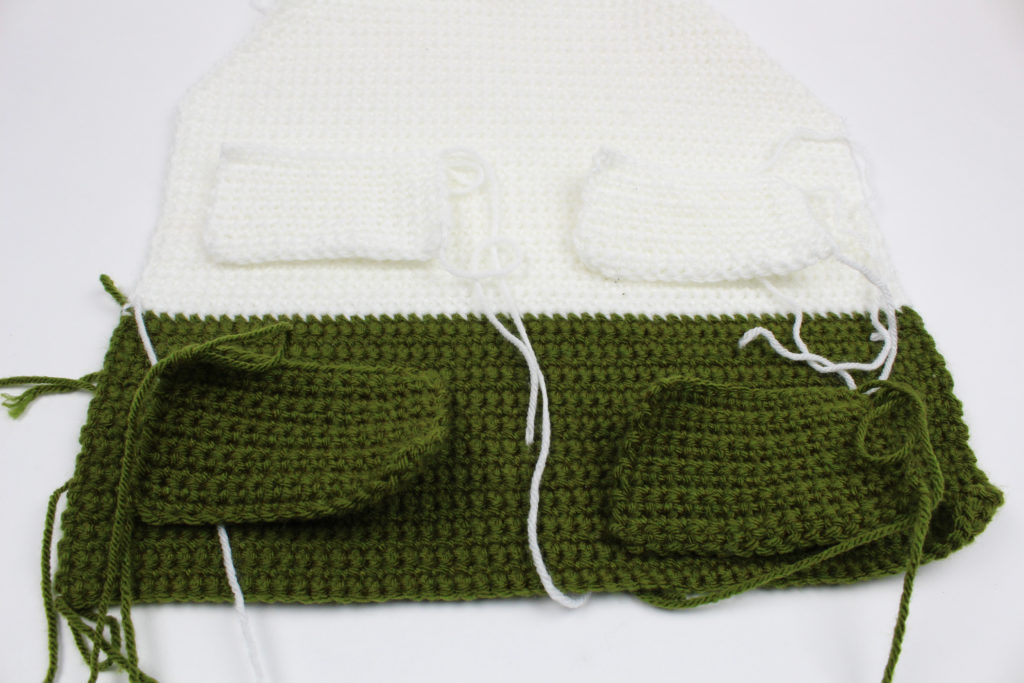
Ch 17
Row 1: In second chain from hook, sc. Sc across (16)
Row 2 – 11: Ch 1, turn. Sc across (16)
Finish off and leave tail for sewing
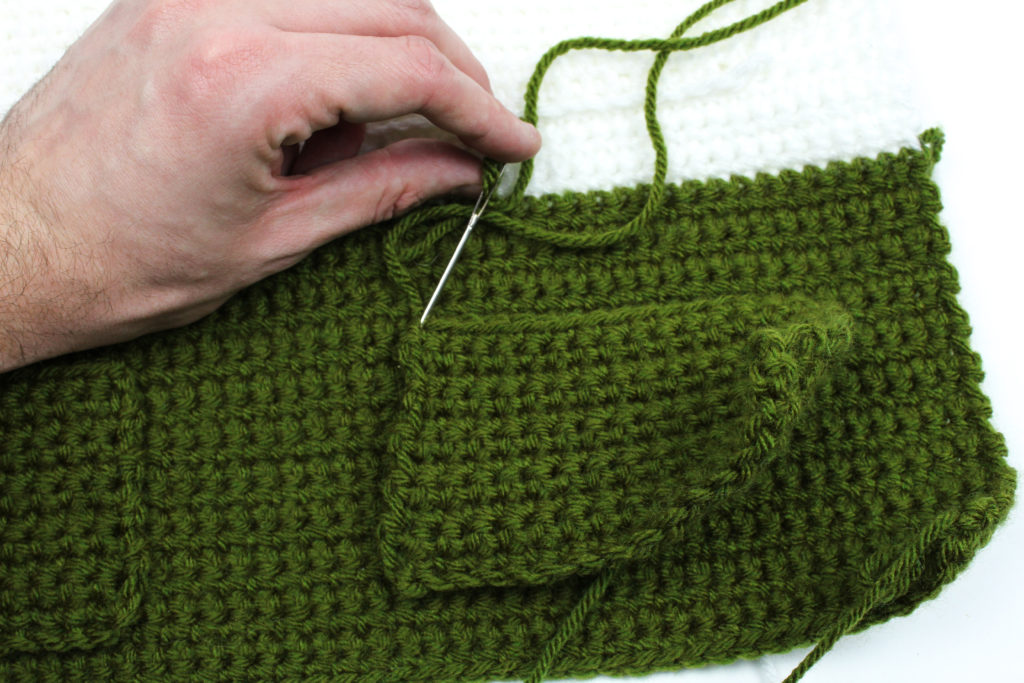
Sew the pockets on; be sure not to sew the top half, allowing you to use as pockets!
Heart:
Create a Magic Ring, ch 3.
Insert 3 Tc, 3 Dc, Ch 1, Tc, Ch 1, 3 Dc, 3 Tc, ch 2, sl st back into the center of the hole.
Finish off.
All the crochet parts of your piece are now done! Now, it’s time to attach all the other fun details to add that whimsy!
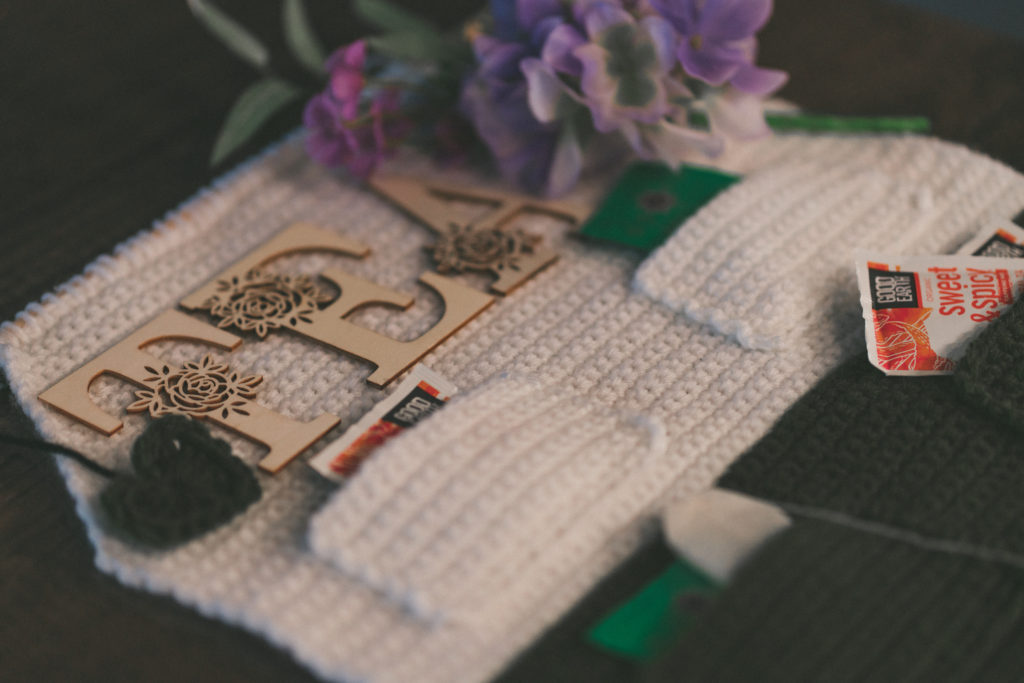
NOTE**: You may want to block your work before continuing, to relax the fibers and keep everything hanging loose!
Attaching the rod to the top:
On one of the top corners of your piece, create a know with a long strand of yarn (it’s better to have too much than too little!)
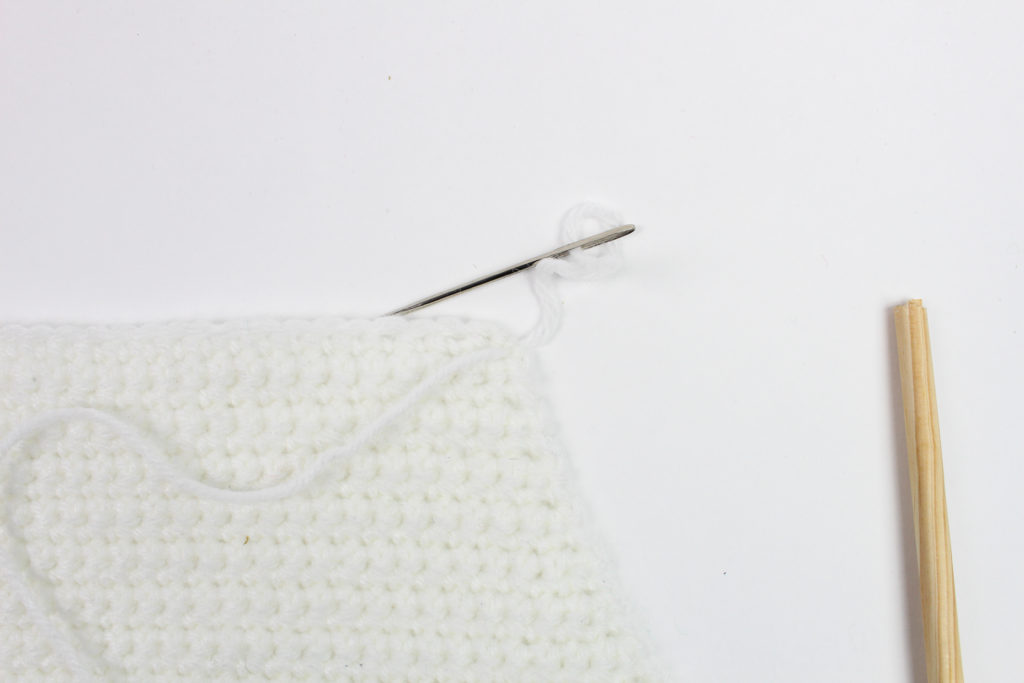
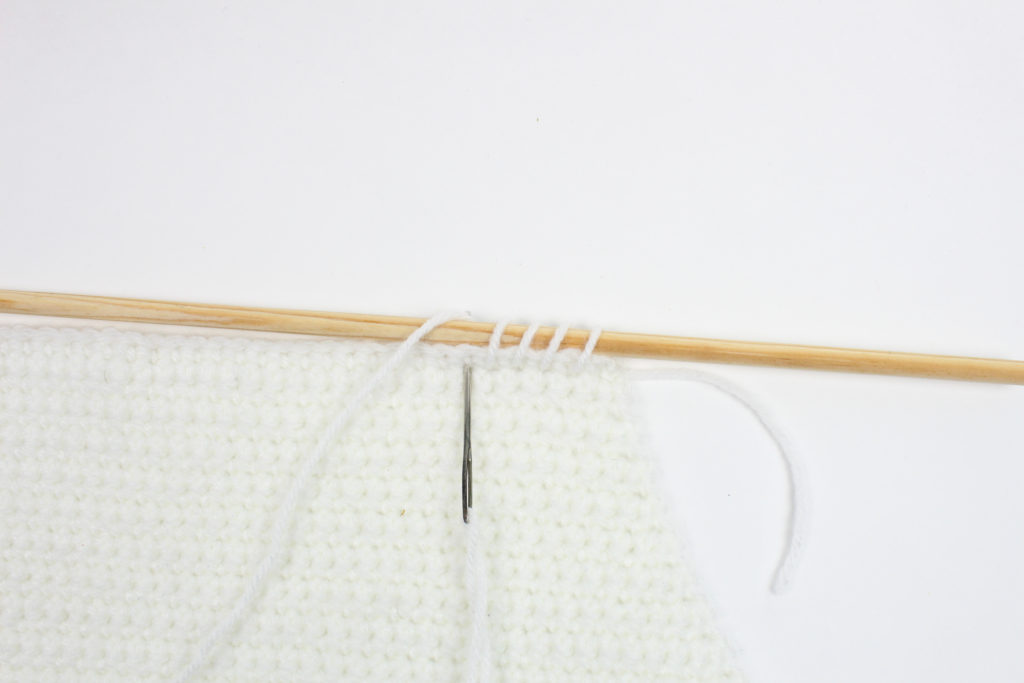
Line your rod up with your work, insert your needle underneath.
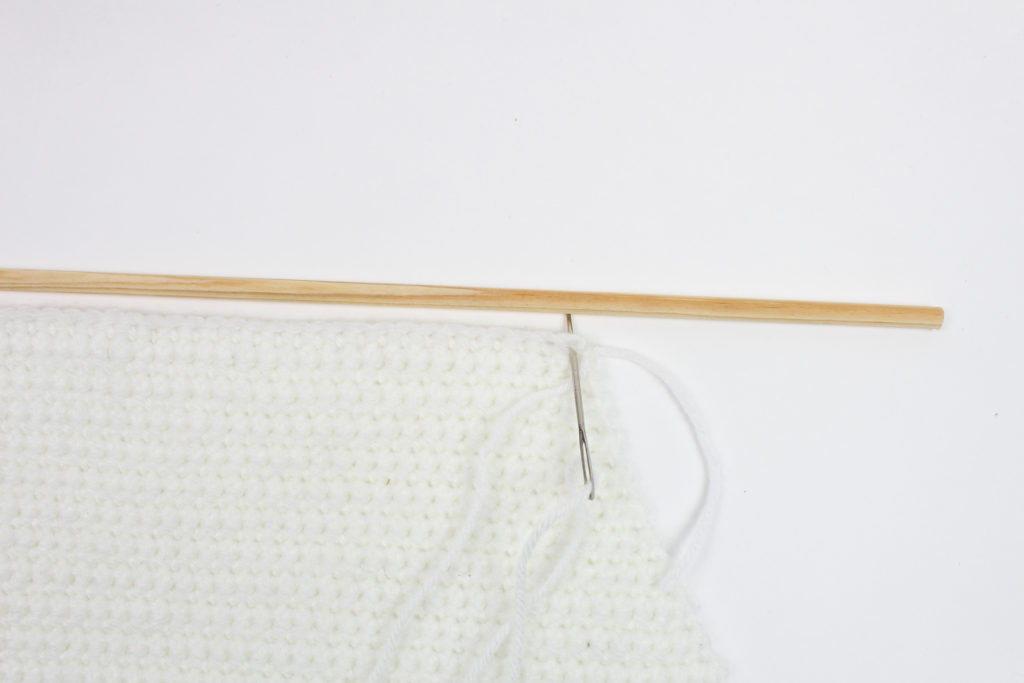
Come back up from around and insert into the next stitch; continue this all the way across the top! (Be sure to keep it a little snug) Finish off at the end.
Attaching the Decor
Starting off with the lettering, place them to your left side, and lay them out how you desire.
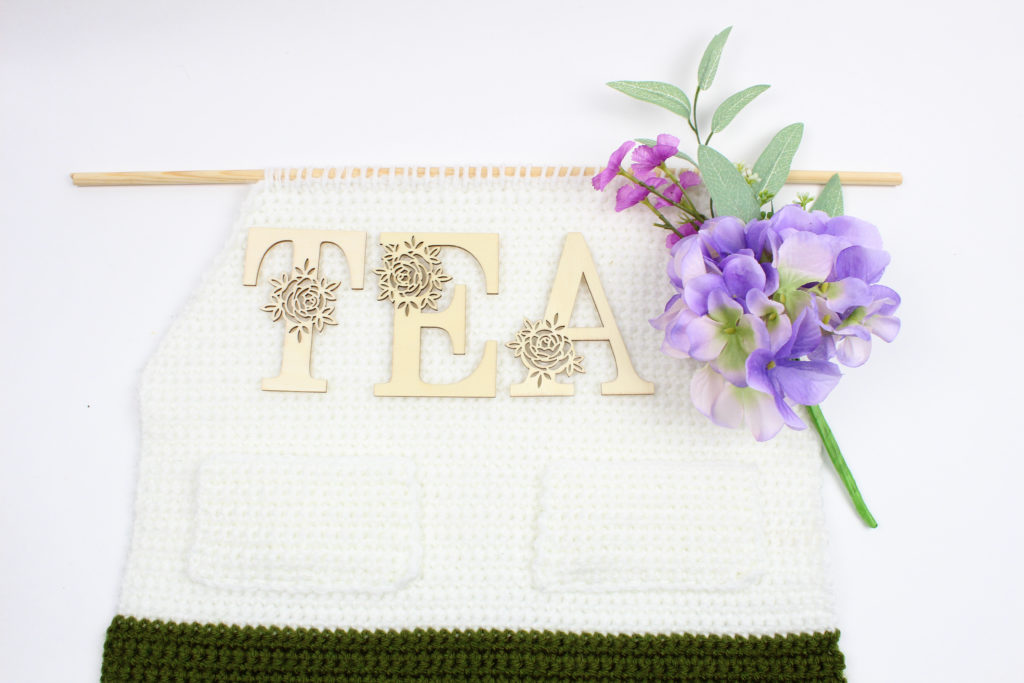
With your tacky glue, add on the glue to the back side of each letter, lay it flat, and hold it down for a few seconds to get a good hold onto the fiber (Make sure the letters are facing the correct way!)
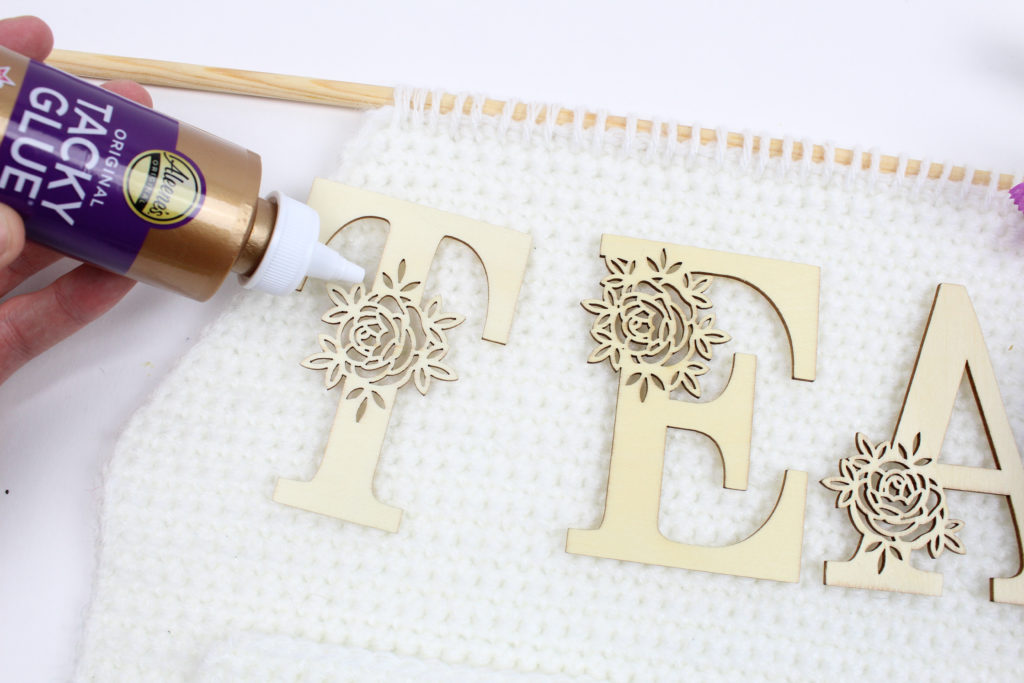
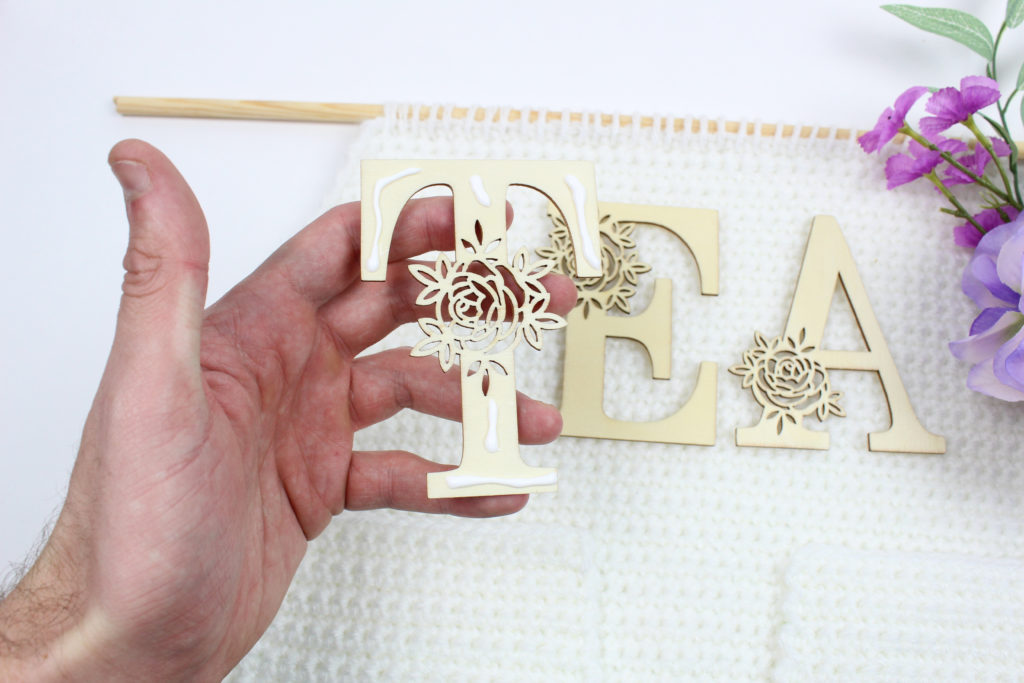
You will be doing the same thing for the flowers! IF you feel like it won’t hold, feel free to wrap yarn around to keep in snug in place.
You may not sell my patterns or claim them as your own. You may make items to sell(i.e. on Etsy, at craft fairs) from my patterns but I ask that you link back to my blog and provide credit for the pattern. You are welcome to share my patterns on social media so long as you link back directly to my blog post(providing the link). No copy & paste of my patterns will be allowed under any circumstances.
Be sure to tag @knot.bad and @yarnpunk on your socials and use the hashtag #yarnpunk!
